


ai video audio mix: finish AI clips with voice, music, subtitles, and one-click export
Learn how to mix voiceovers, music, SFX and hardcoded captions for AI-generated clips—and use GoCrazyAI Media Mixer to export platform-ready files in one click.
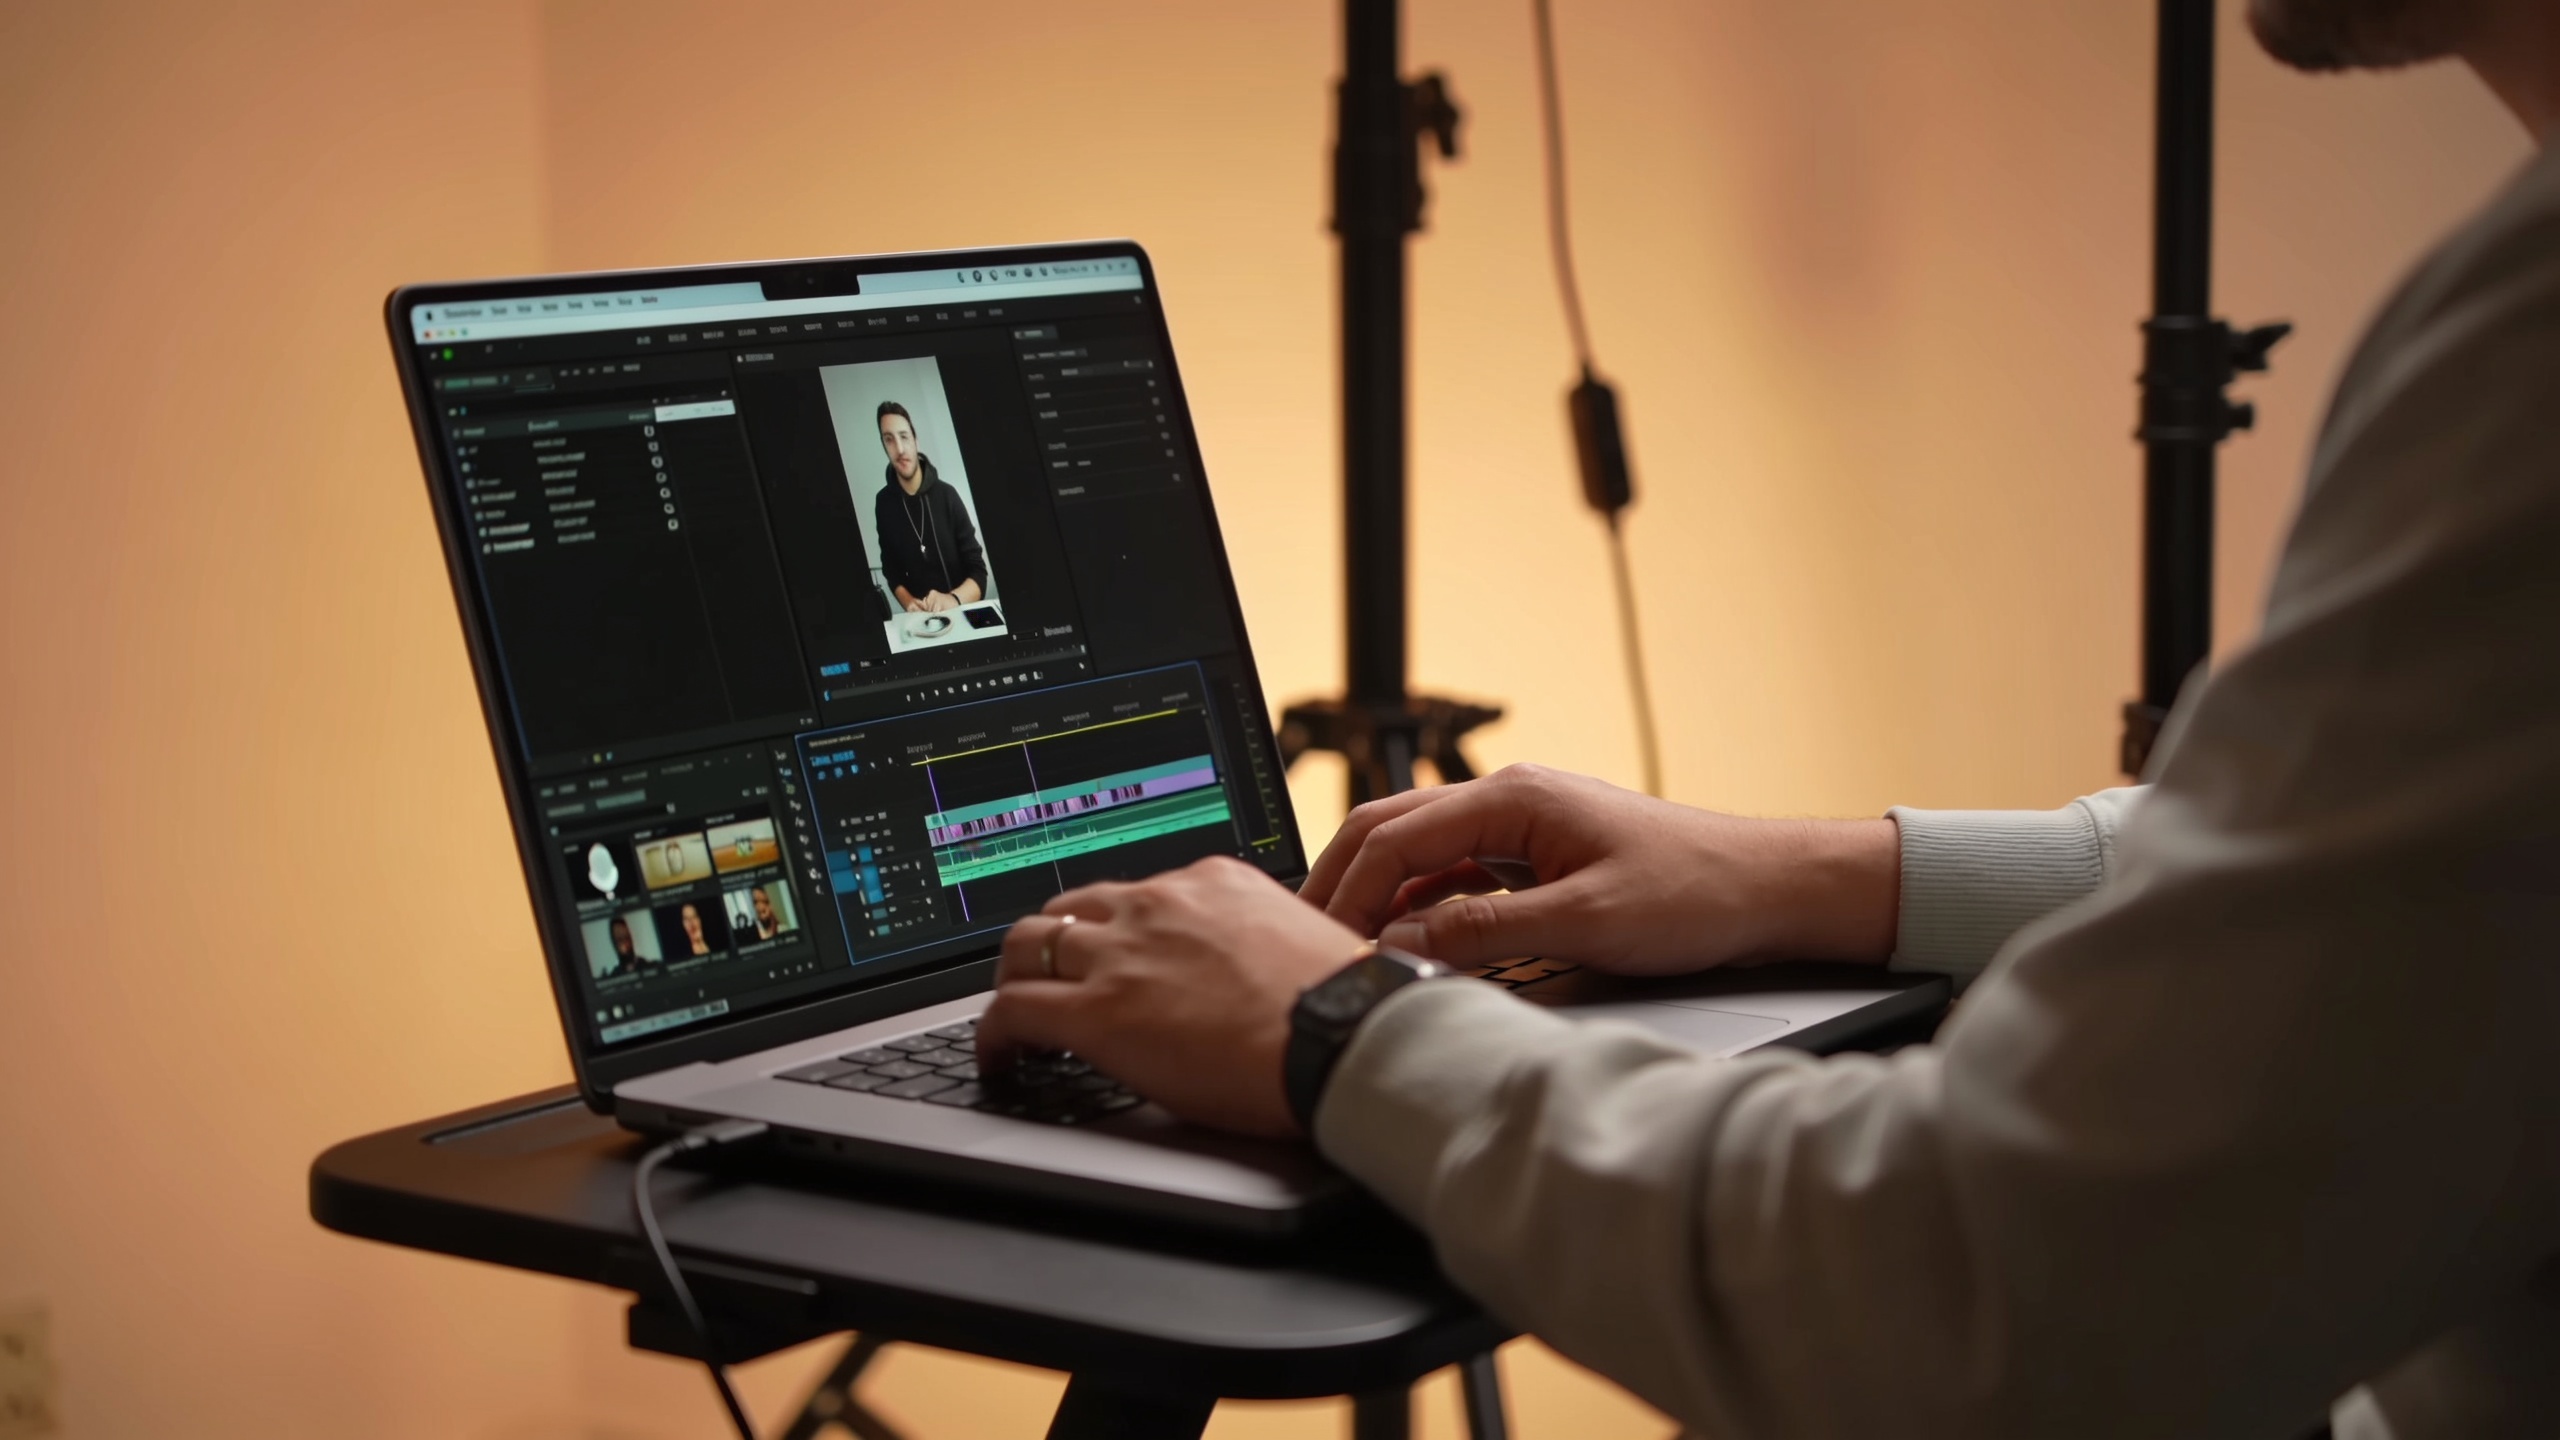
You need your AI-generated clip to look and sound like a finished social video—not a rough render. This guide shows how to plan and mix voiceover, music, SFX, and hardcoded captions so short-form clips (Veo, Sora, text-to-video) perform on TikTok, Reels, and X. It includes a step-by-step Media Mixer workflow, prompt examples, legal music notes, and templates you can reuse. If you want a one-tool path from script to publish-ready file, this guide explains why GoCrazyAI Media Mixer shortens the path.
Quick Answer
How do you do an ai video audio mix? Write a short script, generate or record your voiceover, pick a cleared music track, fine-tune levels and ducking, burn captions during export, then use a one-click exporter to create the final social-sized file. Tools like GoCrazyAI Media Mixer combine transcription, TTS/voice, music, and hardcode-export so you can finish the clip without switching apps.
Why professional audio, captions, and exports matter for AI‑generated clips?
Professional audio, readable captions, and correct export settings directly affect watch time, engagement, and whether a clip gets removed or muted. Short-form viewers often browse with sound off, so legible captions (preferably hardcoded) ensure your message lands. Clean voiceovers and properly mixed music keep speech intelligible; over-compressed or noisy audio drives viewers away. Platform-specific export settings (resolution, aspect ratio, codec) ensure the file uploads without platform-side recompression or trimming that can ruin caption timing. For creators using AI-generated footage (Veo, Sora, or text-to-video engines), finishing audio and captions is what turns an experimental draft into a publishable asset.
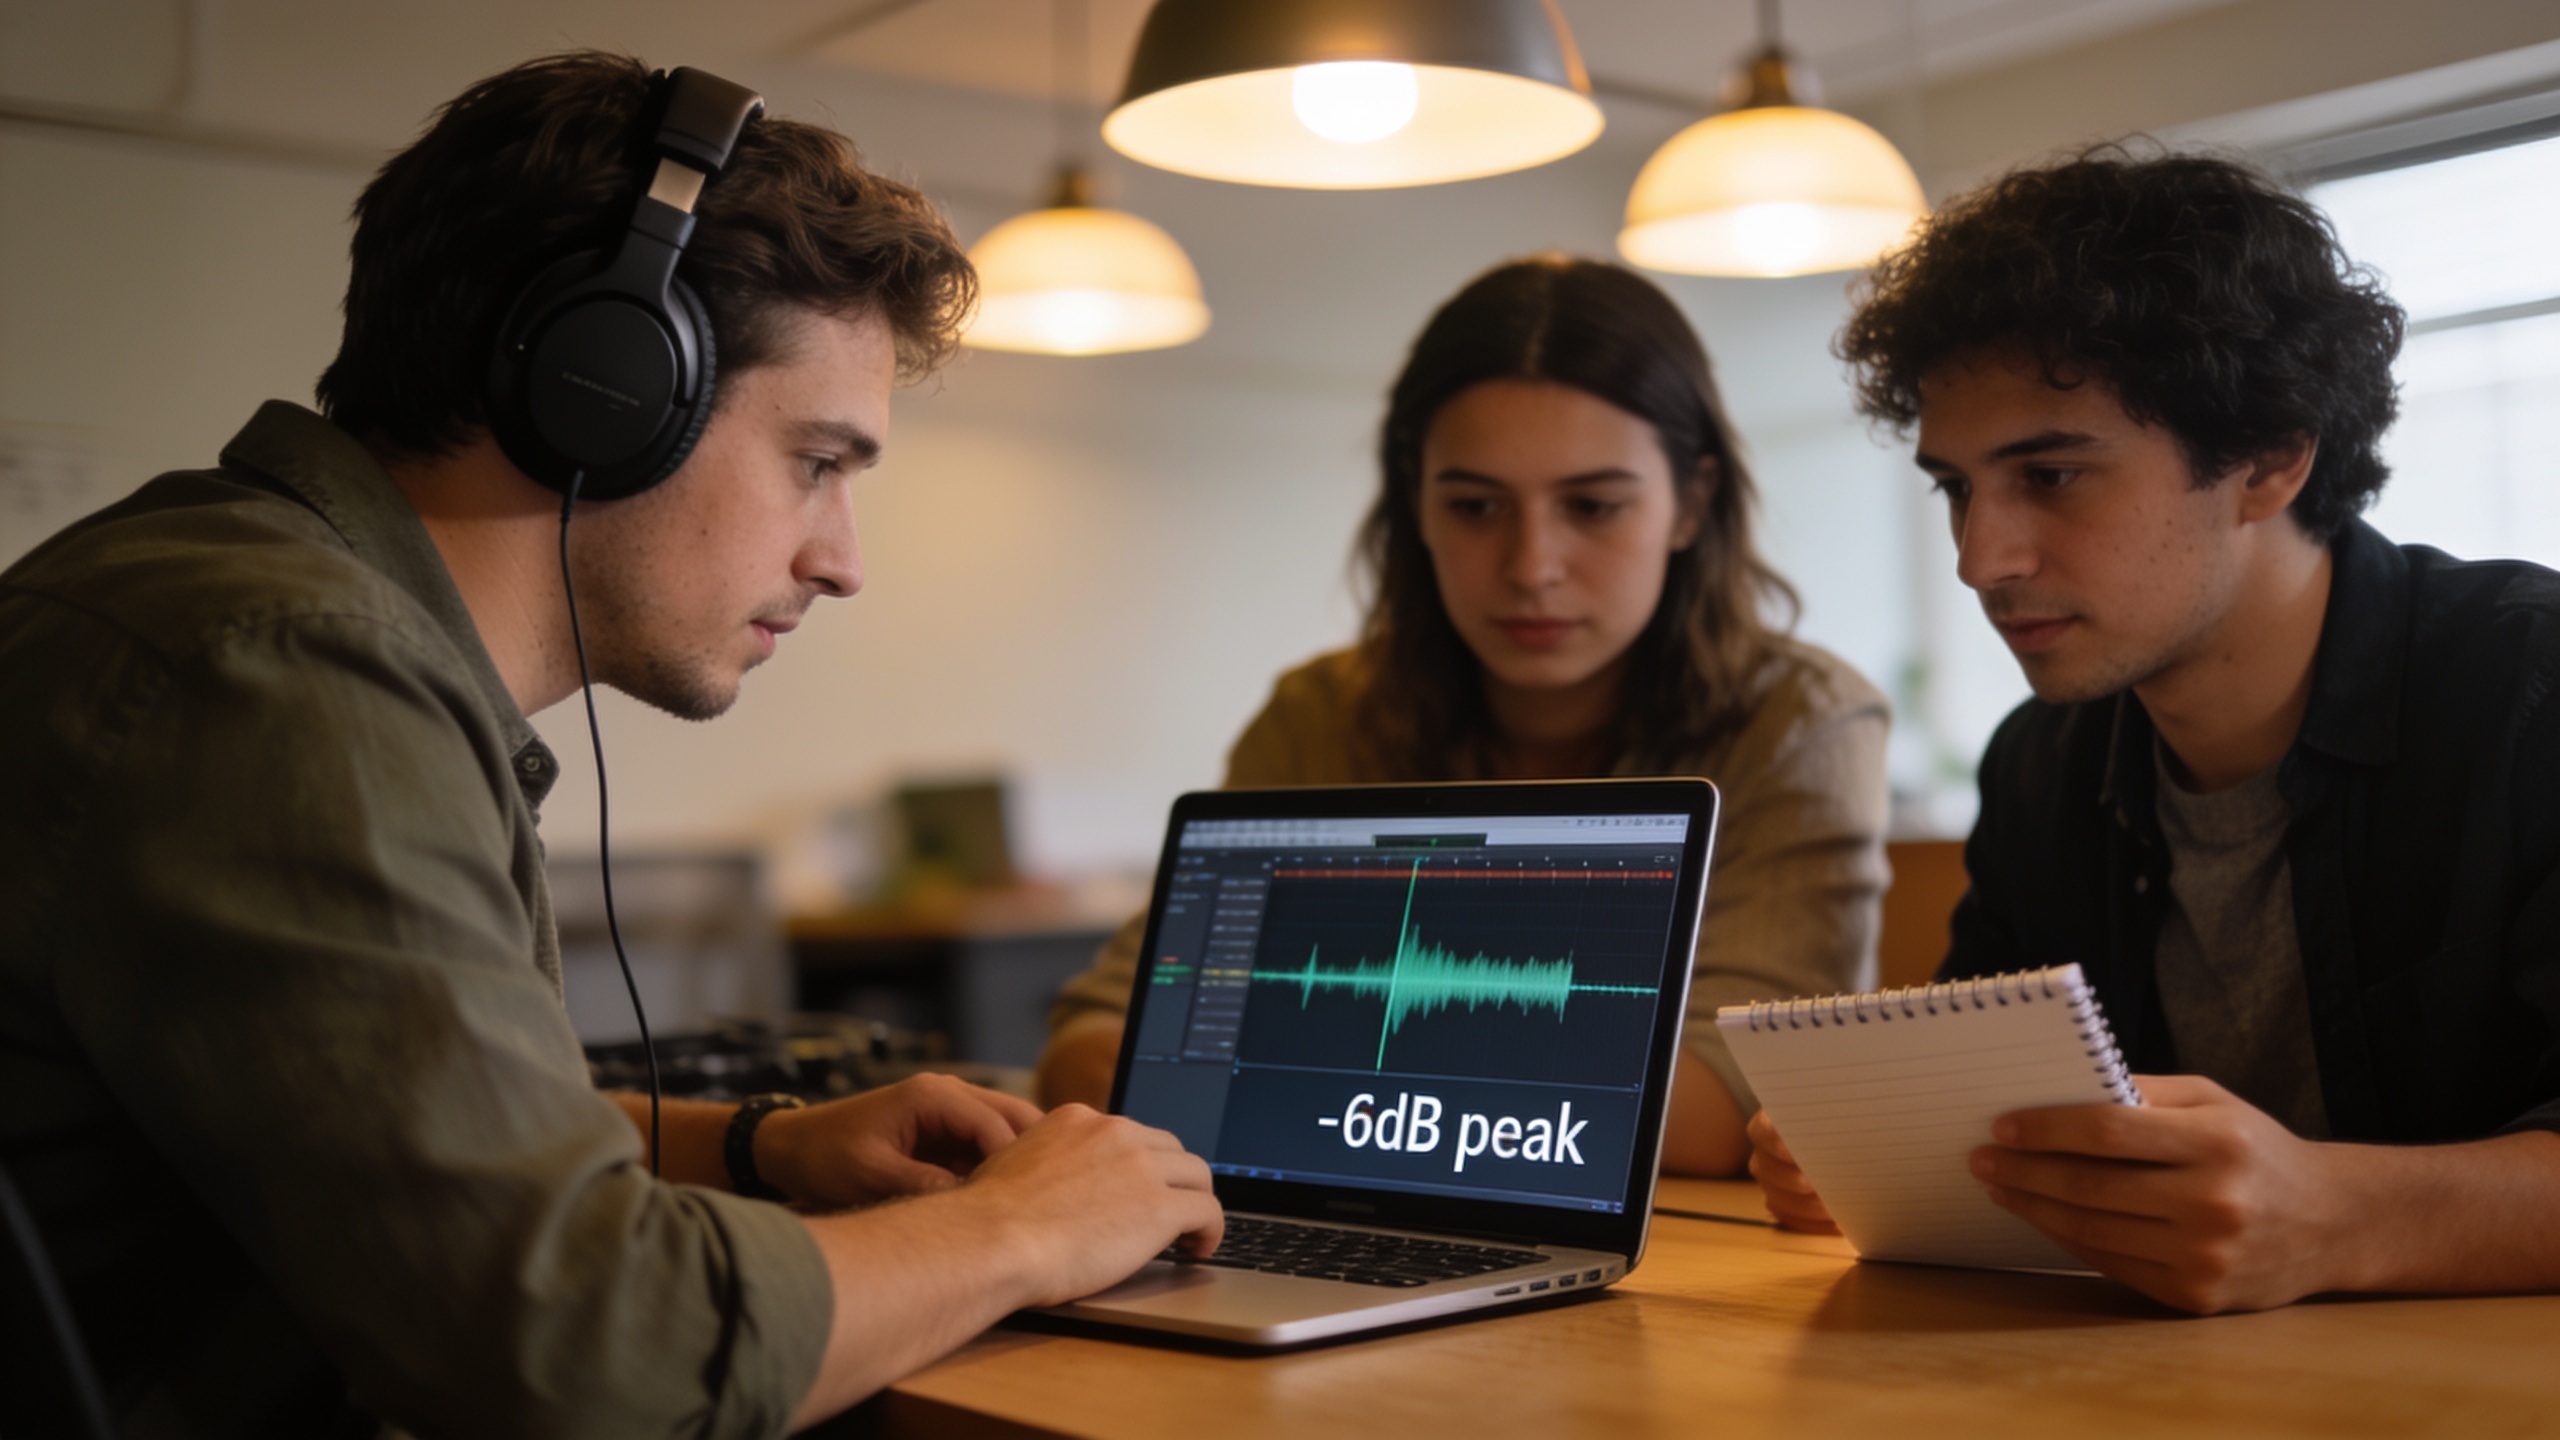
More detail: mix balance and legibility matter. Aim for voice peaks around -6 dB LUFS before limiting, and keep background music at least 12 dB lower under dialogue for clarity. For captions, high contrast, 16–20 px font at 1080p, and a 2–3 second minimum readable time per caption usually work best. These practices reduce re-uploads and improve completion rates on Reels and TikTok.
Plan your audio + captions before you edit: a creator checklist for Veo/Sora clips
Plan first and edit faster. A quick checklist prevents stacking four separate tools and losing time on re-renders: 1) Script and rough timing: write a 20–45 second script and mark where you want pauses or SFX. 2) Voice choice: decide between recorded narration, TTS, or a voice clone. 3) Caption strategy: decide if captions will be burned-in (recommended) and whether you need multiple language tracks. 4) Music licensing: choose platform-cleared or royalty-free music for commercial projects. 5) Export format: note target aspect ratio (9:16 for TikTok), codec (H.264 or H.265), and max file size.
Example checklist items you can copy:
- Script length: 30s (approx. 65–75 words).
- Voice: friendly adult female, natural pace, 3–4 second pauses.
- Subtitles: burned, white text with 12% black box, 32 px at 1080x1920.
- Music: royalty-free instrumental, loopable, cleared for commercial use.
- Export: 1080x1920, H.264, 30 fps, AAC 128 kbps.
Planning like this reduces back-and-forth. If you use Veo or Sora clips, mark where synthesized gestures or scene cuts occur so voice timing aligns with the visual punchlines.
Hands‑on: Add a voiceover with GoCrazyAI Media Mixer — step‑by‑step workflow
Add a voiceover in Media Mixer by preparing a short script, generating or uploading the audio, adjusting timing, and mixing levels in the same panel. GoCrazyAI Media Mixer keeps voice and music together so you can preview and export without leaving the editor.
Step-by-step (practical settings and expectations):
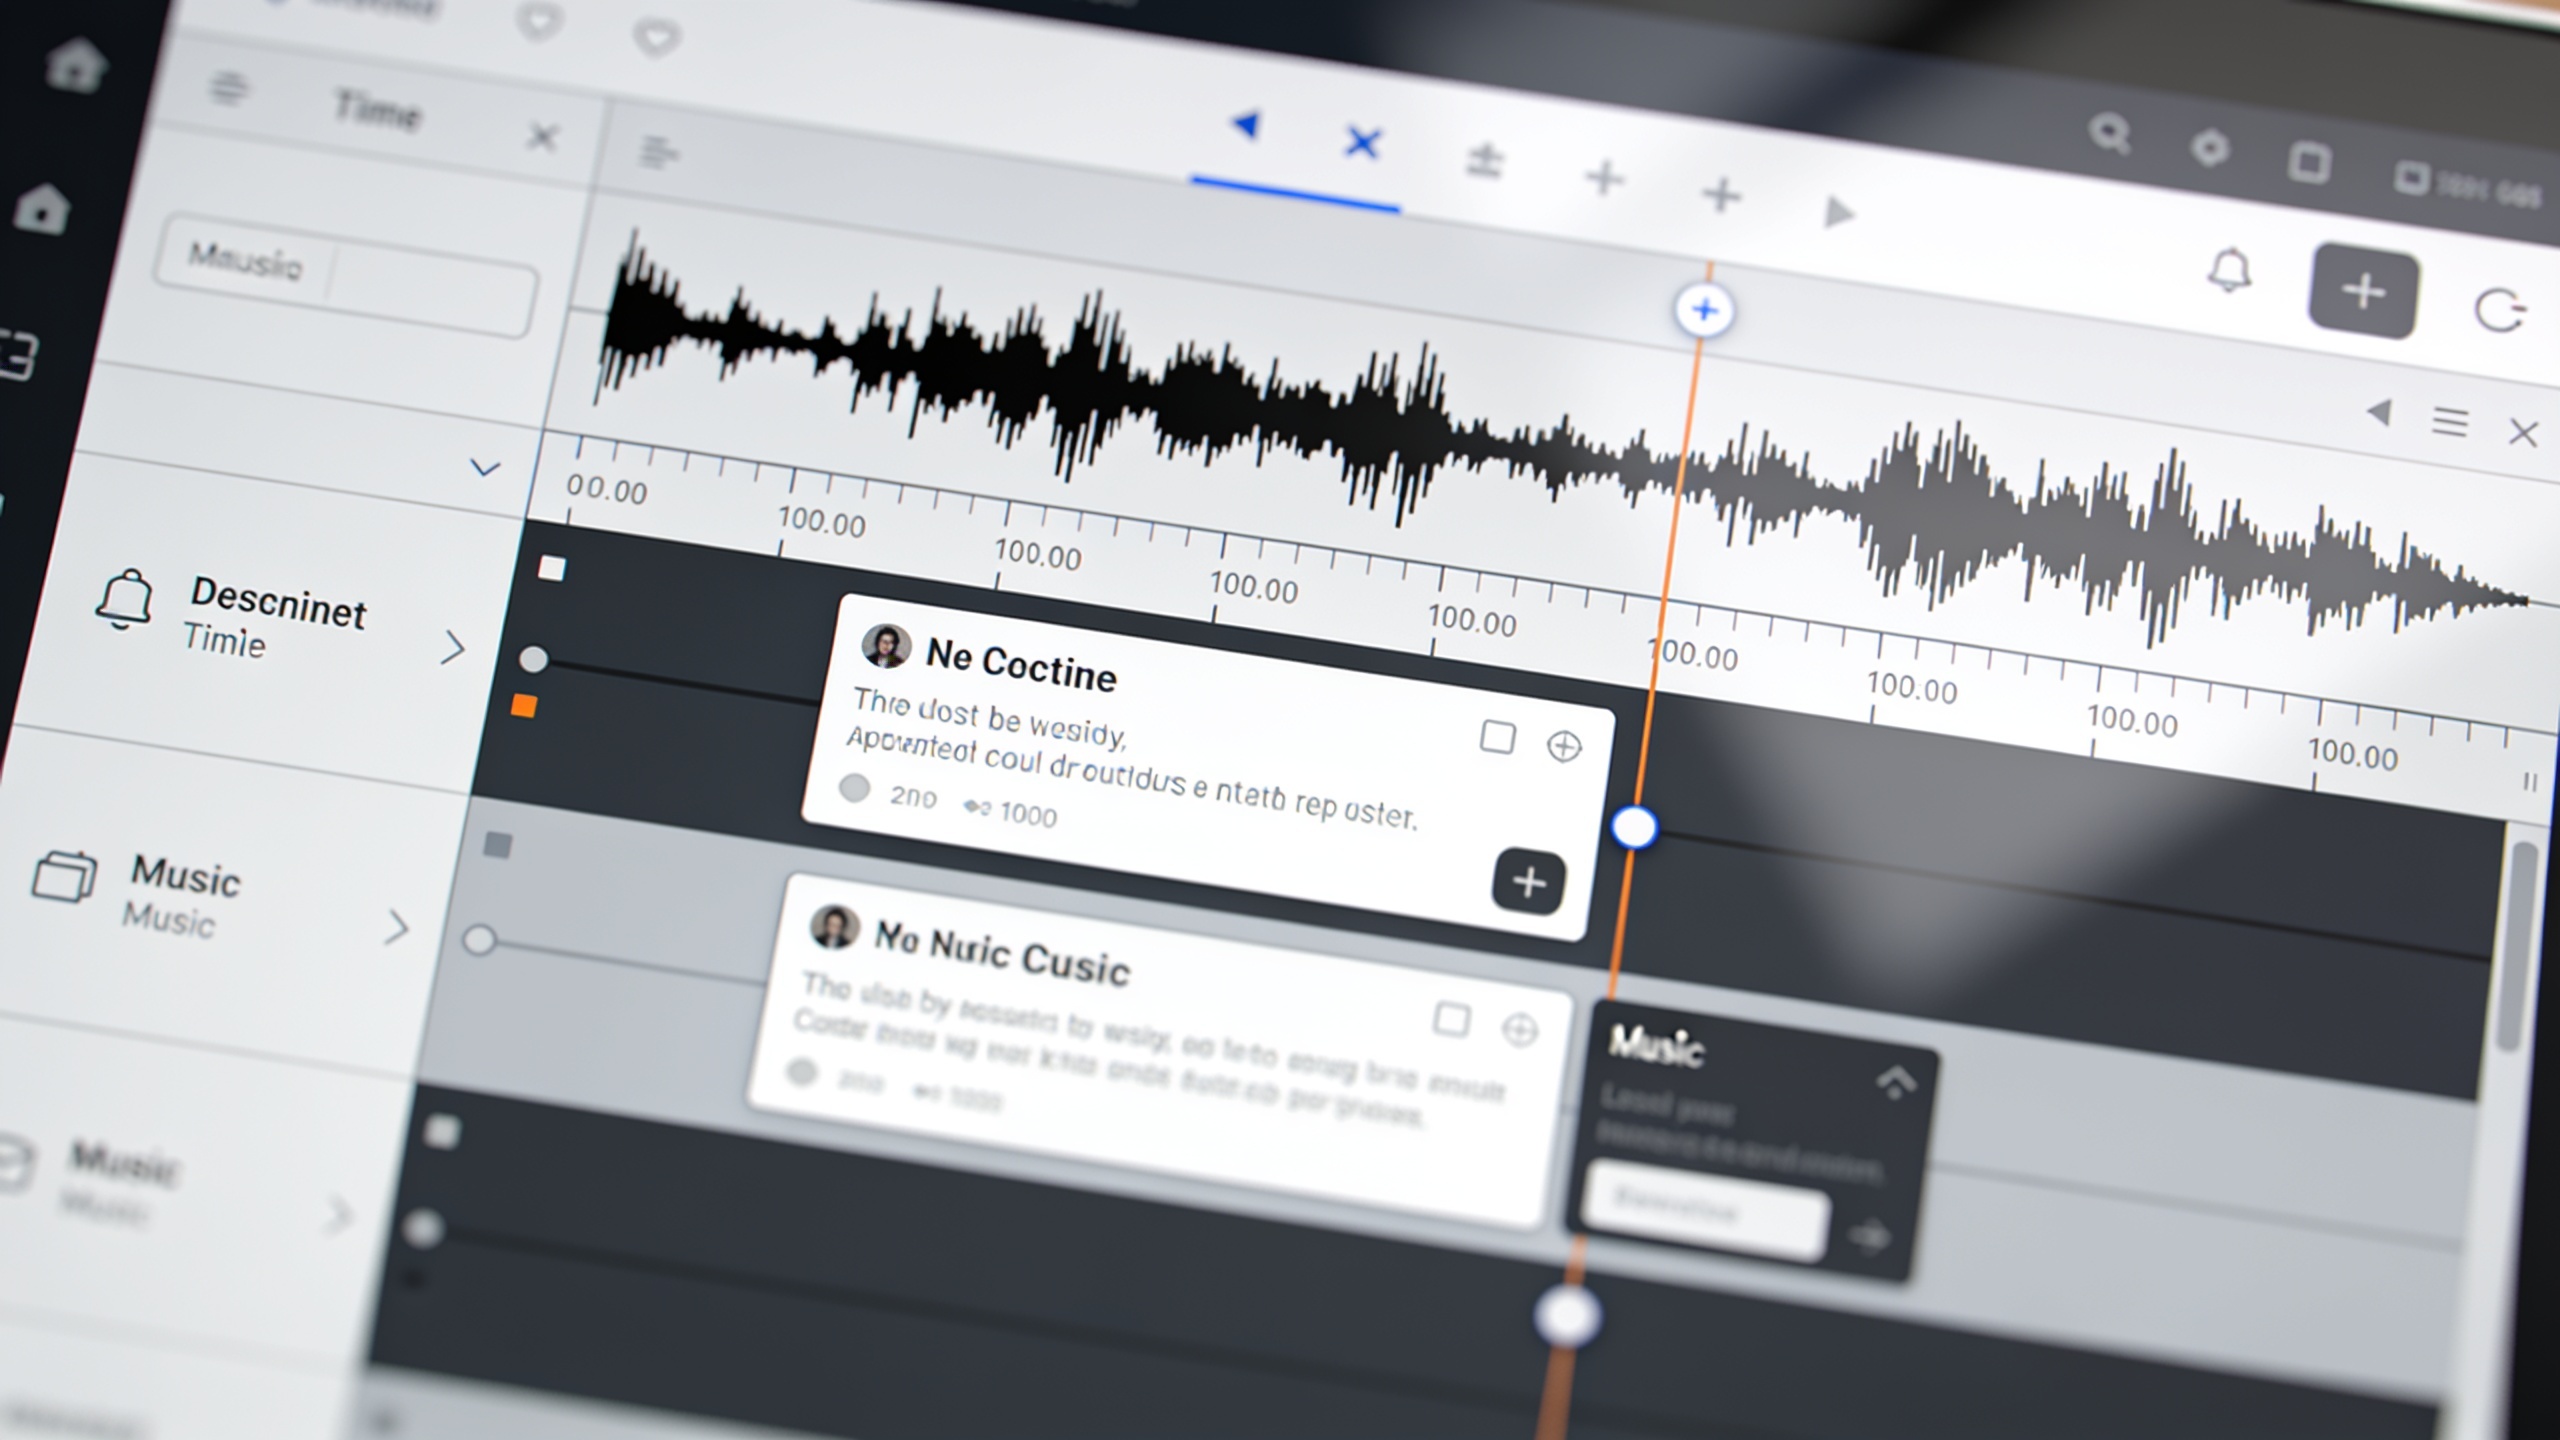
1) Draft the script: keep lines short for subtitles. Example script line: "New feature drops Friday — watch this." 2) Generate the voice: open the Media Mixer voice panel and choose a voice from the AI Voices library or upload a WAV/MP3 recording. (If you need clones or premium voices, see the AI Voices library.) 3) Align timing: drag the voice clip on the timeline to match the visual beats; trim silence with the trim tool. 4) Level and EQ: set voice peak to -6 dB, apply a high-pass at 80 Hz to remove rumble, and mild de-esser if sibilance appears. 5) Preview with music: add background music at -18 to -20 dB and enable sidechain/ducking so voice lifts over the track during narration.
The Media Mixer workflow keeps these steps inside GoCrazyAI so you avoid bouncing files between separate TTS, DAW, and video apps. For voice choices, check the AI Voices catalog for 160+ premium voices at /ai-voice.
You can try every step above directly in GoCrazyAI Media Mixer — no setup needed.
Hands‑on: Burn subtitles and style them for TikTok/Reels (hardcode best practices)
Burn subtitles by transcribing, editing timing, styling for legibility, and exporting with 'hardcode captions' enabled. Hardcoded captions guarantee visibility on short-form platforms where many viewers watch muted and where sidecar SRTs may be ignored or unsupported.
Best-practice steps:
1) Auto-transcribe: import your clip and run the Media Mixer transcription to generate timecodes. 2) Edit text and timing: correct misheard words, split long lines, and ensure each caption stays on screen at least 1.8–2.5 seconds for readability. 3) Styling: use a sans-serif font, white text with 8–16% black outline or semi-opaque box, 32 px equivalent at 1080x1920, and center or lower-third placement to avoid UI overlays. 4) Burn on export: enable 'Burn Captions' so the captions are rendered into the video frame during final encoding.
Why burn captions? Platforms like TikTok and Instagram often show captions by default, but uploads that rely on sidecar SRTs can be ignored or removed. PixScript and VideoProc outline methods for hardcoding subtitles manually, but an integrated tool that transcribes and burns captions during export (like Media Mixer) removes extra steps and keeps timing intact.

Add music and sound effects legally — mistakes and mixing tips to keep audio clear and claim‑safe
Use licensed or royalty-free music and clear SFX to avoid takedowns or muted audio. Many creators mistakenly drop popular tracked songs into edits and face platform claims even when audio is altered; choosing cleared or platform-licensed music reduces that risk.
Common mixing mistakes and how to avoid them:
- Mistake: Using popular, unlicensed tracks for commercial videos. Avoid by using platform libraries or cleared stock music; LegalClarity explains why licensing matters, and IFPI's 2023 report shows unlicensed use remains a major risk.
- Mistake: Music louder than the voice. Keep music ~12 dB quieter under dialogue. Use ducking or sidechain compression.
- Mistake: Over-compressing the master. Preserve dynamics—target integrated LUFS appropriate to platform (e.g., -14 to -16 LUFS for short-form).
- Mistake: Ignoring SFX overlap. Place SFX with fades and check that they don't clash with voice consonants.
Practical tips: source a cleared track from a stock library or generate an instrumental with GoCrazyAI's AI Song Generator at /ai-music, A/B two tracks quickly in the mixer, and lock the voice track while you test different beds. If you must use a popular song, secure a license or use a short licensed snippet under the platform's library to reduce claim risk.
One‑click export and social presets: how to deliver platform‑ready files fast with Media Mixer?
One-click export and social presets let you deliver a ready-to-upload file without guessing bitrate, codec, or aspect ratio. Media Mixer includes presets for TikTok/Reels and automatically burns captions when requested, producing a final MP4 tuned for the target platform.
How this saves time: set your aspect ratio (9:16 for TikTok), enable 'Burn Captions', choose audio codec (AAC 128 kbps), and select the 'TikTok' preset—then export. The single-step output avoids separate re-encodes that can shift caption timing or change audio loudness. Presets typically handle resolution, FPS, and safe overlays so captions and brand overlays won't be cut off by platform UI. Use the AI Video Generator to create the footage and then finish in the Media Mixer for a full in-platform flow at /create-ai-video and /ai-video-edit.
Expectations: exported files are single MP4s with burned captions and embedded audio tracks; keep final file under platform size limits to avoid upload errors. This one-click path reduces manual checks and lets creators publish faster.
Media Mixer workflow templates: example processes for product reveals, promos, and TikToks
Templates speed repeatable output: create a Media Mixer template with voice position, caption style, music bed, and export preset, then apply it to new clips. Templates let you iterate dozens of variations quickly while keeping brand consistency.
Three example templates you can copy:
- Product reveal (30s): voice track at -6 dB, music at -20 dB with slow fade-in, captions burned with lower-third box, export 1080x1920 TikTok preset.
- Promo trailer (15s): quick cuts, staccato SFX, voice short clips, music punch at key frames, captions with 1.8s min read time, export H.264 1080p.
- TikTok quick tip (45s): conversational voice at natural pace, light ambient music, pop SFX on transitions, captions center-lower with consistent color.
How to build a template in Media Mixer: set preferred voice, caption style, and export preset; save as a named template. Reuse for multiple generated videos, then swap the footage and quick-edit the voice timing. Templates reduce the need to preview many generated tracks manually, aligning with recent research that shows presets and A/B listening speed iteration.
Frequently Asked Questions
Should I always hardcode captions for TikTok and Instagram Reels?
Yes—hardcoding guarantees viewers see captions and avoids issues where platforms ignore sidecar SRTs. Auto-transcribe, edit timing, and enable "Burn Captions" during export to ensure consistent results.
Can I use popular music in commercial AI-generated ads?
Popular tracks often trigger claims or takedowns unless you secure a license. Use platform libraries or cleared stock music for repeatable commercial use, as LegalClarity and IFPI recommend.
How do I make a voiceover sit above music without losing warmth?
Set voice peaks around -6 dB, reduce music by ~12 dB under speech, use gentle EQ to carve space (cut 200–500 Hz in music), and apply mild sidechain ducking so voice lifts naturally.
Will burning captions affect upload speed or quality?
Burning captions increases encode time slightly but prevents platform-side caption glitches. Use the correct export preset and codec to keep file size reasonable while preserving quality.
Conclusion
Final thoughts: finishing AI-generated clips means planning audio, captions, and exports up front, then using a single post-production flow to reduce wasted renders and platform issues. Use templates for repeatable formats, pick cleared music, and burn captions for guaranteed visibility. If you want to keep every finish step inside one product and export a publish-ready file in a single click, polish your clip in the AI Video Editor and export the finished file in one click.
Sources
- How to Burn Subtitles Into a Video (4 Methods) | PixScriptpixscript.com ↗
- Burning Subtitles Into Video: When and How in 2026 | ConvertAudioToTextconvertaudiototext.com ↗
- How to Burn Subtitles Into a Video Permanently | FlowSubflowsub.ai ↗
- 3 Methods to Hardcode Subtitles to MP4/MKV and Other Video Files | VideoProcvideoproc.com ↗
- AI Voiceover — One-Click Video Narration | Postcrestpostcrest.com ↗
- AI Voiceover for Videos: Complete Guide for Creators | Vexubvexub.com ↗
- How to Use Music in Videos Legally: Copyright and Licensing - LegalClaritylegalclarity.org ↗
- Use of Copyrighted Music in Videos (guidance)laseagrant.org ↗
- Engaging with music 2023 (IFPI report)ifpi.org ↗
- VidTune: Creating Video Soundtracks with Generative Music and Contextual Thumbnails (research paper)arxiv.org ↗