How to create an ai video audio mix for short-form videos
Step-by-step guide to mixing voice, music, and SFX for TikTok, Reels, and Shorts. Includes examples, captions, and a one-click export workflow with GoCrazyAI Media Mixer.
<!-- KEYTAKEAWAYS -->- Short-form mixes use three layers: trending/ambient music, voice, and SFX.- Keep voice ~3–6 dB louder than music and duck music under speech.- Burned-in captions improve immediate visibility; SRTs help accessibility.- Use a single export workflow to add voice, SFX, subtitles, and overlays.<!-- /KEYTAKEAWAYS --> You need short videos that grab attention in the first 3 seconds and keep viewers watching. The right audio mix—voice, background music, and SFX—does that faster than better footage alone. This guide gives a reproducible workflow for a three-layer mix, practical dB targets, example prompts, and an end-to-end export checklist. It also shows how GoCrazyAI Media Mixer streamlines voiceovers, music, SFX, subtitles, and one-click exports so you finish uploads faster.
Quick Answer
How do you create an ai video audio mix for short-form videos? Build three layers: a clear voiceover, a lower-level background track, and tight SFX hits. Keep voice ~3–6 dB above music while spoken, sidechain or duck music under narration, and export a single burned-in MP4 with captions for social platforms.
Why does layered audio (voice + music + SFX) make or break short-form video performance?
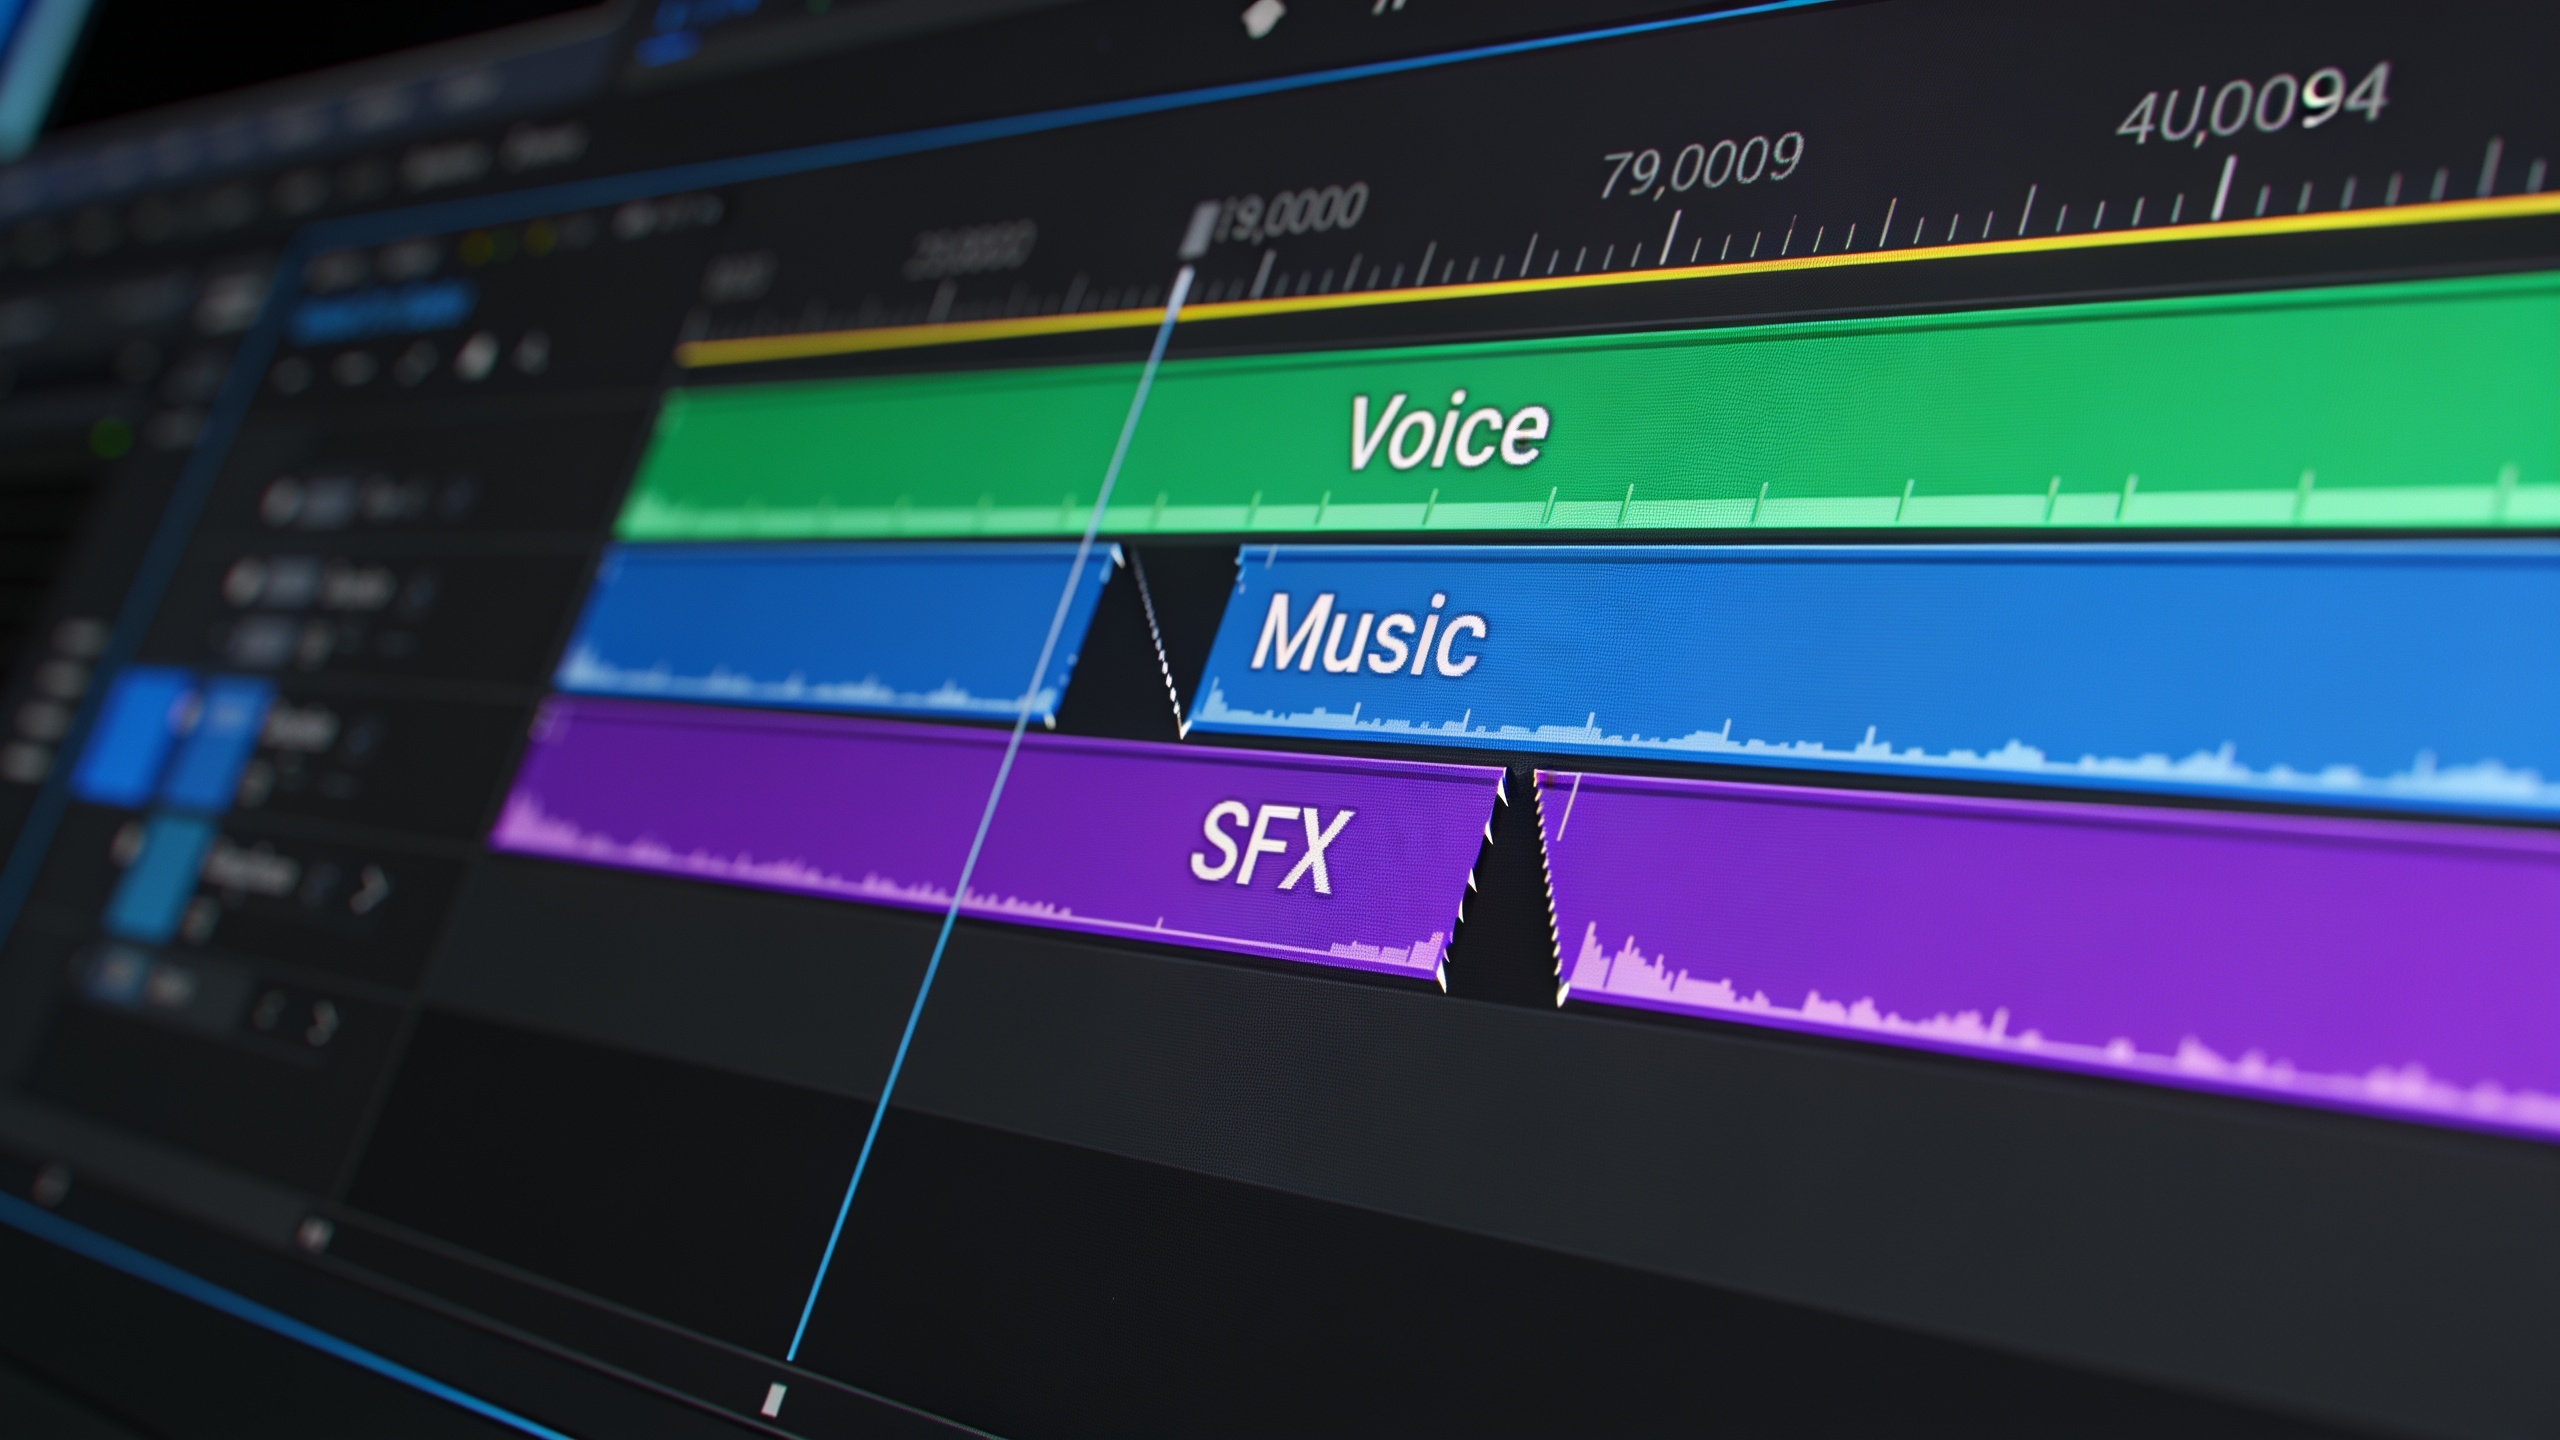
Layered audio matters because it directs attention and cues emotions in seconds. Studies and editor best-practices show short videos usually rely on three distinct audio layers — a trending or ambient track, voiceover or dialogue, and punctuating sound effects — to increase engagement and retention (these elements work together to highlight beats and keep viewers watching)[https://insideeditors.com/top-tiktok-video-editing/]. Academic analysis also finds that audio features influence watch time and perceived production value for short videos[[1]](#source-1).
Practical implication: treat audio as an editorial tool, not background decoration. Use music to set tempo and mood, voice to deliver the message, and SFX to punctuate edits, transitions, and calls to action. When layered well, these elements increase perceived polish and can raise retention on the 2–15 second range common to viral formats. When mixed poorly (voice buried, cluttered SFX, or clashing EQ), viewers skip or drop off immediately.
How to judge balance quickly: listen on phone speakers, earbuds, and a laptop. If the narration is hard to follow on a phone with the music playing, reduce music by 3–6 dB during speech or use ducking. Those quick checks roughly map to platform listening conditions and save re-uploads.
How do you build a 3-layer audio mix for shorts (voiceover, background music, SFX)? Example workflow?
Short answer: assemble three tracks — voiceover (dialog/narration), background music (loop/trend), and SFX (hits, risers, clicks) — then apply simple level, EQ, and ducking rules. Follow the step-by-step example below to get a polished result in under 20 minutes.
Step-by-step example workflow (copyable):
1) Prep assets: choose a 15–60s music loop that matches the clip tempo, export or record a clean voiceover, and pick 4–8 SFX for accents (transitions, button clicks, whooshes). Use non-copyright or platform-permitted music.
2) Set initial levels: set voice to -6 dB FS peak (leave headroom), set music to -12 dB FS peak. This generally gives voice ~3–6 dB above music during speech. These are starting points — trust your ears.
3) Ducking/sidechain: apply a short attack (5–10 ms) and medium release (100–250 ms) duck on the music triggered by the voice track so the music reduces only while narration plays. This keeps energy but ensures intelligibility. For manual ducking, automate a 3–6 dB reduction on music against each speech region.
4) EQ and clarity: apply a gentle high-pass filter at 80–100 Hz on music and SFX to reduce low-end mud. On voice, boost 2–4 kHz by 1–3 dB for presence and cut 200–400 Hz by 1–2 dB if it sounds boxy.
5) SFX placement: place SFX on edit points — match transient to cut frames. Keep SFX peaks 6–10 dB below voice peaks so they punch without masking speech.
6) Loudness pass: target -14 LUFS integrated for most social platforms if you plan to avoid platform normalization surprises; otherwise aim for platform-specific targets. Loudness should feel consistent across a creator's uploads.
7) Final listen: preview on phone speakers and earbuds, check caption timing against speech, and export a single MP4 with burned-in captions if you want guaranteed visibility.
Example prompts (SFX and music selection):
- Music search prompt: "15s upbeat electronic loop, 120 BPM, warm mids, minimal bass, subtle hi-hat".
- Voiceover script prompt: "Hook: 'Wait 2 seconds—this trick saved me 10 hours' — natural, friendly, 3.5s pace".
- SFX selection prompt: "Short whoosh (40–70 ms) for transitions, soft click for button, light riser for build".
These examples are tailored for social clips and can be adjusted for style or duration. The goal is readable voice, supportive music, and surgical SFX that emphasize cuts.
Add AI voiceovers, music and SFX without losing control: using GoCrazyAI Media Mixer step-by-step?
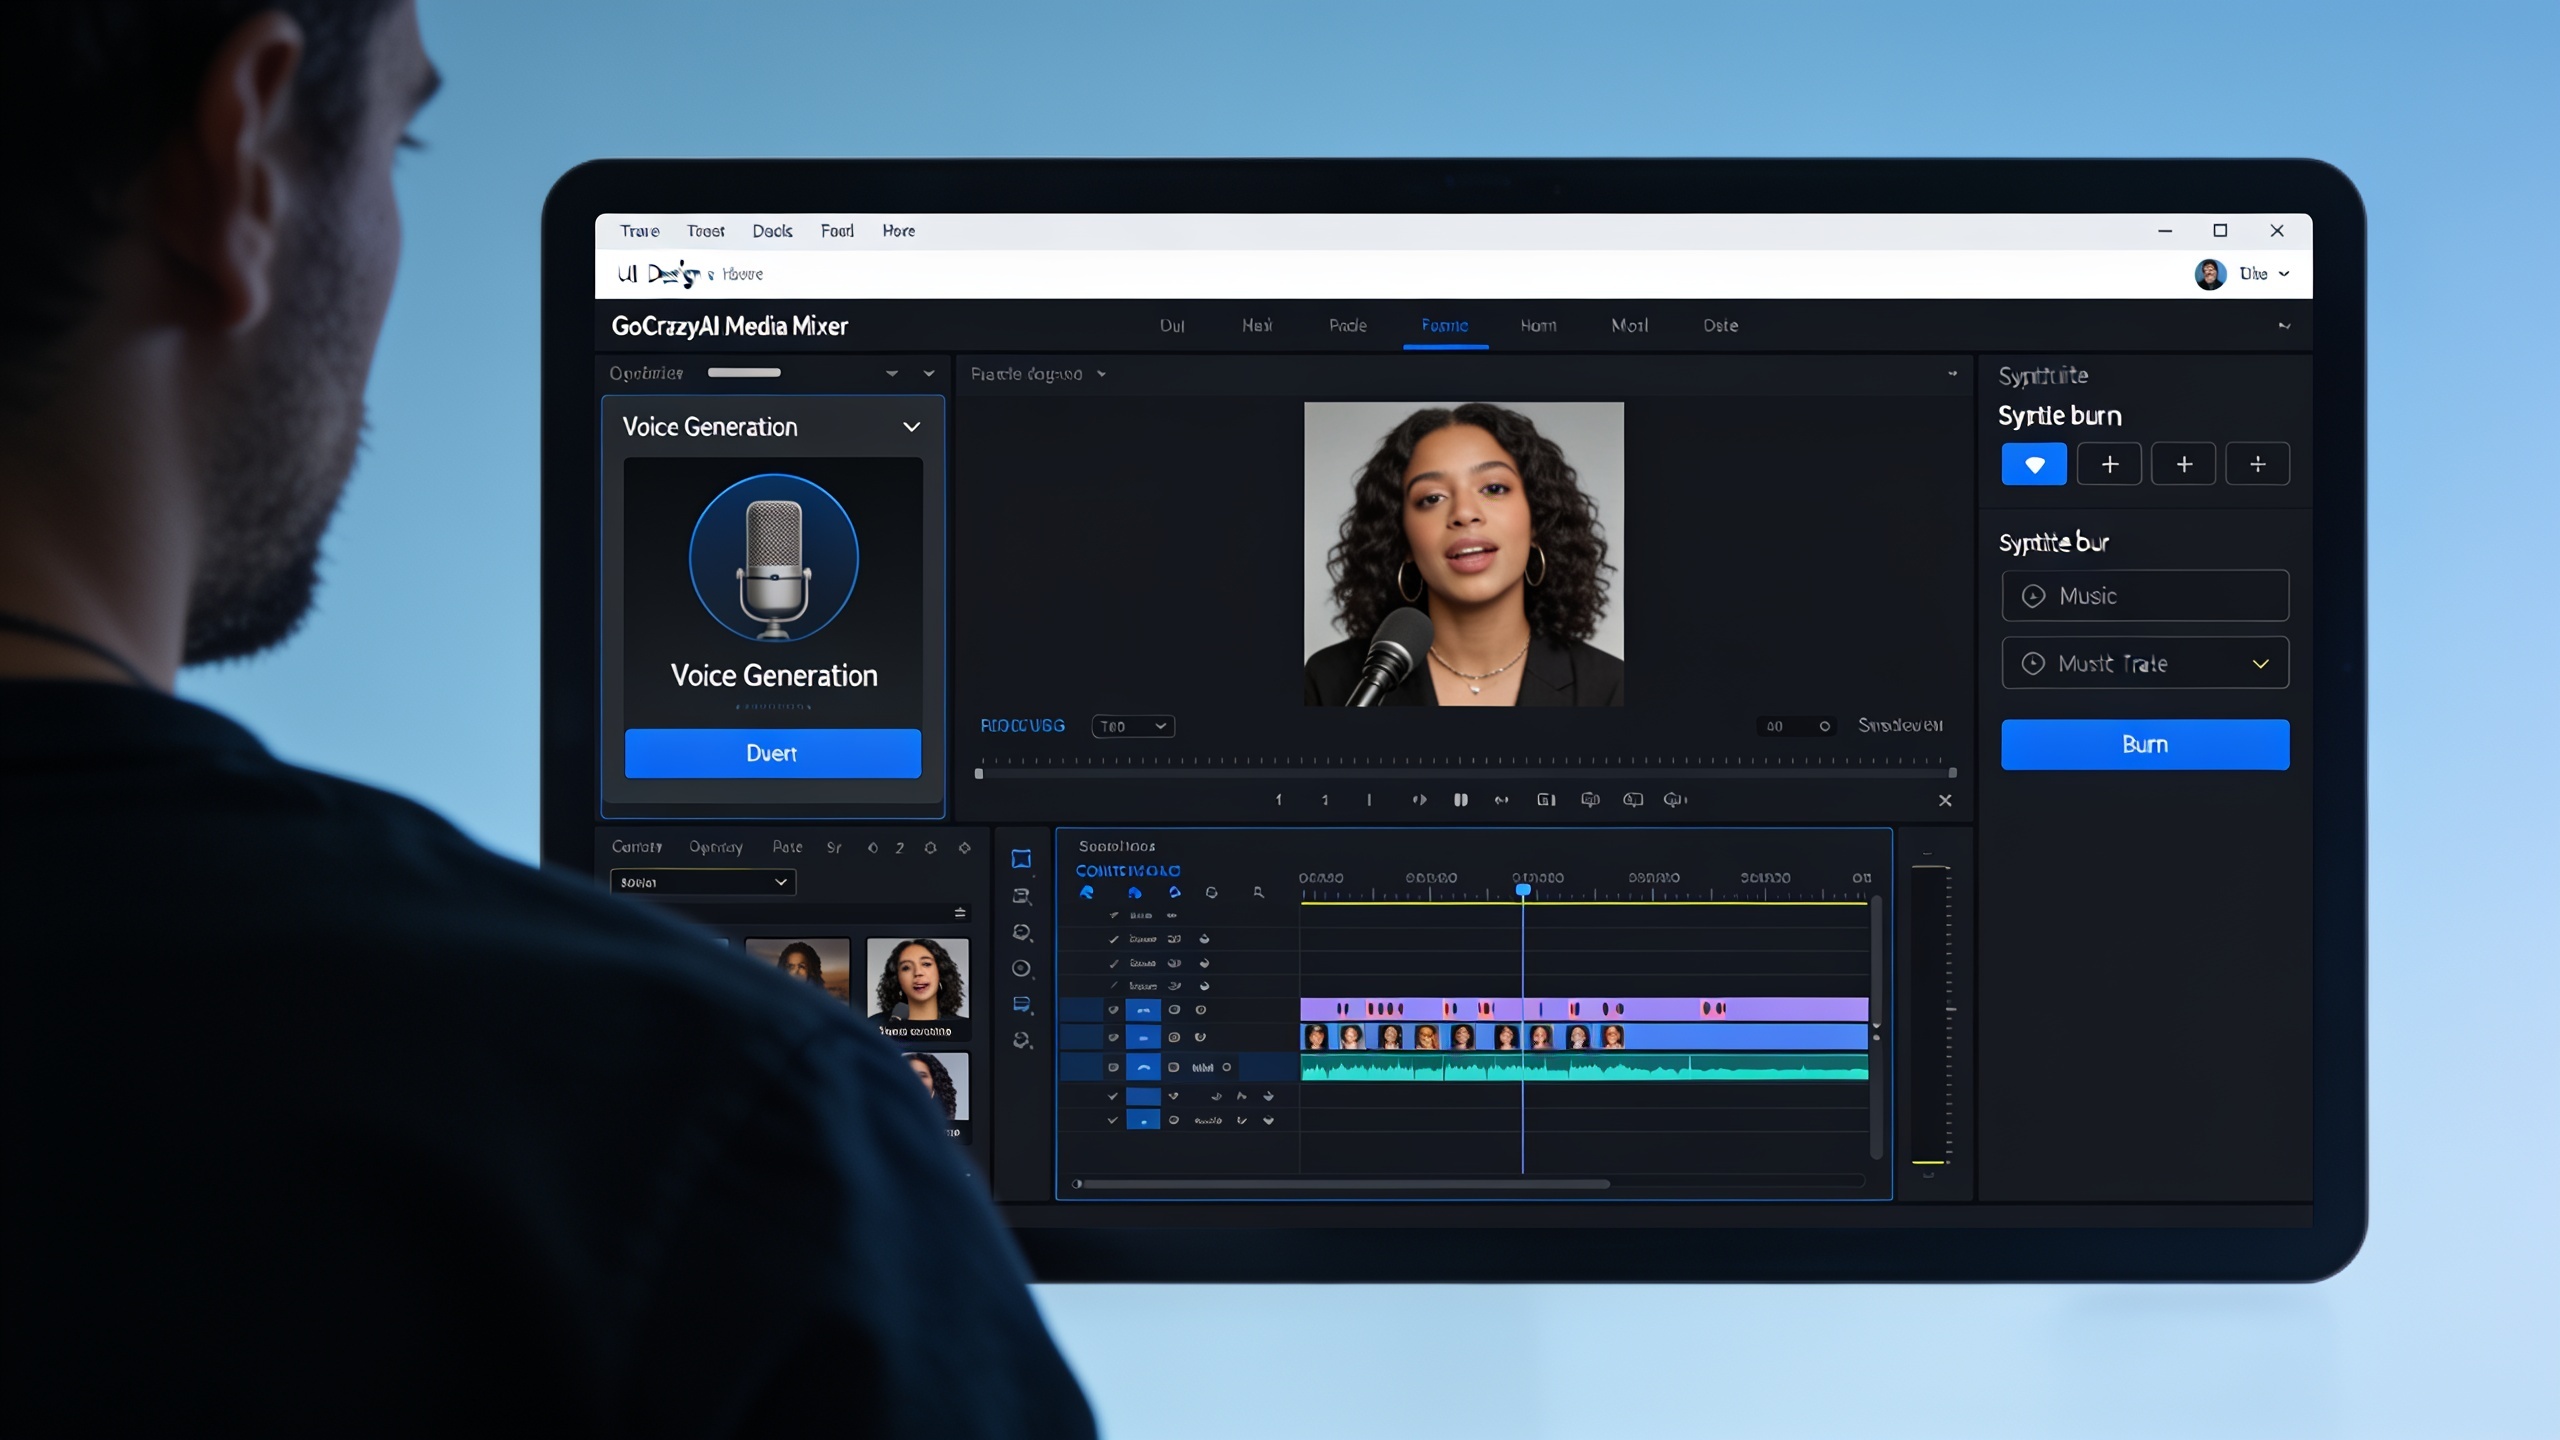
Yes — you can add AI voiceovers, music, and SFX while keeping manual control using GoCrazyAI Media Mixer. The Media Mixer centralizes voice, music, SFX, subtitle generation, overlays, and exports so you complete post-production in one panel and produce a single ready-to-publish MP4.
Concrete steps in GoCrazyAI Media Mixer:
1) Import your clip (AI-generated or uploaded). If you created video with the AI Video Generator, import directly from /create-ai-video.
2) Voiceover: open the AI Voices tab and select a voice or paste your script. Generate or upload a recording. The Mixer places the narration as a separate track you can trim.
3) Music: use the AI Song Generator or import a loop from your library. Add it on the music track and set initial level. You can also browse instrumentals from the /ai-music panel and drop them into the timeline.
4) SFX: add hits, whooshes, and risers on the SFX track. Trim to frame-accurate edits and set transient levels.
5) Ducking & levels: apply the built-in ducking preset to the music track so it lowers automatically during speech. Manually nudge gain by small dB amounts if needed.
6) Subtitles & overlays: generate and review auto-subtitles, adjust style (font, color), and choose to burn them into the video. Overlay brand text or product details on top.
7) Export: choose the platform preset (TikTok/Reels/Shorts), confirm burned-in captions or attach SRT, and export a single MP4. The Media Mixer preserves your audio layers in one file so upload is immediate.
Why this matters: many in-app editors restrict precise voice/SFX placement and don’t support one-click exports after subtitle burn-in. Using a unified Media Mixer reduces back-and-forth and keeps more control before upload (no reassembling in multiple apps). For creators finishing AI clips, this keeps everything in one place and avoids rework.
Helpful internal links for assets: use the AI Video Generator to make an initial clip (/create-ai-video), pull instrumentals from the AI Song Generator (/ai-music), or select a narration voice in AI Voices (/ai-voice). When you are done, export via the Media Mixer at /ai-video-edit.
You can try every step above directly in GoCrazyAI Media Mixer — no setup needed.
Burned-in captions, branding overlays, and accessibility — what mistakes should you avoid when baking text into the file?
Burned-in captions improve immediate on-screen visibility, but creators make several avoidable mistakes. Avoid these common pitfalls and follow the fixes below.
Mistake 1 — Baking illegible captions: using small font sizes, low contrast, or tight timing makes captions unreadable. Fix: choose high-contrast text with 40–60 px size on 1080p exports and allow captions to stay on screen long enough for average reading speed (about 2–3 words/sec).
Mistake 2 — Overlooking localization and SRTs: burning only one-language captions reduces reach. Fix: export burned-in captions for the default language and also include SRT/VTT sidecar files for YouTube accessibility and discoverability (closed captions remain important for search and assistive use)[https://www.sky-scribe.com/en/blog/caption-vs-closed-caption-when-to-burn-in-text-for-social].
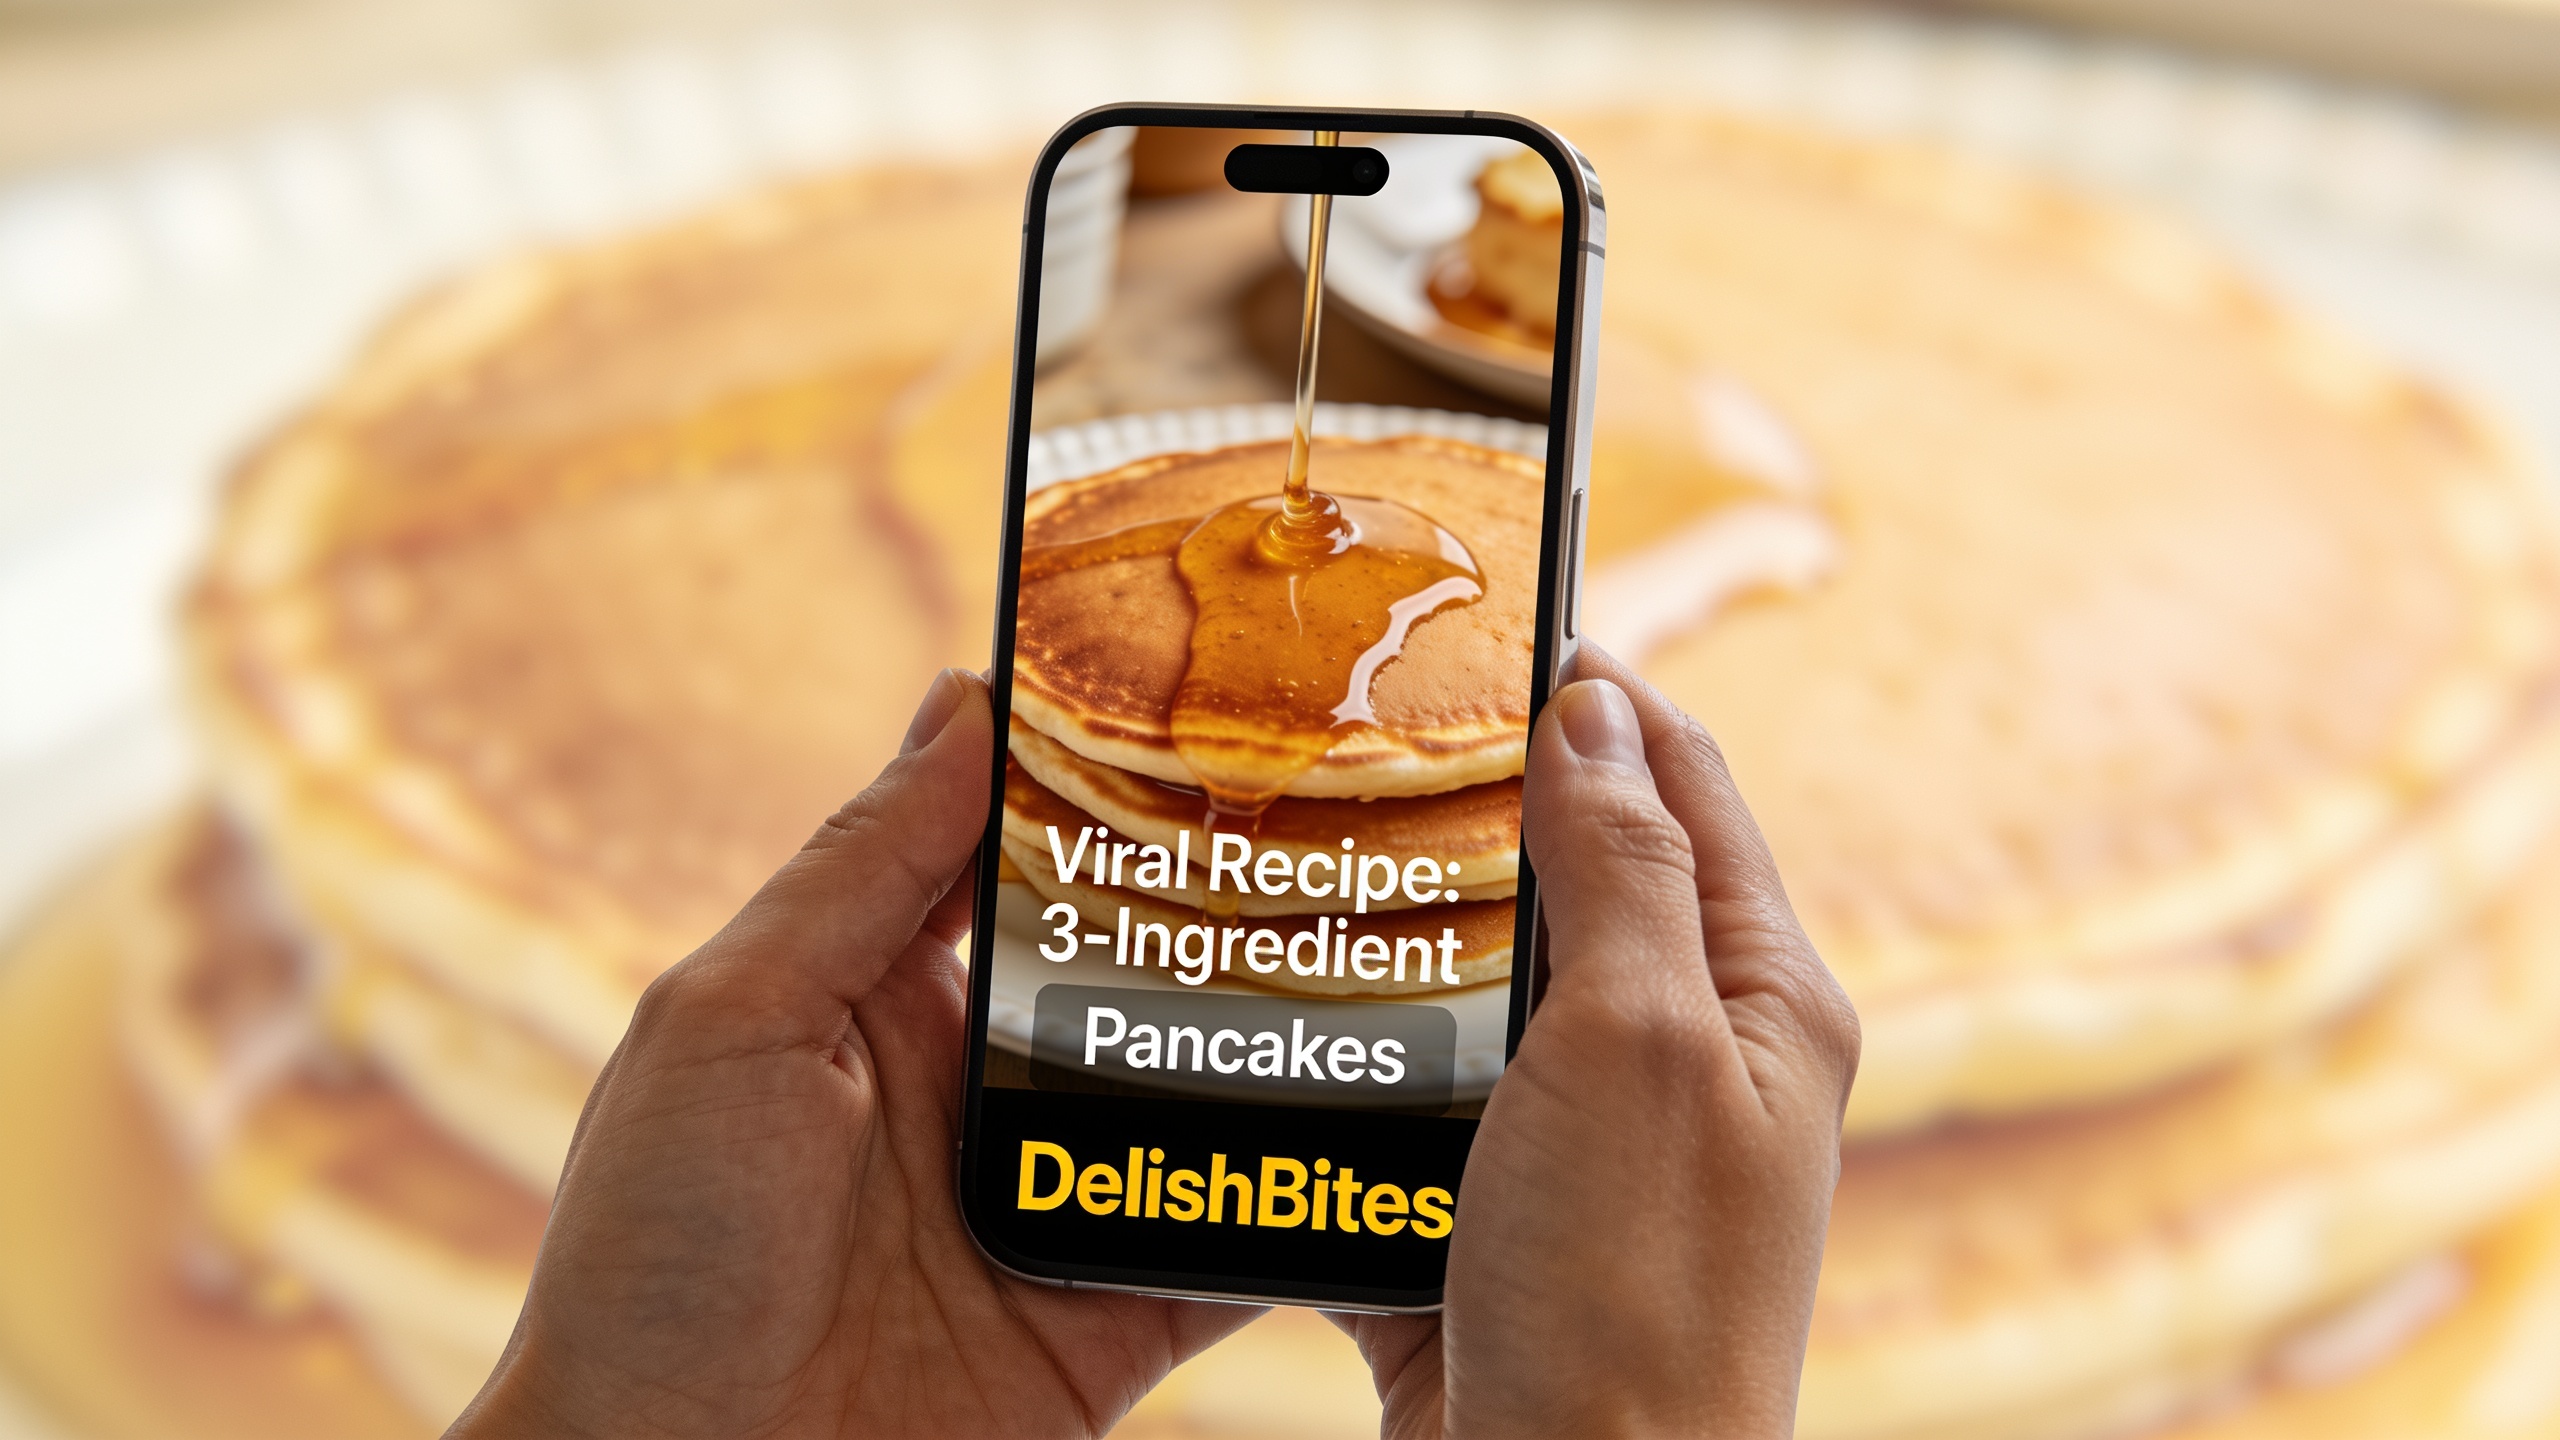
Mistake 3 — Obscuring important visuals with overlays: placing branded text over faces or product shots reduces impact. Fix: use safe margins and animated lower-thirds; test on a mobile vertical crop.
Mistake 4 — Losing timing between speech and captions: auto-generated captions often misalign. Fix: manually review and adjust timestamps, particularly where quick cuts or music overlap speech.
Mistake 5 — Relying on in-app editors with limited styling: native apps sometimes strip styling or force small caption sizes. Fix: render a burned-in master file with your intended style, then upload that version to the platform.
When to burn vs. use sidecar files: burn captions to guarantee every viewer sees styled subtitles on social apps with limited caption toggles. Provide SRT/VTT for platforms that support closed captions and accessibility. Doing both gives you immediate visibility and preserves accessibility and search benefits.
Export, platform settings, and a 60‑second checklist to make TikTok/Reels/Shorts sound great every upload?
Quick answer: export one burned-in MP4 sized for the platform with audio mixed to -14 LUFS (or platform-preferred level), voice audible at ~3–6 dB above music, SFX accents below voice, and captions tested on mobile. Use the checklist below to avoid re-uploads.
60-second export checklist (do this before hitting export):
1) Levels: voice peaks around -6 dB, music -12 dB; final integrated loudness ~ -14 LUFS. 2) Ducking: verify music ducks smoothly under speech (3–6 dB reduction during lines). 3) EQ: high-pass music at 80–100 Hz; presence boost on voice (2–4 kHz) if needed. 4) SFX: trim to frame transients; ensure SFX peaks 6–10 dB below voice. 5) Captions: burned-in captions match speech timing and use mobile-friendly font size and contrast. 6) Overlays: brand text in safe areas; test vertical crop to ensure nothing important is covered. 7) File settings: MP4 H.264 or H.265, 1080x1920 for vertical, 23–30 fps depending on source. 8) Metadata: include keywords in description, attach SRT/VTT when possible for accessibility. 9) Quick listen: preview on headphones and phone speaker—if narration disappears on phone, reduce music another 2 dB. 10) Export preset: use platform-specific presets if your tool provides them.
Why these settings: platform listeners often use mobile speakers or earbuds. The voice must be intelligible in those environments. Targeting -14 LUFS reduces the chance of platform loudness normalization changing perceived dynamics, and burning captions guarantees readability when viewers scroll with sound off.
If you want a fast all-in-one export after mixing, use a Media Mixer that produces a single MP4 with burned captions and overlays. That saves time versus juggling separate audio and caption files and ensures the final asset looks and sounds as intended on upload.
Frequently Asked Questions
What is the simplest way to balance voice and music for a short video?
Start with voice ~3–6 dB louder than the music during speech. Use ducking so music reduces automatically when narration plays. Check on a phone speaker—if voice is buried, lower the music by another 2–3 dB.
Should I burn captions into TikTok and Instagram Reels?
Yes for immediate visibility—burned-in captions guarantee styled subtitles for every viewer. Also export SRT/VTT sidecars for platforms that support closed captions and accessibility.
Can AI voices sound natural enough for shorts?
Modern AI voices can sound natural for narration if you pick the right voice, set pacing, and add light human-style prosody. Always audition on-device and adjust speed/pause timing to avoid robotic phrasing.
What loudness target should I use for social uploads?
Aim for around -14 LUFS integrated for short-form content to reduce platform normalization effects. If you need platform-specific guidance, consult the platform help docs or use an export preset in your editor.
Conclusion
Final thoughts: a repeatable three-layer approach—voice, music, and SFX—plus burned-in captions makes short-form videos more watchable and shareable. Use clear level targets, duck music during speech, and test on mobile devices before exporting. For a one-panel workflow that adds voiceovers, music, SFX, subtitles, and overlays and exports a ready-to-publish file in one click, try polishing your clip in the AI Video Editor and export the finished file in one click.
Mentioned in
Sources
- The Sound of Reels: Effects of Audio Features of Destination Short Videos on User Engagement (2024)researchgate.net ↗
- Top TikTok Video Editing Masterclass: 5 Key Steps (InsideEditors)insideeditors.com ↗
- Caption vs Closed Caption: When To Burn-In Text for Social (SkyScribe)sky-scribe.com ↗
- Burned-in Captions: What It Is, Key Features, Benefits, Use Cases (Wizbrand)wizbrand.com ↗
- How to Add Music to a Video Online With Free AI Audio Tool (MindVideo)mindvideo.ai ↗
- Add Multiple Sounds on TikTok: Creative Audio Mixing (ReelMind)reelmind.ai ↗
- How to Do a Voice-Over on a TikTok Video (TryPostBase)trypostbase.com ↗
- Go viral with YouTube Shorts: Engagement secrets revealed (Adobe Express)adobe.com ↗