


Image to video product demo: turn one photo into a 9:16 product reel
Convert a single product image into high-performing 9:16 reels. Workflow, prompts, GoCrazyAI steps, exports, and metrics for small teams and indie brands.
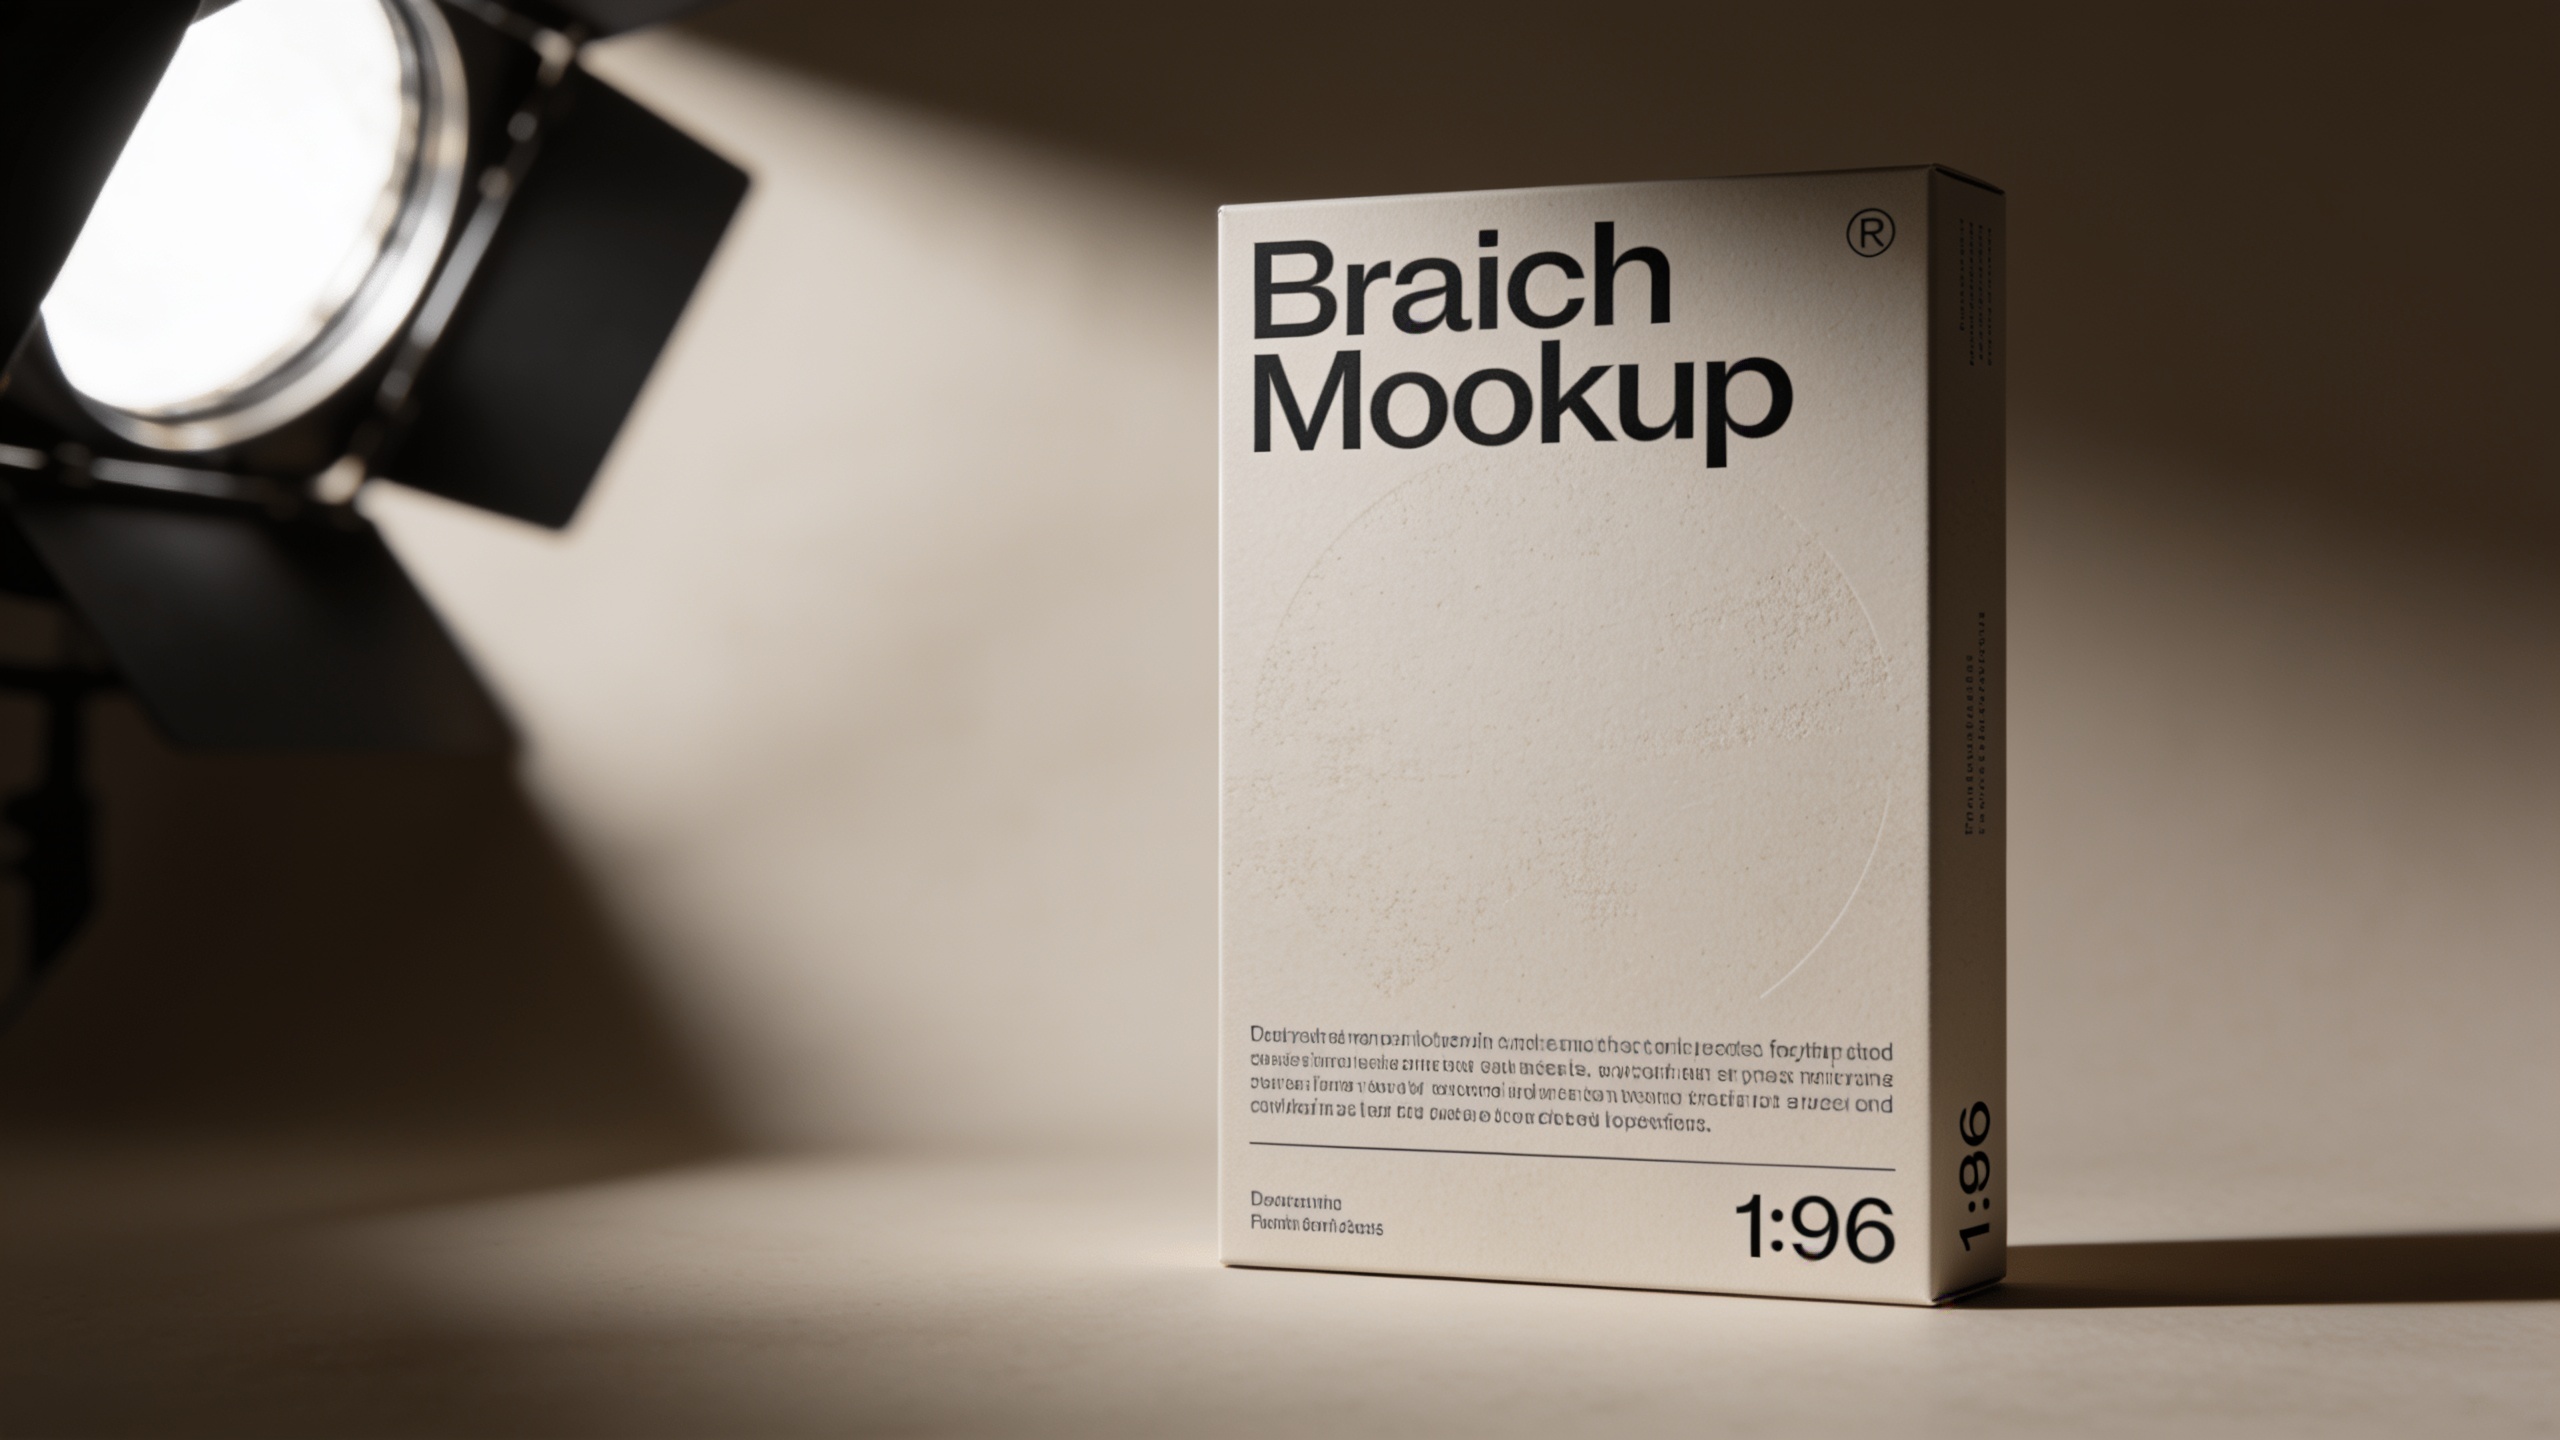
You have one great product photo and no budget for a shoot — you need a short, vertical demo that converts. This article shows how small teams and indie brands can reliably turn a single image or mockup into fast 9:16 product reels and ad clips that hook viewers in under four seconds. We'll cover which image to pick, exact prompt examples, two repeatable hands-on workflows using GoCrazyAI's AI Video Generator, how to design micro-scenes and hooks, export best practices, and the metrics to track when you run rapid A/B tests. Expect concrete prompts you can paste, a step-by-step production checklist, and a scaling routine that reduces time-to-post from hours to minutes. If you want a practical path from one photo to a library of vertical ads and feed clips, this is the playbook used by Shopify founders, indie creators, and lean marketing teams.
Quick Answer
How do you create an image to video product demo? Use an image-to-video AI: pick a clean, high-res product photo, write a short scene list and prompt, animate parallax and texture shots, add a 4-second hook and soundtrack, and export 9:16 plus variants for testing. Tools like GoCrazyAI's AI Video Generator let you do this from one still in minutes.
Why do vertical 9:16 product reels beat static photos for landing pages and social ads?
Short answer: in most cases 9:16 reels get more discovery and engagement because platforms and attention patterns favor motion and vertical framing. Metricool's State of Short-Form Video 2025 reports that the attention window to hook viewers has shrunk to under 4 seconds, so a rapid visual hook and vertical fill increase chances a viewer watches and clicks. Motion helps show texture, scale, and use without a live shoot; a 9:16 frame also occupies the maximum screen area on Reels, TikTok, and Shorts, which improves view-through.
Expanded: Static photos still have a place on product pages and galleries, but social discovery and paid feed performance now lean toward short-form vertical clips. Motion primitives — a parallax reveal, a rotating product, a texture close-up — communicate features faster than text alone. For landing pages, a short autoplay loop or muted demo in 9:16 that scales down to 16:9 or 1:1 can increase conversions by focusing attention on one key benefit. This usually works best when the clip is short (8–20s), starts with a clear visual hook, and includes a simple call-to-action that matches ad copy.
How do you choose the right source asset: pick or create the single image that becomes a great product demo?
Short answer: choose a high-resolution image with a clean background, clear product edges, and visible texture or unique detail you can animate. If you only have a mockup, render it at 2x the final px size and include multiple angles if possible.
Expanded: Look for these traits when selecting the single image:
- Resolution: 2,000–4,000 px on the longest edge usually gives clean motion and safe crops.
- Background: plain or high-contrast backgrounds simplify automatic masking and parallax.
- Detail: visible texture, labels, or seams give the animation something to emphasize (fabric weave, product logo, button).
- Composition: center or slightly off-center subjects crop well to 9:16 and 1:1. Avoid images with important details at the extreme edges that will be cut in vertical crops.
If you must create an asset, render a mockup at high res with transparent or neutral background and one close-up shot for feature-callouts. You can refine lighting or retouch with an AI image tool like the AI image generator to relight or upscale before animating — see the "AI image generator" workflow for remastering source photos.
Hands-on workflow #1 — Turn a product mockup into a 15s TikTok/Reel using GoCrazyAI AI Video Generator (step-by-step)
Short answer: upload the mockup, set the output to 9:16 and 15s, paste a short scene list prompt (hook, feature close-up, use-case, CTA), choose a motion style (parallax + subtle rotation), add music and captions, then render. GoCrazyAI will animate the still, output vertical framing, and produce a downloadable clip.
Expanded step-by-step (practical):
1) Prep the image: export a 3000×3000 PNG or 2000×3000 JPG with a clean background. Use the Image Upscaler or relight tool if you need higher detail (/image-upscaler, /relight-image).
2) Open the GoCrazyAI AI Video Generator (/create-ai-video). Choose "Image to Video" and upload your mockup. Set aspect ratio 9:16 and duration 15s.
3) Use this scene prompt (paste into the scene/prompt box):
"Scene 1 (0–3s): Fast parallax push-in on product, ambient studio light, overlay text 'Meet [Product Name]' in top third. Scene 2 (3–8s): Slow 30° rotate + texture close-up on material, callout bullet 'Waterproof • 2yr battery'. Scene 3 (8–12s): Use-case quick clip: product in hand, subtle bounce. Scene 4 (12–15s): Brand logo + CTA 'Shop now' with fade-out."
4) Select motion primitives: parallax, slow rotate, texture micro-zoom. Pick a music track from the AI music library or upload one (/ai-music).
5) Add captions and a 0.5s brand sting at the end. Export a draft and review for the 0–4s hook — tighten the first cut if viewers don’t stay past 3 seconds.
6) Render final. GoCrazyAI routes to Kling, Veo, or Sora as needed and outputs a 9:16 MP4 you can upload directly to Reels/TikTok. For cost planning check GoCrazyAI Pricing and credits (/credits).

Designing hooks and micro-scenes: what example copy, motion, and timing win that first 4 seconds?
Short answer: a winning hook combines a bold visual move (parallax or reveal) with a one-line benefit and strong typography — get the message across before the 4-second mark. Example combo: fast reveal + short text + beat-aligned sound.
Expanded with examples: Use micro-scenes that are 1–4 seconds each. The opening micro-scene should do one of these actions:
- Immediate benefit reveal: show the problem solved in the first frame. Example overlay: "No more soggy shoes" with a splash parallax.
- Unexpected motion: a quick 3D tilt or snap zoom that implies premium build.
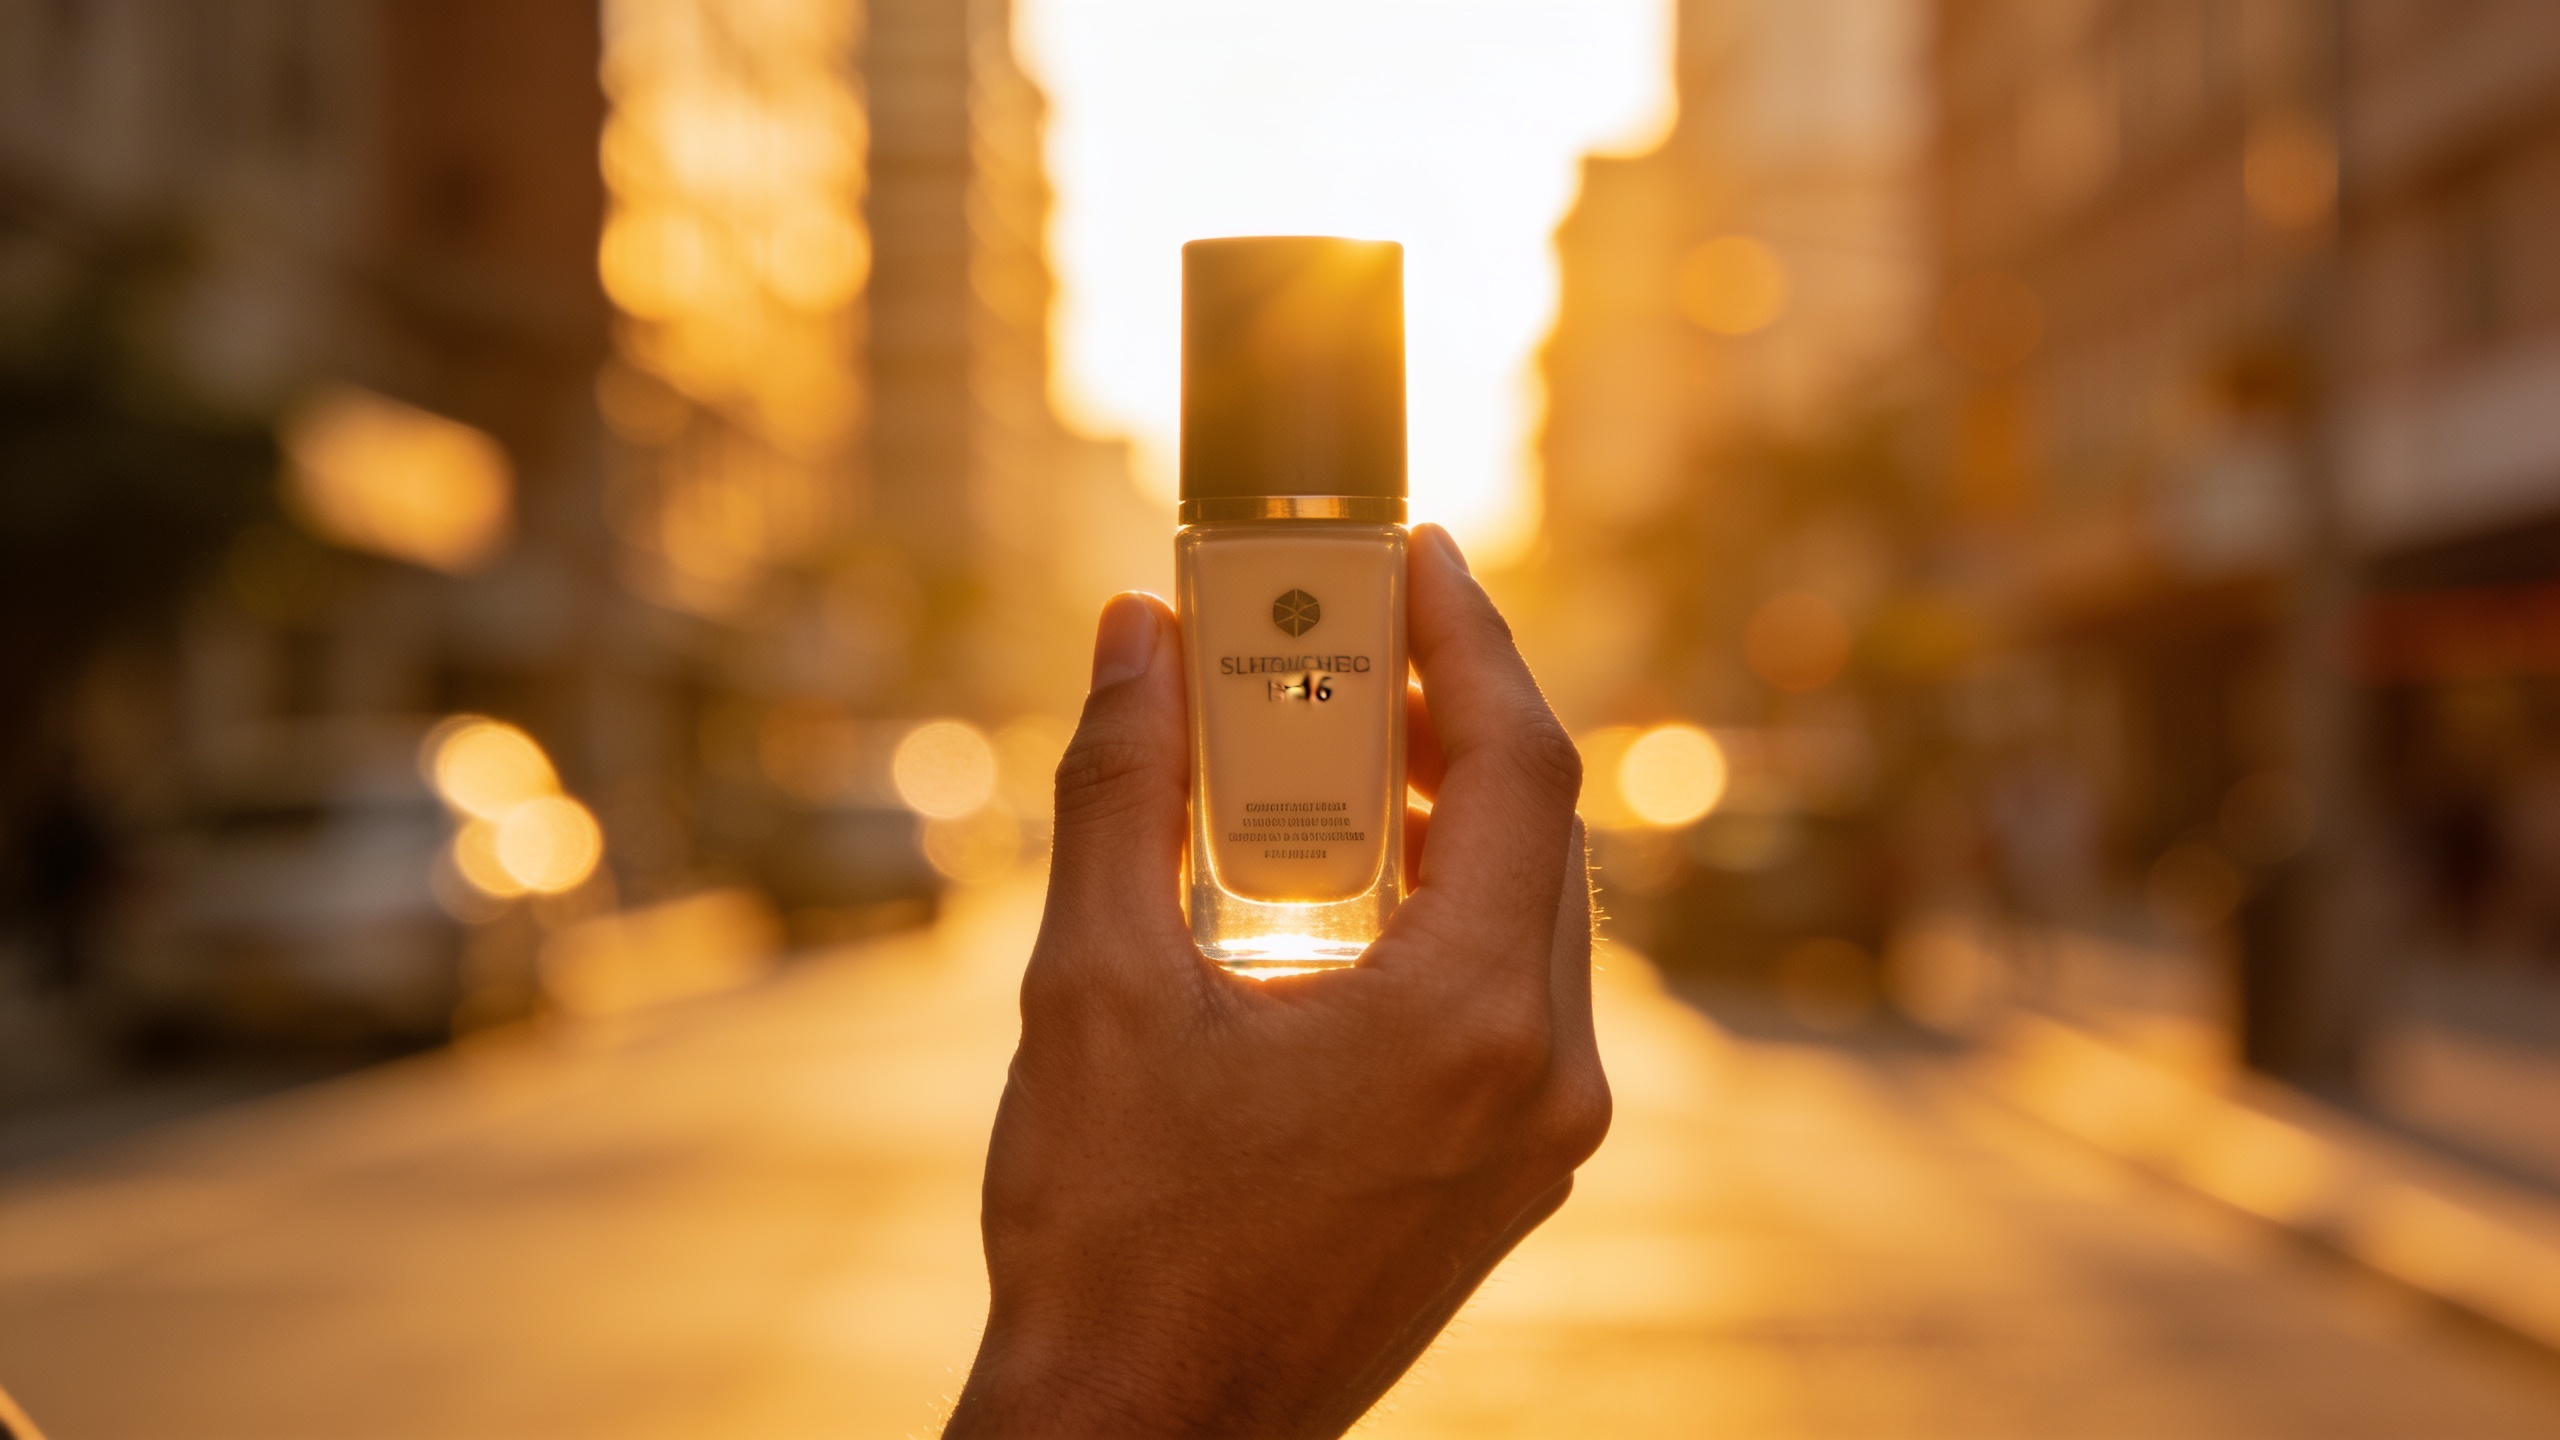
- Human context: a hand interacting with the product for scale.
Example copy snippets (paste-ready):
- "Meet DryStep — shoes that shrug off rain."
- "Charge in 30 minutes. Lasts 48 hours."
- "Drops into any backpack. No fuss."
Timing and beats:
- 0–0.5s: visual reveal (snap/slide/fade-in)
- 0.5–2.5s: benefit text + close-up motion
- 2.5–4s: supporting detail or quick use demo
Motion tips: keep micro-movements subtle after 4s to avoid motion sickness; use rhythm to match the music track. Test 3 variants with different first-frame moves (snap, slow push, human touch) to see which holds viewers past 4s.
Hands-on workflow #2 — How do you generate multiple aspect ratios and variants (9:16, 1:1, 16:9) from one image for A/B testing and ad swaps?
Short answer: create a single scene master in your image-to-video tool, then export or re-render with different crop templates (9:16, 1:1, 16:9) and swap minor motion, text position, and music for 3–5 variants per SKU. This gives assets ready for platform-specific placements and A/B tests.
Expanded workflow: Start with a master prompt and scene list that references safe crops (center product in a 2:3 frame so it recrops cleanly). In GoCrazyAI you can set 'multi-aspect outputs' to produce 9:16, 1:1, and 16:9 from the same render job (/create-ai-video). If your tool does not support multi-output in one pass, render the master clip at high resolution and then use the "batch export" or editor to crop and retime for each ratio.
Variant ideas to test (make 3–5 quickly):
- Text-first vs visual-first (text overlay in first 2s vs no text)
- Music tempo (30% faster vs original)
- Hook motion (snap vs parallax vs rotate)
- CTA placement (bottom vs center)
Export naming convention: SKU_variant_ratio_date (e.g., "AlphaShoe_v2_9x16_2026-06-06.mp4"). Keep a spreadsheet of renders and test URLs so small teams can rotate creatives in ad platforms quickly. For quick editing and captioning after export, route the files through GoCrazyAI Media Mixer (/ai-video-edit).
Production checklist: export settings, captions, sound, and what pitfalls to avoid?
Short answer: export 9:16 at 1080×1920 H.264/MP4 with 128–320 kbps AAC audio, burn or supply SRT captions, choose music cleared for social, and watch out for bad crops, unreadable text, and over-animated motion.
Expanded checklist:
- Export settings: 1080×1920, 30fps, H.264, target bitrate 6–10 Mbps for crisp mobile playback. For product pages use 1280×720 or 1920×1080 depending on placement.
- Captions: Burn captions for organic social where auto-captions are unreliable; export an SRT for paid ads that support separate caption files. Keep lines to 32 chars max.
- Sound: pick punchy, loopable 8–20s stems for ads. Use copyright-free tracks or generate tracks via GoCrazyAI's AI music generator (/ai-music).
- Thumbnails & first frame: set a clear first frame for ad review systems and to improve CTR.
Common pitfalls and how to avoid them:
- Pitfall: Placing important copy at the extreme edges — avoid by using a safe-margin grid.
- Pitfall: Over-animating texture so product details blur — reduce motion amplitude and prioritize slow micro-zooms for close-ups.
- Pitfall: Poor contrast between text and background — use solid color bars or shadowed text.
Follow this checklist to prevent rework and failed ad reviews; small teams benefit from templating these settings across SKUs.
Measuring success and next steps: what metrics should you track and how do you scale a single-photo-to-video system?
Short answer: track view-through rate (VTR) at 3s and 6s, click-through rate (CTR), cost-per-click (CPC), and conversion rate on the landing page. Scale by automating renders, exporting variants, and testing 3–5 creatives per SKU on rotation.
Expanded measurement plan: For short-form product reels the immediate engagement metrics matter most:
- VTR @3s and @6s: indicates whether the hook works in the first four seconds. Metricool and industry reports highlight the shrinking attention window.
- CTR and CPC: show whether creative drives clicks; compare against your feed benchmarks.
- Add-to-cart and CVR: ultimate commercial signal — tie creative variants to on-site conversions via UTM tracking.
Scaling steps:
1) Standardize a "master scene" template per product type (e.g., electronics, apparel). 2) Use a batch job or API to render 3–5 variants per SKU from one image. 3) Maintain a creative calendar and rotate assets every 7–14 days based on performance.
A repeatable system reduces production time from hours to minutes and helps small teams multiply assets without a full video department. For automation and credits planning, review GoCrazyAI Pricing (/credits) and use the AI video generator to centralize renders (/create-ai-video).
Frequently Asked Questions
Can I make product videos from a mockup rather than a photo?
Yes. High-res mockups with clean backgrounds work well. Render at high pixel dimensions, include a close-up where possible, and use slight parallax and texture animations to sell realism.
How many variants should I generate per SKU for effective A/B testing?
Start with 3–5 variants: different hooks, text placements, and music. Rotate them over two weeks and keep the top performers as the baseline.
What are the best export settings for TikTok and Reels?
Export 9:16 at 1080×1920, H.264 MP4, 30fps, 6–10 Mbps. Include burned captions for organic and an SRT file for ads when supported.
Conclusion
Final thoughts: With a solid image, a tight scene list, and a short hook you can produce high-performing 9:16 product demos quickly and cheaply. Focus on the first four seconds, generate multiple aspect ratios and variants from one master, and measure VTR/CTR to iterate. When you’re ready to test this system, open the AI Video Generator, drop in an image or prompt, and ship a clip in minutes.
Sources
- THE STATE OF SHORT-FORM VIDEO IN 2025 (Metricool report)metricool.com ↗
- Image to Video — Animate Stills into Video Ads | VidAUvidau.ai ↗
- Image to Video — HeyGenheygen.com ↗
- Product Image to Video Generator | Clipvelaclipvela.com ↗
- Create account / The State of Short-Form Video (Emplifi — Social Benchmarks Report 2025)go.emplifi.io ↗
- Image to Video — Pixlr Video Generatorpixlr.com ↗
- Shorts on the Rise: Assessing the Effects of YouTube Shorts on Long-Form Video Content (arXiv, 2024)arxiv.org ↗
- Technology Affordances, Social Media Engagement, and Social Media Addiction (SAGE journal, 2024–25)journals.sagepub.com ↗