


GoCrazyAI relighting tutorial: Turn phone photos into golden-hour and studio product shots
Practical GoCrazyAI relighting tutorial to convert phone product photos into golden-hour and studio-ready images. Step-by-step workflows, prompts, and scaling tips.
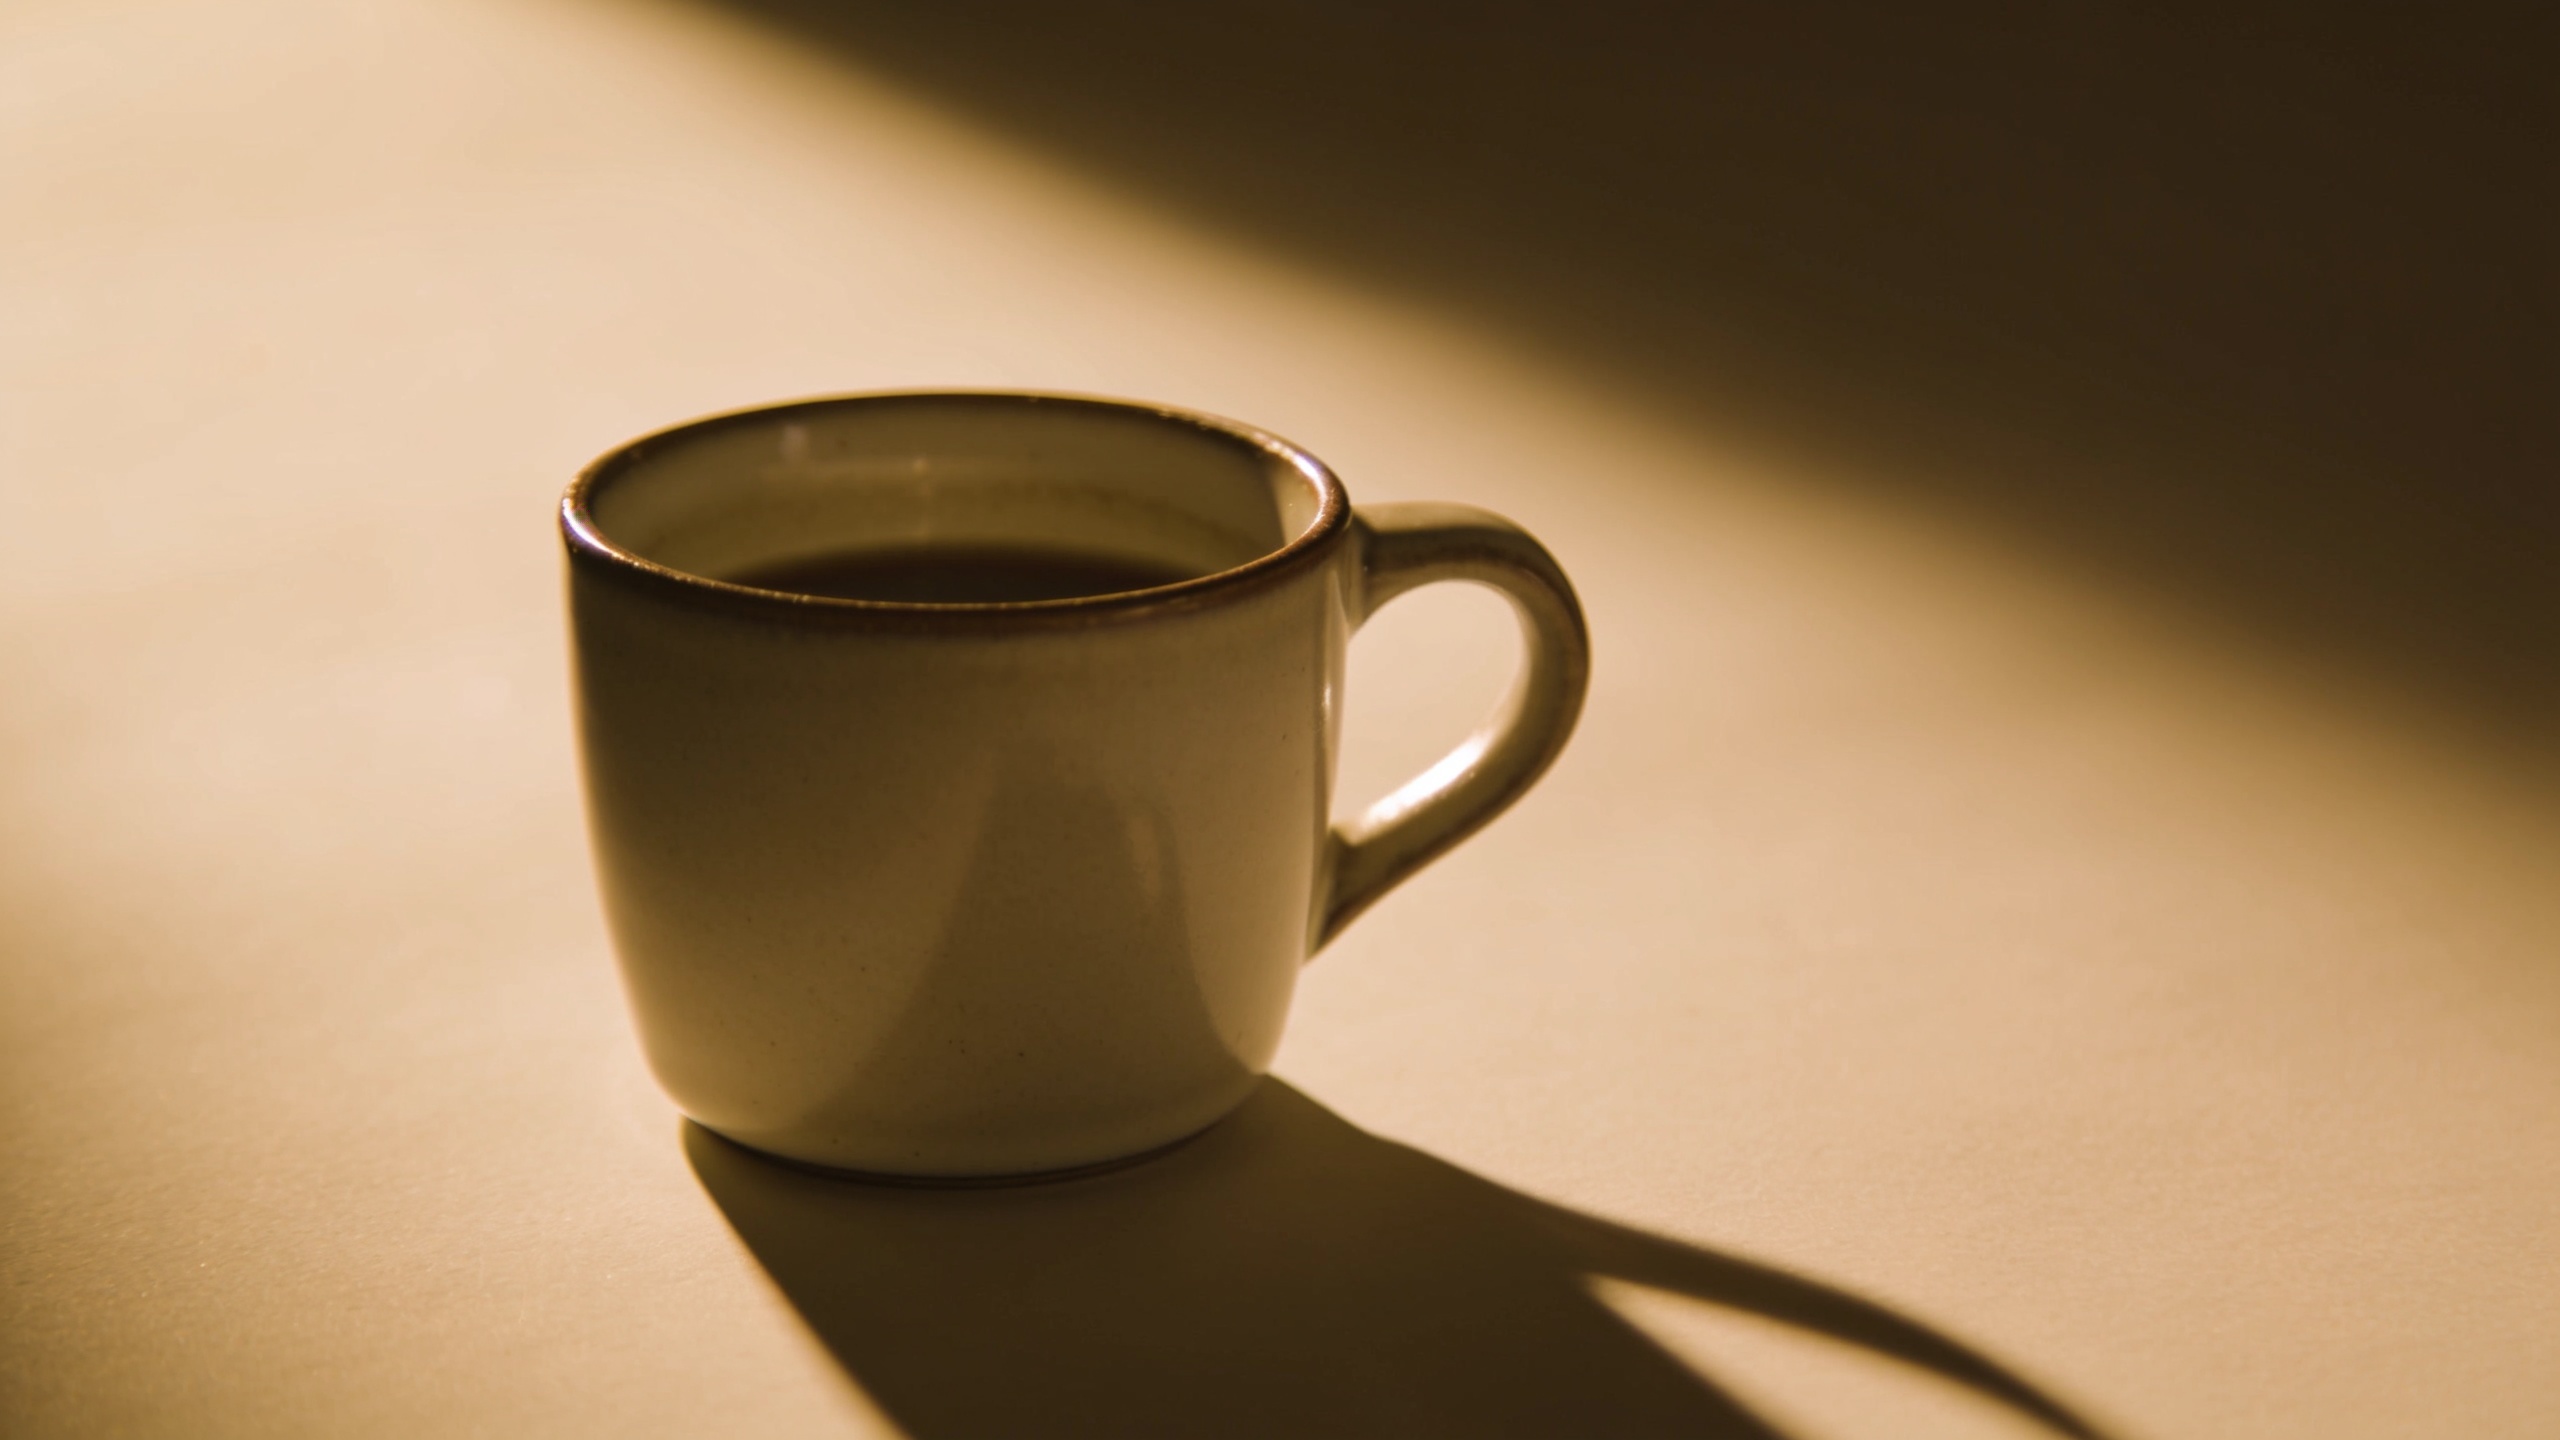
You shot product photos on your phone but the lighting is flat, harsh, or boring. This guide shows exactly how to turn those phone images into ad-ready golden-hour and studio-style pictures using AI relighting. You'll get quick explanations of how single-image relighting works, two hands-on workflows (golden hour + studio), copyable prompt examples and concrete settings, and a scaling plan for batch A/B tests. A focused GoCrazyAI walkthrough demonstrates the same steps inside the AI Image Relighting tool so you can reproduce results quickly.
Quick Answer
How do you perform a GoCrazyAI relighting tutorial? Use an AI relighter to estimate scene geometry, then pick a lighting preset (golden hour or studio), tweak direction, intensity, and color temperature, and export at original resolution. On GoCrazyAI, upload your phone photo, choose a preset, adjust light direction and warmth, and download the relit image ready for ads.
Why does lighting beat camera gear for product photos (and when should you use relighting)?
Good lighting usually matters more than an expensive lens or sensor for product photography. A well-lit phone image shot in flattering window or golden-hour light will often look more professional than a larger-sensor photo shot in flat, overhead light. Platforms and guides repeatedly point to lighting (quality, direction, color) as the single biggest factor separating amateur from professional images—so your first fix should be lighting, not new gear (see ImageMerger and VisualsClipping).
When to use relighting: use AI relighting when you already have a clean phone photo but the light is bland, mismatched across your catalog, or you need several mood variants (hero, lifestyle, ad thumbnail) without a full reshoot. Relighting is most effective on images with a clear subject and simpler backgrounds; busy scenes or heavy occlusion are harder to change convincingly. For product ads, relighting helps you produce consistent catalogue and social images quickly—leading to higher buyer confidence and better conversion metrics when paired with consistent backgrounds and layouts.
How does AI relighting work: from single-photo geometry estimation to believable light?
AI relighting works by estimating scene geometry, surface reflectance, and shading from a single input image, then simulating new illumination over that inferred scene. Modern methods use inverse rendering and neural relighting to separate albedo, normals, and shadowing, which lets the system reposition virtual lights, change color temperature, and modify shadow hardness.
This means you can adjust light direction, intensity, and color temperature after capture—often in seconds—without moving the product. Recent research (PI-Light, PIXLRelight) demonstrates fully controllable, physics-inspired relighting models that run fast enough for creative workflows and support presets like "golden hour," "studio," or "neon." Practical tools and reviews show best results occur when the subject is clearly visible and the original lighting is even; heavy occlusion or extreme motion blur reduce realism. For a hands-on primer on how relighting works at a conceptual level, Envato's overview is a good readable starting point: https://elements.envato.com/learn/ai-photo-relighting-envato-shortcuts.
Workflow A — Example: How do you relight a phone product photo to golden hour for higher ad performance?
Answer: To relight a phone product photo to golden hour, pick a warm color temperature, angle the light low and from the side, soften shadows, and add subtle rim light to separate the subject. This produces warm highlights and long, soft shadows that increase perceived depth and emotional appeal—useful for lifestyle ads and hero thumbnails.
Step-by-step walkthrough (copyable): 1) Choose the source photo: a clear product on a simple backdrop shot in flat daylight or soft indoor light. Avoid heavy clutter or extreme highlights. 2) Upload settings: upload at full resolution and keep an unedited copy. 3) Preset: select "Golden Hour" or a warm preset. 4) Light direction: set light to 30–45 degrees from camera axis, slightly low to mimic sunset angle. 5) Color temperature: move warmth slider to +2000K from neutral (visually: warm amber). If slider is numeric, target ~3800–4200K for noticeable golden tone depending on original white balance. 6) Intensity & softness: reduce intensity to 70–80% of maximum and increase softness to create longer, gentler shadows. 7) Rim fill: add a low-intensity back rim light (10–20%) with warm tone to separate product from background. 8) Shadows & contact: nudge contact shadow strength down to keep the object grounded but not crushed. 9) Export: save at original resolution and export both variant and a tighter crop for ad thumbnails.
Example prompts for mixed tools or captioning (use in tools that accept textual direction): "Relight to golden-hour: warm amber sun from top-left at 35°, soft shadows, gentle rim light, preserve original composition. Slightly increase contrast and keep texture detail."
Expected results: warmer overall color, longer soft shadows, improved subject separation and perceived depth. These changes typically translate to higher click-through on social ads and stronger hero images for product listings when tested against the original.
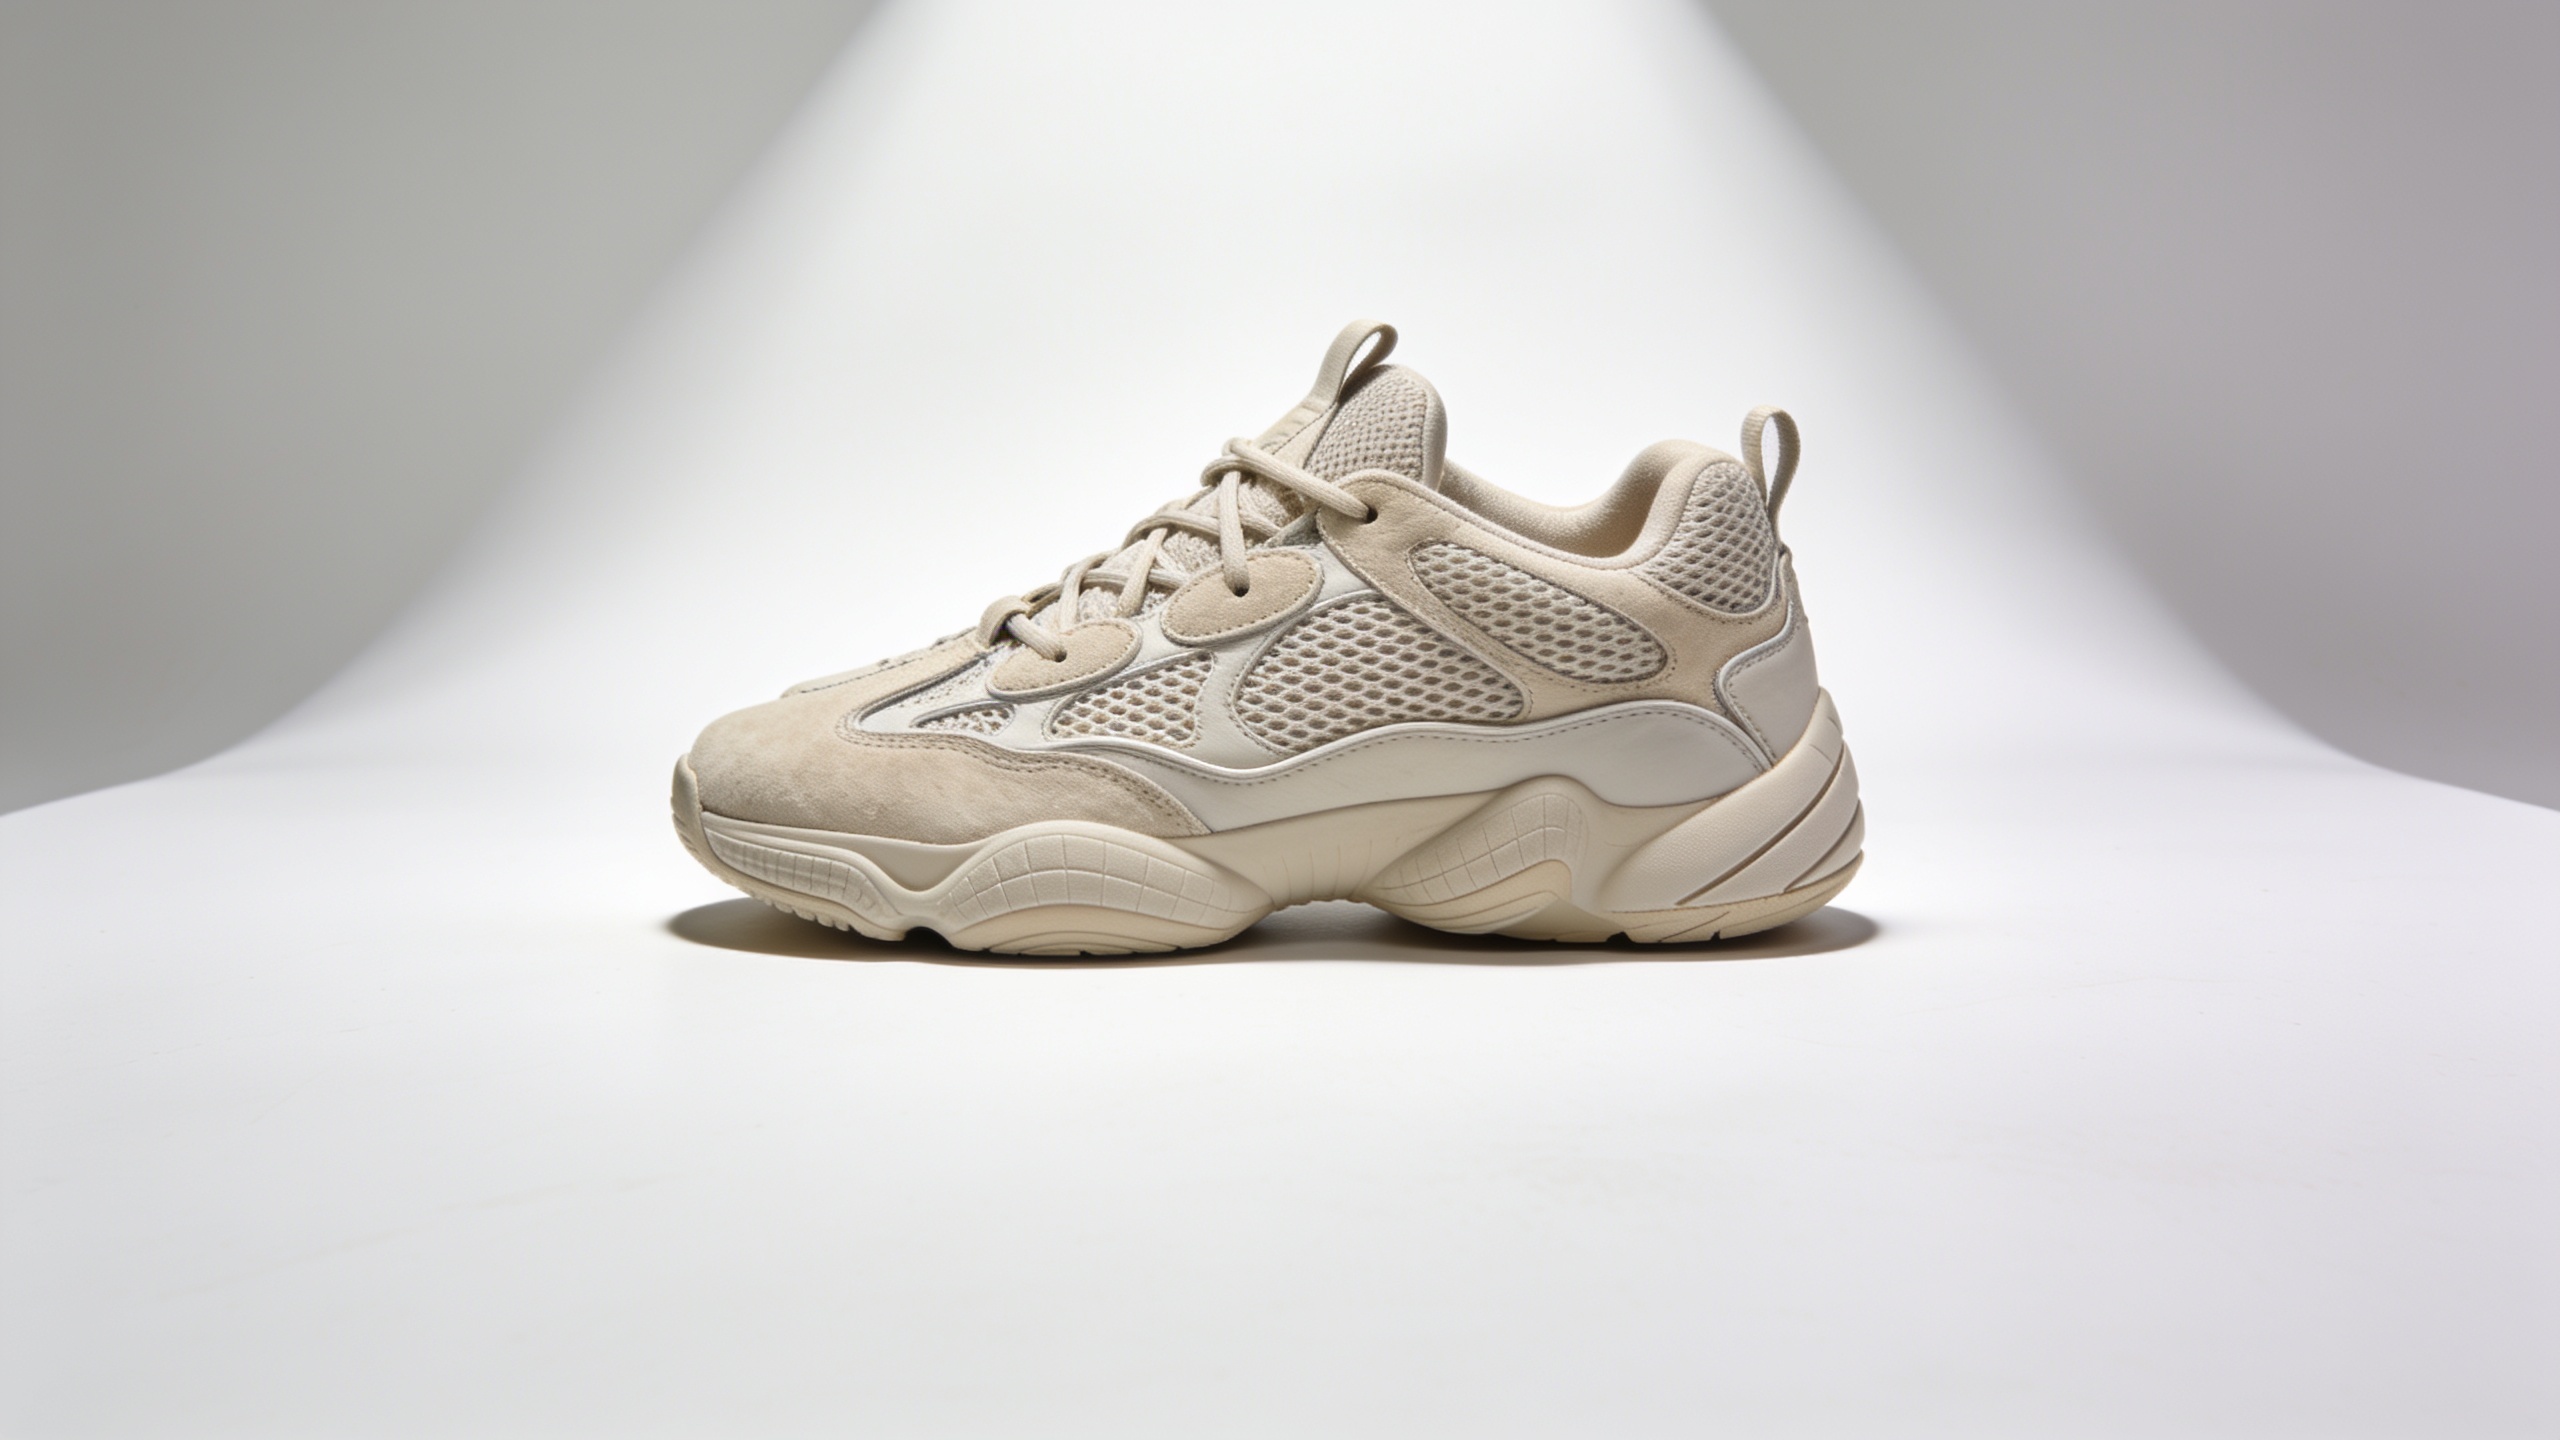
Workflow B — How do you create studio-grade lighting from a handheld phone shot for catalogue and hero images with GoCrazyAI?
Answer: Create studio-grade lighting by adding directional key light, soft fill, and a subtle rim to mimic a three-point setup, then reduce scene noise and maintain original composition. The goal is controlled highlights, even specular response on product surfaces, and consistent shadows for catalogue use.
How to do it with GoCrazyAI: Use the GoCrazyAI AI Image Relighting tool to reproduce a studio three-point setup quickly. Upload your handheld phone photo to the AI Image Relighting page (/relight-image). Choose the "Studio" preset, then adjust the key light direction to come from slightly above and 20–30° off-center. Lower fill light intensity to avoid flattening the product and add a faint rim/backlight to lift edges and highlight contours. Preserve subject and composition by leaving the crop intact; GoCrazyAI preserves composition and outputs at the original resolution.
Practical settings to apply inside GoCrazyAI: set key intensity to ~80%, fill to ~25–35%, rim to 10–15%, color temperature near neutral (5000–5500K) for product fidelity. If your product is reflective, reduce specular boost or use the "soft" material handling option to avoid blown highlights. Export both a full-frame catalogue crop and a tight hero crop for thumbnails.
Related tools: use the GoCrazyAI Image Upscaler (/image-upscaler) after relighting if you need higher-res exports for print or large hero banners. If you want alternate visual assets (mockups or stylized backgrounds) create edited backgrounds with the GoCrazyAI AI Image Generator (/ai-image-generator) to match brand tone. For pricing and starting credits, check GoCrazyAI Pricing (/credits).
What mistakes should you avoid when testing, consistency, and scaling relighting?
Answer: Common mistakes include relighting low-quality or cluttered images, changing lighting across a catalog without a brand rule, and skipping A/B tests. Avoid these by selecting good source photos, establishing a brand lighting brief, and running controlled tests.
Specific mistakes and how to avoid them:
- Mistake: Using images with heavy occlusion or motion blur. Why it fails: inverse rendering struggles when the subject is partially hidden. Fix: reshoot or crop to a clear subject before relighting.
- Mistake: Inconsistent lighting across product pages. Why it hurts: buyers compare products visually; inconsistent lighting reduces perceived quality. Fix: create a brand lighting guide (preset, temperature, shadow depth) and apply it to every product variant.
- Mistake: Overdoing color temperature or contrast in pursuit of "dramatic" looks. Why it fails: unnatural tone reduces trust. Fix: keep small adjustments, preserve skin or material tones, and preview on multiple devices.
- Mistake: No A/B testing. Why it matters: not every audience prefers the same look. Fix: export two variants (original vs relit) at the same crop and run a CTR/conversion test on your ad or product page.
- Mistake: Not automating batch runs. Why it slows scale: manual relighting per image is time-consuming. Fix: use batch or API features where available and standardize naming and output sizes for your CMS.
For scaling, batch relighting works best when you start with consistent source photos—same backdrop, distance, and orientation—so virtual lighting behaves predictably across the set.
Frequently Asked Questions
What kind of phone photo works best for AI relighting?
Images with a clear subject, simple background, and even (non-extreme) lighting respond best. Avoid heavy motion blur, extreme overexposure, or subjects that are mostly occluded.
Will relighting change my product color or texture?
Good relighters preserve albedo and texture while changing illumination. You may need small tweaks to white balance or highlights, but core color and surface detail are generally kept intact.
How do I measure whether relit images improve sales?
Run A/B tests with identical crop and copy: original vs relit. Measure CTR, add-to-cart rate, and conversion. Keep one variable per test (lighting) to attribute results confidently.
Can I batch-relight hundreds of product photos?
Yes—batch relighting is practical when source photos are consistent. Use tools with batch or API support and standardize output sizes and naming before upload.
Conclusion
Final thoughts: For most ecommerce and social creators, improving lighting delivers more immediate returns than upgrading camera gear. Start with clear, even phone photos and use relighting for golden-hour or studio looks, then test variants with A/B experiments. If you want to try the exact studio and golden-hour presets used above, try AI Image Relighting — pick a lighting style and watch your photo transform.
Sources
- AI photo relighting: How it works in Envato Shortcutselements.envato.com ↗
- Best AI Image Relighting Tools (2026): Lighting Control, 3Dalignify.co ↗
- PIXLRelight: Controllable Relighting via Intrinsic Conditioning (arXiv, 2026)arxiv.org ↗
- PI-Light: Physics-Inspired Diffusion for Full-Image Relighting (arXiv, 2026)arxiv.org ↗
- Mobile Product Photography Guide 2025: Smartphone Tips, Settings & AI Tools (ImageMerger)imagemerger.io ↗
- Clipdrop Relight: AI Photo Relighting Tool (overview)artificial-intelligence-wiki.com ↗
- Free Relight Photo (Magica) — relight presets and use-casesimage.magica.com ↗
- Mobile-First Product Photography for Ecommerce (VisualsClipping)visualsclipping.com ↗
- TopView AI — AI Relighting Tool (product page / features)topview.ai ↗
- Golden hour (photography) — definition and why it’s flattering (Wikipedia)en.wikipedia.org ↗