

AI video generator workflow: Turn one product photo into multiple high-converting vertical demos
Turn a single product photo or brief into multiple 9:16 product demos and explainers using an efficient AI video generator workflow — practical steps and prompts.
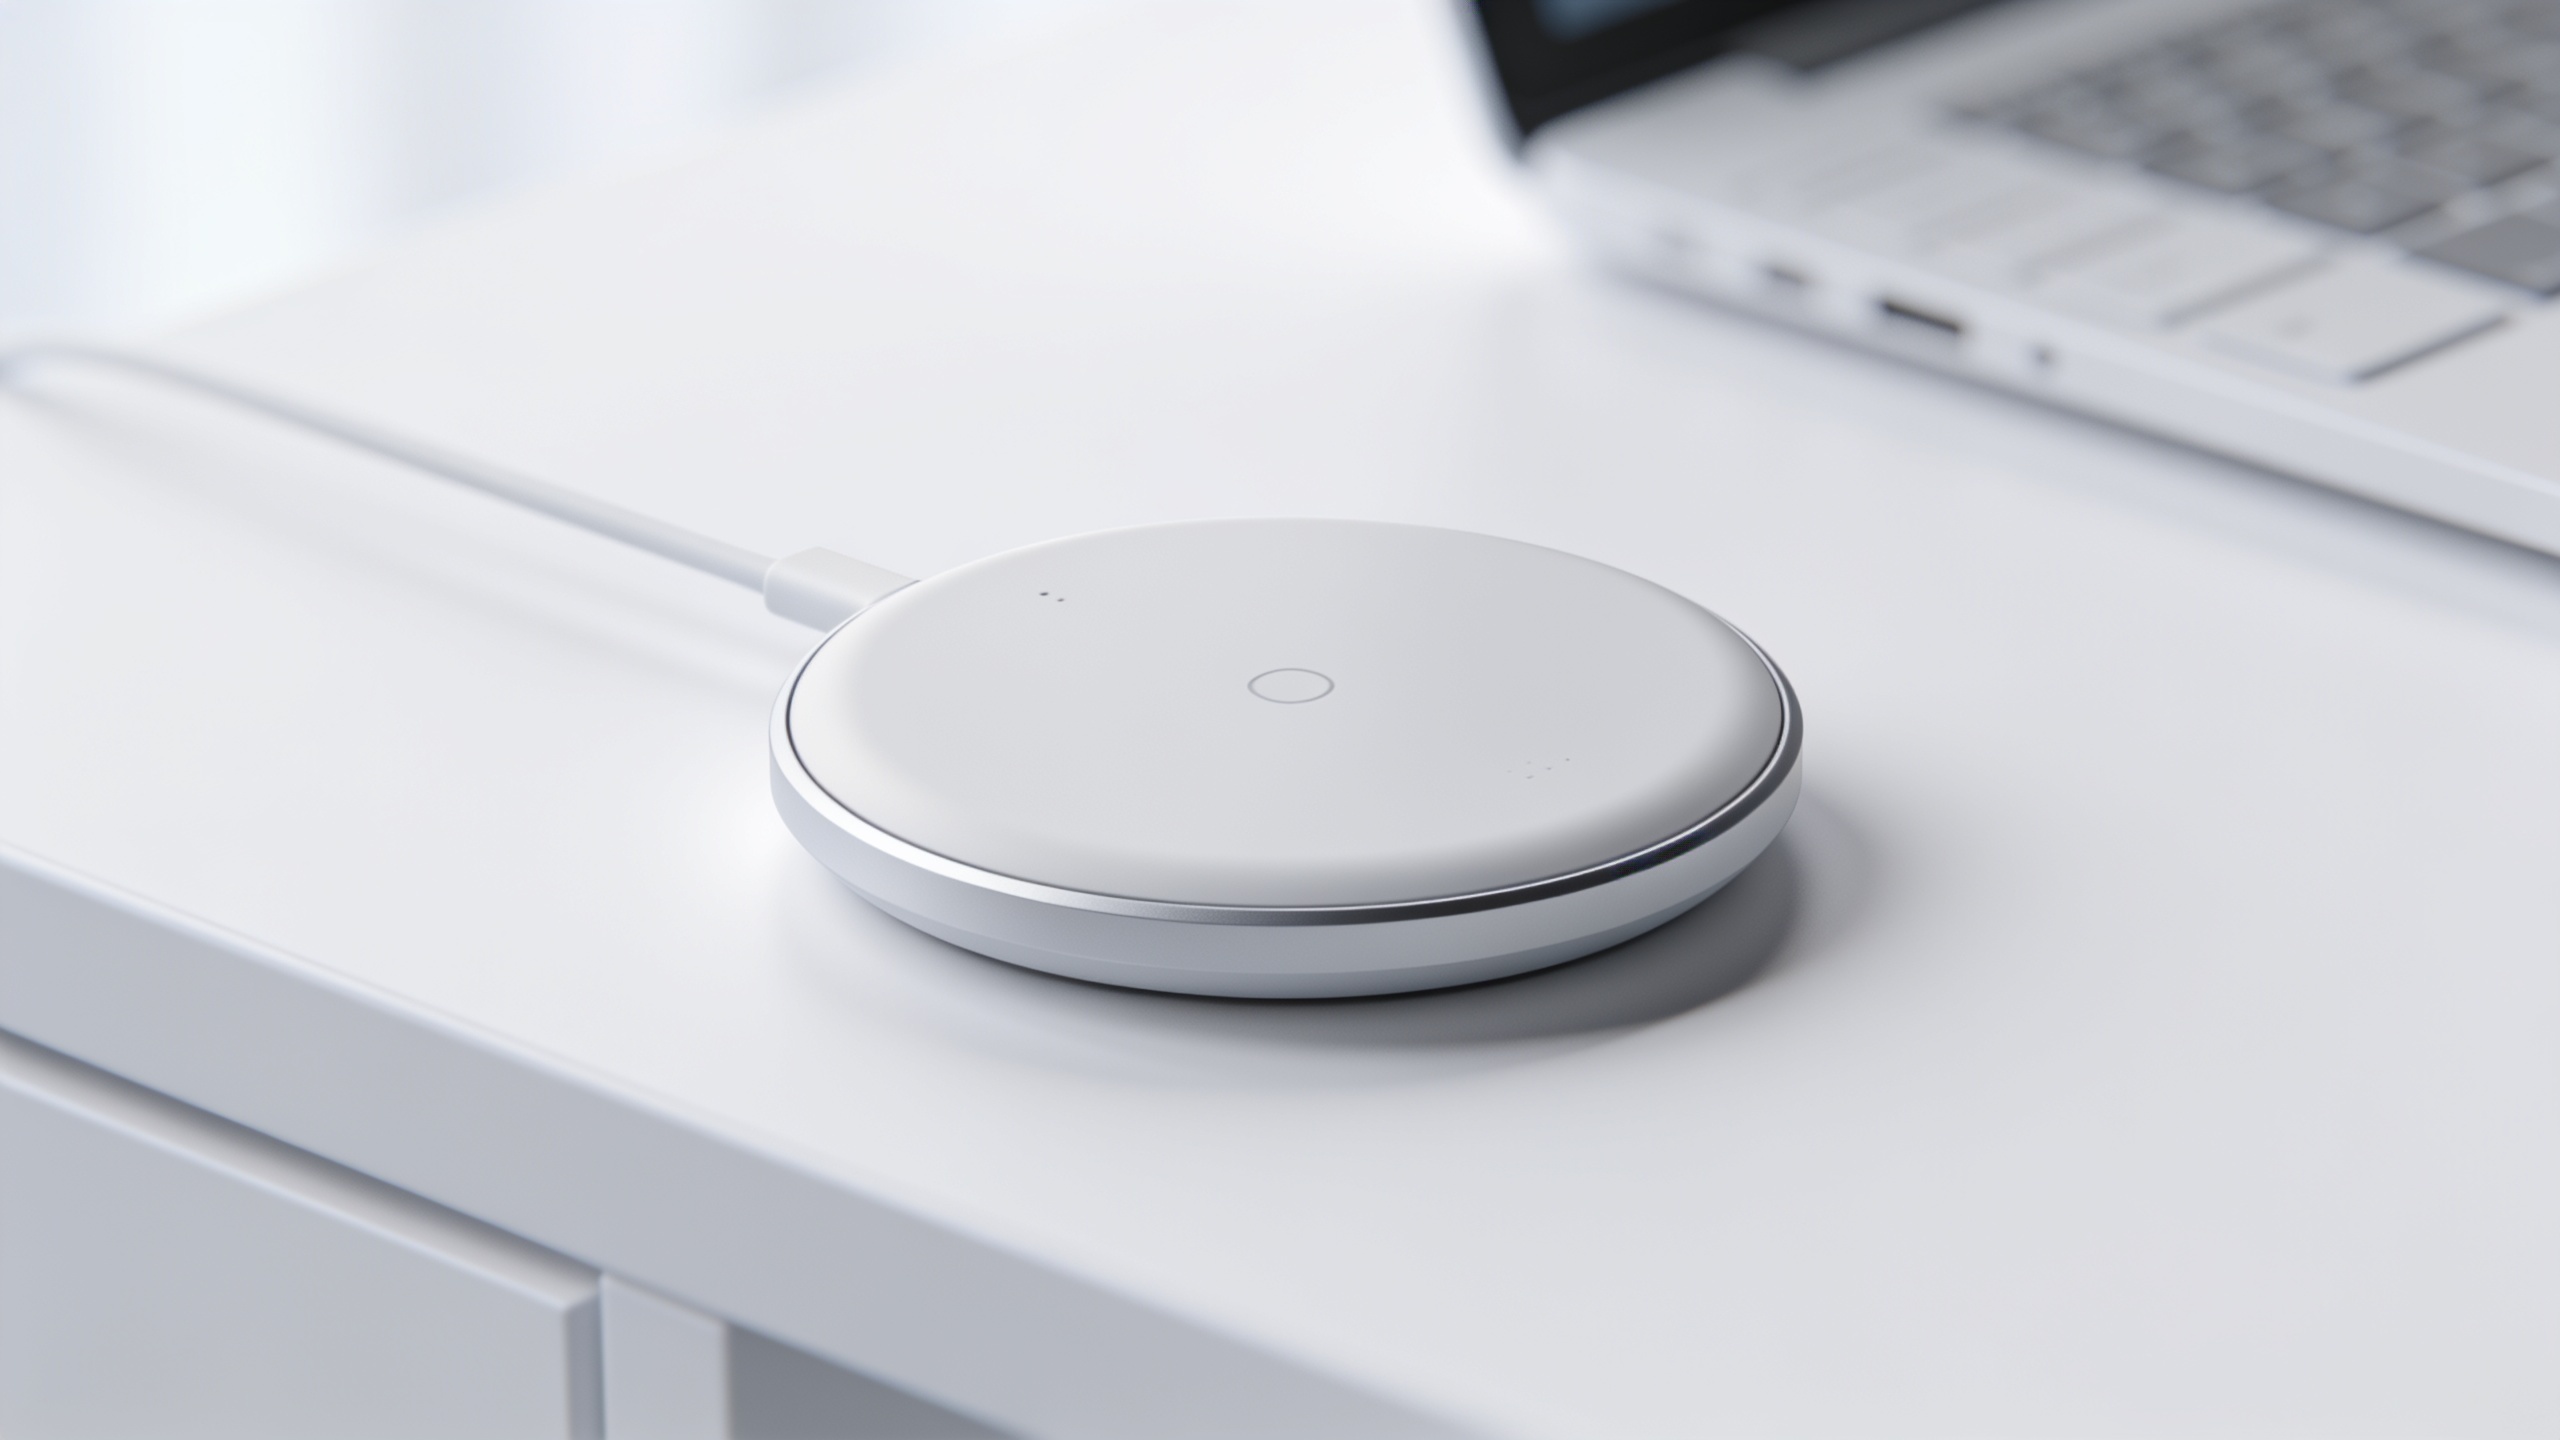
You need short-form product demos that convert, but you don't have a video team or time for long edits. This guide shows how to turn a single product photo or a short brief into multiple vertical demos, hooks, and animated B-roll clips using a repeatable AI video generator workflow.
You'll get a concrete, step-by-step process, exact prompt examples you can copy, model choices to A/B test (Kling, Veo, Sora), and practical tips for batching, captions, and distribution. The methods assume you want TikTok/Reel-ready 9:16 output and minimal post-production; where useful I point to GoCrazyAI for fast image-to-video and text-to-video generation.
Quick Answer
How do you run an AI video generator workflow from one photo to multiple vertical demos? Start with a single high-quality product photo and a 10–18s script structured as: 0–3s hook, 3–10s demo, 10–18s proof + CTA. Use an image-to-video model to add motion (parallax, rotate, reveal), export 9:16, then batch variants across Kling, Veo, and Sora to A/B test hooks and framing.
Why should short-form product demos and vertical explainers be in your launch stack?
Short-form vertical videos (21–60s) consistently deliver the highest ROI for social and direct-response campaigns because they combine quick hooks with product proof. In practice, 73% of video marketers report video helps reach business goals and short-form has the highest ROI[1]. Starting vertical and optimizing retention early—showing the problem or the surprising moment inside the first 2–3 seconds—usually improves click-throughs and lowers cost-per-acquisition.
In launch stacks this matters two ways. First, short vertical demos are cheap to produce at scale with an AI video generator workflow: one photo plus a few prompt templates can generate dozens of ad-ready clips. Second, platform playbooks (TikTok Shop, Meta Reels) prioritize demonstrable use and before/after proof in vertical formats, so product clarity in the first seconds directly aligns with ad platform signals[4]. For most ecommerce and founder-led teams, that means investing time in the asset-to-prompt step now saves expensive re-shoots later.
How do you plan an asset-first prompt: choose the photo, angle, and script that convert?
Plan for outputs before you generate: pick a single hero photo, decide camera angle, and write a tight 10–18s script that maps to the 0–3s hook / 3–10s demo / 10–18s proof + CTA structure. Typically, choose a clean product image with clear edges, a transparent or neutral background, and one contextual lifestyle shot if available.
Best practices for the photo and angle:
- Use a high-resolution product shot with the product centered and slightly angled (15–30°) so parallax and rotate prompts read well.
- Include a second lifestyle or usage photo if you want an immediate cut-in that shows context.
- If the product has a distinctive texture or moving part, capture a close-up for micro-animations.
Script tips (copyable structure):
- Hook (0–3s): One-line pain + quick reveal. Example: “Tired of tangled cables?”
- Demo (3–10s): Show the product solving the problem. “MagClip snaps in one second; no tools.”
- Proof + CTA (10–18s): Short social proof or fact + single action. “Used by 20k creators — tap to shop.”
If you need to create or edit the hero image, generate variants with an AI image tool before video—try the GoCrazyAI AI image generator for on-brand edits and lighting tweaks, then export the cleaned hero into the video workflow (/ai-image-generator).
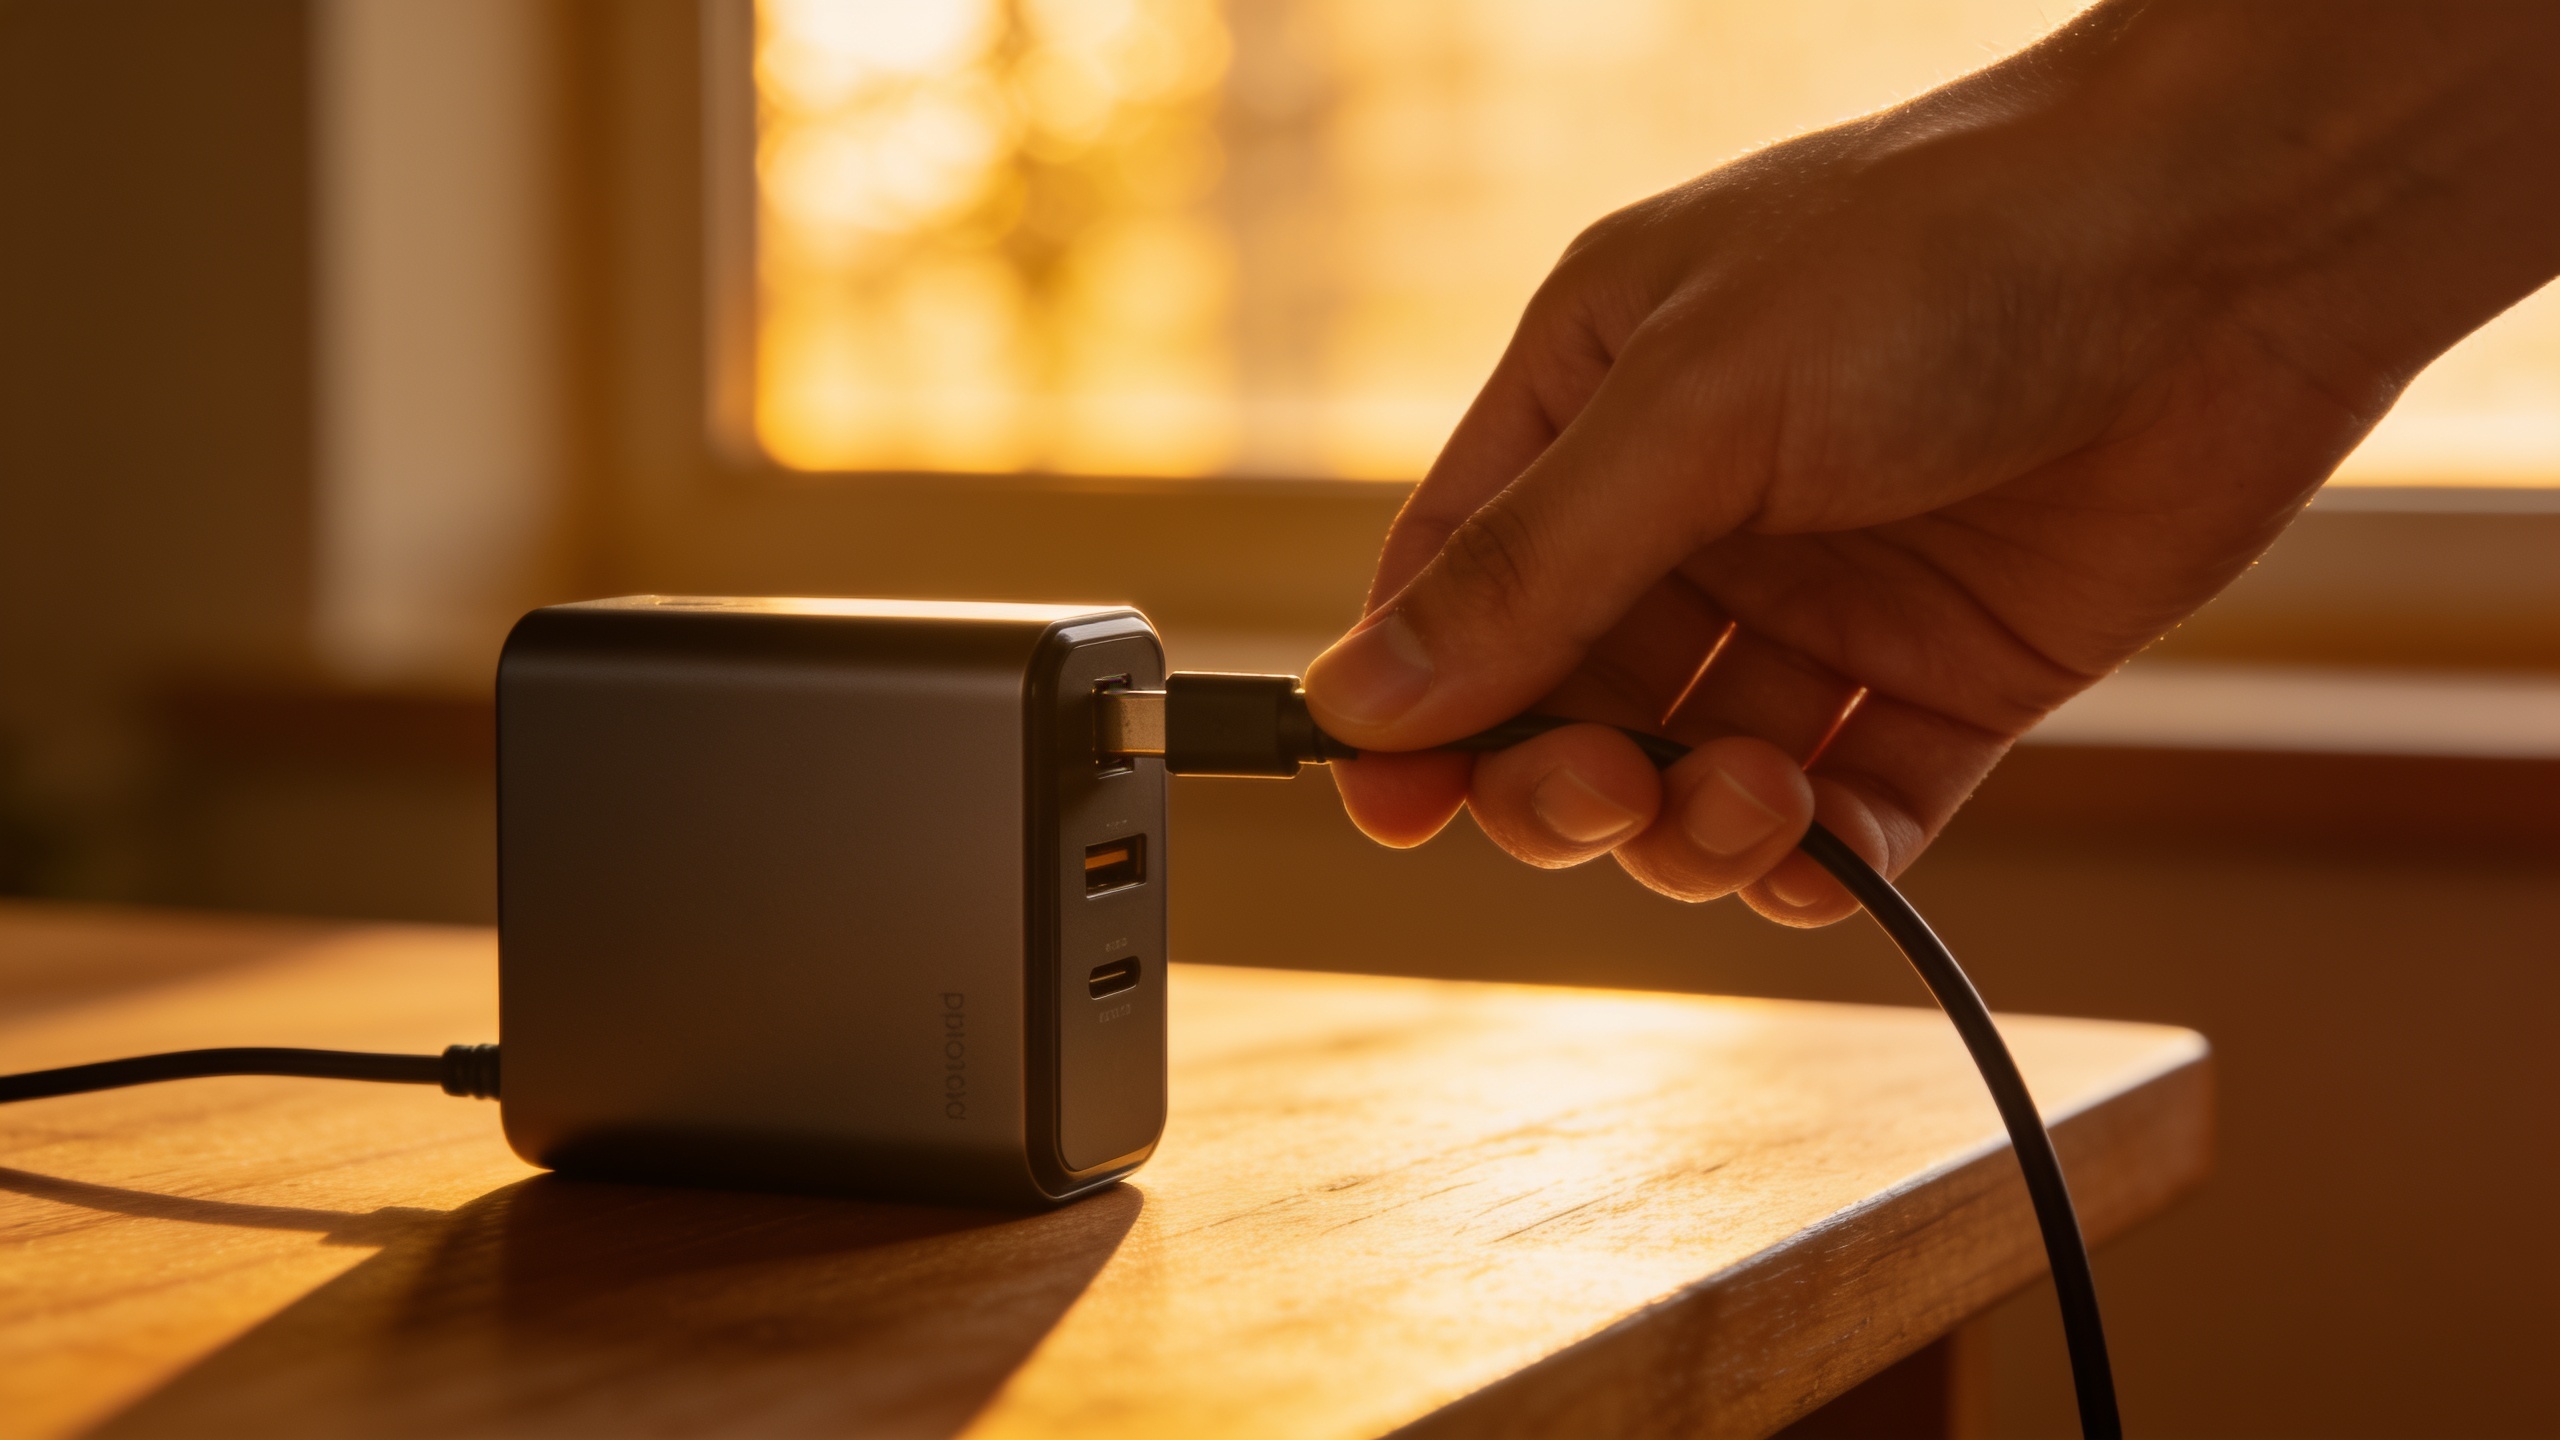
Hands-on workflow — From a single product photo to a 9:16 TikTok/Reel demo using GoCrazyAI AI Video Generator (step-by-step)
You can convert one still image into a TikTok-ready 9:16 product demo in a few repeatable steps using the GoCrazyAI AI Video Generator. The platform supports image-to-video motion patterns (reveal, rotate, parallax), outputs 9:16 MP4s, and routes your job to Kling, Veo, or Sora from one credit pool.[2]
Step-by-step example (what to set and expect):
1) Prepare assets: hero photo (2048px short edge preferred), optional lifestyle crop, and your 10–18s script split into hook/demo/proof lines.
2) Start a new job on the AI Video Generator (/create-ai-video). Choose image-to-video mode and upload the hero photo.
3) Set framing to 9:16. In the motion/preset field pick a pattern: “parallax+slow-rotate” for product depth or “reveal+pullback” for unboxing feel. Select Kling 2.5 Turbo Pro for punchy camera movement, Veo 3.1 if you want cleaner photoreal motion, or Sora 2 for stylized storytelling. Each model will emphasize motion and framing differently—batch all three for testing.
4) Paste the script into the caption/prompt box with timing tags. Example prompt snippet to paste:
``` Hook (0-3s): "Tired of tangled cables?" Action (3-10s): "MagClip snaps cleanly, holds 5kg. Rotate to show clasp, parallax close-up." Proof+CTA (10-18s): "Over 20k sold. Tap to shop." Motion: parallax, slow rotate 15deg, soft shadow, high-contrast product lighting Style: vertical ecommerce demo, crisp product focus, 9:16 MP4 ```
5) Generate a short preview (6–12s) to confirm hook timing and motion. If pacing feels off, trim the demo or change camera speed. Export full 18s GIF/MP4 at 1080x1920.
6) Batch variants: duplicate the job and swap model selection (Kling / Veo / Sora), or alter motion presets (rotate vs reveal) to create A/B candidates. Use GoCrazyAI credits details to plan volumes (/credits).
7) Polish in GoCrazyAI Media Mixer (/ai-video-edit) if you need subtitles, captions, or to add a music bed from the AI Song Generator (/ai-music).
The GoCrazyAI blog has example prompt patterns (reveal, rotate, parallax, 3D pop, lifestyle overlay) and confirms one-image-to-TikTok MP4 output directly from a single photo[2]. Expect most successful first drafts to need small timing tweaks rather than full re-renders.
Example workflows — Turn a short script or bullet benefit list into a story-mode opener and animated B-roll with Kling, Veo, and Sora?
Yes—you can convert a 3–6 line bullet list or a two-sentence brief into a story-mode opener plus animated B-roll by using model-specific strengths. Kling often produces dynamic camera moves and punchy reveals. Veo tends to favor cleaner, photoreal motion. Sora is good for narrative framing and stylized transitions. Use each model to create complementary assets for a single ad.
Concrete prompt examples you can copy. Replace placeholders with your product name and details.
Prompt A — Story-mode opener (Kling 2.5 Turbo Pro):
``` Format: 9:16, 12s story opener Hook (0-3s): "Meet [ProductName] — never lose a charger again." Scene (3-8s): "Insert hero photo, rapid rotate 20deg, zoom to clasp, overlay text: 'Snaps in 1 sec'." Close (8-12s): "Cut to lifestyle overlay: hand picks product off desk, soft depth-of-field. CTA: 'Shop now'." Motion: cinematic camera, quick reveal, punchy shutter timing Model: Kling 2.5 Turbo Pro ```
Prompt B — Animated B-roll (Veo 3.1):
``` Format: 9:16, loopable 8s B-roll Action: "Parallax layers — product, shadow, background. Slow left pan, micro-rotate -10deg, highlight texture." Style: high-contrast studio light, isolated product, repeatable loop Model: Veo 3.1 ```
Prompt C — Proof / social proof card (Sora 2):
``` Format: 9:16, 6s proof card Content: "Customer quote: 'Changed my workflow' — overlay 4-star badge. Fade in from top, settle, CTA: 'See more'." Model: Sora 2 ```
How to combine: export each model’s output as separate clips. Use a fast cut between Kling opener (0–3s), Veo product close (3–10s), and Sora proof card (10–18s). This multi-model approach often produces a richer ad set than running a single model for all scenes. Batch these variants to test hook wording against camera motion and proof cards.
Template-driven A/B testing and batch generation: scaling product creative and common pitfalls
Template-driven generation lets teams scale SKU creative by swapping just a few inputs: hero image, three-line script, and the motion preset. Use consistent naming and timing tags so you can generate batches programmatically and track performance per variant. Many teams create 3 motion presets (fast reveal, slow parallax, micro-rotate) and 3 hooks (problem, surprise, social proof) then combine them across models for a 3x3x3 test matrix.
Common pitfalls and how to avoid them:
- Pitfall: Generating horizontal and cropping later. Avoid this by outputting 9:16 from the start; vertical-first reduces framing loss and preserves composition[3].
- Pitfall: Not tagging timing explicitly. Always include timing markers (0-3s, 3-10s, 10-18s) in your prompt so the model places actions where you expect them.
- Pitfall: Overcomplicated motion that hides the product. Keep key product frames static for at least 0.5–1s so viewers can register shape and branding.
Costs and batching: plan credit consumption using the GoCrazyAI Pricing page to estimate batch runs and decide whether to prioritize model variety or motion variety (/credits). For each SKU, prioritize 6–12 variants: three hooks × two motions × two models, then scale winners. Use consistent filenames so ad platforms ingest cleanly.
A recommended quick matrix to start: 3 hooks × 3 motion presets × 2 models = 18 clips per SKU. Run these to landing page A/B tests and set the most consistent top performer into your ad set.
Distribution and optimization: captions, CTAs, cadence and repurposing clips across TikTok, Reels, Shorts, and landing pages?
Distribute vertical product demos differently by placement: TikTok and Reels favor rapid hooks and native-sounding captions; Shorts often rewards slightly longer context and captions that match search queries. Start with platform-specific captions and a single, clear CTA in the last 1–2 seconds.
Optimization checklist:
- Captions: Add readable subtitles and a short overlay CTA. Keep on-screen text to one line in the first 3 seconds for mobile legibility.
- CTA: Use a single action (Shop, Learn, Tap) and repeat it visually and verbally in the last 2 seconds.
- Cadence: Post multiple variants over 48–72 hours and pause underperformers. Rotate top-performing hooks into the next test batch.
- Repurposing: Trim an 18s demo into 6–8s hooks or 3–4s teaser loops for story placements. Use the Media Mixer (/ai-video-edit) to add platform-specific intros, subtitles, and music.
Performance signals to watch: retention at 3s and 10s, click-through rate for the CTA, and cost-per-acquisition. Iterate by changing the opening line, tightening the demo, or swapping motion presets. Over time, maintain a living prompt library and feed winning prompts back into batch generation to keep the creative pipeline full.
Frequently Asked Questions
How long should each AI-generated product demo be for TikTok and Reels?
Aim for 10–18 seconds. Use 0–3s for the hook, 3–10s for the demo, and 10–18s for proof and a single CTA—this structure aligns with high-converting short-form ad guidelines[4].
Can I turn any product photo into a 9:16 video?
Usually yes if the photo is high-resolution and the subject has clear edges. Photos with cluttered backgrounds or very low resolution may need cleanup or a secondary lifestyle image before reliable motion is added—use an AI image editor to prepare the hero asset (/ai-image-generator).
Which model should I test first: Kling, Veo, or Sora?
Start with Kling for energetic hooks and punchy camera moves, test Veo for cleaner photoreal motion, and use Sora for stylized story openers. Batch at least two models per SKU to find the look that maps to your KPIs.
How do I control timing and where the model places the product reveal?
Include explicit timing markers in the prompt (e.g., Hook 0-3s, Action 3-10s) and single-line camera directions like “slow rotate 15deg,” or “parallax close-up at 4s.” Generate a short preview first to confirm pacing, then render the full clip.
Conclusion
Short vertical product demos can be produced quickly and scaled predictably with an asset-first prompt workflow and model diversification. Start with a strong hero photo, a tight 10–18s script, and generate 9:16 exports from an AI video generator using model presets to find the best-performing motion and hook. When you need to ship clips fast, try the GoCrazyAI AI Video Generator — drop a reference image or script and export a TikTok-ready clip in minutes.
Sources
- Product video from photo — fast vertical demos | GoCrazyAIgocrazyai.com ↗
- The HubSpot Blog’s 2024 Video Marketing Report [Data from 500+ Video Marketers]blog.hubspot.com ↗
- How to Make AI Video for Instagram Reels & TikTok (9:16) — Oxava AIoxava.co ↗
- Anatomy of a High-Converting AI Video Ad for Ecommerce — Adsome Tutorialsadsome.io ↗
- Product video ads in 2026: 10 patterns built around the SKU — ShutterGenshuttergen.com ↗
- Image-to-Video Product Demo for TikTok | 9:16 Loops — WowMade.aiwowmade.ai ↗
- Vertical Explainer Video Examples — Tella Librarytella.com ↗
- How to Make Product Videos (2026) - Reelryreelry.app ↗