


How to AI relight product photo for studio and golden-hour ads?
Turn phone product photos into studio- and golden-hour-ready images with AI relighting. Step-by-step GoCrazyAI workflows, prompts, and A/B test tips.
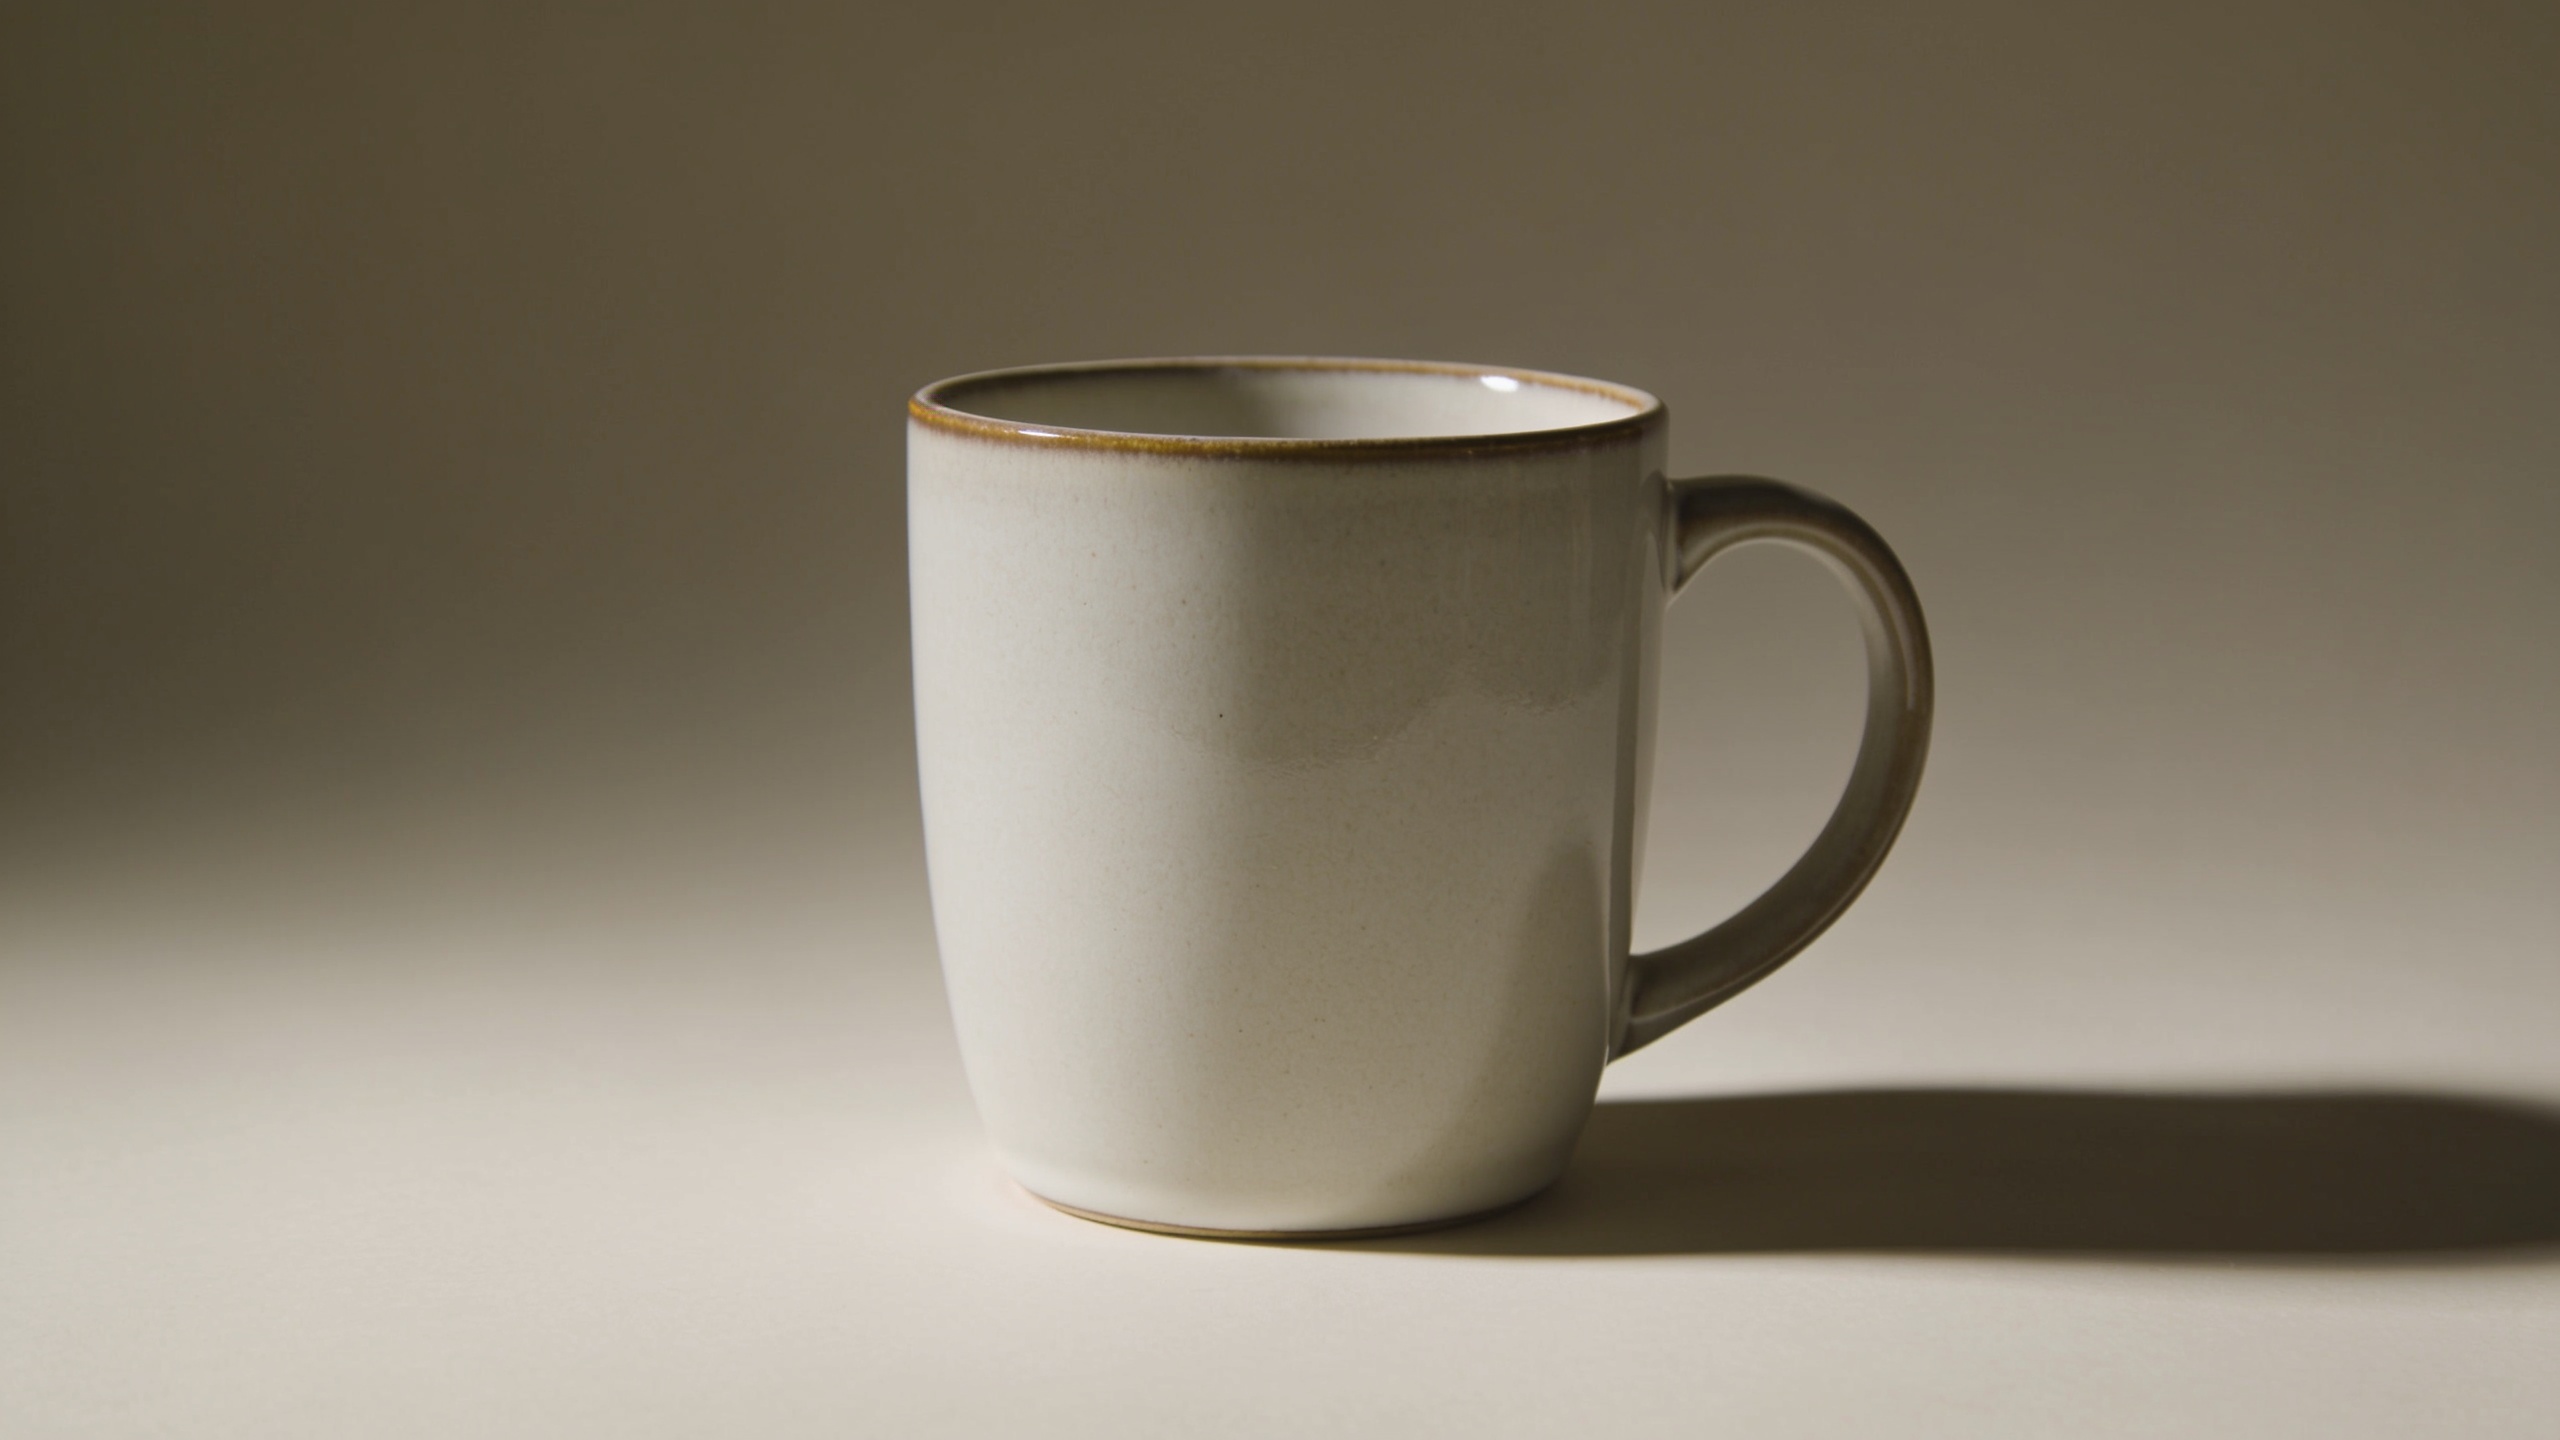
You need better product photos but you don't have time or budget for a reshoot. This guide shows how to use AI relighting to convert phone or existing product shots into studio-quality hero images and golden-hour ad variations that usually increase ecommerce conversions. You'll get a quick tech explanation, concrete step-by-step workflows you can copy, example prompts, and simple A/B test ideas to measure lift. Where helpful, I show how to run the workflows using GoCrazyAI's Photo Restyle / AI Image Relighting feature so you can produce consistent, on-brand assets fast without renting lighting or booking a studio.
Quick Answer
How to AI relight product photo for studio and golden-hour ads? Use an AI relight tool to estimate scene depth and materials, then apply a studio or golden-hour preset to your phone shot. For ads, generate 2–4 variations (studio, warm golden hour, soft fill) and run A/B tests to measure conversion lift.
Why lighting matters for product photos (conversion, trust, and perceived quality)?
Good lighting directly affects purchase decisions: about 67% of consumers rate image quality as a very important factor when shopping online, and merchants using professional-grade photography commonly see large conversion lifts. Better lighting improves perceived material quality, reveals texture and color accuracy, and increases trust—especially on product detail pages and social ads. For ecommerce, a crisp hero image with directional light and correct white balance typically increases click-through and add-to-cart rates because customers can better judge fit, finish, and color.
Practically, lighting influences three measurable parts of the funnel: attention (ad CTR), evaluation (product page time on site and image zooms), and conversion (add-to-cart and purchases). That is why investing in consistent, flattering lighting—either via reshoots or AI relighting—often yields meaningful ROI. If you start with a usable phone shot, relighting is usually the fastest way to approach studio quality without new photos.
What AI image relighting does — tech overview and realistic limits?
AI image relighting recreates new lighting by estimating scene geometry, depth, and material cues from a single image and then re-rendering illumination across the scene. Most modern approaches use feature extraction and depth estimation to infer how light would bounce, then apply directional and color temperature changes to simulate studio, golden hour, neon, or dramatic lighting. This works best for opaque objects with clear edges and consistent textures.
Realistic limits: relighting usually handles mood, direction, and temperature shifts well, but it can struggle with complex reflections, transparent materials, or scenes with multiple interacting light sources. Relighting is not a perfect substitute for multi-angle studio captures when you need exact specular highlights on chrome or glass. For most apparel, accessories, and packaged goods, relighting produces practical, ad-ready improvements quickly.
Choose the right lighting style for your product: studio, golden hour, neon, or dramatic?
Pick a lighting style that matches the product category and the ad objective. Studio lighting (soft box key + subtle rim) is the default for hero shots because it maximizes clarity and color accuracy. Golden hour (warm key, long shadows) is ideal for lifestyle images and emotional ad copy. Neon or dramatic color-shift lighting works for niche audiences, fashion, or tech accessories where mood is the message.
Match style to channel: use studio-style images for product detail pages and paid search; use golden-hour variants for social and influencers; reserve neon/dramatic styles for branded campaigns or seasonal promotions. If you are unsure, generate all three styles and run quick A/B tests across platform placements. You can also combine styles: use a studio relight for the main gallery and golden-hour for the hero ad creative to test which drives more conversions.
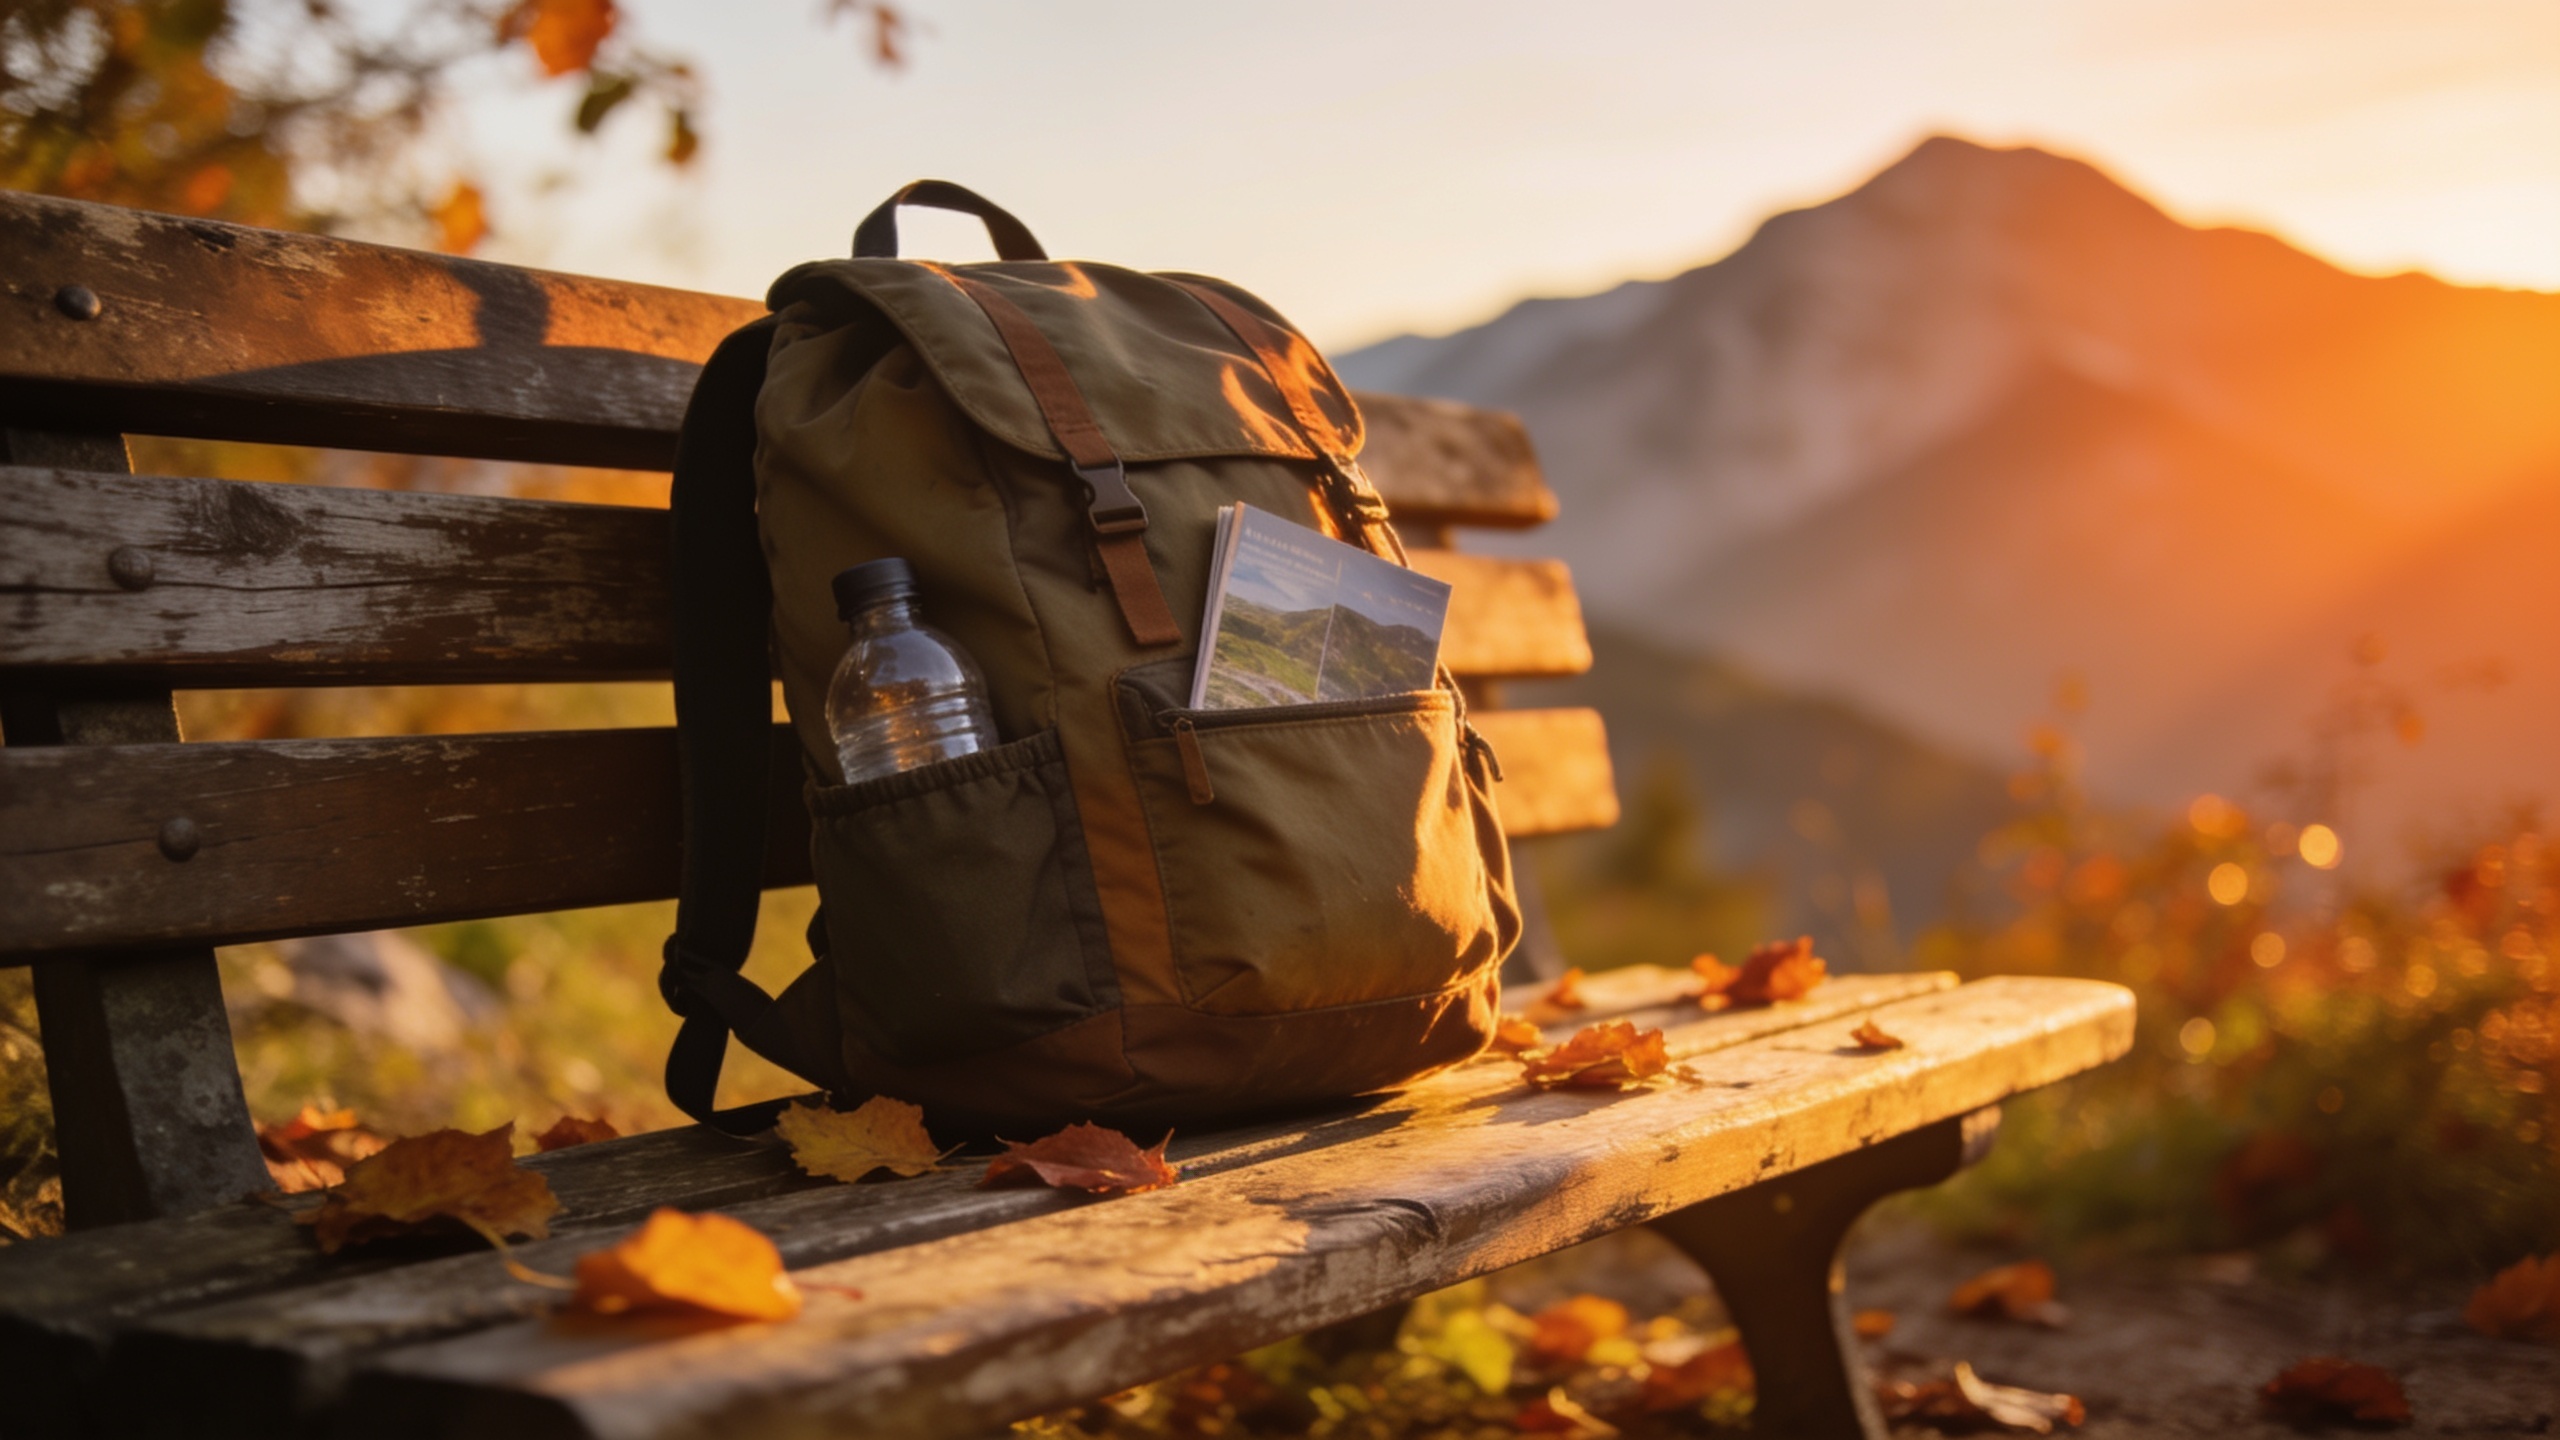
Workflow A — Turn a phone hero shot into a studio-quality product image with GoCrazyAI AI Image Relighting (step-by-step)
Short answer: Upload your phone hero shot, pick the "Studio" preset in GoCrazyAI AI Image Relighting, fine-tune intensity and color temperature, and export at original resolution. Expect a clearer key light, softer shadows, and preserved composition without the need for reshoot.
Step-by-step (practical): 1) Choose a sharp phone image with the product centered and minimal motion blur. Crop to the desired final aspect ratio (square for marketplaces, 4:5 for Instagram feed). 2) Upload to GoCrazyAI Photo Restyle > AI Image Relighting. Select the "Studio" preset. 3) Adjust intensity slider: start at 60–70% to avoid over-processing; increase if the source is very flat. 4) Tweak color temperature toward neutral (5200–5600K) for accurate product color. Use the preview to compare before/after. 5) If needed, use localized exposure or background smoothing in GoCrazyAI to balance background and foreground. 6) Export at original resolution and run a quick quality check on multiple devices.
GoCrazyAI preserves composition and outputs at full resolution, so the result is ready for product pages and ads with minimal retouching. For more dramatic control over highlights and rim light, run a second variant with a slightly higher intensity and compare in an A/B test.
You can try every step above directly in GoCrazyAI AI Image Relighting — no setup needed.
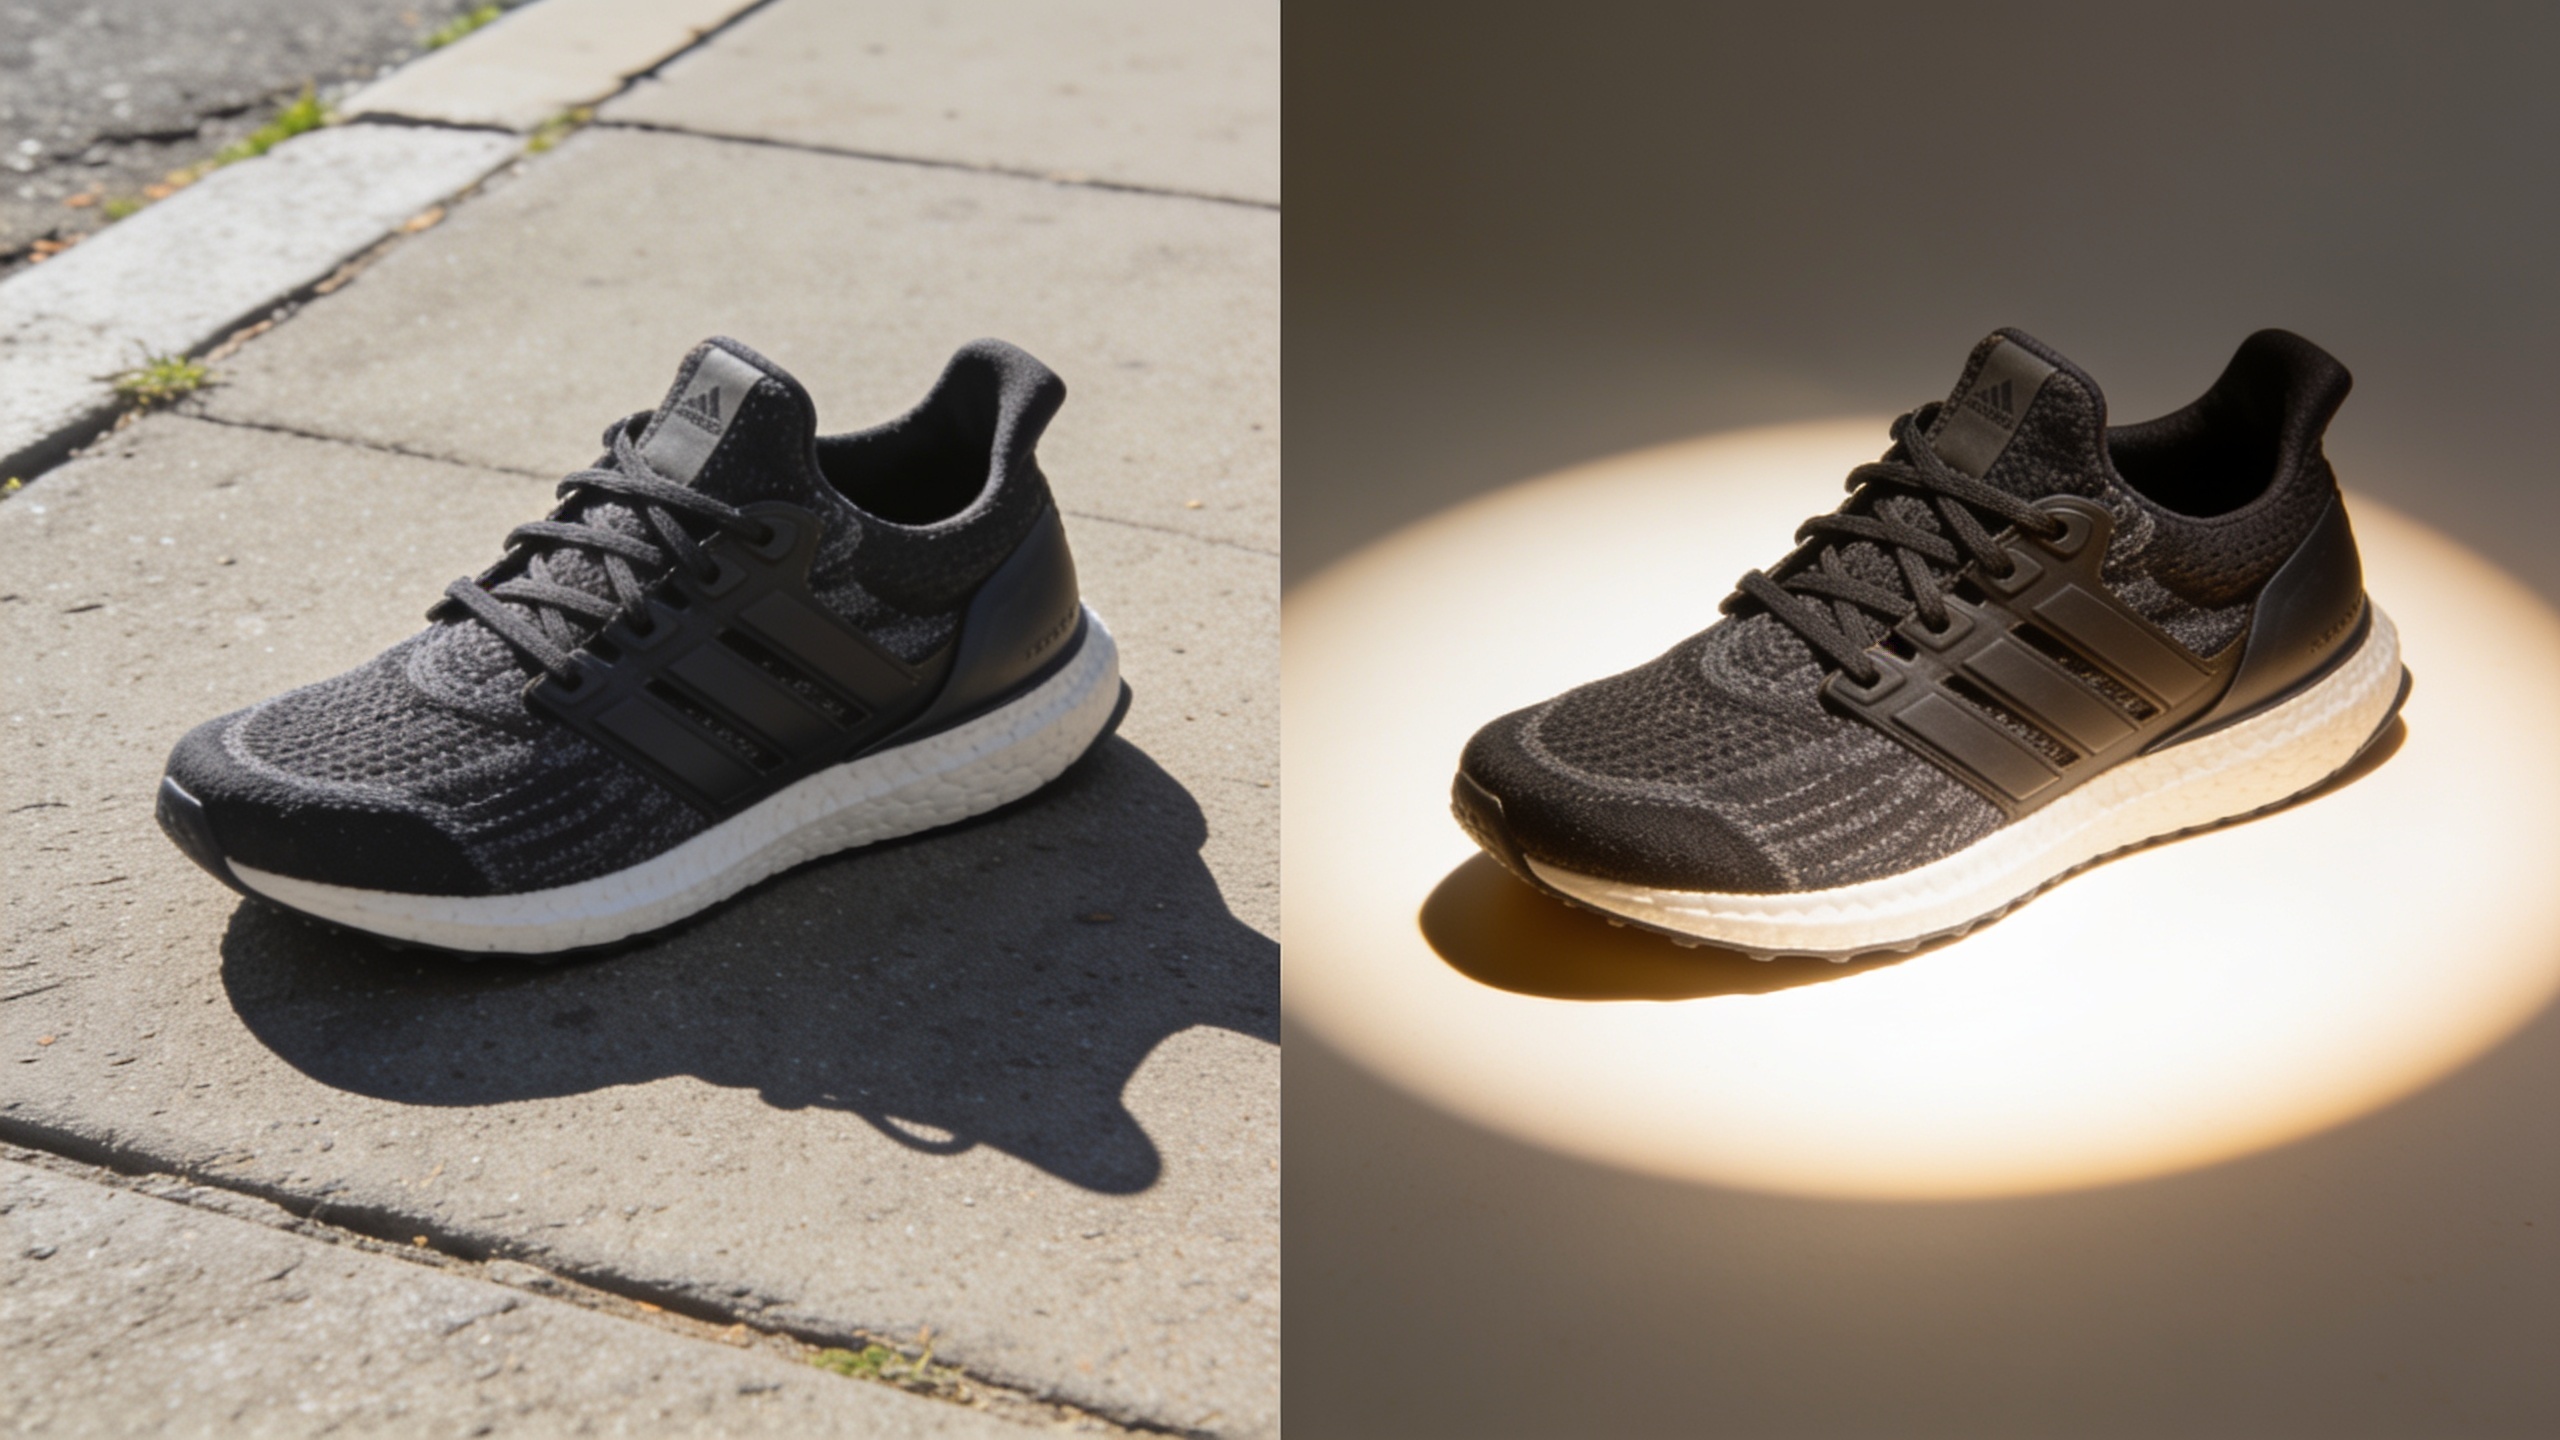
Workflow B — Create golden-hour lifestyle examples for ads and social from one daytime image (A/B test-ready)
Short answer: Use the "Golden Hour" preset to warm directionality and lengthen shadows, then produce 2–3 variations from the same source to discover which creative performs best in ads.
Practical workflow: 1) Start with a daytime on-location image with soft, even lighting and some background context (e.g., product on a table outdoors). 2) Upload to GoCrazyAI and choose the "Golden Hour" preset. Set intensity to 50–80% depending on how subtle you want the warmth. 3) Create variations: one warm + soft shadow, one warm + rim highlight, and one warm + deeper contrast for dramatic effect. 4) Export images at the required ad dimensions. Add short copy variations and test in parallel: creative A (studio hero) vs creative B (golden hour lifestyle). 5) Run lightweight A/B tests across placements (Facebook/Instagram feed, Stories, and Google responsive ads). Track CTR and ROAS per variation for at least 7–10 days.
This approach saves reshoot costs while giving believable lifestyle context that often improves engagement. Generating multiple golden-hour versions from a single daytime capture is a fast way to populate ad sets and audience tests.
Practical tips: prepping source photos, color/reflectance fixes, and when to reshoot instead (common mistakes to avoid)
Short answer: Prep clean, well-framed source images, fix obvious color casts before relighting, and reshoot when reflections or transparency are central to the product look.
Common mistakes and how to avoid them:
- Mistake: Uploading low-resolution, blurry images. Avoid: Start with the sharpest possible file; relighting preserves but doesn't fix blur.
- Mistake: Ignoring reflections and glass. Avoid: For reflective or transparent products, either reshoot with controlled lighting or include a reference image with highlight placement; relighting can misplace specular highlights.
- Mistake: Overdoing intensity and losing texture. Avoid: Use mid-range intensity (40–70%) and preview on multiple devices.
- Mistake: Forgetting color calibration. Avoid: Use a neutral white-balance correction before relighting if the source has a strong color cast.
- Mistake: Using relighting as a band-aid for bad composition. Avoid: If the product is poorly framed or partially cropped, reshoot rather than relight.
If a product relies on exact reflective highlights (jewelry, chrome parts, glass bottles), plan a controlled reshoot. Otherwise, relighting is usually the fastest, lowest-cost way to reach ad-ready quality.
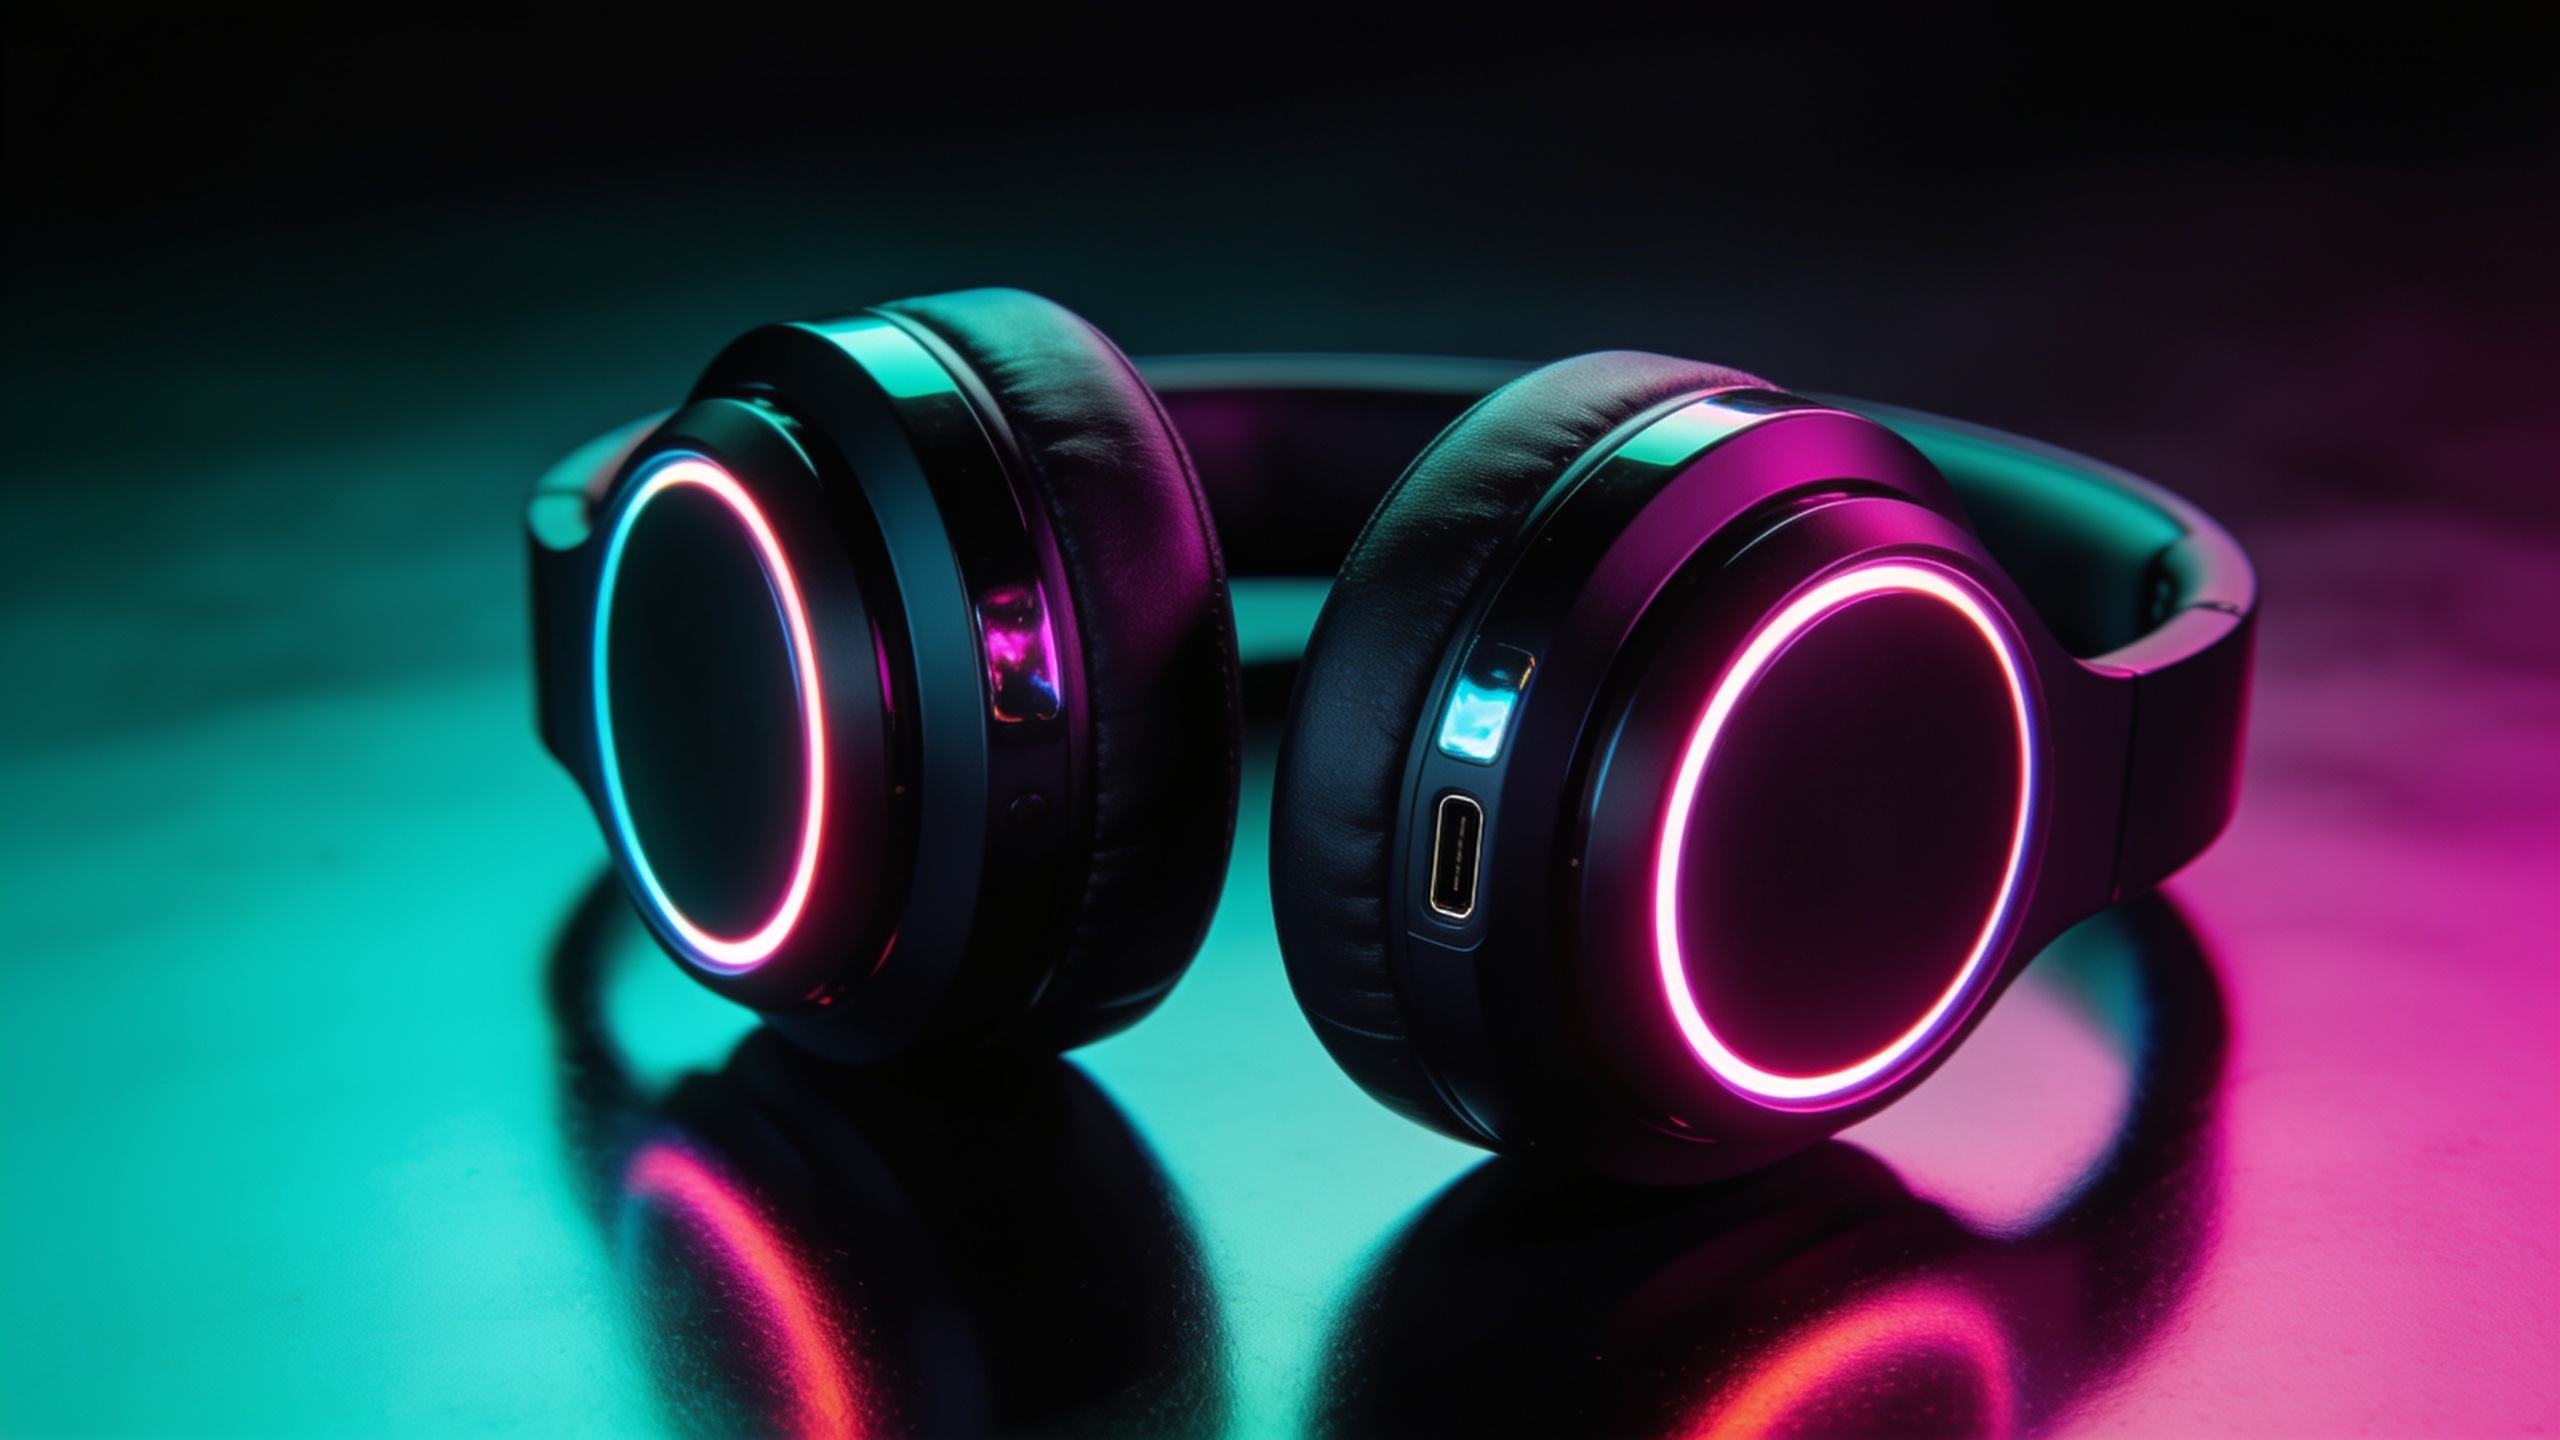
How to measure impact: A/B tests, KPIs to track, and scaling an image relight pipeline?
Short answer: Measure CTR, add-to-cart rate, and conversion rate per variant using A/B tests; track per-SKU lift and scale relighting for SKUs that show repeatable gains.
Measurement checklist: 1) Create 2–4 image variants per SKU (studio, golden hour, high-contrast, baseline). 2) Run A/B or split tests on the same placement and audience to isolate creative impact. Keep other variables (copy, price) constant. 3) KPIs to track: CTR (ads), add-to-cart rate (product page), and conversion rate (purchase). Also track ROAS and CPA for paid campaigns. 4) Analyze results after sufficient sample size (commonly 500–2,000 impressions or 50+ conversions depending on traffic). Use statistical significance tools to avoid false positives. 5) Scale by batching: create presets for product categories, relight in bulk, and export templates for ad sizes. For cost planning, see GoCrazyAI pricing and credits for image-processing costs.
Practical ROI note: industry case studies report conversion lifts commonly between 20–100% when images are upgraded, but actual lift depends on baseline quality and category. Use A/B tests to determine your SKU-level returns and prioritize relighting for high-traffic or high-margin items.
Frequently Asked Questions
Can AI relighting change product color accurately?
AI relighting adjusts lighting and color temperature but usually preserves the product's base color if you use neutral white balance before relighting. For critical color accuracy, perform white-balance correction on the source image and compare outputs on calibrated displays.
Will relighting fix a blurry phone photo?
No. Relighting improves lighting and mood but does not restore focus or motion blur. Use a sharper original or an upscaler like GoCrazyAI Image Upscaler if resolution is the problem.
How many relight variations should I test per SKU?
Start with 2–4 variants: baseline, studio, golden hour, and one mood (dramatic or neon). That usually gives enough diversity to spot a winner without fragmenting traffic.
Are there categories where relighting is not recommended?
Yes—glassware, polished chrome, and transparent packaging often need controlled multi-angle studio shots. Relighting may produce unrealistic specular highlights for those items.
Conclusion
Final thoughts: AI relighting is a practical way to convert phone or existing product photos into studio-ready hero images and golden-hour ad variations without costly reshoots. Start small: relight best-selling SKUs, run short A/B tests, and scale up for items with positive ROI. Try GoCrazyAI AI Image Relighting — pick a lighting style and watch your photo transform.
Sources
- Photo restyle AI — Relight phone photos fast | GoCrazyAI bloggocrazyai.com ↗
- Relight | Magnific Docs (example vendor docs describing light transfer & controls)magnific.com ↗
- AI Relighting: How to Fix Bad Product Lighting Without Reshooting | GESTELgestel.studio ↗
- TechRadar — Tired of clunky mobile editing? Here's the AI fix photographers lovetechradar.com ↗
- MDPI — Leveraging Feature Extraction and Context Information for Image Relighting (academic)mdpi.com ↗
- Lite2Relight: 3D-aware Single Image Portrait Relighting (SIGGRAPH 2024 paper)reality.cs.ucl.ac.uk ↗
- Industry/market synopses and conversion case studies (aggregated reports citing MDG/Shopify conversion lifts)51-8.com ↗