youtube thumbnail ai: How to use AI thumbnails to lift YouTube CTR
A practical workflow to generate, edit, test, and ship high-CTR YouTube thumbnails using AI image generation and in-app editing.
<!-- KEYTAKEAWAYS -->- Custom thumbnails usually outperform auto frames; test them to capture more clicks.- Control contrast, text, face, and curiosity gap — the same elements predict higher CTR.- Use prompt templates + in-app edits to iterate 5–20x faster than manual design.- Run short A/B tests and scale winners; keep a repeatable 50–90 minute routine.<!-- /KEYTAKEAWAYS --> Your thumbnails aren't getting clicks—and you need a repeatable way to fix that without hiring a designer. This guide shows a practical workflow creators use to produce dozens of branded, mobile‑readable thumbnail variants, test them, and reliably lift CTR. You'll get design rules, prompt templates that work with Nano Banana / Seedream 4 / Kaneko Gen Pro, a 10-in-10 minutes GoCrazyAI generation walk-through, plus a 50–90 minute playbook you can repeat every week.
The examples focus on YouTube thumbnails, podcast covers, and ad hero images you can export at the exact aspect ratios platforms need. Where useful, I show how to use GoCrazyAI’s AI Image Generator to generate variants, edit frames in-app, and export without watermarks so you can run quick A/B tests and scale winners.
Quick Answer
How do you use YouTube thumbnail AI to boost CTR? Use structured prompts to generate many high-contrast thumbnail variants, edit the best candidates for mobile legibility, then run short A/B tests. Tools like GoCrazyAI’s AI Image Generator let you create, restyle, and export dozens of on-brand thumbnails in minutes so you can iterate faster and find winners.
Why thumbnails still move the needle?
Custom thumbnails remain one of the highest-leverage assets a creator controls. TubeAnalytics found that custom thumbnails can increase CTR by ~30% compared with auto-generated frames — improving a 4% CTR to 6% yields 50% more clicks from the same impressions (see source). That uplift compounds: more clicks drive more views, which feed ranking signals and recommendations.
For creators, the implication is clear: spend time on thumbnails and test variants. The return on a small investment (a few hours a week) can be larger than a single video edit or a new intro sequence. The rest of this guide explains the visual elements that predict higher CTR, the prompt and editing workflow to produce them fast, and measurement methods so you don’t guess which thumbnail wins.
Tip: Treat thumbnails as a conversion problem — impressions are traffic; thumbnail is the landing page that converts viewers to clicks.
What design principles do high-CTR thumbnails follow?
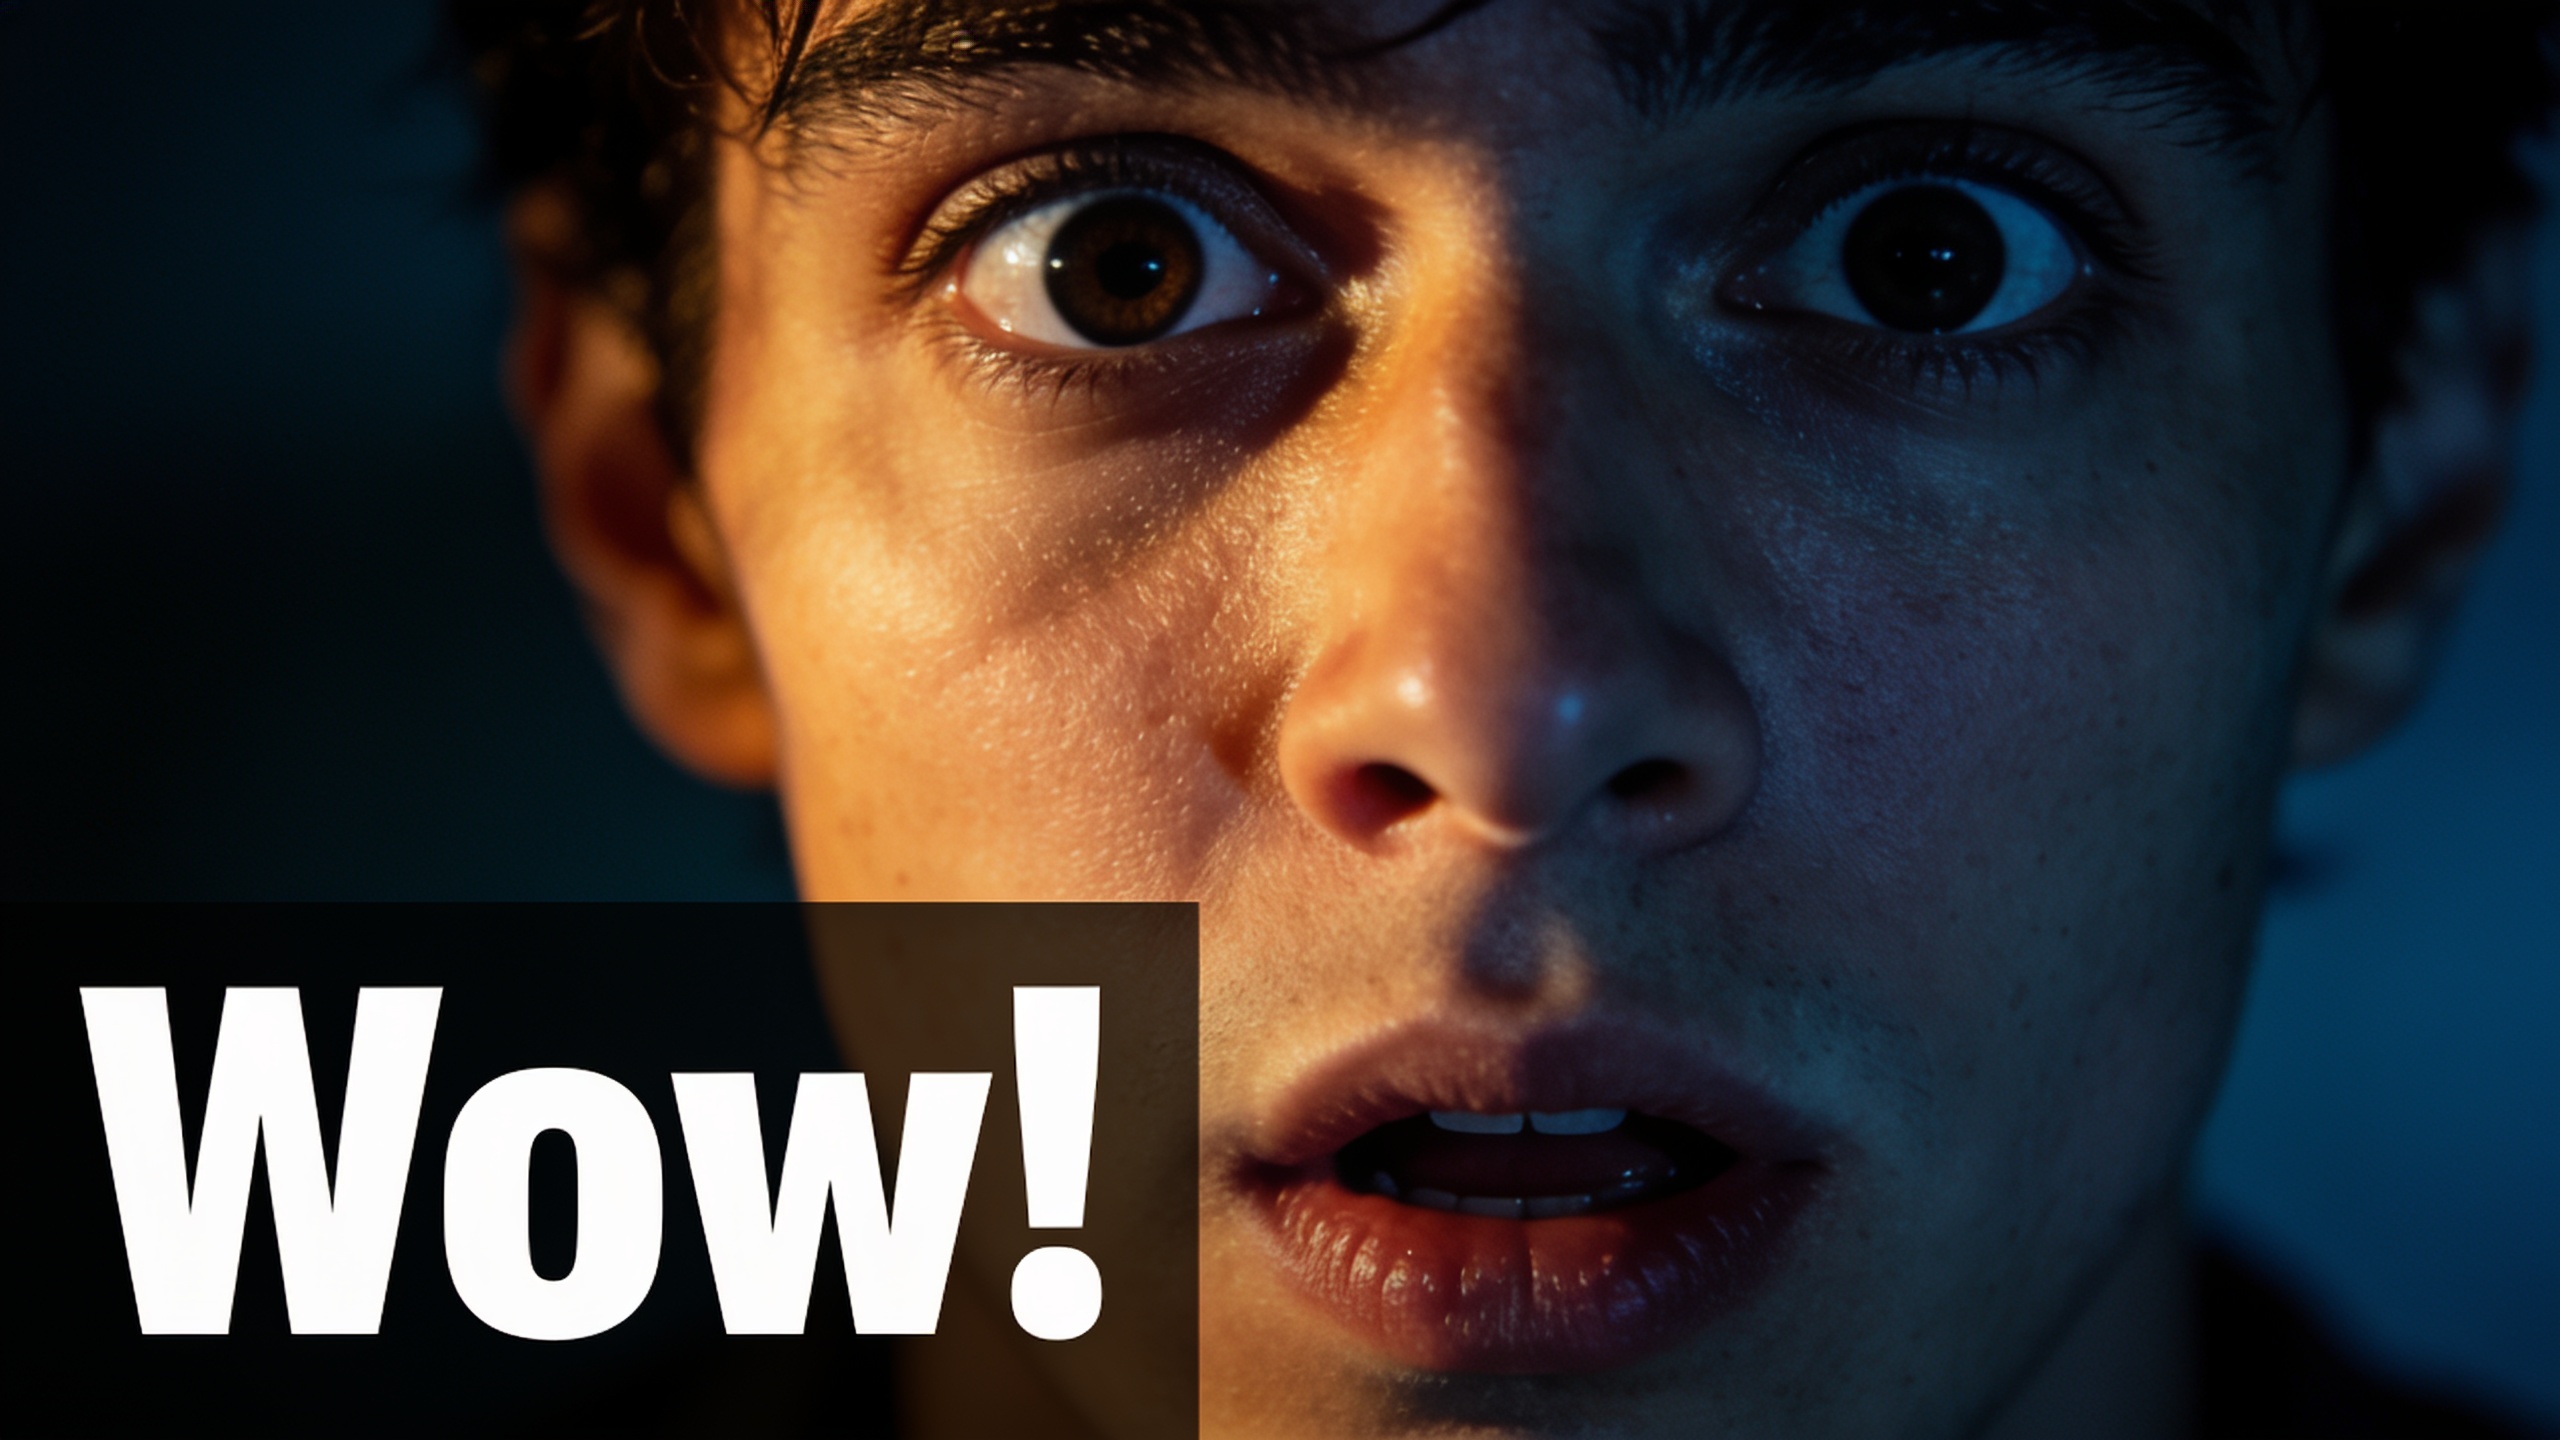
High-CTR thumbnails consistently follow a handful of repeatable design rules: high contrast, a short bold headline (3–5 words), a clear subject (often a close-up face), and a curiosity gap that promises value or surprise. Several 2025–2026 thumbnail analyses converge on these elements as predictive of 6–10% CTR thumbnails (see source).
Start by controlling these exact elements:
- Contrast & color: Use a dominant complementary color pair and boost local contrast around the face or product.
- Text: Keep text to 3–5 words, heavy sans-serif, high stroke or shadow for legibility on mobile. Reserve a text-safe zone so cropping for mobile or different aspect ratios won't cut letters.
- Faces & emotion: Close-up faces showing strong, readable emotion (surprise, anger, joy) perform better than neutral expressions.
- Composition: Tight crops, 1.5–3x subject scale, and negative space for text.
- Curiosity gap: A visual hint plus an ambiguous element (blurred object, covered face, or magnified detail) invites clicks.
These rules make thumbnails scannable on small screens and more likely to stand out in a crowded feed. Use them as constraints when you write prompts or edit variants.
How does AI change the thumbnail workflow: speed, variants, and brand consistency?
AI shortens the loop from idea to screened candidate by generating many high-quality variants in minutes and preserving brand parameters across runs. Models like Nano Banana and Seedream 4 let creators iterate 5–20x faster than manual design workflows by producing stylized hero frames, background options, and emotion variations from structured prompts (see sources).
Practically, AI changes three parts of the process: 1) Variant volume — you can generate dozens of distinct compositions quickly, enabling hypothesis-driven tests rather than guessing. 2) Speed — fast restyles let you preserve a brand color palette, type treatment, and subject while exploring contrast or cropping changes. 3) Consistency — save prompt templates and style parameters so thumbnails across a series look related.
AI doesn't replace design judgment. Instead, it turns the process into iteration: generate, filter, edit, and test. The next sections show a reproducible loop you can run in a single session.
Hands-on: Generate 10 thumbnail concepts in 10 minutes with GoCrazyAI AI Image Generator
You can produce ten distinct thumbnail concepts in about ten minutes using the GoCrazyAI AI Image Generator by batching structured prompts and model presets. Start with a 2–3 line prompt template that fixes aspect ratio, palette, subject, and readable text-safe zones, then push to multiple models and variation seeds.
Step-by-step quick answer: Create a single base prompt, duplicate it with small variations (emotion, background, color), select Nano Banana/Seedream 4/Kaneko Gen Pro, request 16:9 outputs, and generate. Within minutes you’ll have 10+ candidates to inspect and edit.
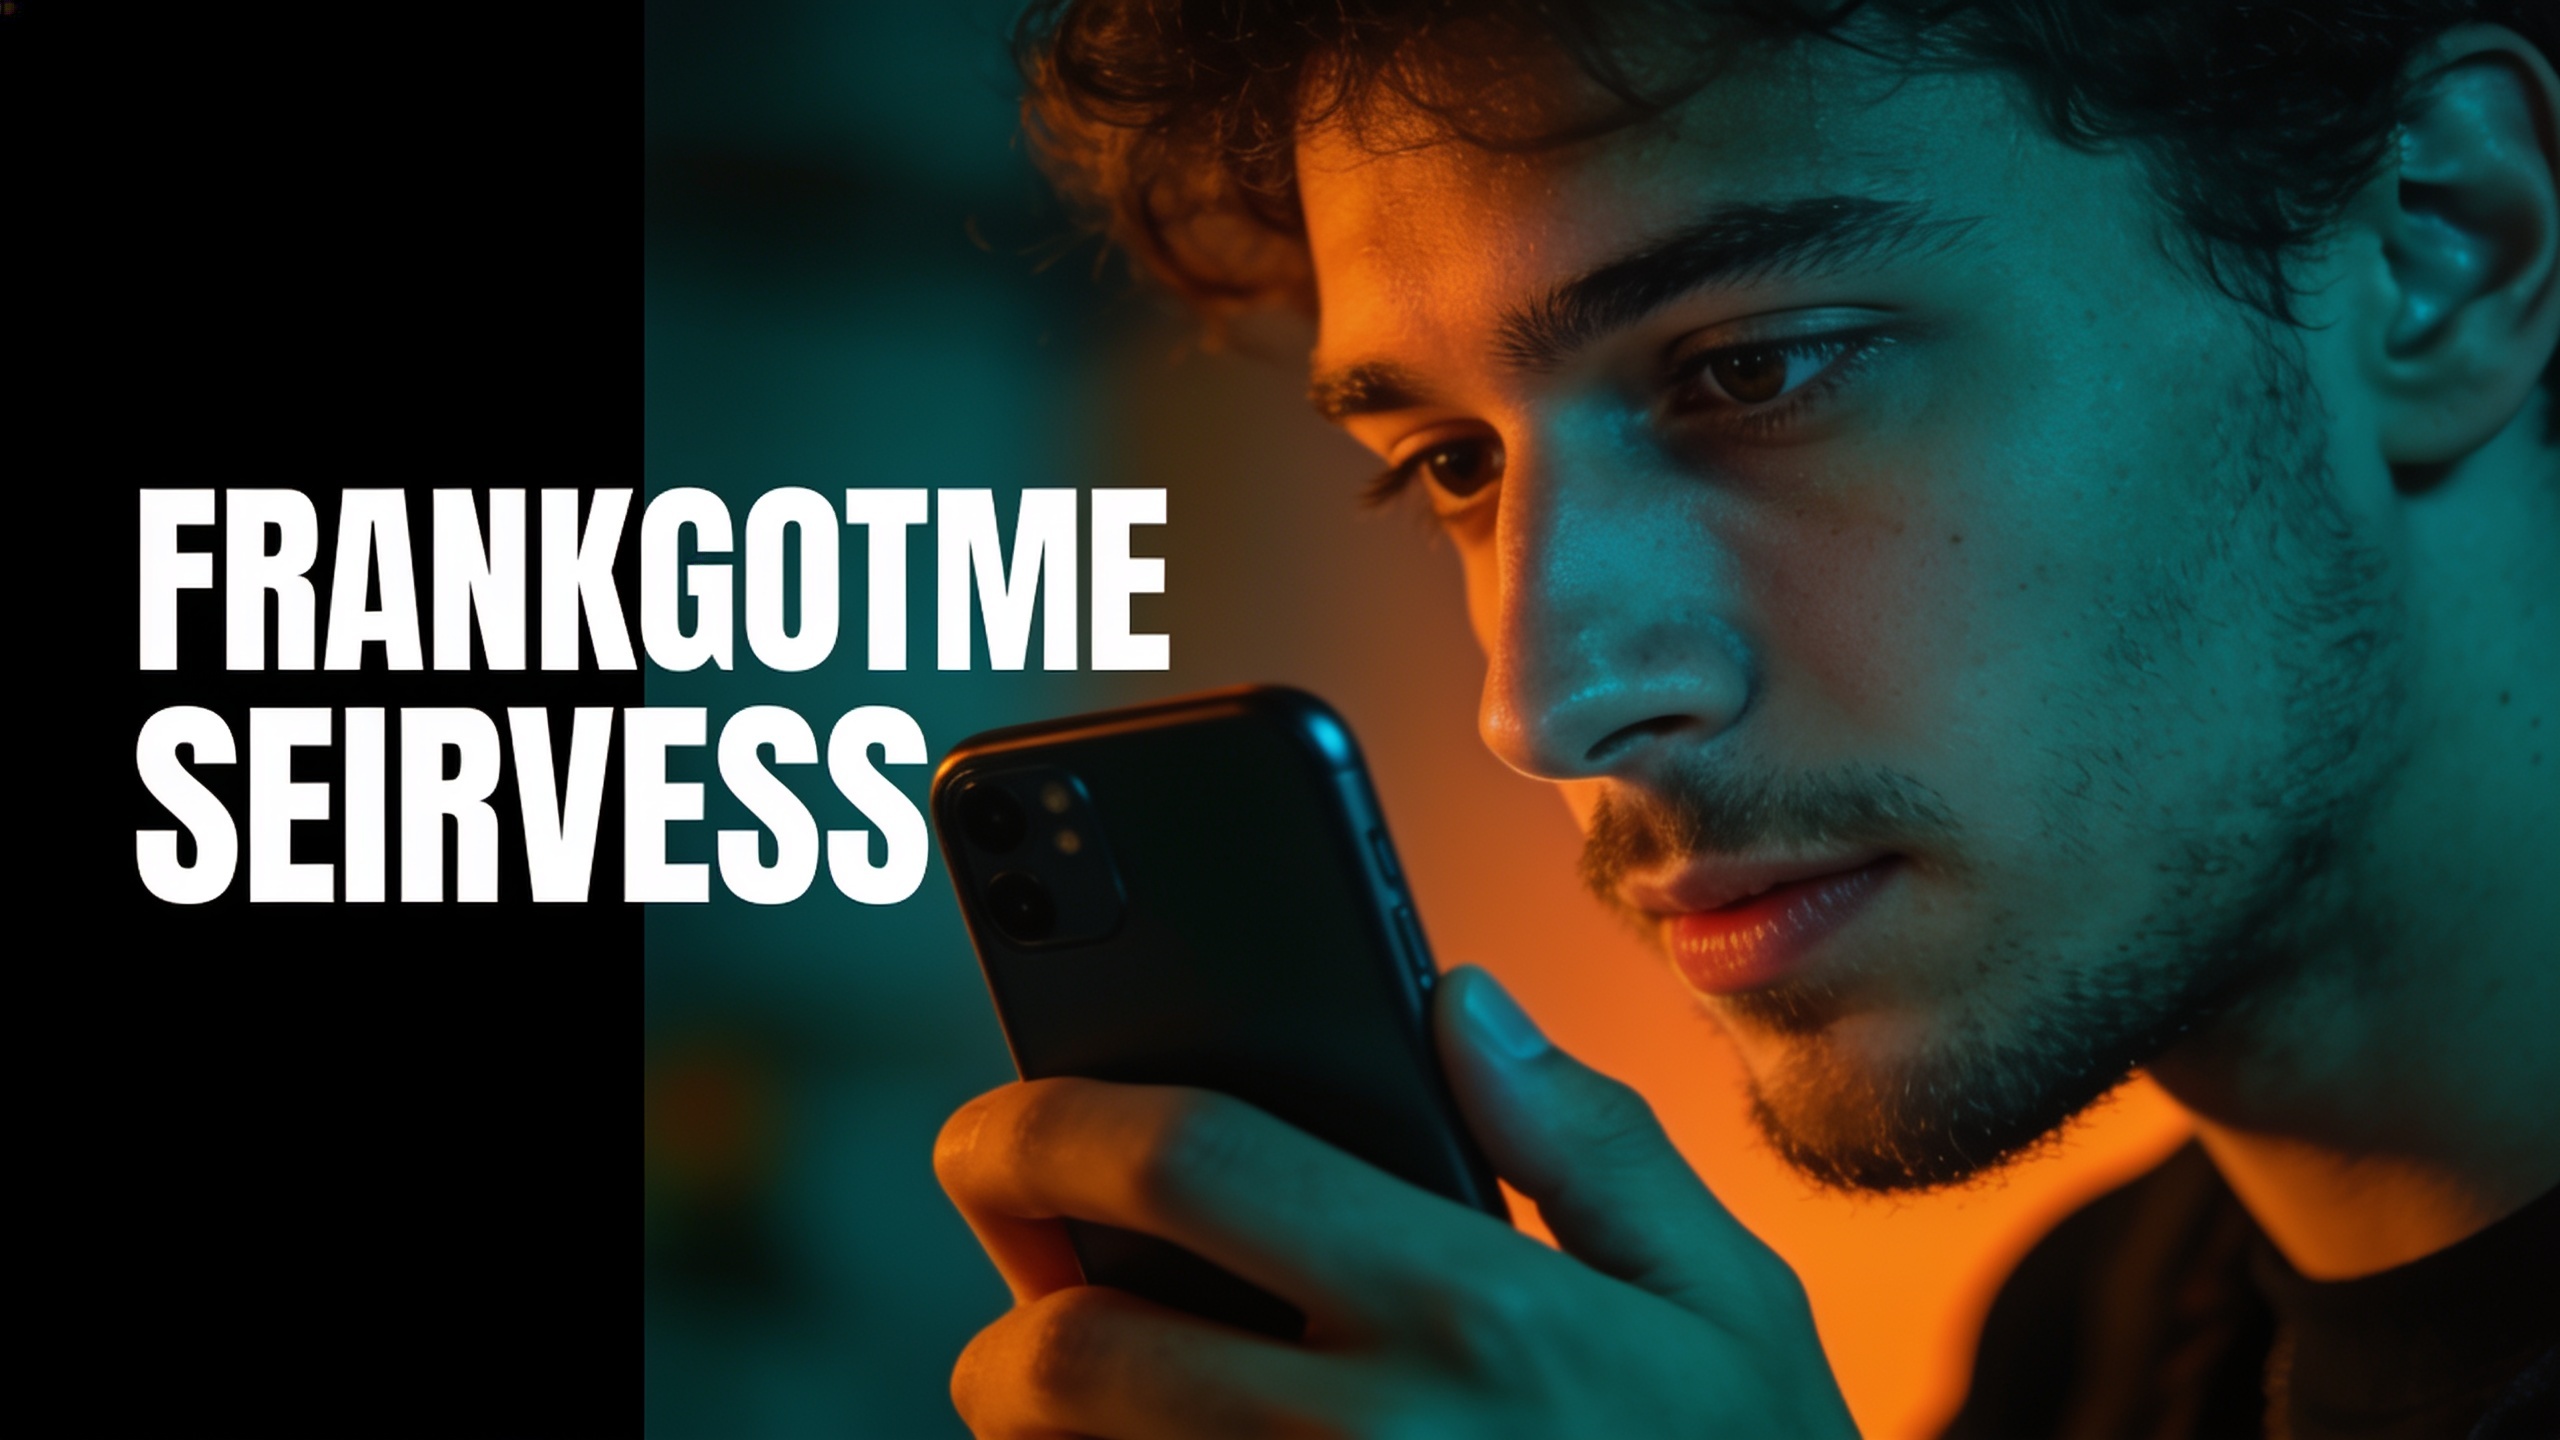
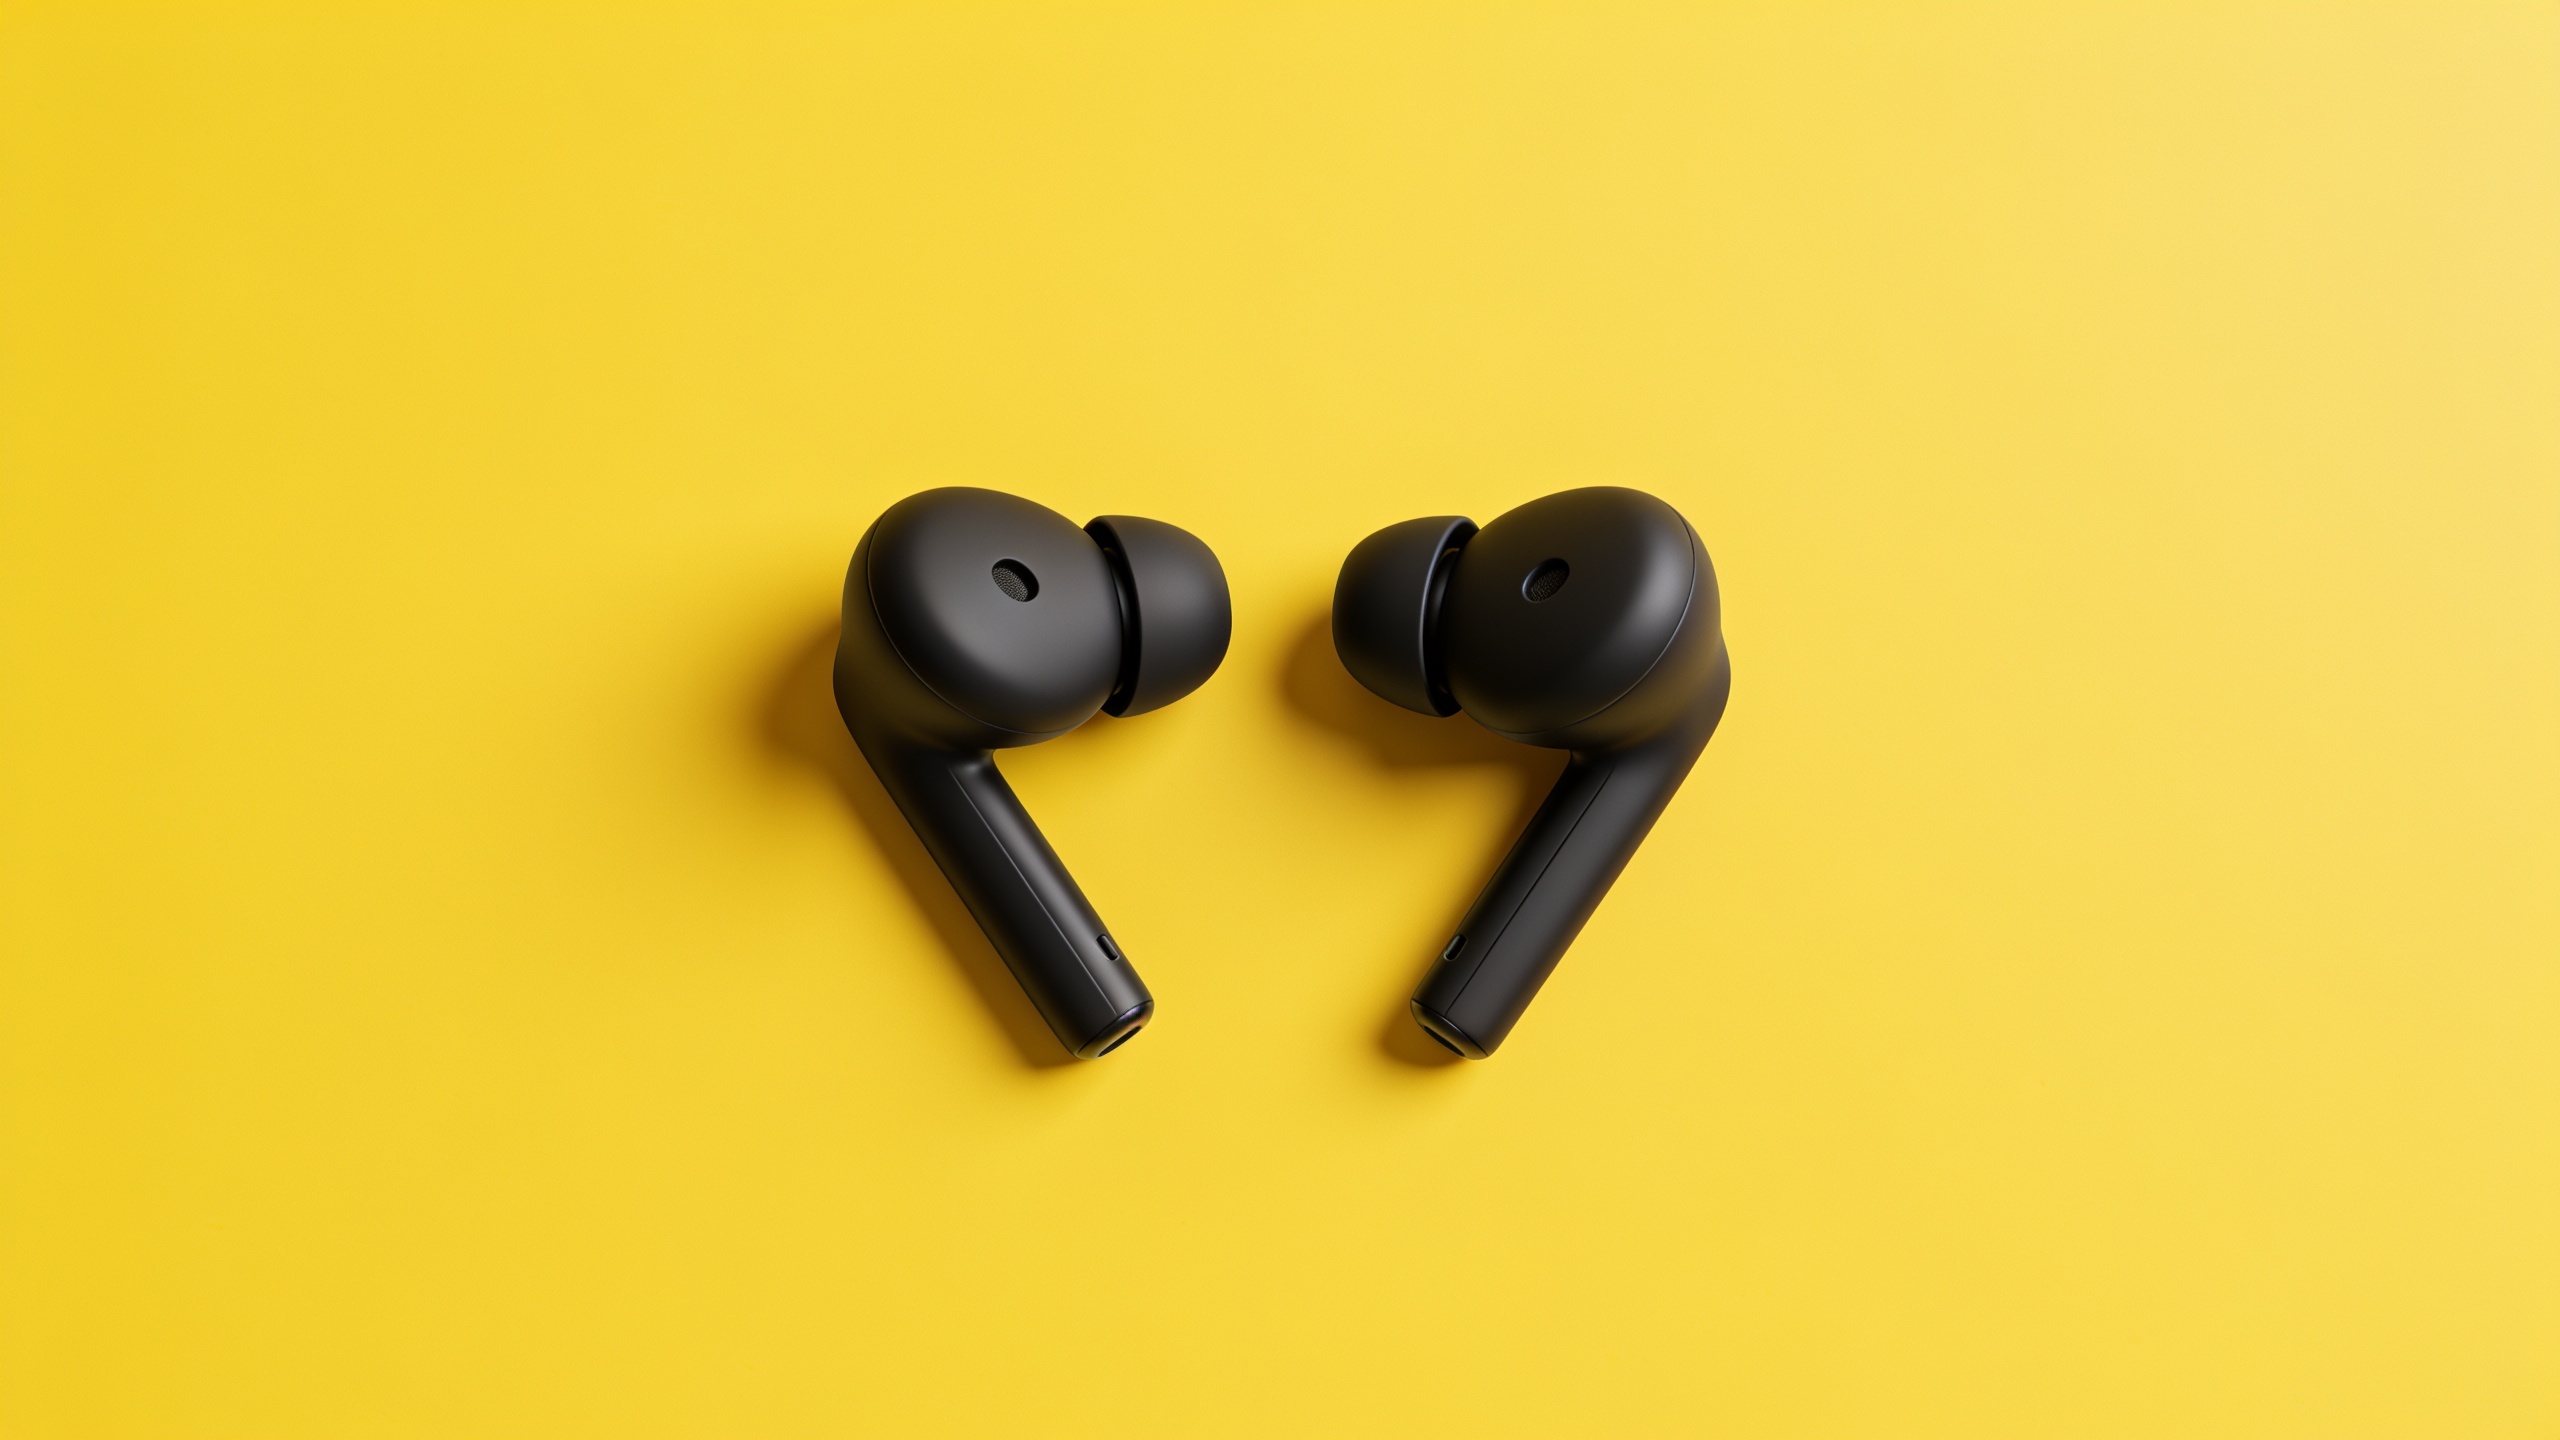
Concrete example prompts to copy (safe example domain): "Close-up of a surprised young woman holding a broken phone, high contrast teal + orange palette, bold text area left, shallow depth of field, 16:9, mobile-safe crop" "Product hero: matte black wireless earbuds on bright yellow background, extreme close-up, clear left text zone, high contrast, 16:9"
Use the GoCrazyAI library to save variations and export the top picks. This fast batch approach turns a single idea into multiple testable thumbnails in under ten minutes.
You can try every step above directly in GoCrazyAI AI Image Generator — no setup needed.
Hands-on: Use GoCrazyAI’s in-app AI image editing to convert a raw frame into a mobile‑readable thumbnail
You can take a raw frame or photo and, inside GoCrazyAI’s editor, convert it into a mobile-successful thumbnail by cropping, relighting, and restyling with a prompt. The editor supports prompt-driven edits (change background, boost contrast, restyle facial expression) and precise crops for text-safe zones so your headline stays visible on small screens.
Quick steps: upload a raw frame, choose 'Edit with prompt', specify target aspect ratio (16:9), describe the change (e.g., "tight crop to face, boost contrast + warm key light, create left text-safe zone"), then apply variations. Use the built-in variation saver to keep candidates.
GoCrazyAI outputs at social aspect ratios and saves variations to your library so you can iterate without re-uploading. When done, export PNGs without watermarks and push the winners to your YouTube tests. This workflow replaces multiple separate tools (editor, relight, export) with one rapid loop.
Prompt recipes and example prompts that produce high-CTR thumbnail images?
Structured prompts that specify emotion, color palette, composition, text-safe zones, and 16:9 aspect ratio produce the most immediately usable thumbnails. Successful prompt recipes use a short prefix for format, a subject line, a style line, and a constraints line — then a small variation token for batch runs.
Recipe template: FORMAT: "16:9, tight crop, mobile-safe text zone" SUBJECT: "close-up face / product hero / scene" STYLE: "high contrast, bold color palette, cinematic rim light, heavy shadows" CONSTRAINTS: "3–5 word headline space left, no logos, readable at 320px width"
Example prompts (tested with Nano Banana / Seedream 4 / Kaneko Gen Pro): "16:9, tight crop, mobile-safe text zone. Close-up surprised man holding laptop, teal & orange high-contrast palette, cinematic rim light, bold left text area, 3-word headline space, shallow depth, 320px readable." "16:9 product hero, matte black earbuds on bright yellow, extreme close-up, left negative space for two-line bold text, high contrast, crisp shadows, no background clutter."
Batch tip: Keep the recipe constant and vary one token (emotion, color, background) per run to generate clean A/B pairs quickly. For more prompt templates, see Nano Banana prompt collections and the ThumbPrompt examples (sources).
How do you A/B test thumbnails and what common mistakes should you avoid?
Run brief, controlled experiments and check lift over a meaningful sample of impressions; avoid common testing mistakes like overlapping variables or insufficient run-time. Use YouTube's Test & Compare or swap thumbnails across similar uploads to measure relative CTR.
Quick checklist for valid tests:
- Control variables: Keep title, tags, and publish time constant when possible.
- Sufficient impressions: Wait for a few thousand impressions or a fixed time window (e.g., 48–72 hours) to avoid noise.
- One change at a time: Test only the thumbnail or only the headline, not both.
Common mistakes (and how to avoid them): 1) Mistake: Testing with too few impressions. Fix: Wait for a larger sample or a longer run. 2) Mistake: Changing title + thumbnail simultaneously. Fix: Isolate the thumbnail variable. 3) Mistake: Using different audience segments. Fix: Run tests on the same video or matched uploads with similar topics. 4) Mistake: Ignoring mobile legibility. Fix: Preview at 320px width before committing.
Measure both CTR and downstream metrics (watch time per view, conversion) — sometimes a higher CTR brings less-engaged viewers, so validate overall value.
What production-ready templates and batch-export workflows should I use for thumbnails, podcast covers, and ad hero images?
Use a small set of production-ready templates that you can batch-populate and export for different platforms. A template should define: aspect ratios, text-safe zones, headline style, brand color swatches, and export presets. Saving these templates in your asset library speeds batch jobs and A/B tests.
Practical templates to keep:
- YouTube thumbnail template: 16:9, 1280x720 export, left text-safe zone, bold 3–5 word headline style.
- Podcast cover: 1:1 square, center-safe face area, high-contrast background, legible title at 300px.
- Ad hero image: 16:9 and 4:5 variants, large product shot, short headline, CTA space.
Batch workflow example: generate 20 variants from your prompt recipes, import the top 8 into a template set, apply the same text overlay preset and export in required aspect ratios. Use GoCrazyAI to output the social aspect ratios directly or to export a high-res master you can crop and export in bulk. This preserves brand consistency across platforms while enabling fast iteration.
Checklist & playbook: from idea to live thumbnail (50–90 minute routine creators can repeat)?
A repeatable 50–90 minute routine helps you ship better thumbnails without overthinking. Follow this playbook every time you need a new thumbnail: ideate, generate, edit, select, test, and scale.
Quick 8-step routine you can complete in 50–90 minutes: 1) Idea (5–10m): Pick the angle and write a 3–5 word headline. 2) Prompt batch (10–15m): Produce 10–20 variants using structured prompts across Nano Banana/Seedream 4/Kaneko Gen Pro. 3) First-pass cull (5–10m): Remove low-contrast or cluttered outputs. 4) In-app edits (10–20m): Crop, relight, and mark text-safe zones in the editor. 5) Text overlay (5–10m): Apply your bold headline preset to top candidates. 6) Preview (5m): Check each at 320px width for mobile legibility. 7) A/B test setup (5m): Upload two winners to YouTube Test & Compare or swap thumbnails across matched posts. 8) Analyze & scale (post-test): After the test, keep the winner as the default and apply the style to future videos.
This routine balances speed and rigor. Save templates, prompt recipes, and presets so the next run feels faster. Repeating the loop weekly for new uploads compounds gains across your channel.
Frequently Asked Questions
Do AI-generated thumbnails get better CTR than auto-generated frames?
Yes — analyses show custom thumbnails outperform auto frames. TubeAnalytics found custom thumbnails can increase CTR by about 30% vs. auto-generated frames, which translates into substantially more clicks from the same impressions (see source).
Which AI models work best for thumbnails?
Models such as Nano Banana, Seedream 4, and Kaneko Gen Pro are commonly used for thumbnail generation because they produce stylized hero frames and fast variations. The key is prompt structure and in-app editing rather than the model alone (see model prompt guides).
How many variants should I generate before testing?
Generate 8–20 variants and shortlist 2–4 strong candidates for A/B tests. The goal is to explore visual hypotheses (color, crop, face expression) and then test isolated differences.
Can I use AI thumbnails without paying for software or credits?
Many platforms have free tiers; GoCrazyAI’s AI Image Generator is free to start and outputs without watermarks so you can export test assets immediately. Check pricing and credits for higher-volume exports at the pricing page.
Conclusion
Final thoughts: Treat thumbnails as a repeatable conversion optimization you can systematize with AI. Use structured prompts to generate many candidates, apply quick in-app edits for mobile legibility, and run short A/B tests to find winners. Save templates and prompt recipes so each iteration gets faster and more on-brand. Spin up your first frame in the AI Image Generator and refine the prompt until the look is yours.
Mentioned in
Sources
- YouTube Thumbnail Design Tips That Actually Work (TubeAnalytics)tubeanalytics.net ↗
- YouTube thumbnail best practices for higher CTR (InstantViews)instantviews.net ↗
- YouTube Thumbnail CTR Guide: Boost to 8% (Fluxnote)fluxnote.io ↗
- Nano Banana Prompts for YouTube Thumbnails (Morphed)morphed.app ↗
- Free AI Thumbnail Prompt Generator (ThumbPrompt)thumbprompt.com ↗