How do you scale on‑brand social video production with a brand kit overlay?
Step-by-step guide to batch brand kit overlays, lower thirds, subtitles, voiceovers, and one-click exports using GoCrazyAI Media Mixer.
<!-- KEYTAKEAWAYS -->- Create a small set of motion templates and one brand-kit overlay to reuse across campaigns.- Batch-process source clips and apply templates to dozens of files to save hours.- Always burn captions for sound‑off viewers and test variants before publishing.<!-- /KEYTAKEAWAYS --> You need to publish dozens of short social videos each week, but each clip must look and sound on-brand. Manually adding lower thirds, logo overlays, subtitles, and voiceovers kills throughput. This guide shows a reproducible workflow to prepare batches of clips, build reusable brand-kit overlays and lower thirds, and finish everything in one pass using AI templates and a single export step. It includes concrete settings, prompt examples, and a final polishing step with GoCrazyAI Media Mixer so you can burn captions, add voice and music, and export multiple TikTok/Instagram formats without bouncing between apps.
Quick Answer
How do you scale on‑brand social video production with a brand kit overlay? Build a reusable brand-kit overlay (colors, fonts, logo assets, lower-thirds), prepare batches of clips and motion templates, then apply those templates in bulk. Finish by burning captions, adding voice and music, and exporting multiple aspect ratios with a tool like GoCrazyAI Media Mixer in one pass.
Why consistent overlays and lower thirds matter for conversion and accessibility?
Consistent overlays and lower thirds improve recognition, click-throughs, and accessibility because they make brand, speaker, and context instantly legible across hundreds of short clips. Lower thirds—text and small graphics placed in the bottom portion of the frame—help viewers identify products, names, and calls to action even when sound is off. HubSpot's 2025 review shows a large share of social views happen with sound off, which makes readable on-screen text and burned captions essential for engagement.[1]
Beyond engagement, accessibility rules and platform behaviors matter: many autoplay environments and some distribution partners prefer or require burned captions for soundless playback. Adobe and institutional brand guides recommend keeping lower thirds readable, using on‑brand colors and type, and avoiding covering faces[[2]](#source-2). For conversion, consistent placement and timing of overlays reduce cognitive load and help viewers spot CTAs rapidly—use simple entry/exit motion and keep text under 3 lines for mobile.
What are the design rules for a reusable brand-kit overlay and lower-third system?
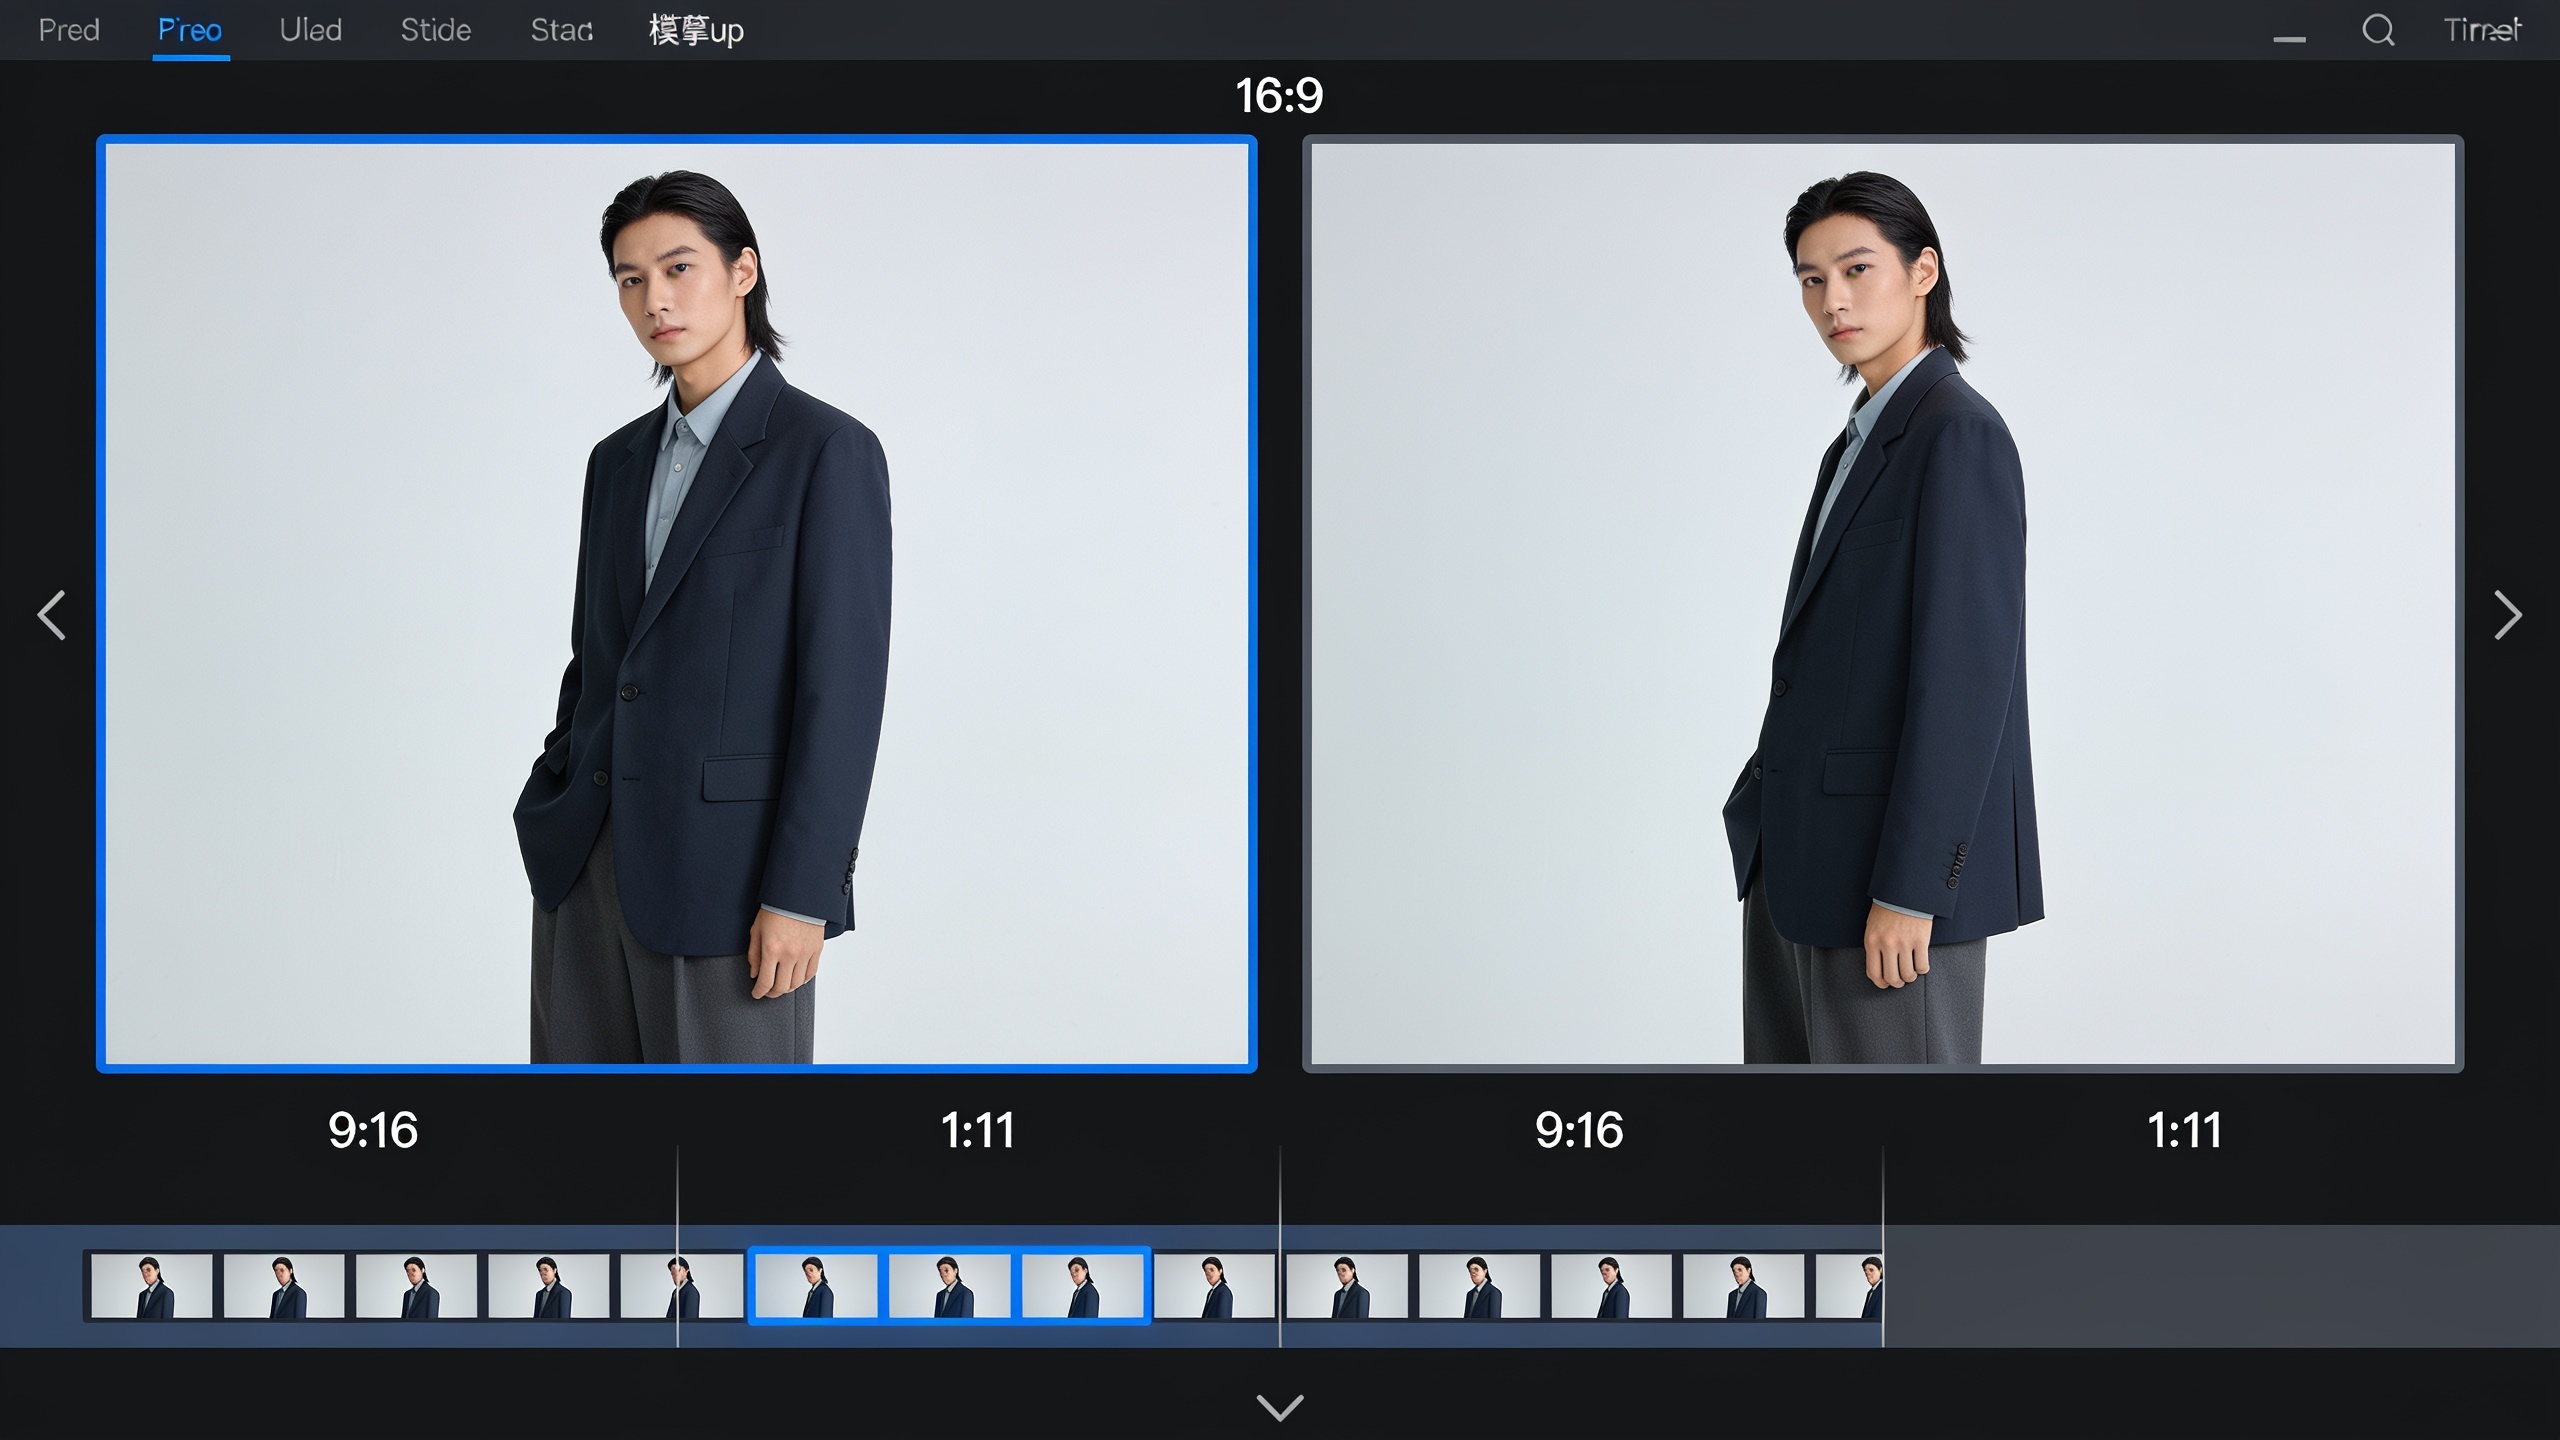
A reusable brand-kit overlay combines color swatches, fonts, logo placements, and motion rules so every clip looks like it comes from the same creator. At the top level: limit palette to 2–3 inline colors, choose one readable font for body text and one for accents, and export logos as transparent PNG/SVG with clear safe margins.
Design rules to follow:
- Readability: contrast ratio should be high; white or dark text against semi-opaque panels works on mobile.
- Placement: keep lower thirds in the bottom 15–20% of the frame and avoid overlapping faces or important action.
- Motion: short easing (0.2–0.5s) for entry/exit keeps motion from distracting; prefer slide+fade rather than large scale transforms.
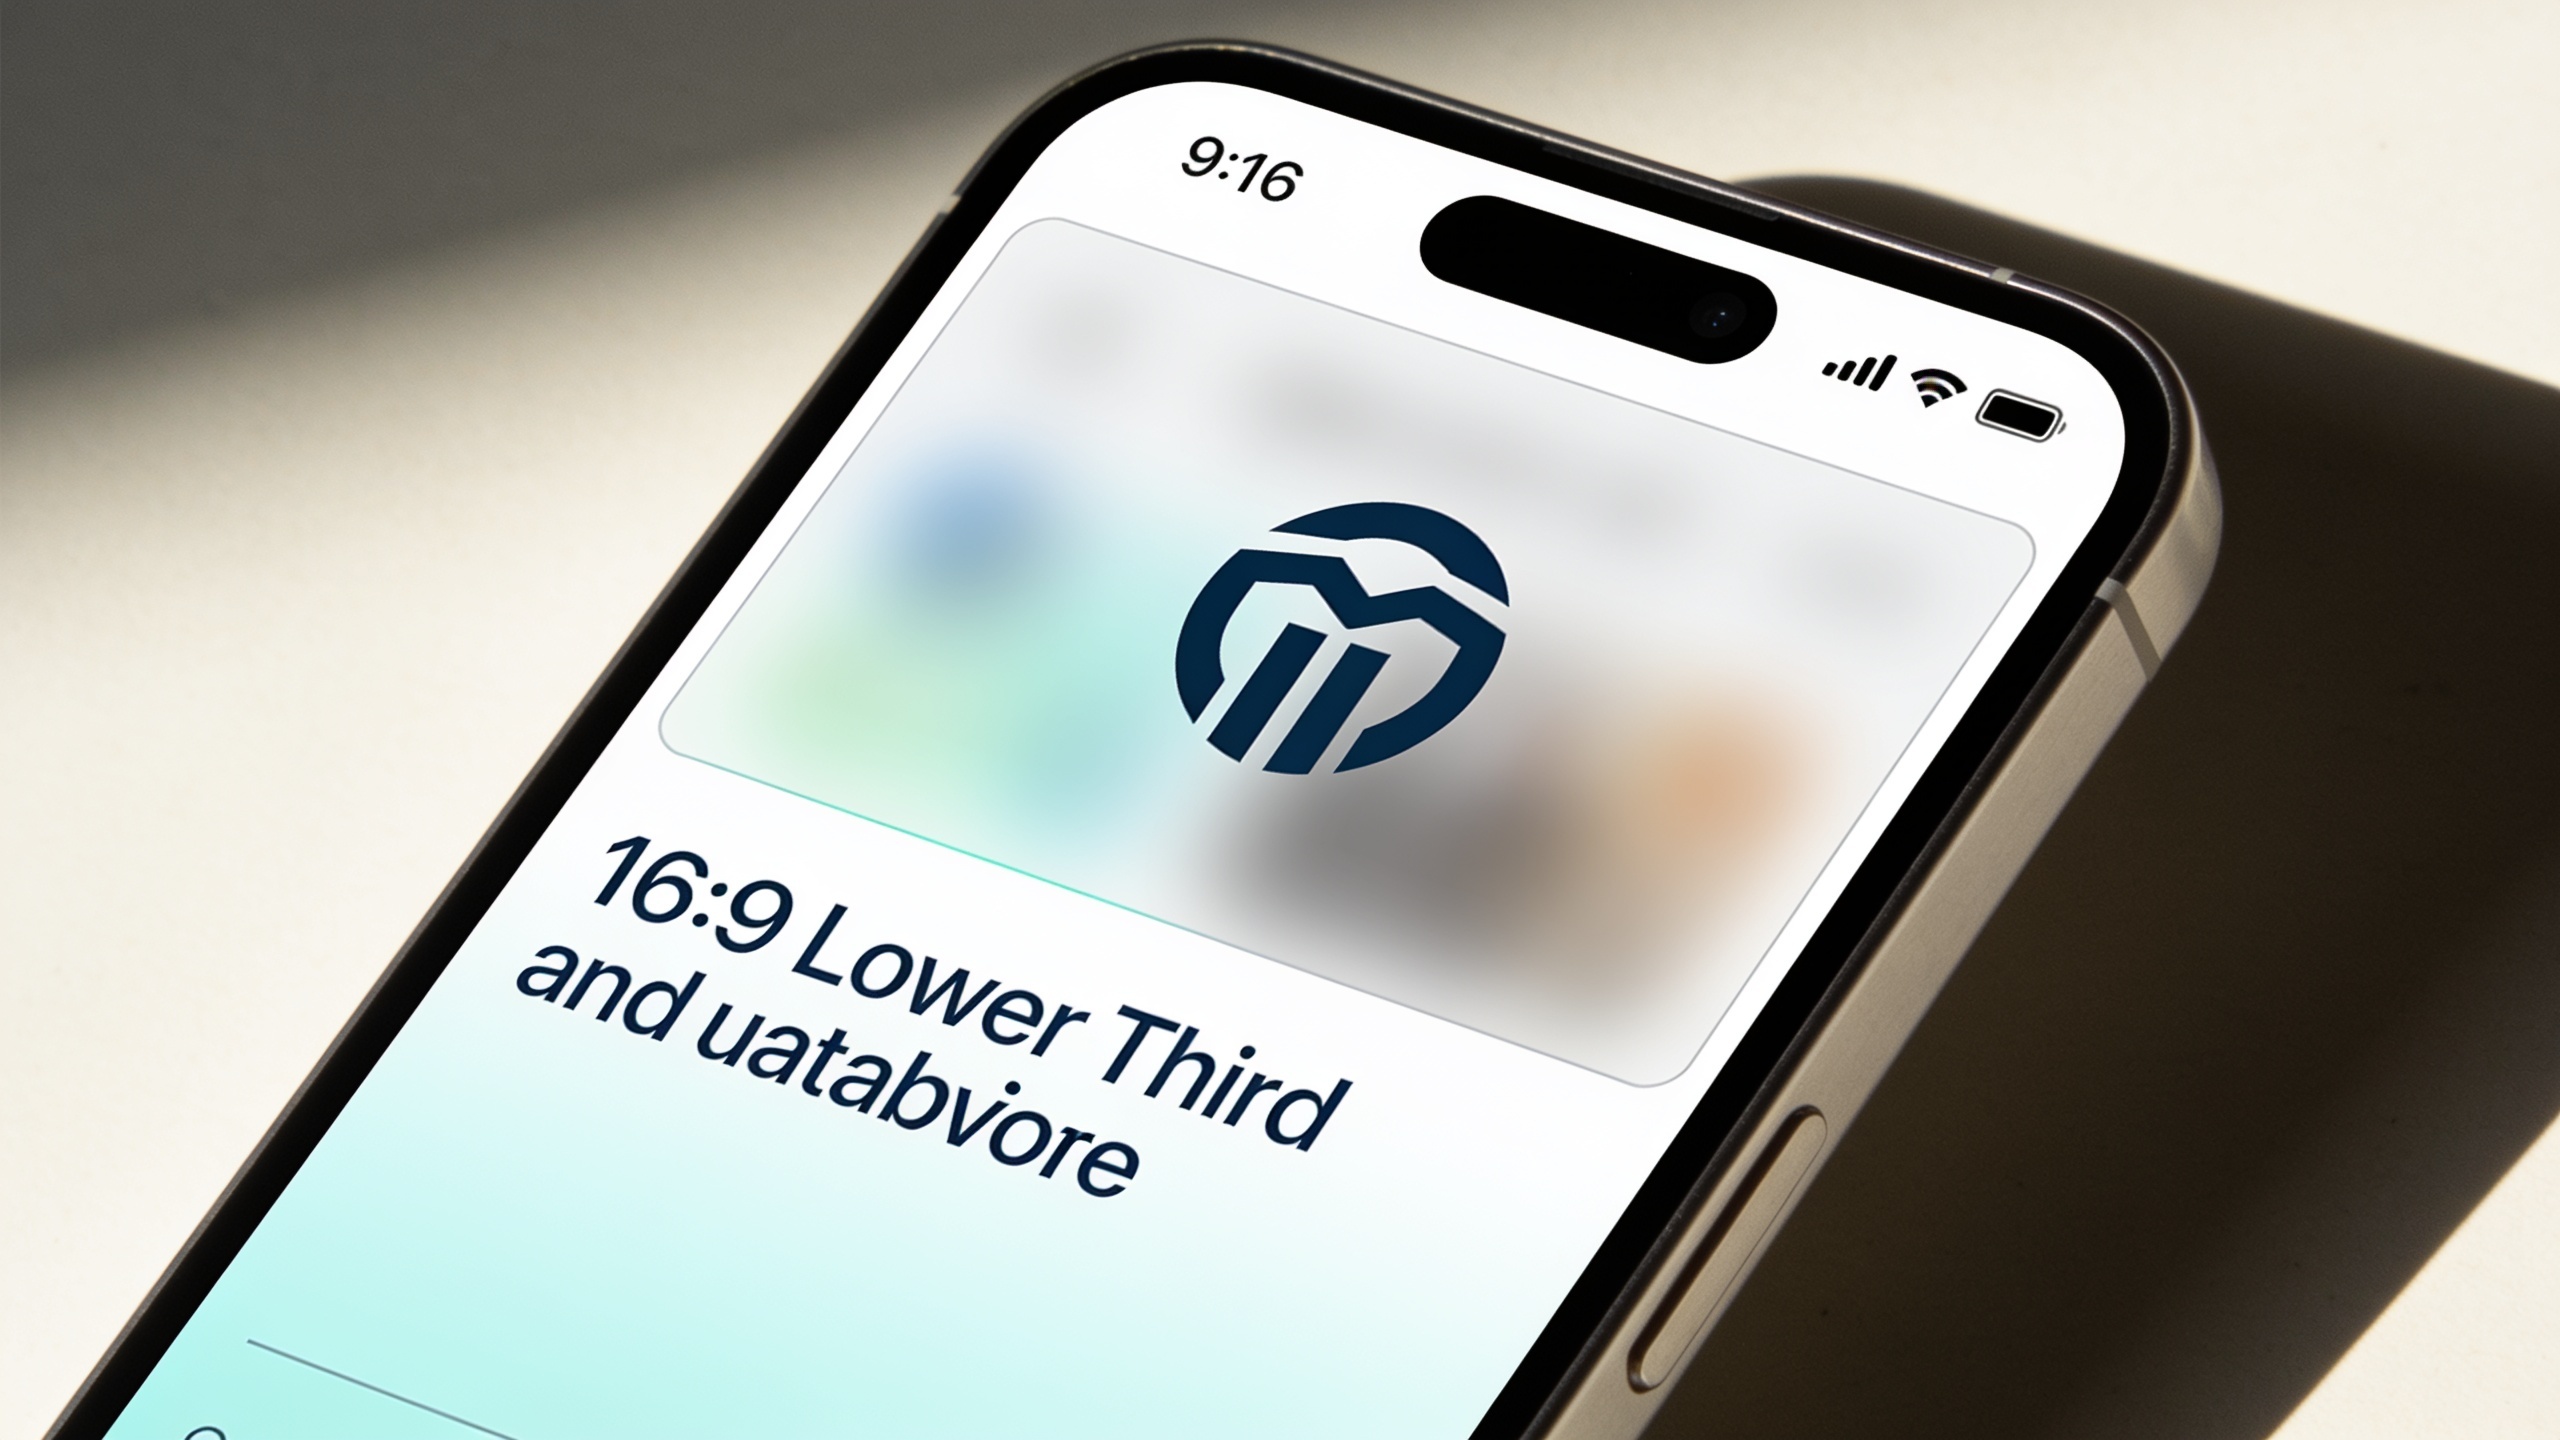
- Variants: create two sizes (compact and tall) to fit 9:16 and 1:1 crops without rework.
Templates speed reuse: Adobe motion templates and marketplaces show the value of prebuilt title templates for consistent lower thirds[[3]](#source-3). Store the kit in your editor as a single asset (colors, fonts, logo, and a 3-second intro/outro overlay) so editors and non-designers can apply it quickly.
How do you prepare batches of clips and AI video templates for bulk edits? Examples and workflow
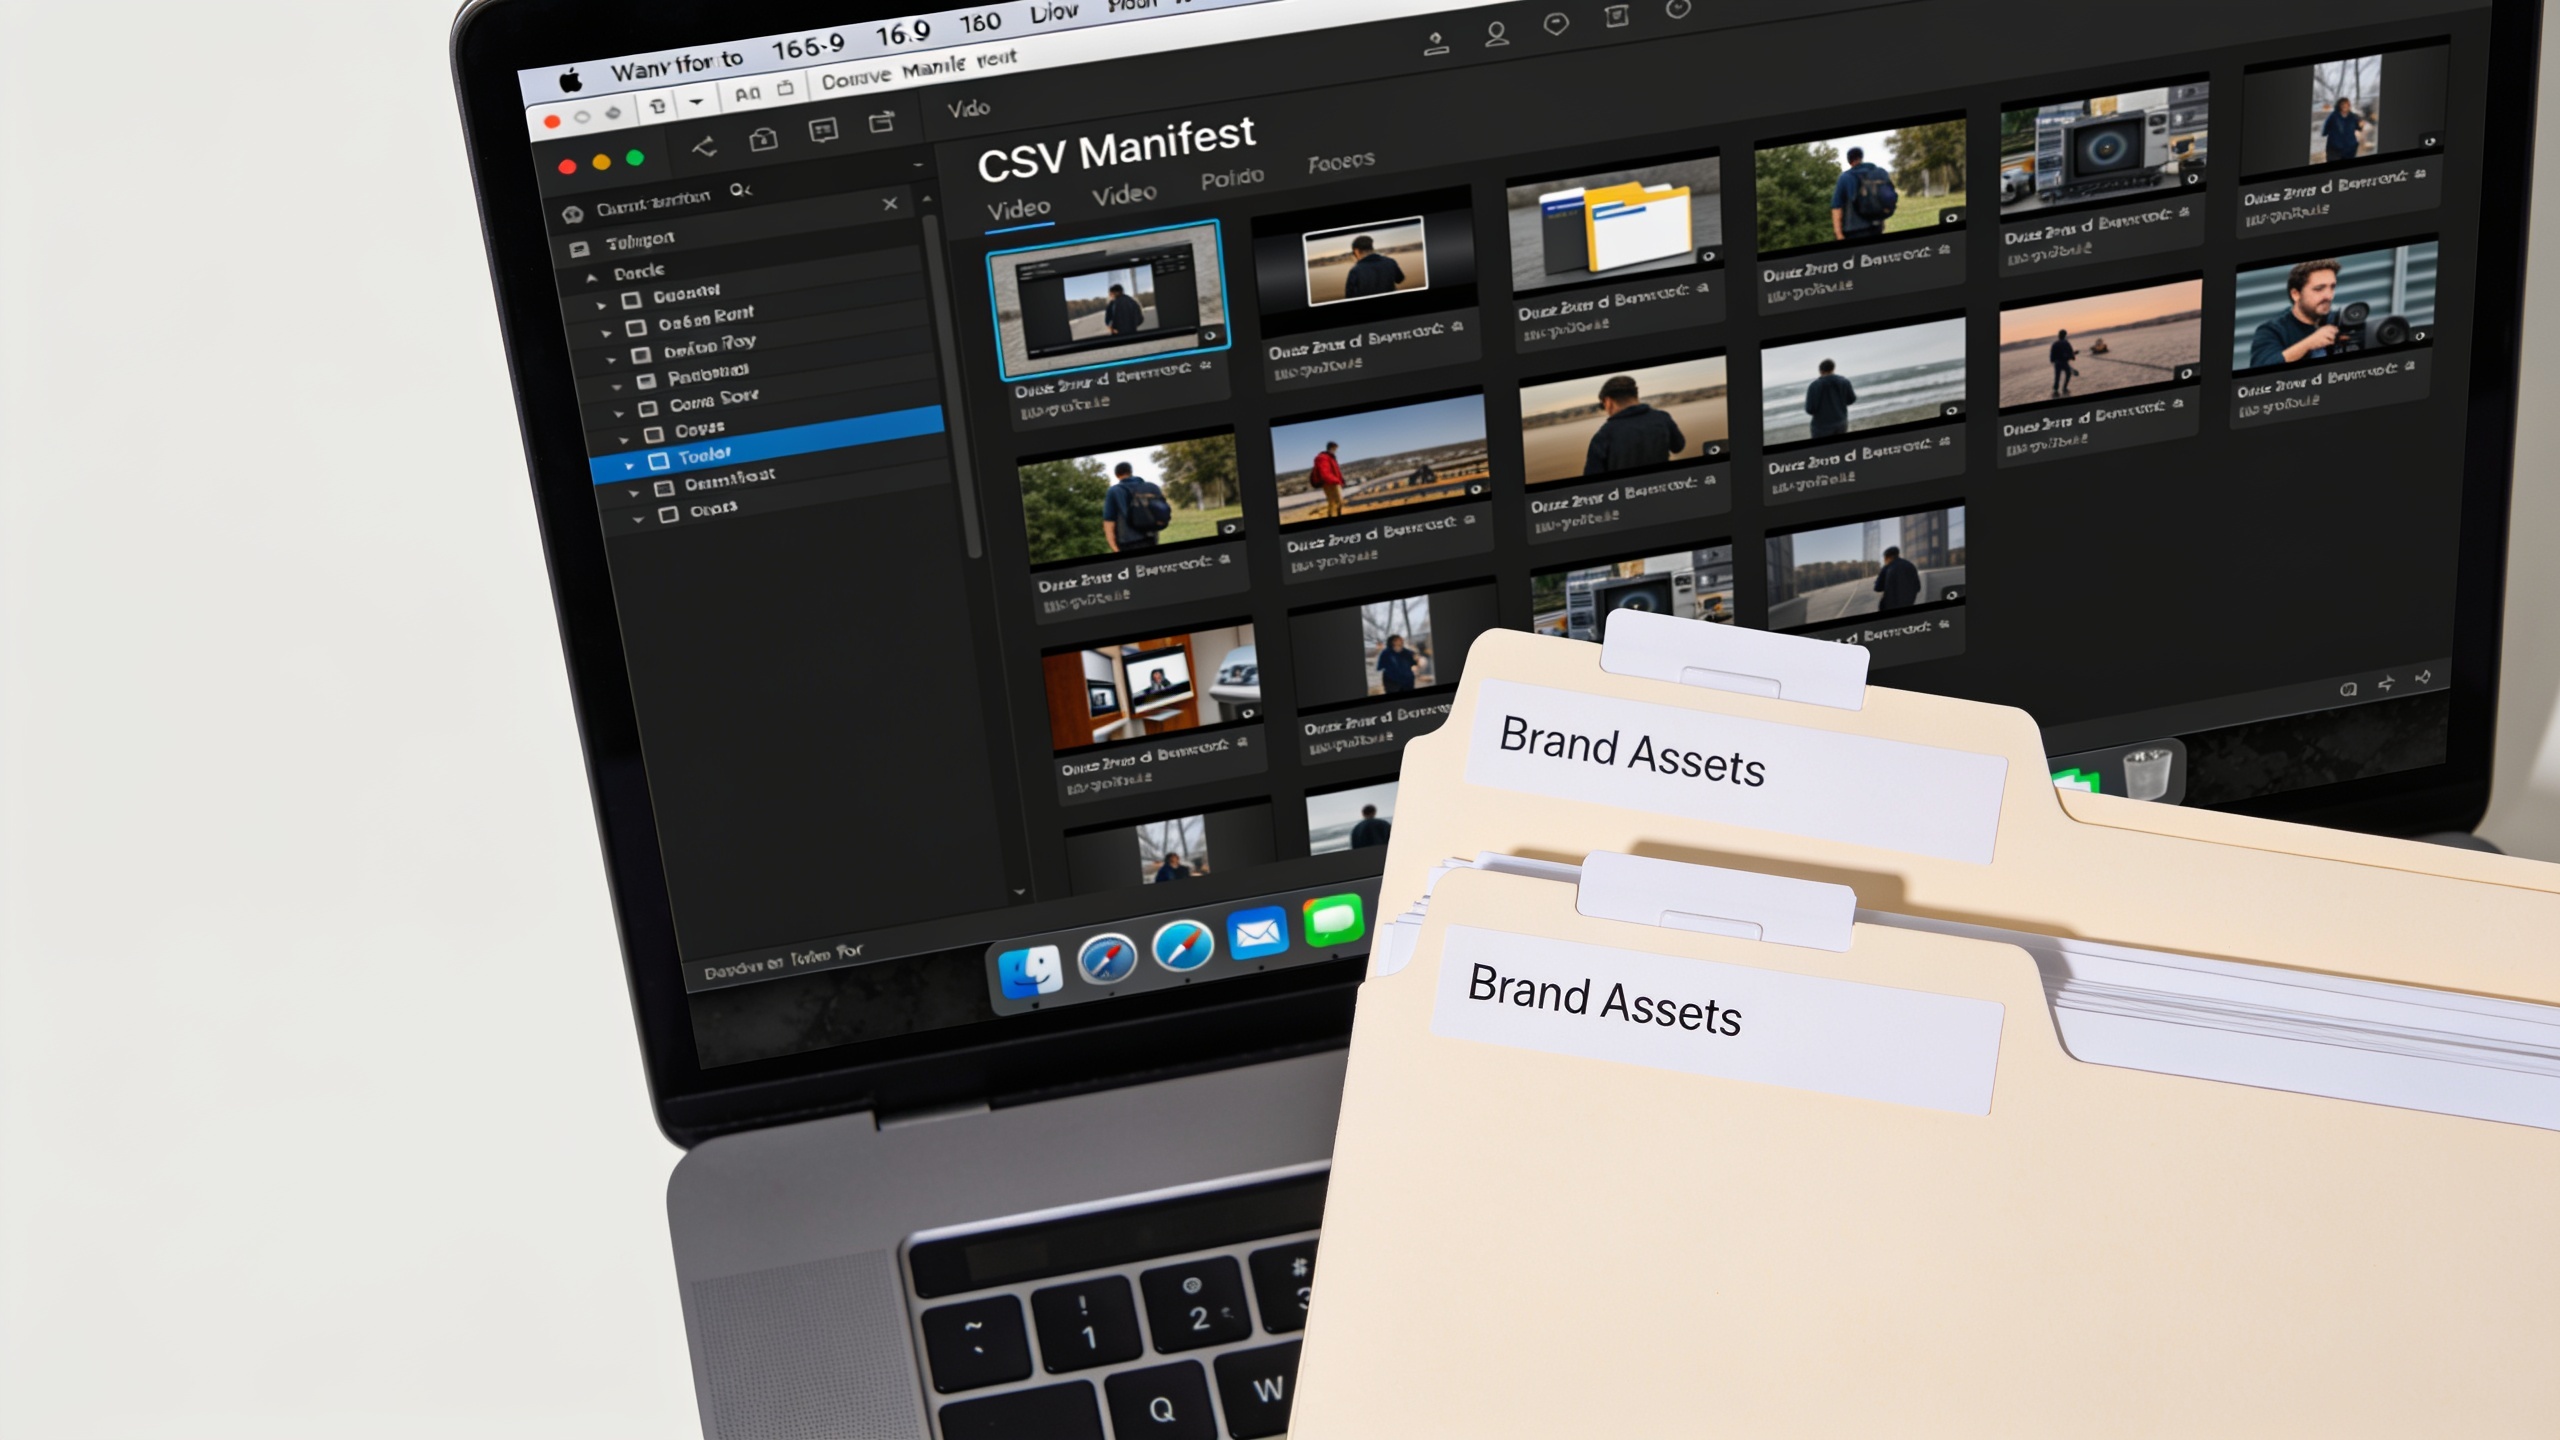
Prepare batches by standardizing clip filenames, durations, and metadata, then assign each clip a variant tag (platform, CTA, language). A reproducible batch-ready structure usually looks like: campaigncodeclipnumbervariant.mp4. Use a CSV manifest with columns: filename, captiontext, speakername, platform, crop, and targetlength.
Example workflow you can copy: 1) Collect source footage (phone clips, Loops, or AI-generated clips) and trim to target length (e.g., 15s, 30s). 2) Normalize frame rates and color (export 30fps, H.264 proxy if needed). 3) Create two motion templates: "LowerThirdCompact9x16" and "LowerThirdWide1x1". 4) Fill a CSV manifest with caption text and desired overlay variant.
Example manifest row (CSV): "spring23001ig.mp4","Shop the drop — link in bio","Product Manager","IG","9:16","15"
If you use AI-generated assets, generate visuals with an "AI video generator" that supports consistent prompts and seed control so clips share a common visual style. See the AI video generator for creating base clips before batch finishing: AI video generator.
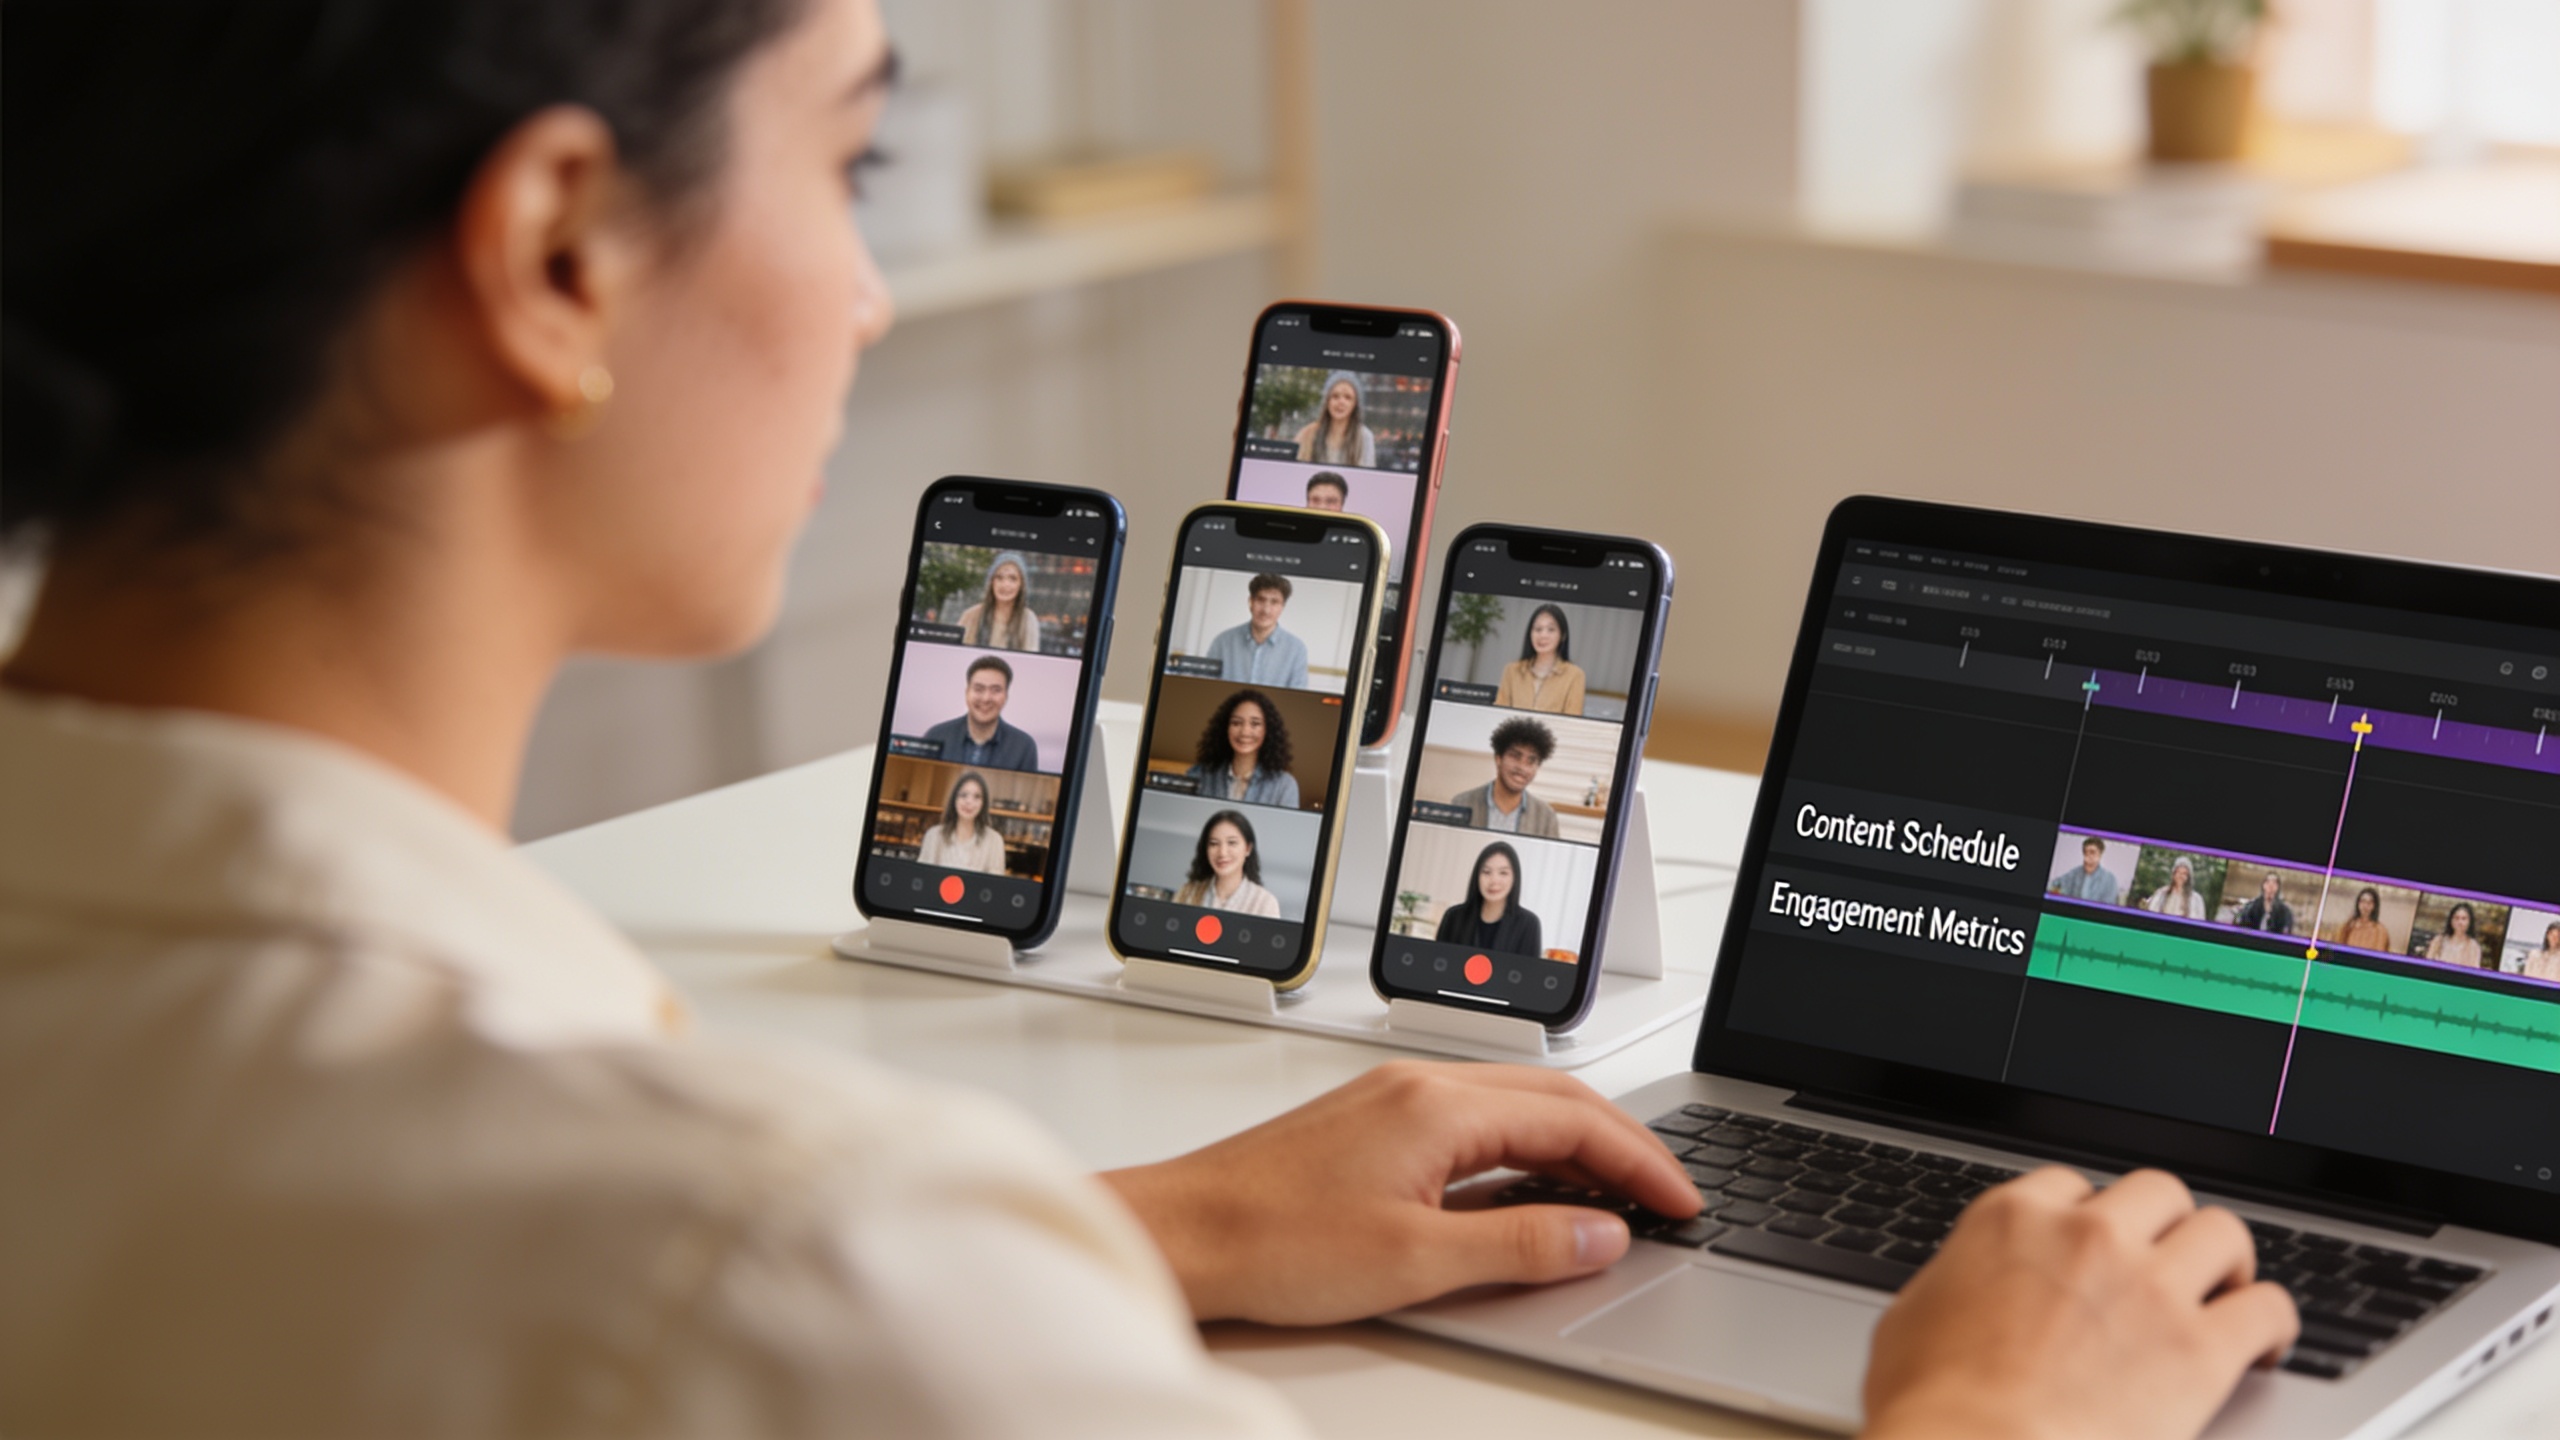
How do I use GoCrazyAI Media Mixer to apply brand overlays, burn subtitles, and export multiple TikTok/Instagram formats?
Use GoCrazyAI Media Mixer as the final pass where all overlays, subtitles, and exports happen in one place. Start by uploading your normalized batch or linking your AI-generated clips. Import your brand-kit overlay assets (colors, font files, transparent logo) into the project and load the two motion templates (compact and tall).
Step-by-step on GoCrazyAI Media Mixer: 1) Create a new batch project and import all source clips. 2) Select a clip group and apply the brand-kit overlay asset; choose "apply to selected" to push the overlay to many clips. 3) Turn on automatic subtitle generation and choose language and style; enable "burn captions" for exports that require embedded text. 4) Select output presets for TikTok (9:16, 1080x1920) and Instagram feed (1:1, 1080x1080). Use the built-in crop/position quick-fit to ensure lower thirds remain visible in each aspect. 5) Preview a few clips, then run batch export.
GoCrazyAI Media Mixer keeps post-production in one tool, layering subtitles, music, voiceover, and overlays from one panel, and exports a single ready-to-publish file per variant. Use the AI Video Editor link to open the Media Mixer: AI Video Editor.
How can I add synchronized voiceovers, music and SFX to dozens of clips in one pass?
You can add synchronized audio to many clips by preparing a short narration script or per-clip caption column in your manifest and using batch TTS or voice cloning to generate uniform voiceovers. Then choose a music bed and SFX stems with consistent levels and sidechain settings so speech remains intelligible.
Practical steps:
- Generate narration: use a single voice with consistent pacing. Tools like GoCrazyAI's AI Voices and AI Music Generator let you create or clone voices and produce background tracks; then import them into Media Mixer for layering. See AI music generator for scoring beds: AI music generator.
- Timing: align voiceover to a marker in each clip (e.g., 0.5s intro then narration). If clips vary, use short silent lead-in (200–400ms) to prevent cutoffs.
- SFX & ducking: set the music bed at -18 to -24 LUFS and sidechain to drop 6–10 dB during speech. Apply the same compressor and ducking preset across the batch to keep levels consistent.
- Batch render: in Media Mixer, enable "apply voiceover and music to batch" and select whether subtitles should match the narration (auto-sync enabled). Preview 3–5 items before exporting the full batch.
This approach keeps audio consistent across dozens of clips while preserving per-clip caption accuracy and export-ready files.
What measurement and QA steps test variants, metadata, and delivery best practices? Pitfalls to avoid
Test small sets and measure before you publish the whole batch. A good QA loop checks readability, audio levels, metadata, and platform-specific requirements in three quick passes.
Core QA steps:
- Readability check: view clips on a phone with brightness at 50% and confirm lower thirds and burned captions are legible; ensure no face is obscured.
- Audio check: sample LUFS, look for clipping, and confirm ducking works during speech.
- Crop & safe-area check: verify 9:16 and 1:1 crops keep lower thirds within the safe area.
- Metadata & captions: confirm captions match the final voiceover and that title/description fields include campaign codes and variant tags from your manifest.
Common pitfalls and how to avoid them: 1) Pitfall: Overly-complex overlays that hide faces. Fix: Use compact lower-thirds and conservative opacity. 2) Pitfall: Not burning captions when required by platform. Fix: Always export at least one burned-caption variant for autoplay environments. 3) Pitfall: Inconsistent audio levels across batch. Fix: Apply a single LUFS target and batch-compress/normalize before final render. 4) Pitfall: Templates that don’t scale between aspect ratios. Fix: design two template sizes and preview both before mass export.
Run a 10-clip pilot with each variant and measure watch-through rates and mute vs. unmute engagement; iterate templates based on the data.
Frequently Asked Questions
Do I always need to burn captions into social videos?
Not always, but burning captions is often required for autoplay and improves reach for sound‑off viewers. Many platforms favor burned captions for autoplay previews, and accessibility guidelines recommend captions for all public social clips.
How many overlay templates should my brand kit include?
Start with 3 templates: a compact lower third for 9:16, a wider lower third for 1:1, and a short logo reveal. That covers most crop needs and keeps maintenance manageable.
Can I use AI-generated voiceovers across multiple clips without sounding robotic?
Yes—choose a high-quality voice model, moderate speaking rate, and add humanizing prosody. Using the same voice per campaign increases consistency; small pauses and natural inflection improve perceived realism.
Conclusion
Scaling on-brand social video production requires a small set of reusable templates, a consistent manifest workflow, and a final batch finishing step that handles overlays, captions, and audio. Build two lower-third templates, normalize your clips, and run a pilot before full export. Polish your clip in the AI Video Editor and export the finished file in one click.
Sources
- Silent But Mighty: How Soundless Videos Are Winning Social Media [+ 2025 Data] — HubSpot Blogblog.hubspot.com ↗
- Lower third graphics — Adobe Creative Cloudadobe.com ↗
- How to use video templates from Adobe Stock — Adobe Blogblog.adobe.com ↗
- Video lower thirds — DaCast blog (guide)dacast.com ↗
- Top 6 Best Online YouTube Video Editors in 2025 — Video Candy Blog (brand kit feature notes)videocandy.com ↗
- Video Best Practice and Guidelines — Mount Sinai (example institutional brand/video guidelines)socialmedia.mountsinai.org ↗
- Motion Graphics template requirements at Adobe Stockhelpx.adobe.com ↗
- AI TikTok/short-form tool roundup — Wifitalents (2026 comparison mentioning templates & brand kits)wifitalents.com ↗