


How to use an image upscaler 4K to convert low-res photos to print-ready 4K/8K?
Practical guide to convert low-res photos and AI thumbnails into print-ready 4K/8K assets. Workflows, checks, and GoCrazyAI Image Upscaler steps.
You need crisp, print-ready 4K/8K images from phone shots, scanned family photos, or tiny AI thumbnails — and simple resizing won’t cut it. This guide shows when AI super-resolution helps, how to clean and prepare sources, exact steps to pull a 4K or 8K export with GoCrazyAI Image Upscaler, and checklist rules for print and thumbnails. Follow the workflows here to avoid common pitfalls and get reliable, usable upscales for video, posters, and thumbnails.
Quick Answer
How to use an image upscaler 4K to convert low-res photos to print-ready 4K/8K? Use an AI super-resolution model (Real-ESRGAN/ESRGAN family) to reconstruct plausible detail, first clean the source (denoise, mild deblur, crop), then run a 4x upscale as a practical rule-of-thumb. For GoCrazyAI, upload, choose 4K/8K, preview, and export PNG/JPEG at native resolution.
Why and when to use AI upscaling: what 4K/8K upscales actually fix (and what they don’t)?
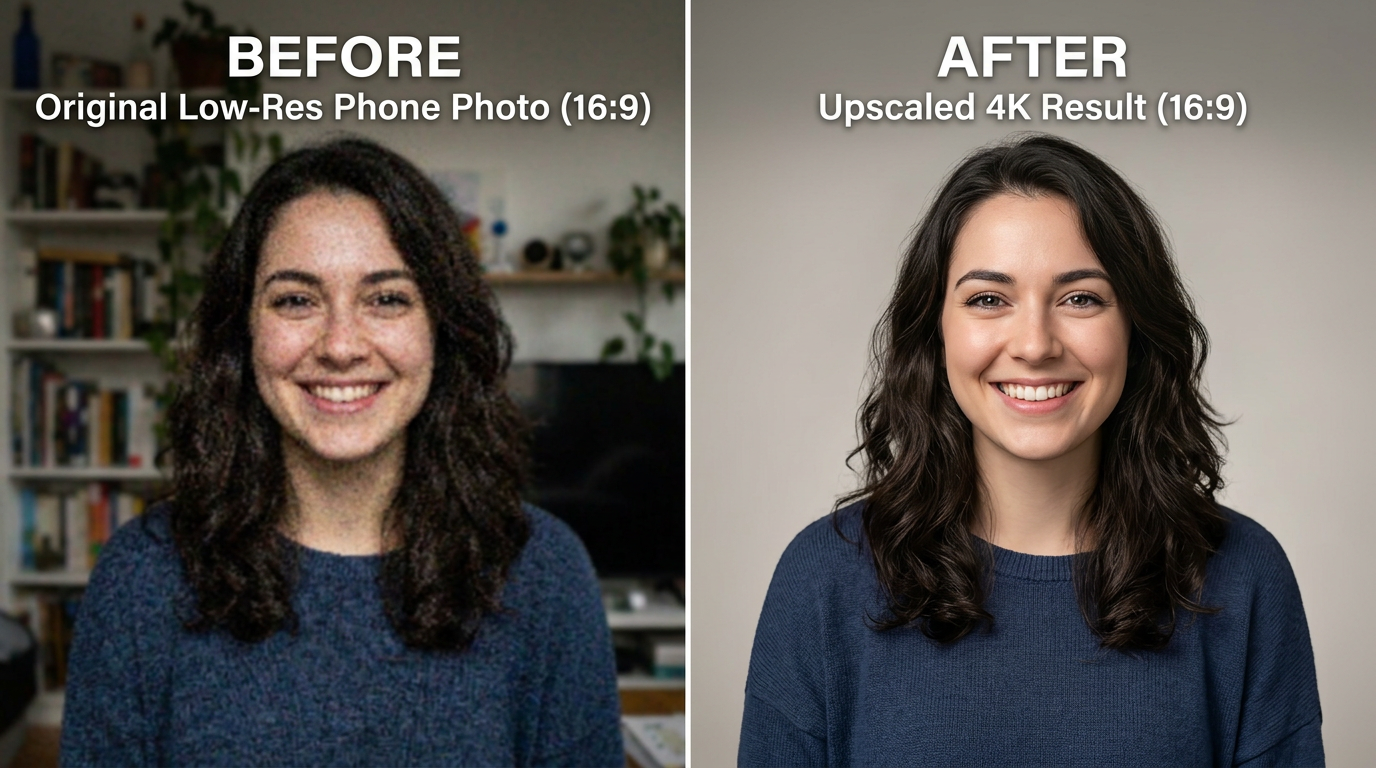
AI upscalers typically reconstruct high-frequency detail and reduce visible blur and blocky compression by predicting plausible texture information; they usually perform better than bicubic or simple interpolation for faces, fabrics, and hard edges. However, upscalers can't invent accurate facial expressions, fix severely corrupted composition, or change camera angle reliably — they enhance what’s there rather than replace missing content.
How they work: modern upscalers are often based on the ESRGAN family and Real-ESRGAN research, which train networks to recreate realistic detail rather than only interpolating pixels. That’s why results often look sharper than traditional bicubic scaling.
Practical outcomes: use AI upscaling when the original photo has recognizably correct shapes and subject matter (phone photos, scanned prints, AI thumbnails). Avoid upscaling when the image is extremely low-quality or the composition needs major reconstruction; it can amplify artifacts, making corrections harder.
When to pick 4K vs 8K: choose 4K (around 3840×2160) for most phone-to-print jobs and for video assets. Select 8K for very large prints or when the final viewing distance is short and detail matters. Remember: "Changing DPI/PPI metadata without adding pixels doesn’t magically create detail — it only changes how large the image prints by default." — Cloudinary guidance quoted in print-prep discussions. This is why true upscaling that adds pixels is necessary for print.
Preparing source images for best results: scanning, denoising and cropping before upscaling (hands-on)?
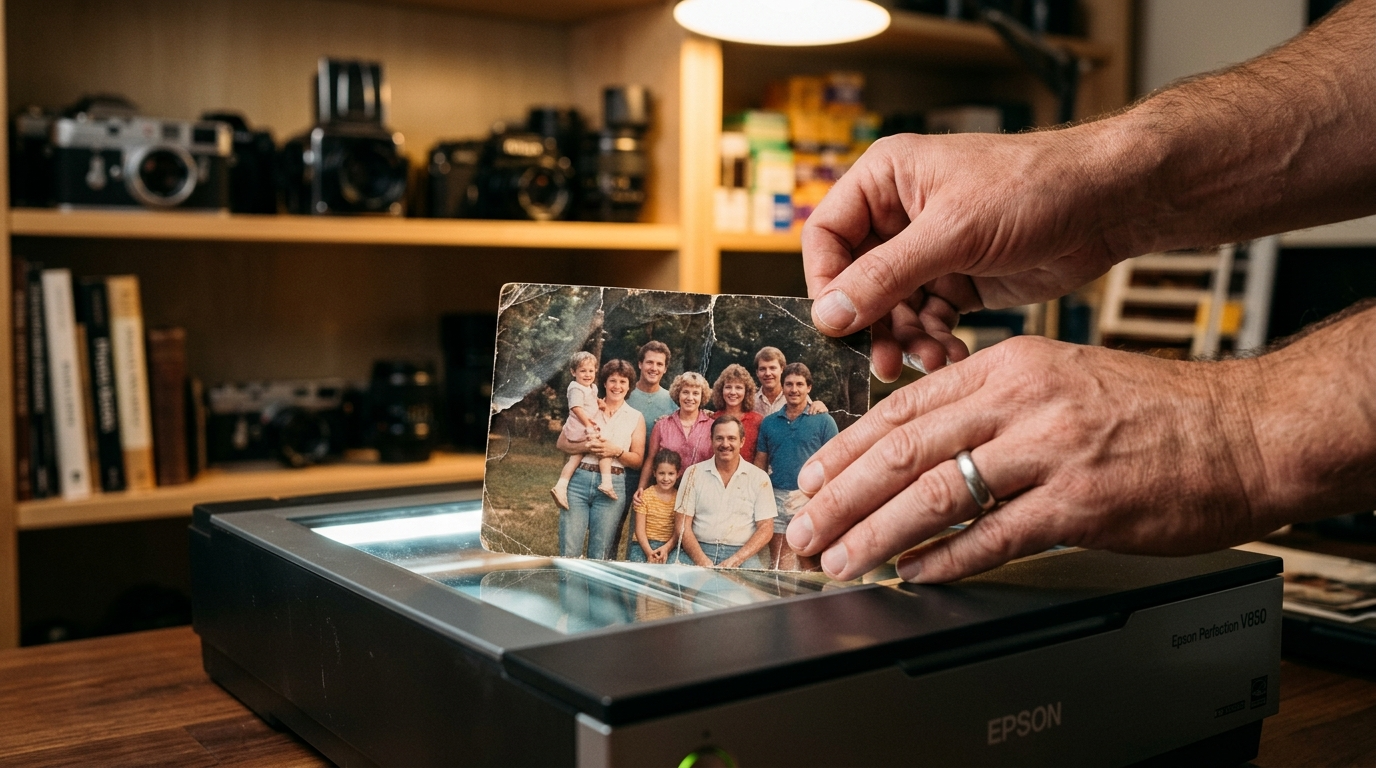
Prepare the source carefully: a clean source almost always upscales better than a noisy one. First, scan prints at the highest optical DPI your scanner offers (300–600 DPI for photos). When working from phone photos, export the highest-quality JPEG or original HEIC if available.
Denoising and mild deblur: apply gentle denoise and a slight deblur before upscaling — this reduces the chance an upscaler will amplify JPEG blocks or sensor noise. Use conservative settings: too much denoising removes texture that upscalers can reconstruct.
Crop and composition: crop to the final aspect ratio and framing you need for print or video. Upscaling after cropping preserves more useful pixels where they matter. If you plan to print a 16×24 poster, crop to that ratio first then upscale.
Color and exposure: correct major exposure, contrast, and white balance issues pre-upscale; over- or under-exposed regions may produce muddy upscaled detail. Finally, save a high-quality intermediate (lossless PNG or maximum-quality JPEG) before running the upscaler so you have a clean master to retry settings from.
Hands-on checklist: - Scan or export at max quality. - Crop to final aspect ratio. - Apply mild denoise + mild deblur. - Correct exposure and white balance. - Save a lossless/intermediate copy before upscaling.
Step-by-step: Upscaling a phone photo to 4K/8K for print with GoCrazyAI Image Upscaler (hands-on workflow)?
Run a quick 5–10 minute workflow to get a print-ready 4K or 8K image from a phone photo using GoCrazyAI Image Upscaler. Upload, pick settings, preview, and export — no watermark on exports and up to 8K output.
1) Quick answer (stand-alone): Upload your cleaned, cropped photo to the GoCrazyAI Image Upscaler, select 4x (or target 4K/8K) output, run the upscale, inspect the preview at 100% and 25%, then export a high-quality PNG/JPEG. If needed, iterate by slightly adjusting denoise or sharpening and re-run.
Detailed steps:
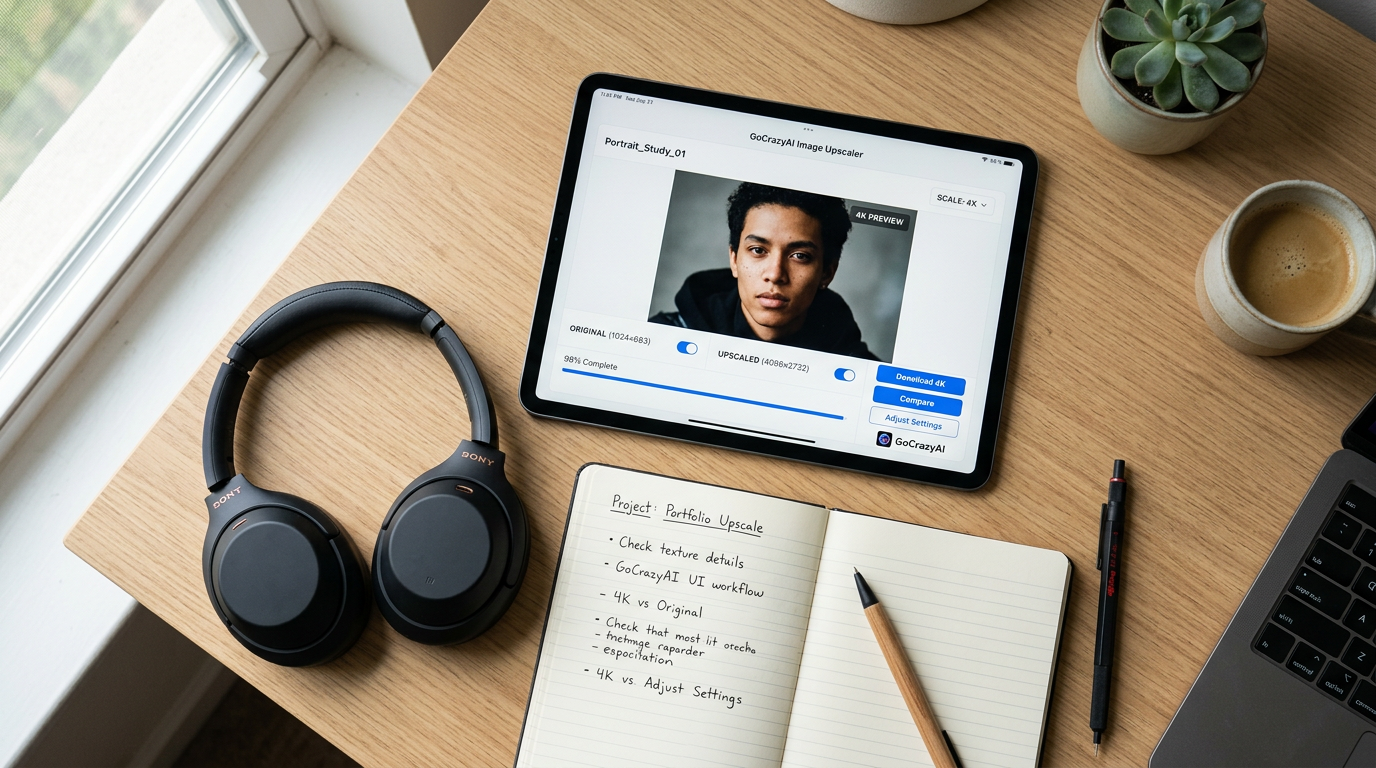
- Upload: Go to the GoCrazyAI Image Upscaler and drop your intermediate (lossless PNG or high-quality JPEG). The UI accepts most common formats and shows max output options (up to 8K).
- Choose scale and model: For phone originals, pick a 4x upscale as your starting point; choose 8K output only if you need larger print sizes. The Image Upscaler uses super-resolution models that reconstruct detail and clean compression artifacts.
- Preview: Use the preview tool to pan and zoom at 100% and 25% (25% simulates mobile thumbnail size — useful for thumbnails). Inspect skin areas, text, and edges for artifacting.
- Adjust and re-run: If noise or blockiness appears, return to your local editor to apply a mild denoise or reduce JPEG artifacts, then re-upload. For slightly soft results, add a mild sharpening pass after upscaling, not before.
- Export: Download as PNG (preferred for maximum quality) or max-quality JPEG. The output is watermark-free and can be used directly for video or print.
Notes on credits and cost: Check GoCrazyAI pricing and credits to estimate cost per upscale on the /credits page. For batch jobs, plan credits ahead and batch similar images to save time.
Sharpening AI-generated thumbnails and thumbnails 4K upscaler tips to maximize CTR?
Short answer: focus on strong subject contrast, simplified backgrounds, and export at native 4K resolution so text and faces remain legible at small sizes; test at 25% to simulate mobile thumbnail appearance.
Why this matters: YouTube and social platforms show thumbnails at tiny sizes on mobile. Upscaling an AI-generated thumbnail to 4K preserves pixel information for platform compression and resampling, making the final visible result clearer and more clickable.
Practical tips:
- Simplify backgrounds before upscaling: remove clutter to prevent small distracting details from appearing at thumbnail sizes. - Increase subject contrast: boost midtone contrast and clarity around faces and focal objects; this helps the upscaler emphasize edges. - Export native 4K PNG/JPEG: avoid upscaling inside the platform; supply the platform with the largest clear source. - Test at 25% view: open the exported 4K file, view at 25% zoom to check legibility and composition for mobile sizes.
Example thumbnail prep prompts (use safe domains only):
"AI thumbnail: smiling presenter, high contrast, simplified flat-color background, bold white outline around subject, 16:9 crop, export 3840x2160 PNG"
"Product close-up: clean background, strong edge contrast, 4K export, save as PNG for minimal compression"
These steps keep the subject clear after platform compression and can increase CTR by improving perceived sharpness and legibility. For more on how simplicity impacts CTR, see ThumbnailCreator research.
Restoring and enhancing old photos: color, repair and upscaling strategies (mistakes to avoid)?
Short answer: restore color and repair defects first (spot repair, dust removal, tone corrections), then run an AI upscale. Upscaling before heavy repairs often magnifies dust, scratches, and scan artifacts — do cleanup first.
Restoration workflow:
- Scan at high optical DPI (300–600). - Use spot-heal and clone tools to remove dust and scratches at the base scan. - Balance color and remove color casts (curves, selective color adjustments). - Apply conservative noise reduction to sensor or film grain issues. - Save an intermediate, then use AI upscaler for 2x or 4x depending on print size.
Common mistakes to avoid:
- Upscaling before repair: this amplifies dust and scratches. - Over-denoising: removing grain entirely can make faces look plastic after upscaling. - Ignoring color gamut: convert to the correct color space (sRGB for web, CMYK proof for print) before final export.
When to choose aggressive upscaling: if the original scan is very small but composition is intact, a 4x upscale is a reasonable rule-of-thumb; for museum-quality enlargements, consider multi-step workflows (repair → 2x upscale → repair → additional upscale) to keep control over artifacts. Finally, keep a version history so you can revert if a repair step removes authentic detail.
Print and export checklist: DPI, file formats, soft-proofing and when to choose 4K vs 8K?
Short answer: match pixel dimensions and viewing distance, not a fixed DPI. For close-view prints aim for ~300 DPI, but posters viewed from a few feet often look fine at 150 DPI or less. Choose 4K for small-to-medium prints and 8K for large-format or short-distance viewing.
Checklist details:
- Calculate needed pixels: multiply desired print inches × target DPI to get pixels. Example: 11" × 17" at 300 DPI needs ~3300 × 5100 pixels (roughly 4–5MP). - Use viewing distance rules: posters viewed from several feet can often use 150 DPI; billboards use far lower DPI. See VistaPrint and print guides for examples. - File formats: export PNG for highest fidelity, or max-quality JPEG for smaller files. For print shops that require CMYK, convert and soft-proof in Photoshop and save a flattened TIFF or high-quality PDF if required. - Soft-proofing: check your file in the printer’s color profile (ICC) to catch gamut clipping. - Metadata: remember that "Changing DPI/PPI metadata without adding pixels doesn’t magically create detail — it only changes how large the image prints by default." Use true upscaling to add pixels for print.
When to choose 4K vs 8K:
- Choose 4K (≈3840×2160) when producing prints up to medium poster sizes or for most screen/video targets. - Choose 8K when you need very large prints, want more headroom for cropping, or if the final viewing distance is short. - Practical rule: use a 4x upscale from phone resolution as a reliable starting point for print-ready assets; move to 8K for larger format demands or archival masters.
Export tips: always keep a lossless master and export platform-specific derivatives (PNG/JPEG for web, TIFF/PDF for print).

Real-world examples, results comparison and quick troubleshooting guide (examples you can copy)?
Short answer: compare before/after crops at 100% and 25% to judge success; if upscaling shows amplified noise, revert to the intermediate and apply extra denoise or a repair pass then re-upscale. Below are three real-world example workflows you can copy.
Example 1 — Phone photo to 11×17 poster (print):
- Source: 12MP phone JPEG, crop to poster ratio. - Prep: mild denoise, exposure + contrast correction, save as PNG. - Upscale: 4x on GoCrazyAI Image Upscaler to reach ~48MP (approx 8K class) for print headroom. - Post-upscale: inspect at 100% for texture, apply mild local sharpening, convert to CMYK for print shop. Result: readable fine detail at normal viewing distance.
Example 2 — AI-generated thumbnail to 4K for YouTube:
- Source: 640×360 AI thumbnail. - Prep: simplify background, boost subject contrast, export as PNG. - Upscale: 4K output and save as PNG; test at 25% to simulate mobile. - Result: clearer edges and improved CTR potential when used as upload asset.
Example 3 — Scanned family photo restoration and print:
- Source: 1200×800 scan. - Prep: remove dust/scratches, color correct, mild denoise. - Upscale: 2x then spot-repair, then additional 2x if needed to reach 4K/8K target. - Result: natural textures restored without exaggerated artifacts.
Troubleshooting quick guide:
1) Problem: Upscaled image looks noisy or blocky. Fix: return to the intermediate and apply mild denoise or reduce JPEG compression before re-upscaling. 2) Problem: Soft faces with no detail. Fix: try a two-pass approach (2x, repair, 2x) or a slightly higher upscale with a different model if available. 3) Problem: Color shifts after export. Fix: soft-proof in the target printer profile and convert color spaces before final export.
Example prompts you can copy for thumbnail prep:
"Subject: product shot, clean flat background, high contrast, export 3840x2160 PNG"
"Portrait: remove background clutter, enhance eyes and mouth contrast, crop 16:9, save as high-quality PNG"
Frequently Asked Questions
Can I turn any low-res photo into a 4K image with an upscaler?
You can often create a usable 4K image from most phone photos and moderate scans, but results depend on original composition and detail. Extremely degraded or badly composed images may not upscale well because the model can’t invent accurate content.
Is 4x a safe upscale multiplier for print?
Yes — for most phone-to-print jobs 4x is a practical rule-of-thumb. Many commercial services reliably handle 2x–4x upscales; use 4x to move from phone resolution into the 4K range for prints or video.
Should I denoise before or after upscaling?
Denoise mildly before upscaling to prevent noise from being amplified. If the result is too soft, apply light sharpening after upscaling rather than heavy denoise before it.
Which file format is best for final print exports?
Use PNG or TIFF for maximum fidelity; high-quality JPEG is acceptable if file size matters. For print shops requiring CMYK, convert and soft-proof into their ICC profile and supply a flattened PDF or TIFF.
Conclusion
Final thoughts: AI image upscalers can turn everyday phone shots, scanned photos, and AI thumbnails into usable 4K/8K assets when you prepare the source, choose the right scale, and check outputs at both 100% and small-preview sizes. Keep intermediate copies so you can iterate: repair → denoise → upscale → inspect → export. Drop your image into the AI Image Upscaler and pull a 4K version in seconds.
Mentioned in
Sources
- Real-ESRGAN: Training Real-World Blind Super-Resolution with Pure Synthetic Data (arXiv)arxiv.org ↗
- ESRGAN: Enhanced Super-Resolution Generative Adversarial Networks (arXiv)arxiv.org ↗
- How to Print Large Posters Without Losing Quality – Printkegprintkeg.com ↗
- Poster Resolution, Bleed & CMYK | VistaPrint US – Poster printing prep guidevistaprint.com ↗
- Best upscalers for posters and large prints (tested for 300 DPI) | LetsEnhance blogletsenhance.io ↗
- Photo Enlarger vs Image Upscaler for Print: A Designer Guide | ArtEdge.ai (mentions Cloudinary guidance)artedge.ai ↗
- How Simplicity Impacts Thumbnail Click-Through Rates | ThumbnailCreatorthumbnailcreator.com ↗