Image Upscaler 4K: How to Make Print‑Ready 4K/8K Assets
Practical workflow to turn phone photos and AI thumbnails into print-ready 4K/8K assets with AI upscaling, color/profile tips, and GoCrazyAI guidance.
<!-- KEYTAKEAWAYS -->- Target 300 DPI for close‑view prints; 150 DPI can work for large, distant posters.- Upscale moderately (2×–4×) for reliable, print‑worthy results; avoid extreme multipliers.- Fix compression artifacts and recompose small text as vectors before upscaling.- Export 4K/8K as TIFF or high‑quality PNG/JPEG with the correct color profile.- Batch for bulk thumbnails; tune individual images with faces or complex detail.<!-- /KEYTAKEAWAYS --> You need a phone photo or an AI thumbnail to look sharp at 4K or on a printed poster, but it currently blurs or artifacts badly. This article shows a reliable, practical workflow to turn low‑res inputs into print‑ready 4K/8K files using AI upscaling with minimal rework. You’ll learn what final pixel dimensions and DPI matter, which artifacts to fix before upscaling, moderate upscale targets (2×–4×), and export settings (TIFF/PNG, profiles) to match printer requirements.
Examples and two hands‑on workflows walk through: upscaling a phone photo to a 4K poster and sharpening an AI thumbnail for YouTube. The article closes with a focused walkthrough of the GoCrazyAI Image Upscaler so you can test an image end‑to‑end quickly.
Quick Answer
Image upscaler 4K: use an AI super‑resolution upscaler to enlarge your image to 3840×2160 (4K) or 7680×4320 (8K) by starting from the best source, choosing a moderate 2×–4× upscale, cleaning artifacts and text first, and exporting as TIFF or high‑quality PNG with the correct color profile. This approach usually produces print‑ready results without heavy manual retouching.
Why image upscaling matters today: 4K/8K, social, and print requirements?
Upscaling matters because distribution and print targets now demand far more pixels than phone cameras or social thumbnails usually provide. Many platforms re‑encode uploads (causing compression) and large prints require specific pixel counts to meet DPI targets. Meeting those needs often means producing a native 3840×2160 (4K) or 7680×4320 (8K) file so downstream tools and vendors have enough resolution to work with.
For creators this affects three common scenarios: YouTube thumbnails must survive platform compression across devices; ecommerce product images need high detail for zooming; and printed posters or gallery prints require DPI‑appropriate pixel dimensions. Rather than recompose or reshoot, modern AI image upscalers reconstruct detail to produce visually sharper results than simple interpolation, saving time while keeping the original composition and intent.
How DPI, viewing distance, and final size determine whether you need 4K or 8K upscaling?
Decide target pixels from the required print size and viewing distance. 300 DPI is the standard target for close‑view professional prints (magazines, art prints); for large posters that will be seen from several feet, 150 DPI often looks fine. Multiply the physical size (in inches) by your target DPI to get pixel dimensions.
Example: a 24×36 inch poster at 300 DPI needs 7200×10800 pixels — larger than 8K height — but at 150 DPI it needs 3600×5400, which a 4K upscale may approach for one axis. If your final pixel requirement exceeds your target upscaler capacity, consider reframe, print at a lower DPI, or split the artwork into tiled prints. Always confirm the printer’s preferred DPI and file format in advance[[1]](#source-1).
Which upscaling approaches exist (traditional interpolation vs. modern AI super‑resolution) — pros and cons?
Traditional interpolation (bicubic, Lanczos) resamples pixels mathematically and often softens edges as you enlarge. Modern AI super‑resolution uses learned priors to reconstruct plausible detail based on training data, usually producing sharper, more natural results for photos and many AI renders. AI approaches are typically better at removing compression artifacts and restoring texture but can hallucinate fine detail in extreme upscales.
Pros of AI upscalers: better sharpness and artifact cleanup, often superior for photos and textured images. Cons: they can introduce unnatural texture or fail on thin lines and small type, and extreme multipliers (10×+) become unreliable. Pros of interpolation: predictable, no hallucination, quick and cheap. Cons: softer, less effective at restoring lost detail. For most creator workflows, AI super‑resolution at moderate factors (2×–4×) balances quality and reliability.
Preparing source images: what to check before upscaling (file type, artifacts, faces, text)?
Before upscaling check file type, compression artifacts, small text, and faces. Start from the largest possible source (RAW or original PNG/JPEG). Remove or reduce heavy JPEG blocking and noise, fix clipped highlights/shadows, and crop or straighten composition errors first. Faces often need careful previewing; use targeted denoise or face‑aware options when available.
Text, thin lines, and vector art are the hardest elements; if your image contains text or logos, keep the original vector files when possible or recompose text after upscaling. For artwork with banding or gradient issues, apply slight dithering or color smoothing before upscale. These prechecks substantially reduce rework and avoid common artifacts after enlargement.
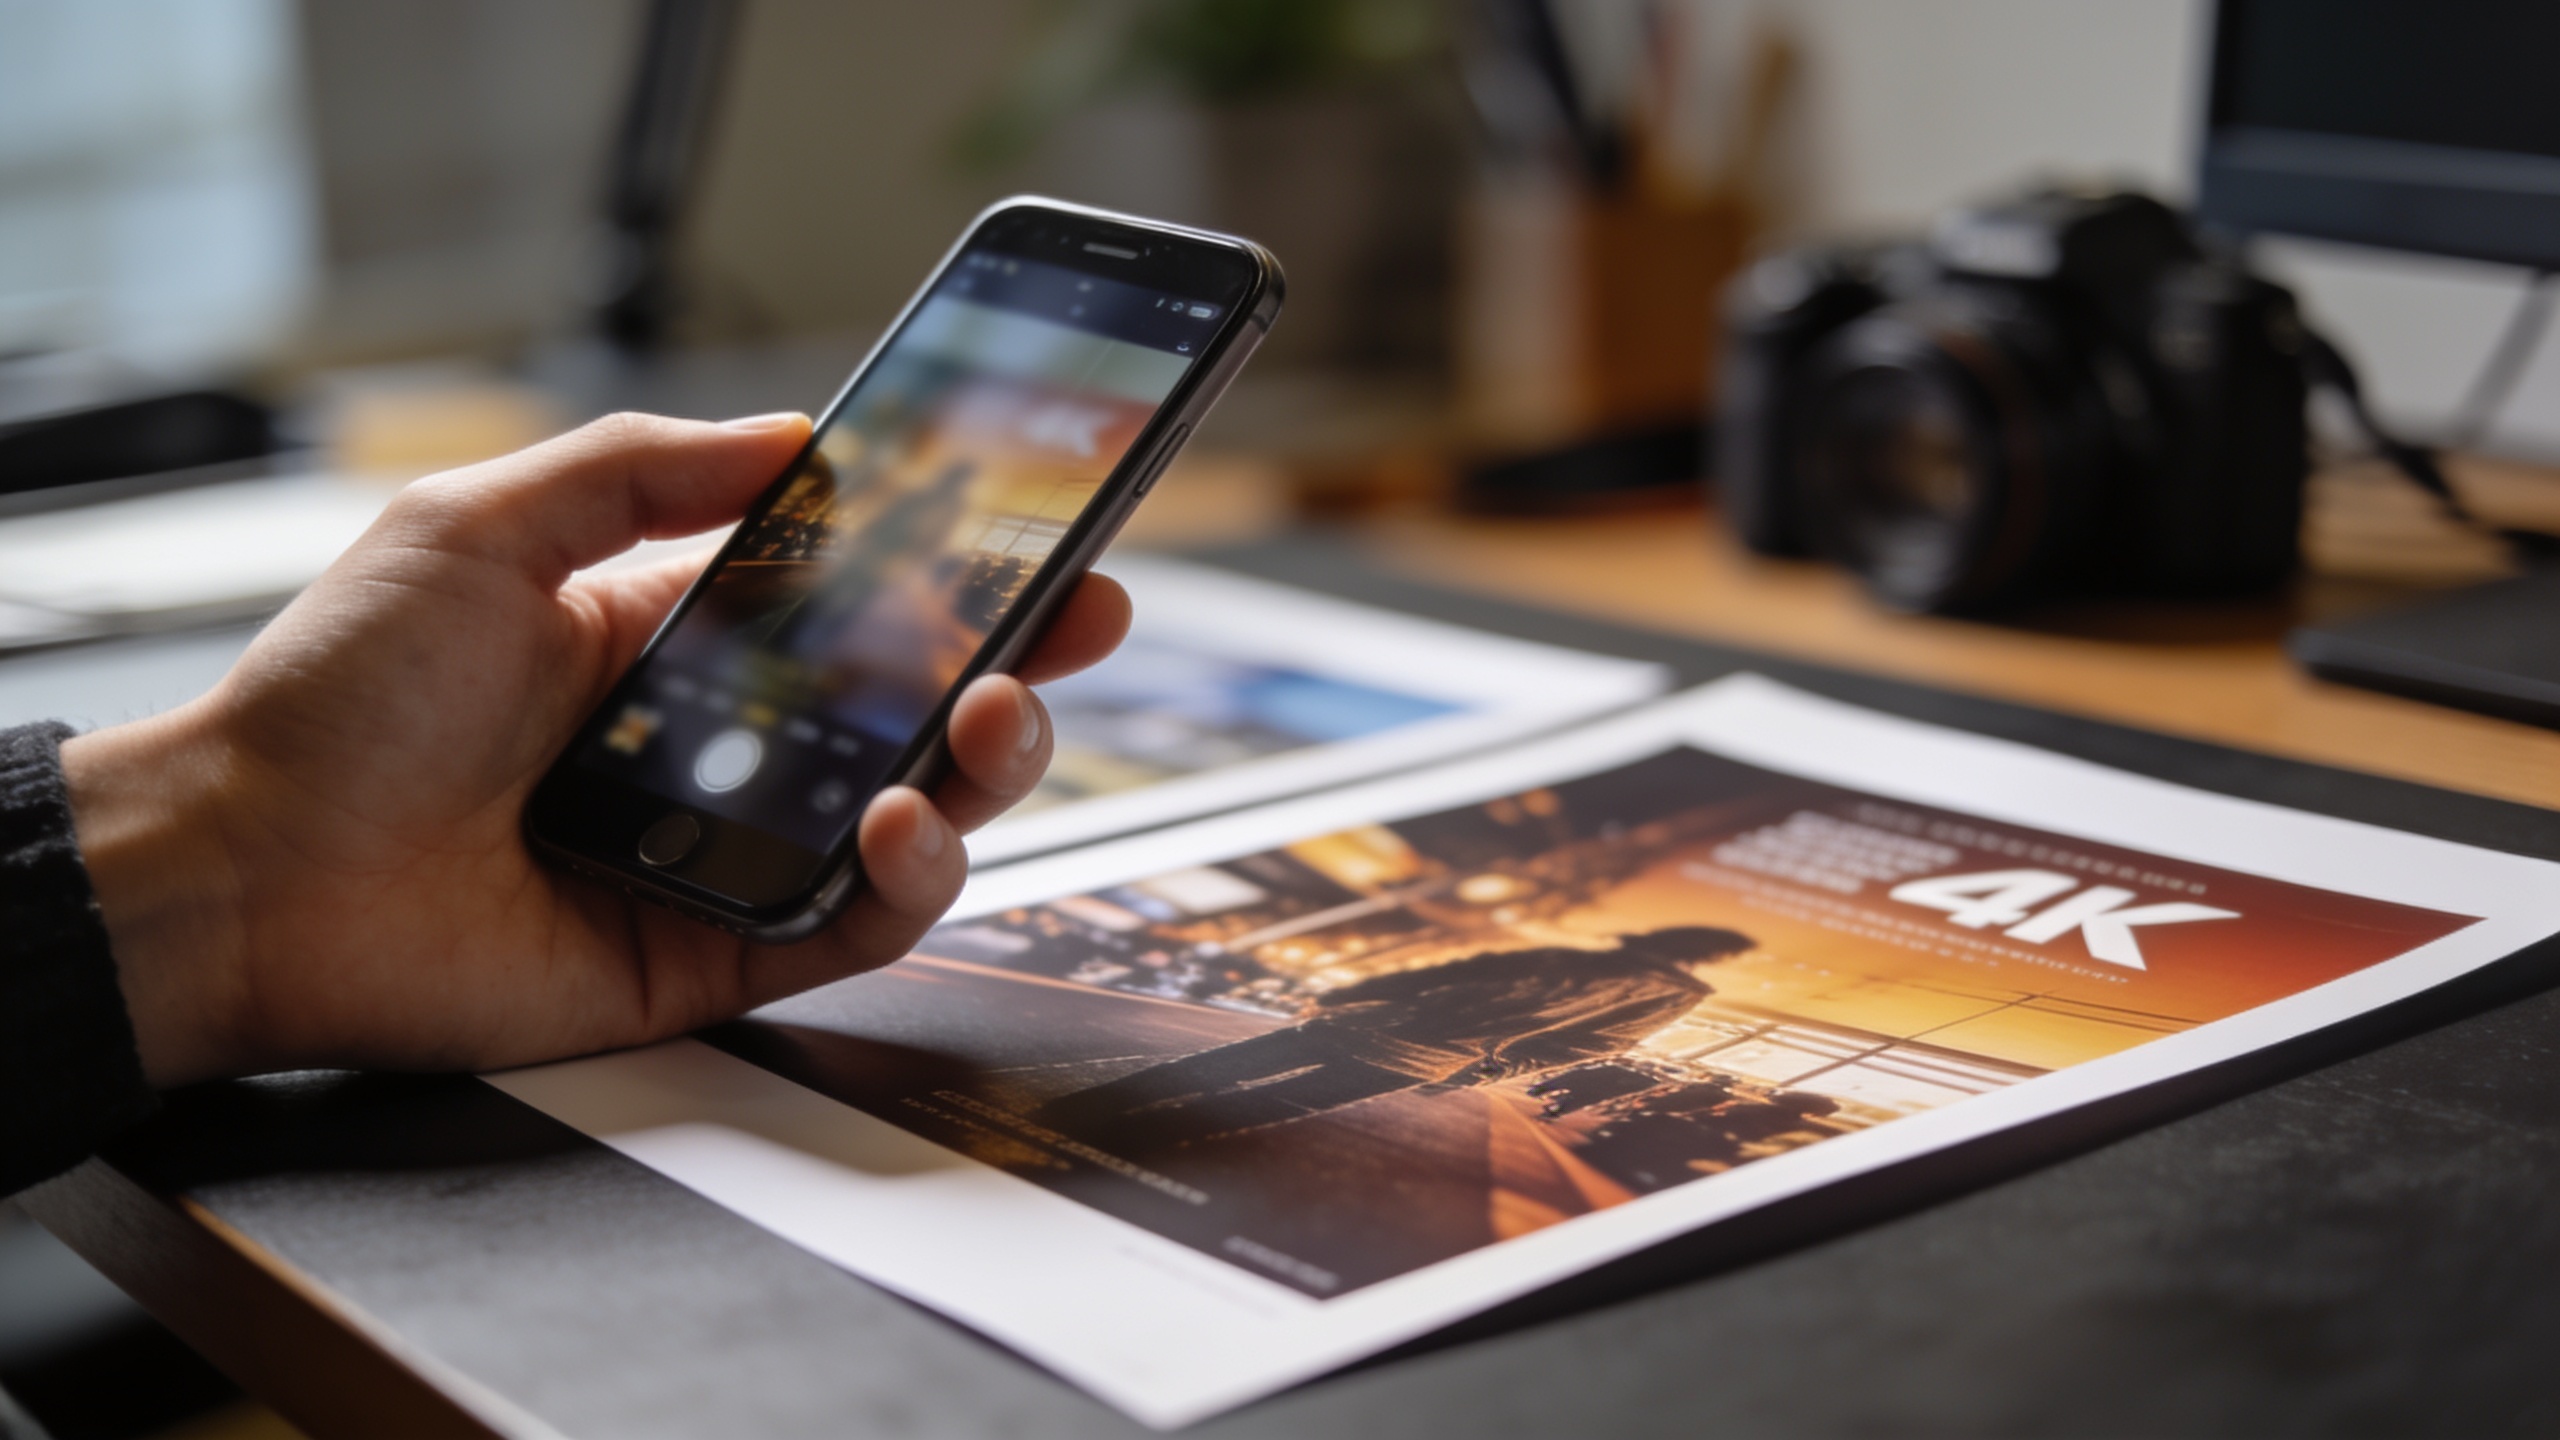
Hands‑on: Upscaling a phone photo to a print‑ready 4K poster — step‑by‑step workflow
Start by answering the target: determine the final print size and DPI, then calculate required pixels. Choose conservative upscaling (2×–4×) from the best source, clean artifacts, preview, and export in the printer’s preferred format.
1) Check the source: use the RAW or highest‑quality JPEG. 2) Crop and fix composition; rotate and straighten. 3) Repair heavy compression: run a denoise + artifact cleanup pass. 4) Apply modest sharpening only where needed. 5) Upscale 2×; preview at 100% and at final print pixels. 6) If required, repeat a second 1.5–2× pass rather than a single extreme upscale. 7) Convert to the correct color profile and export as TIFF or high‑quality PNG/JPEG per vendor instructions.
For print, target 300 DPI for close viewing, or 150 DPI for large posters expected to be seen from a distance. If a single upscaler pass can't reach the required pixel count reliably, consider tiled printing or request the printer accept 150 DPI for large sizes.
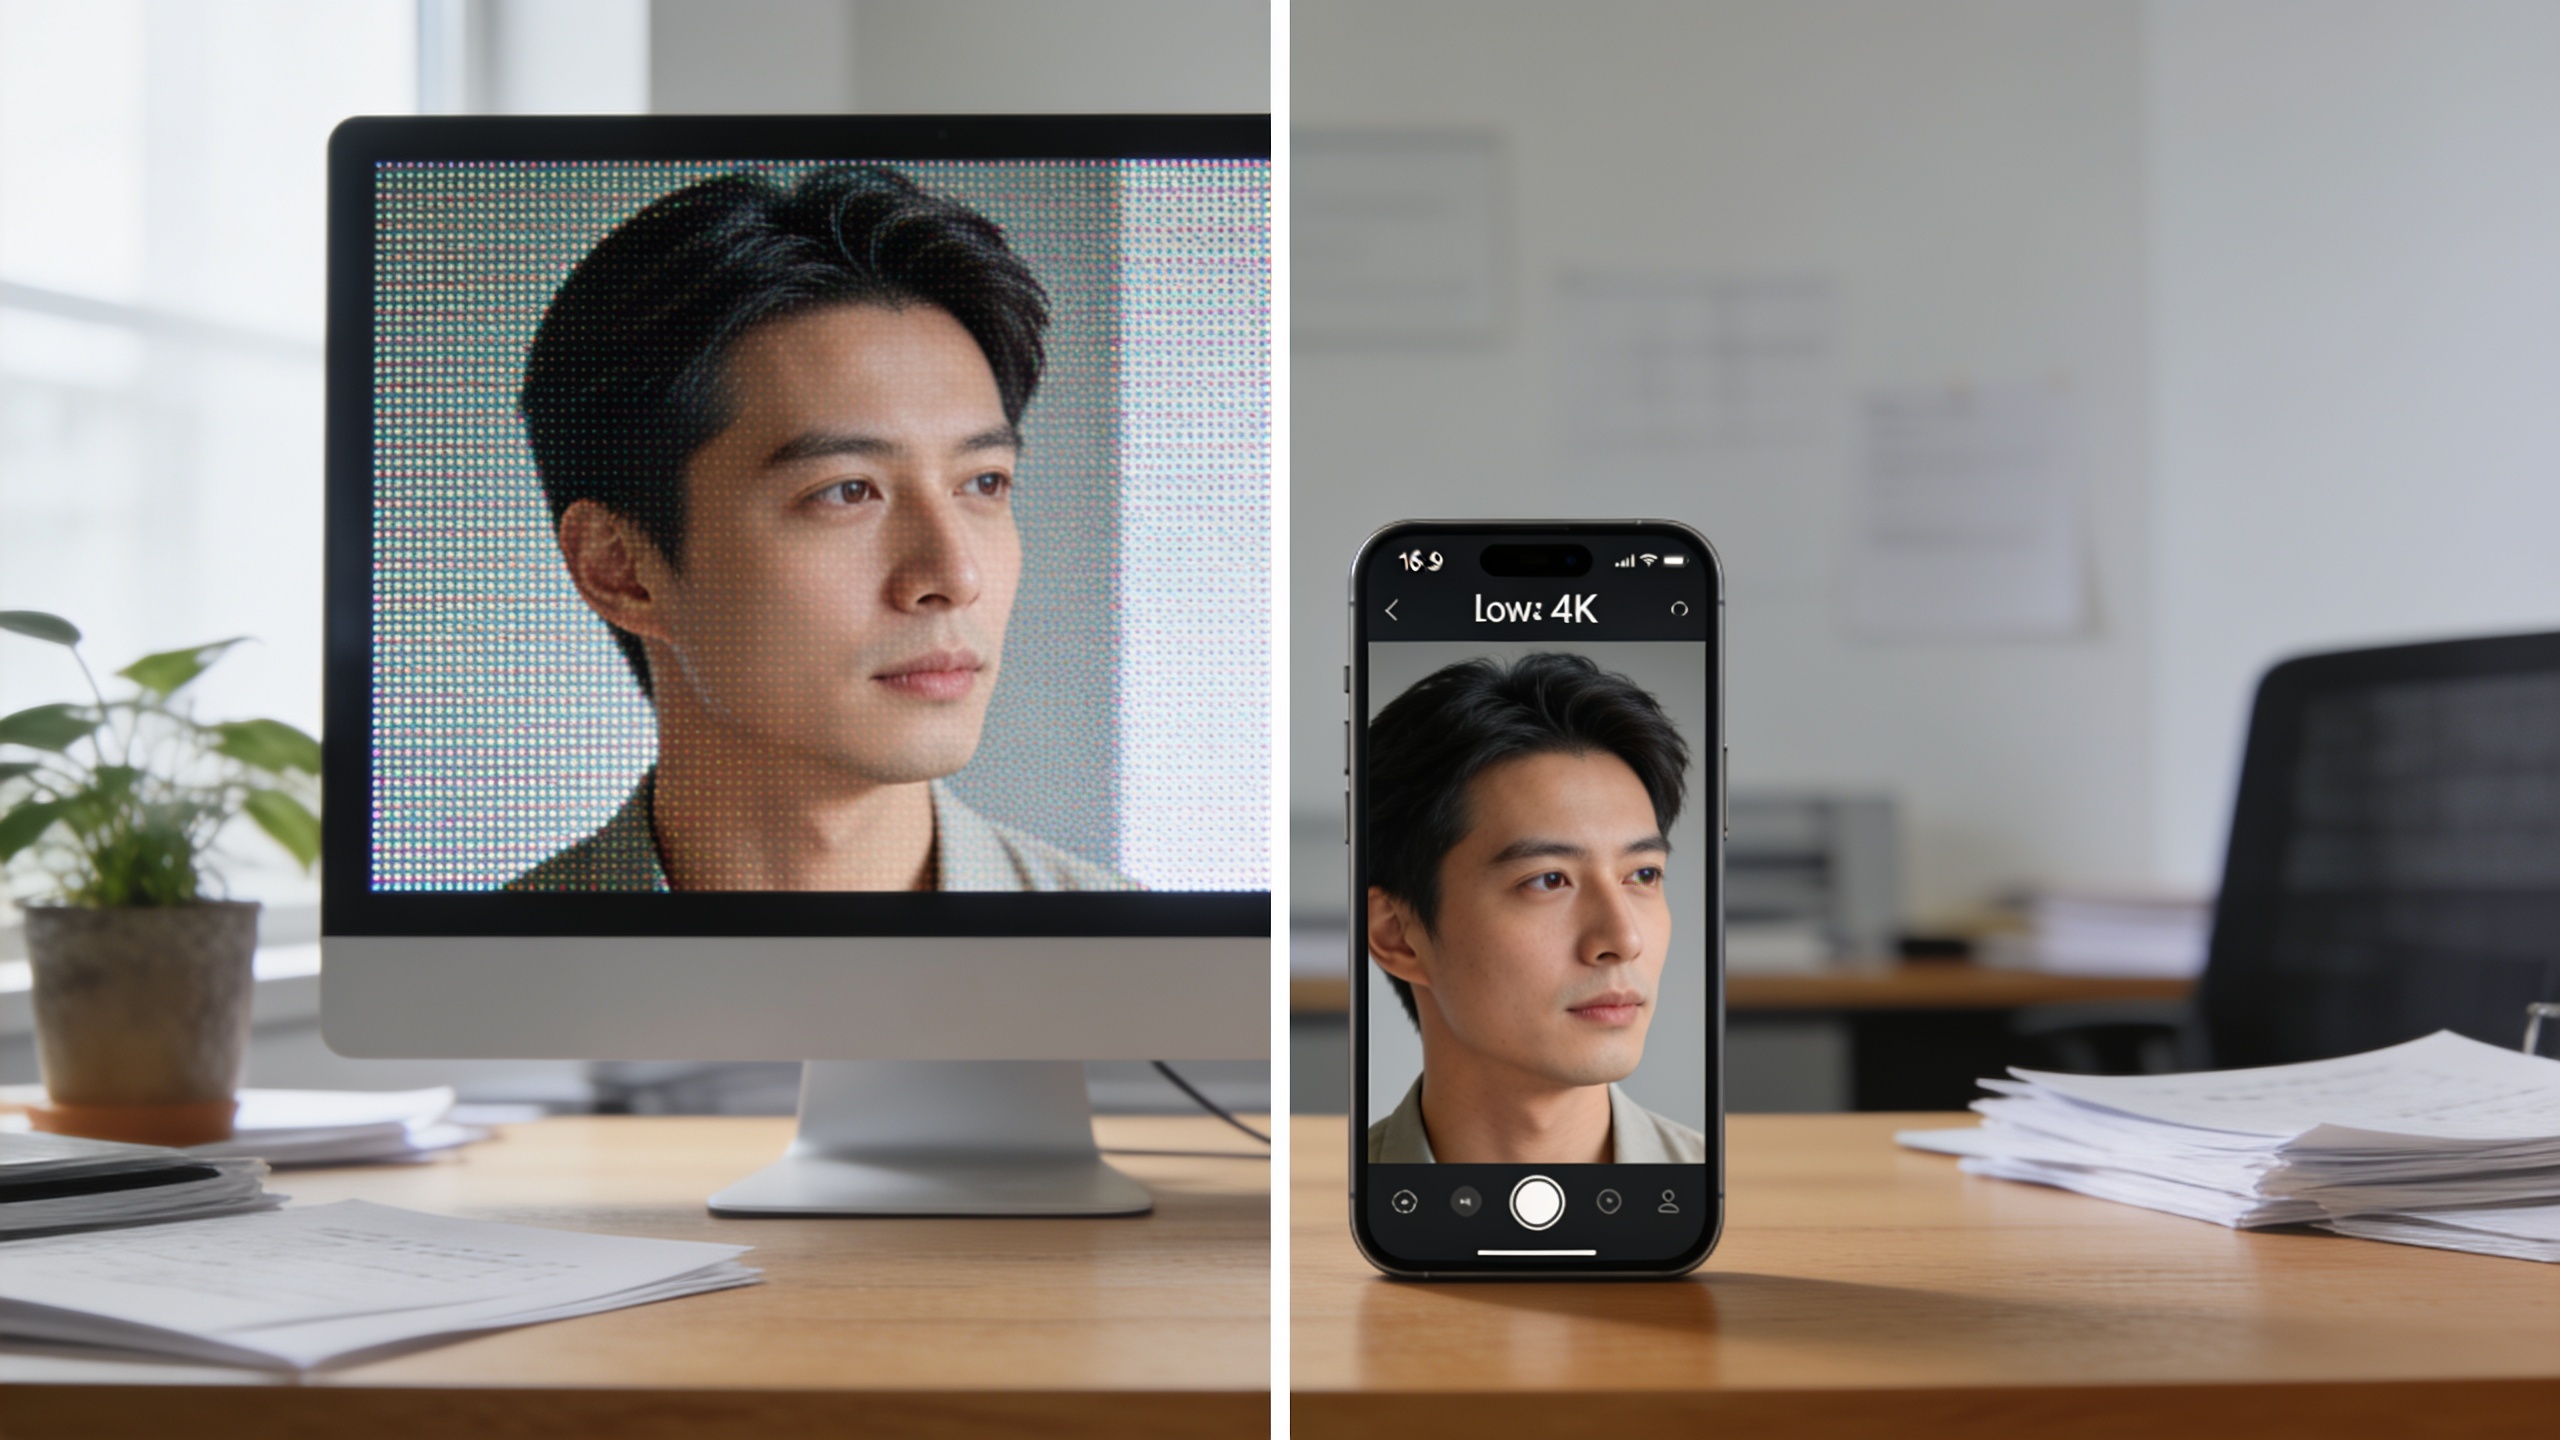
Hands‑on example: Sharpening an AI‑generated thumbnail to 4K for video platforms — settings, export, and A/B testing
To prepare an AI thumbnail for 4K output, start by upscaling to 3840×2160 and then run a targeted sharpening and artifact cleanup pass. This reduces platform re‑encoding issues and keeps text and faces legible at small sizes.
Workflow: (1) Export the AI thumbnail at the highest available size from your image generator. (2) Remove compression artifacts with a cleanup filter. (3) Upscale to 4K using a 2×–3× AI super‑resolution model. (4) Apply subtle sharpening and, if the thumbnail has type, recompose text as vectors or raster‑paint thicker strokes. (5) Export a high‑quality PNG or JPEG and upload two versions to your channel for A/B testing: the original vs. the 4K upscaled. Watch which one retains more detail after the platform compresses; creators often find the upscaled version preserves clarity across device sizes and reduces visible blockiness after re‑encoding.
Common pitfalls and how to avoid them (over‑enlarging, text/line art problems, banding, color/profile issues)?
Common mistakes include upscaling too far, leaving small text as raster, ignoring color profiles, and not pre‑cleaning compression artifacts. Avoid extreme multipliers (10×+); instead aim for 2×–4× and consider multi‑pass upscales if needed. Always keep vectors as vectors or recompose text after upscaling—AI upscalers struggle with thin lines and small type.
Watch for banding in gradients: apply subtle dithering or lightly blur banded areas before upscaling. Confirm the target color profile (sRGB, Adobe RGB, or CMYK) with your print vendor and convert before exporting to prevent surprise shifts. Finally, always preview faces at 100% after upscaling and perform per‑image tuning when people are the focal point.
When to use automated batch upscaling vs. manual, per-image tuning (cost, speed, quality tradeoffs)?
Batch upscaling is best for large sets of similar images (thumbnails, product shots with consistent framing) where speed and cost are priorities. Manual per‑image tuning is worth the time for images with faces, complex detail, or layouts containing text and logos, where previewing and localized edits improve final quality.
Tradeoffs: batch saves time and credits but risks uniform mistakes across assets; manual tuning costs more but reduces rework for key items. A common approach is to batch upscaling drafts, then select high‑priority images for manual passes and spot corrections. Keep the originals to allow reprocessing with new settings if needed.
Why GoCrazyAI Image Upscaler is the practical choice — feature walkthrough, file outputs, and real use‑case conversions (GoCrazyAI)
GoCrazyAI Image Upscaler upscales images up to 8K, restores detail, and removes compression artifacts, making it practical for creators who need quick, print‑ready results without watermarks. The tool supports high‑resolution exports and common print workflows, so you can test a 2×–4× upscale, preview faces at 100%, and export TIFF or high‑quality PNG for your printer.
Walkthrough: upload your highest‑quality source, choose an upscale target (4K or 8K), enable artifact cleanup, and preview the result. If your image contains faces, enable face‑aware smoothing in the preview to reduce odd texture artifacts. For thumbnails, run a cleanup + 4K upscale and export a PNG for upload. The exporter includes options for color profile selection; confirm sRGB or ask your printer for CMYK and convert before exporting. Try the GoCrazyAI Image Upscaler to pull a 4K version in seconds: GoCrazyAI Image Upscaler.
See also the AI image generation tool when you need a larger starting image or to re‑render an asset before upscaling: the AI image generator. If you're planning volume work, check GoCrazyAI Pricing and credit plans at GoCrazyAI Pricing to estimate cost and throughput.
Frequently Asked Questions
What DPI should I target for a 4K print?
Aim for 300 DPI for close‑view prints. For large posters viewed from a distance, 150 DPI is often acceptable. Calculate required pixels by multiplying inches × DPI and match that to your upscaled image.
Can I make a tiny thumbnail into a high‑quality 8K image?
Moderate upscales (2×–4×) typically produce reliable results. Extremely large multipliers (10×+) can introduce artifacts and hallucinated detail, so reshoot or recompose if you need massive enlargement.
Should I export TIFF or PNG for print?
Confirm with your print vendor. TIFF is widely accepted for print workflows, while high‑quality PNG or JPEG can be fine for certain vendors. Always include the correct color profile (sRGB, Adobe RGB, or CMYK) before exporting.
Conclusion
Final thoughts: For most creators, an image upscaler 4K workflow that starts from the best source, cleans artifacts, upscales modestly (2×–4×), and exports the correct file format/profile will produce print‑ready 4K/8K assets with minimal rework. Reserve batch processing for bulk thumbnails and use per‑image tuning for faces, text, and key prints. Drop your image into the AI Image Upscaler and pull a 4K version in seconds.
Sources
- What DPI for printing? — 300 vs 150 vs 72 explained (PrintReadyKit)printreadykit.com ↗
- How to Upscale Images for Print - Resolution Guide (Pixelift)pixelift.pl ↗
- How to Print Large Posters Without Losing Quality (Printkeg)printkeg.com ↗
- Upscale Images for Large Format & Poster Printing [2026] (MyImageUpscaler)myimageupscaler.com ↗
- Real‑Time 4K Super‑Resolution of Compressed AVIF Images (AIS 2024 challenge survey - arXiv)arxiv.org ↗
- 4KAgent: Agentic Any Image to 4K Super‑Resolution (arXiv)arxiv.org ↗
- How to Create Print‑Ready PDFs: The Complete Prepress Checklist for 2026 (PDF Press Blog)pdfpress.app ↗
- Print DPI Guide: 72 vs 300 DPI and What You Actually Need (PrintNinja)printninja.com ↗