

Image to video: Turn one product photo into multiple short videos
Convert a single product image into vertical hooks, landing-page demo loops, and animated B‑roll using image-to-video best practices and GoCrazyAI's AI Video Generator.
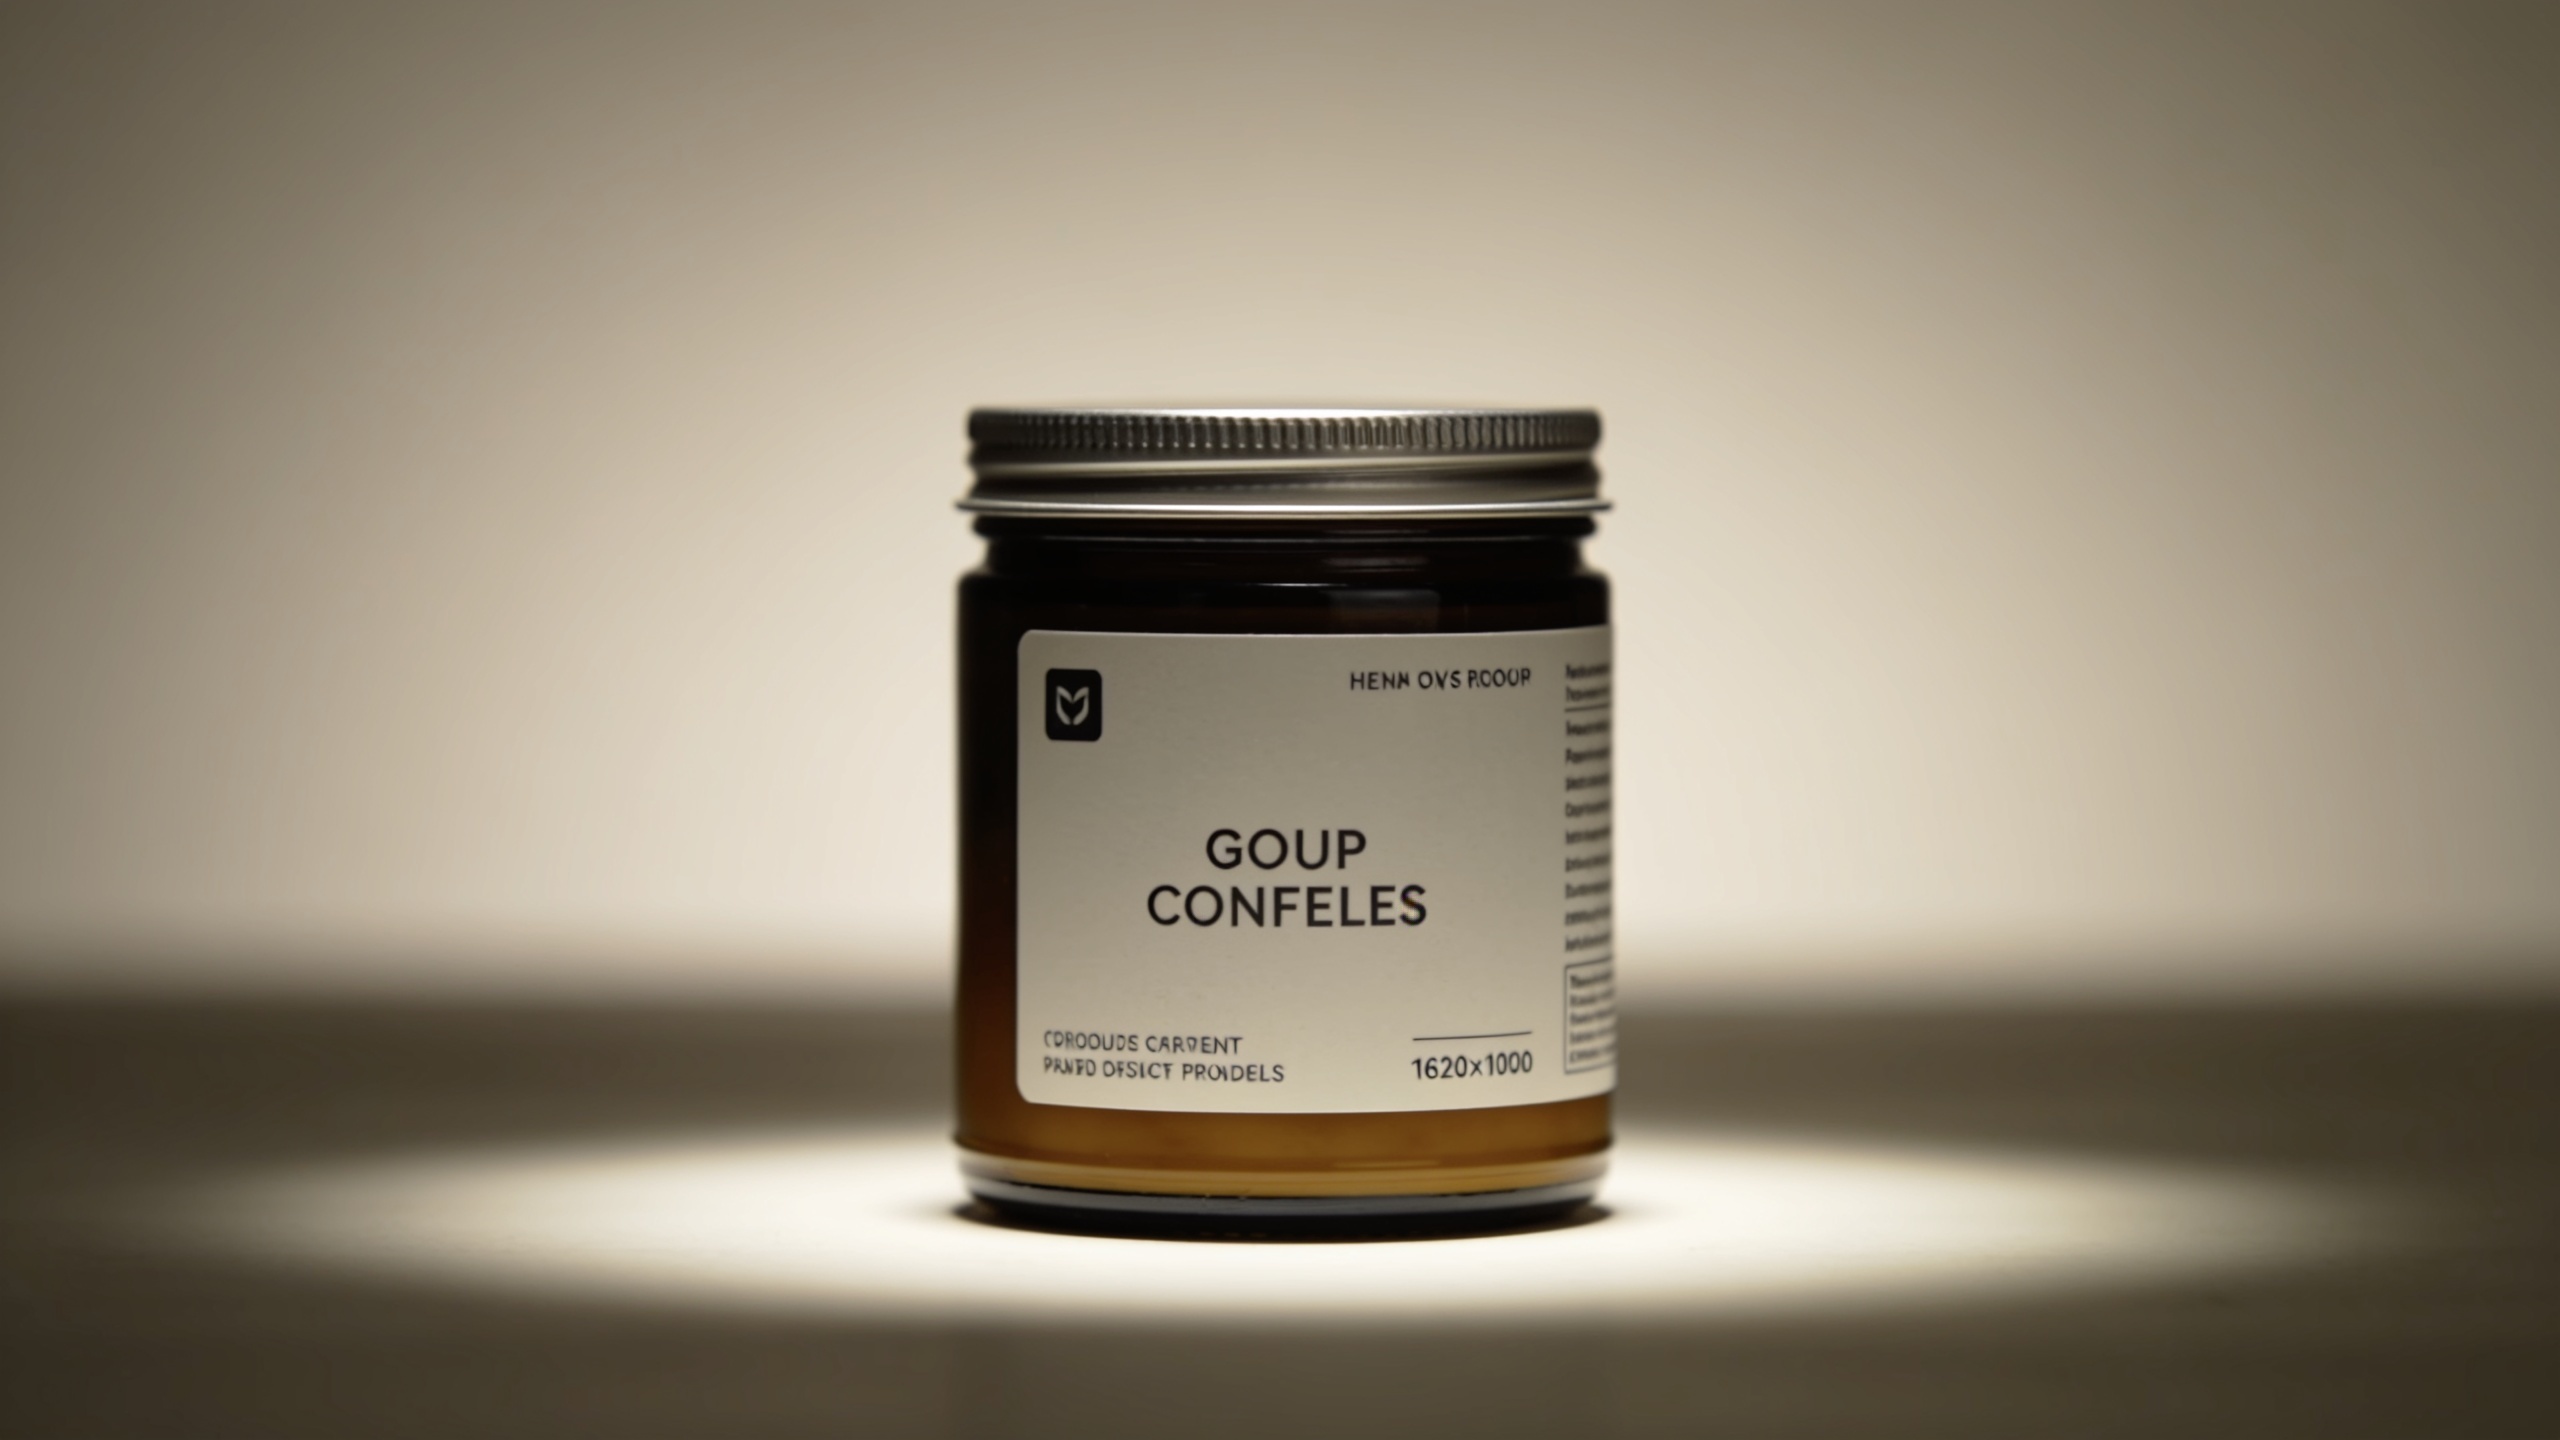
You have one clean product photo and need video assets for ads, TikTok, and a landing-page hero — fast. This guide shows how to convert that single image into several high-converting short videos: a 9:16 hook for TikTok/Reels, a looping MP4 for your landing page, and short animated B-roll for ad tests.
You’ll get a preflight checklist, model and prompt recommendations, two hands-on workflows (one built specifically for GoCrazyAI), and a checklist of common mistakes with fixes. If you want a practical place to run these tests, GoCrazyAI’s AI Video Generator supports image-to-video with Kling 2.5 Turbo, Veo 3.1, and Sora 2 and outputs 9:16, 16:9, and 1:1 directly.
Quick Answer
How do you turn an image to video? Use a specialized image-to-video engine: upload a clean product photo, pick aspect ratio (9:16 for TikTok, 16:9 for landing), write a concise motion prompt (camera move, light sweep, subtle rotation), generate, then add captions and music. For fast tests, use a speed-oriented model like Kling 2.5 Turbo; for photoreal anchor use Sora 2.
Why image-to-video is the fastest way to scale product video (and when to use vertical vs. horizontal)?
Image-to-video animates a single still photo so you can create many videos without a shoot. It preserves the product’s shape, color, and labels by using the photo as an anchor, which makes it faster and usually safer for product shots than pure text-to-video approaches.[1]
Use vertical (9:16) for short-form social: TikTok, Reels, and Instagram Stories perform best with tall frames and quick hooks. Use horizontal (16:9) for landing pages, hero loops, and YouTube-style previews where composition and negative space matter. Square (1:1) is a good compromise for ads that run across feeds.
Practical rule: start with a 9:16 hook and a 16:9 demo loop from the same rendered output when possible — many generators, including GoCrazyAI’s AI Video Generator, export multiple aspect ratios from the same prompt so you keep visual consistency across channels.
Picking the right image and planning your shot: preflight checklist for clean image-to-video results?
A clean, high-resolution product image dramatically improves image-to-video output. For best results, start with a raw image that shows the product at an unobstructed angle, flat lighting, and a neutral background.
Preflight checklist:
- Resolution: 2000 px on the long edge or higher where possible. Higher input reduces stretching and artifacting after motion. Consider upscaling if the source is small using an image upscaler.
- Background: Prefer a single-color or simple gradient background. If the product has been shot on cluttered backgrounds, remove it or mask it before generating.
- Orientation: Frame the subject with room to move. For 9:16, center vertically; for 16:9, leave negative space for captions and CTA overlays.
- Labels and text: Make sure brand text on the product is legible in the still. I2V anchors usually keep labels accurate but very small text can blur under motion.
- Lighting reference: If possible, provide a second image or a short note in your prompt describing light direction for consistent relighting.
If you need quick enhancement, run the photo through an AI image relight or image upscaler before upload. (See the AI image generator and relight tools for fast fixes.)
Internal link: Use an AI image generator to edit backgrounds or relight the photo before animating — try the AI image generator: /ai-image-generator
Hands-on: Turn one product photo into a 9:16 TikTok hook with GoCrazyAI AI Video Generator (step-by-step)?
Short answer: upload your product photo, choose 9:16, pick a model preset (Kling 2.5 Turbo for speed), add a tight motion prompt (camera dolly in + light sweep), generate a 6–12 second clip, then add captions and punchy music.
Step-by-step (practical):
- Open the GoCrazyAI AI Video Generator and choose "Image-to-Video." (You can start at the AI Video Generator page: /create-ai-video)
- Upload your high-res product photo.
- Set framing to 9:16 and duration to 6–10 seconds.
- Pick a model preset: Kling 2.5 Turbo for a fast test. If you need more realism, choose Sora 2.
- Enter a motion prompt. Example prompt lines to paste:
"Subtle dolly-in from 35mm, 6s duration; soft top-right rim light sweep at 2–4s; tiny 6° clockwise rotation; maintain product texture and label fidelity; neutral soft shadow; cinematic 50mm color grade."
- Generate and review. Export the highest-quality MP4 for upload.
- Add captions and a 1–2s visual hook in the first second using your editor or GoCrazyAI Media Mixer.
Internal link: Start the process on the GoCrazyAI AI Video Generator: /create-ai-video
You can try every step above directly in GoCrazyAI AI Video Generator — no setup needed.
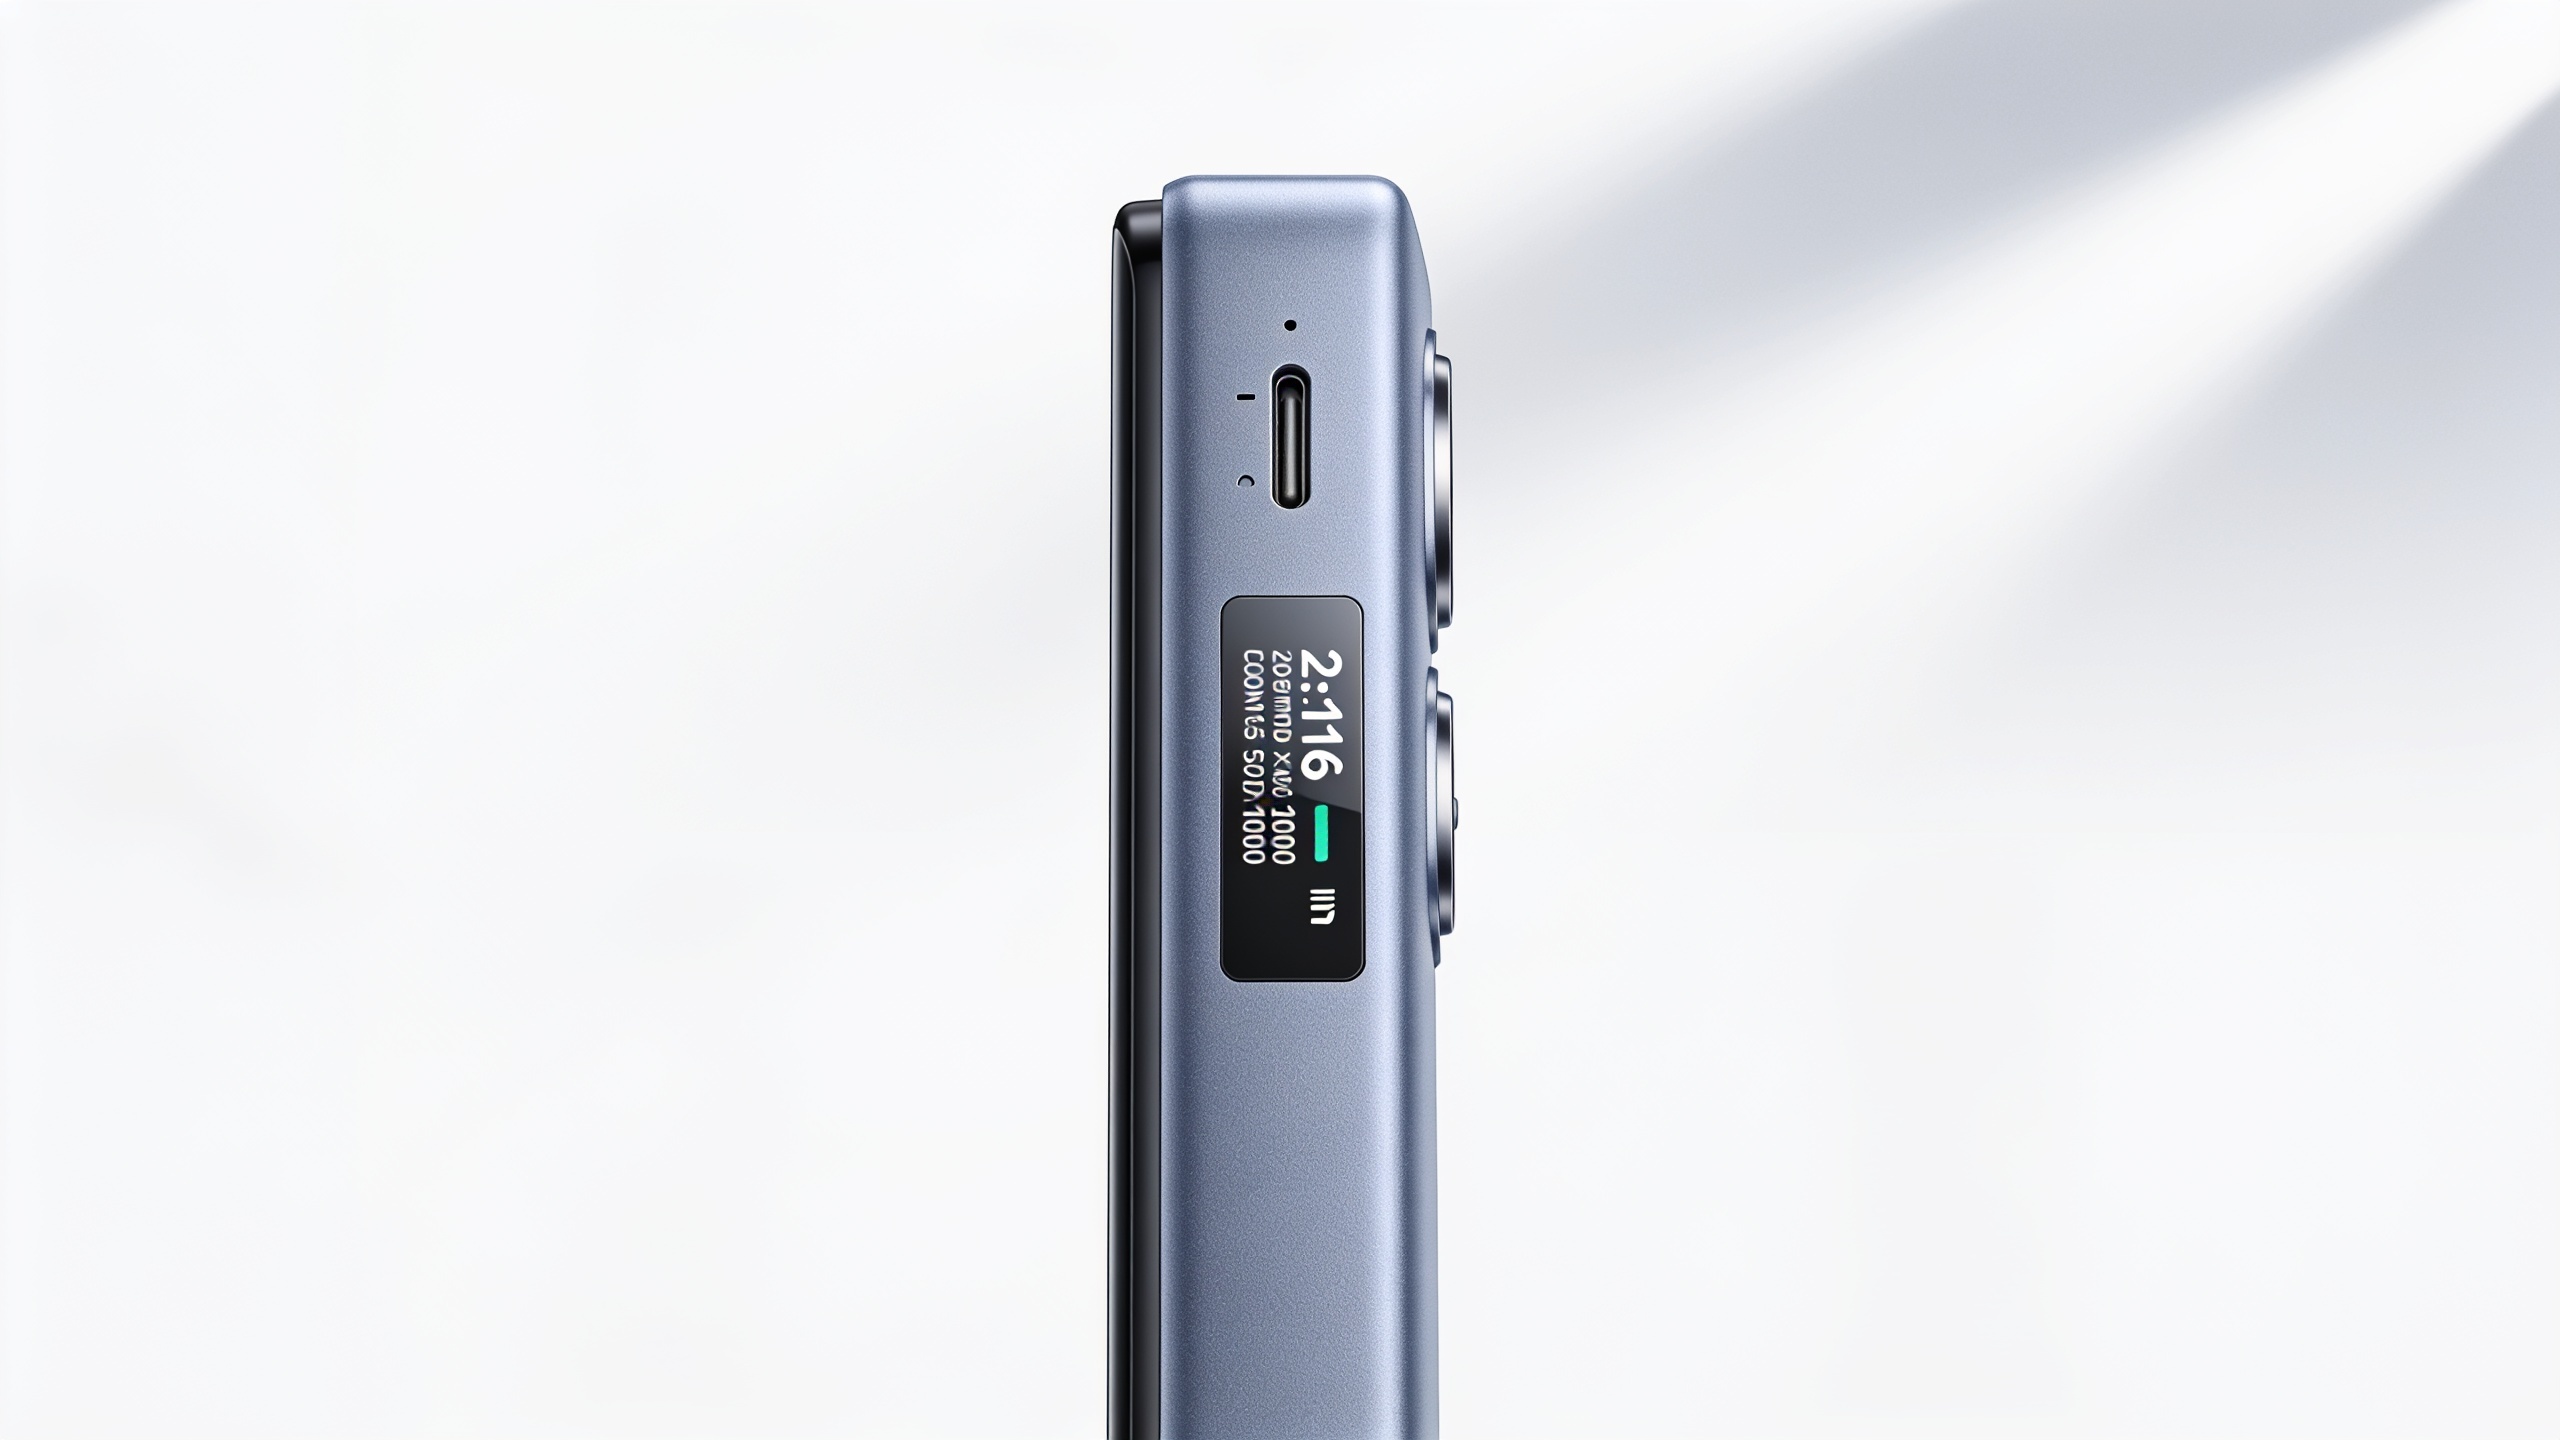
Hands-on: Build an animated product demo loop for your landing page (creating a short MP4 loop, captions, and CTA placement)?
Short answer: build a 6–12s looping MP4 with a smooth start/end frame, keep motion subtle, add a caption bar outside the product area, and reserve space for a clickable CTA so the visual doesn’t cover interactive UI elements.
How to do it:
- Motion design: Use a slow 3–6s pan/dolly and a mirrored 3–6s reverse to create a seamless 6–12s loop. Many I2V tools let you request "loopable" motion or export frames you can cross-fade.
- Captions and CTA: Place the caption bar in a consistent corner or below the hero area. For landing pages, keep CTA buttons visible on the right or below the video; avoid overlays that cover important labels on the product.
- Export settings: Export as an MP4 loop at 30fps, H.264, bitrate tuned for web (3–6 Mbps for 1080p). Test load times — smaller bitrates reduce page weight and keep page speed fast.
- Accessibility: include an ALT image and a short transcript of the visual motion for screen readers.
Tip: many marketers A/B test a looping autoplay hero versus a click-to-play controlled video. Looping usually increases time-on-page but can increase CPU on mobile; measure both.
Prompt recipes and model picks — example prompts and when to use Kling 2.5 Turbo Pro, Veo 3.1, or Sora 2 for different outcomes?
Short answer: pick Kling 2.5 Turbo for fast, low-cost tests and clear motion; Veo 3.1 when you want cinematic camera moves and softer grading; Sora 2 when photoreal fidelity of labels and texture is the priority. Use targeted prompts that specify camera move, lighting, duration, and "preserve label/text".
Example prompts (copy-paste friendly):
- Kling test (fast):
"6s 9:16, dolly in 20% toward product, soft top-right light sweep at 2s, tiny clockwise rotation 4°, preserve label clarity, crisp edges, neutral background."
- Veo cinematic (motion focus):
"8s 16:9, slow 35mm push-in then subtle arc left, golden-hour rim light, gentle film grain, cinematic color grade, maintain product color accuracy."
- Sora fidelity (photoreal):
"6s 1:1, stabilized micro-rotation, accurate color and texture preservation, no hallucinated logos or text, maintain pixel-level label detail, soft shadow beneath product."
Model pick quick guide:
- Kling 2.5 Turbo Pro: speed and cost-efficiency for rapid ad tests. Good when you need many variants quickly.[2]
- Veo 3.1: smoother, cinematic motion and lighting for hero reels or product storytelling.[3]
- Sora 2: strongest photoreal anchoring; better for products where label fidelity is non-negotiable.
Community notes show cost and speed tradeoffs across these models; pick Kling for low-cost iteration and Sora when fidelity matters most.[9]
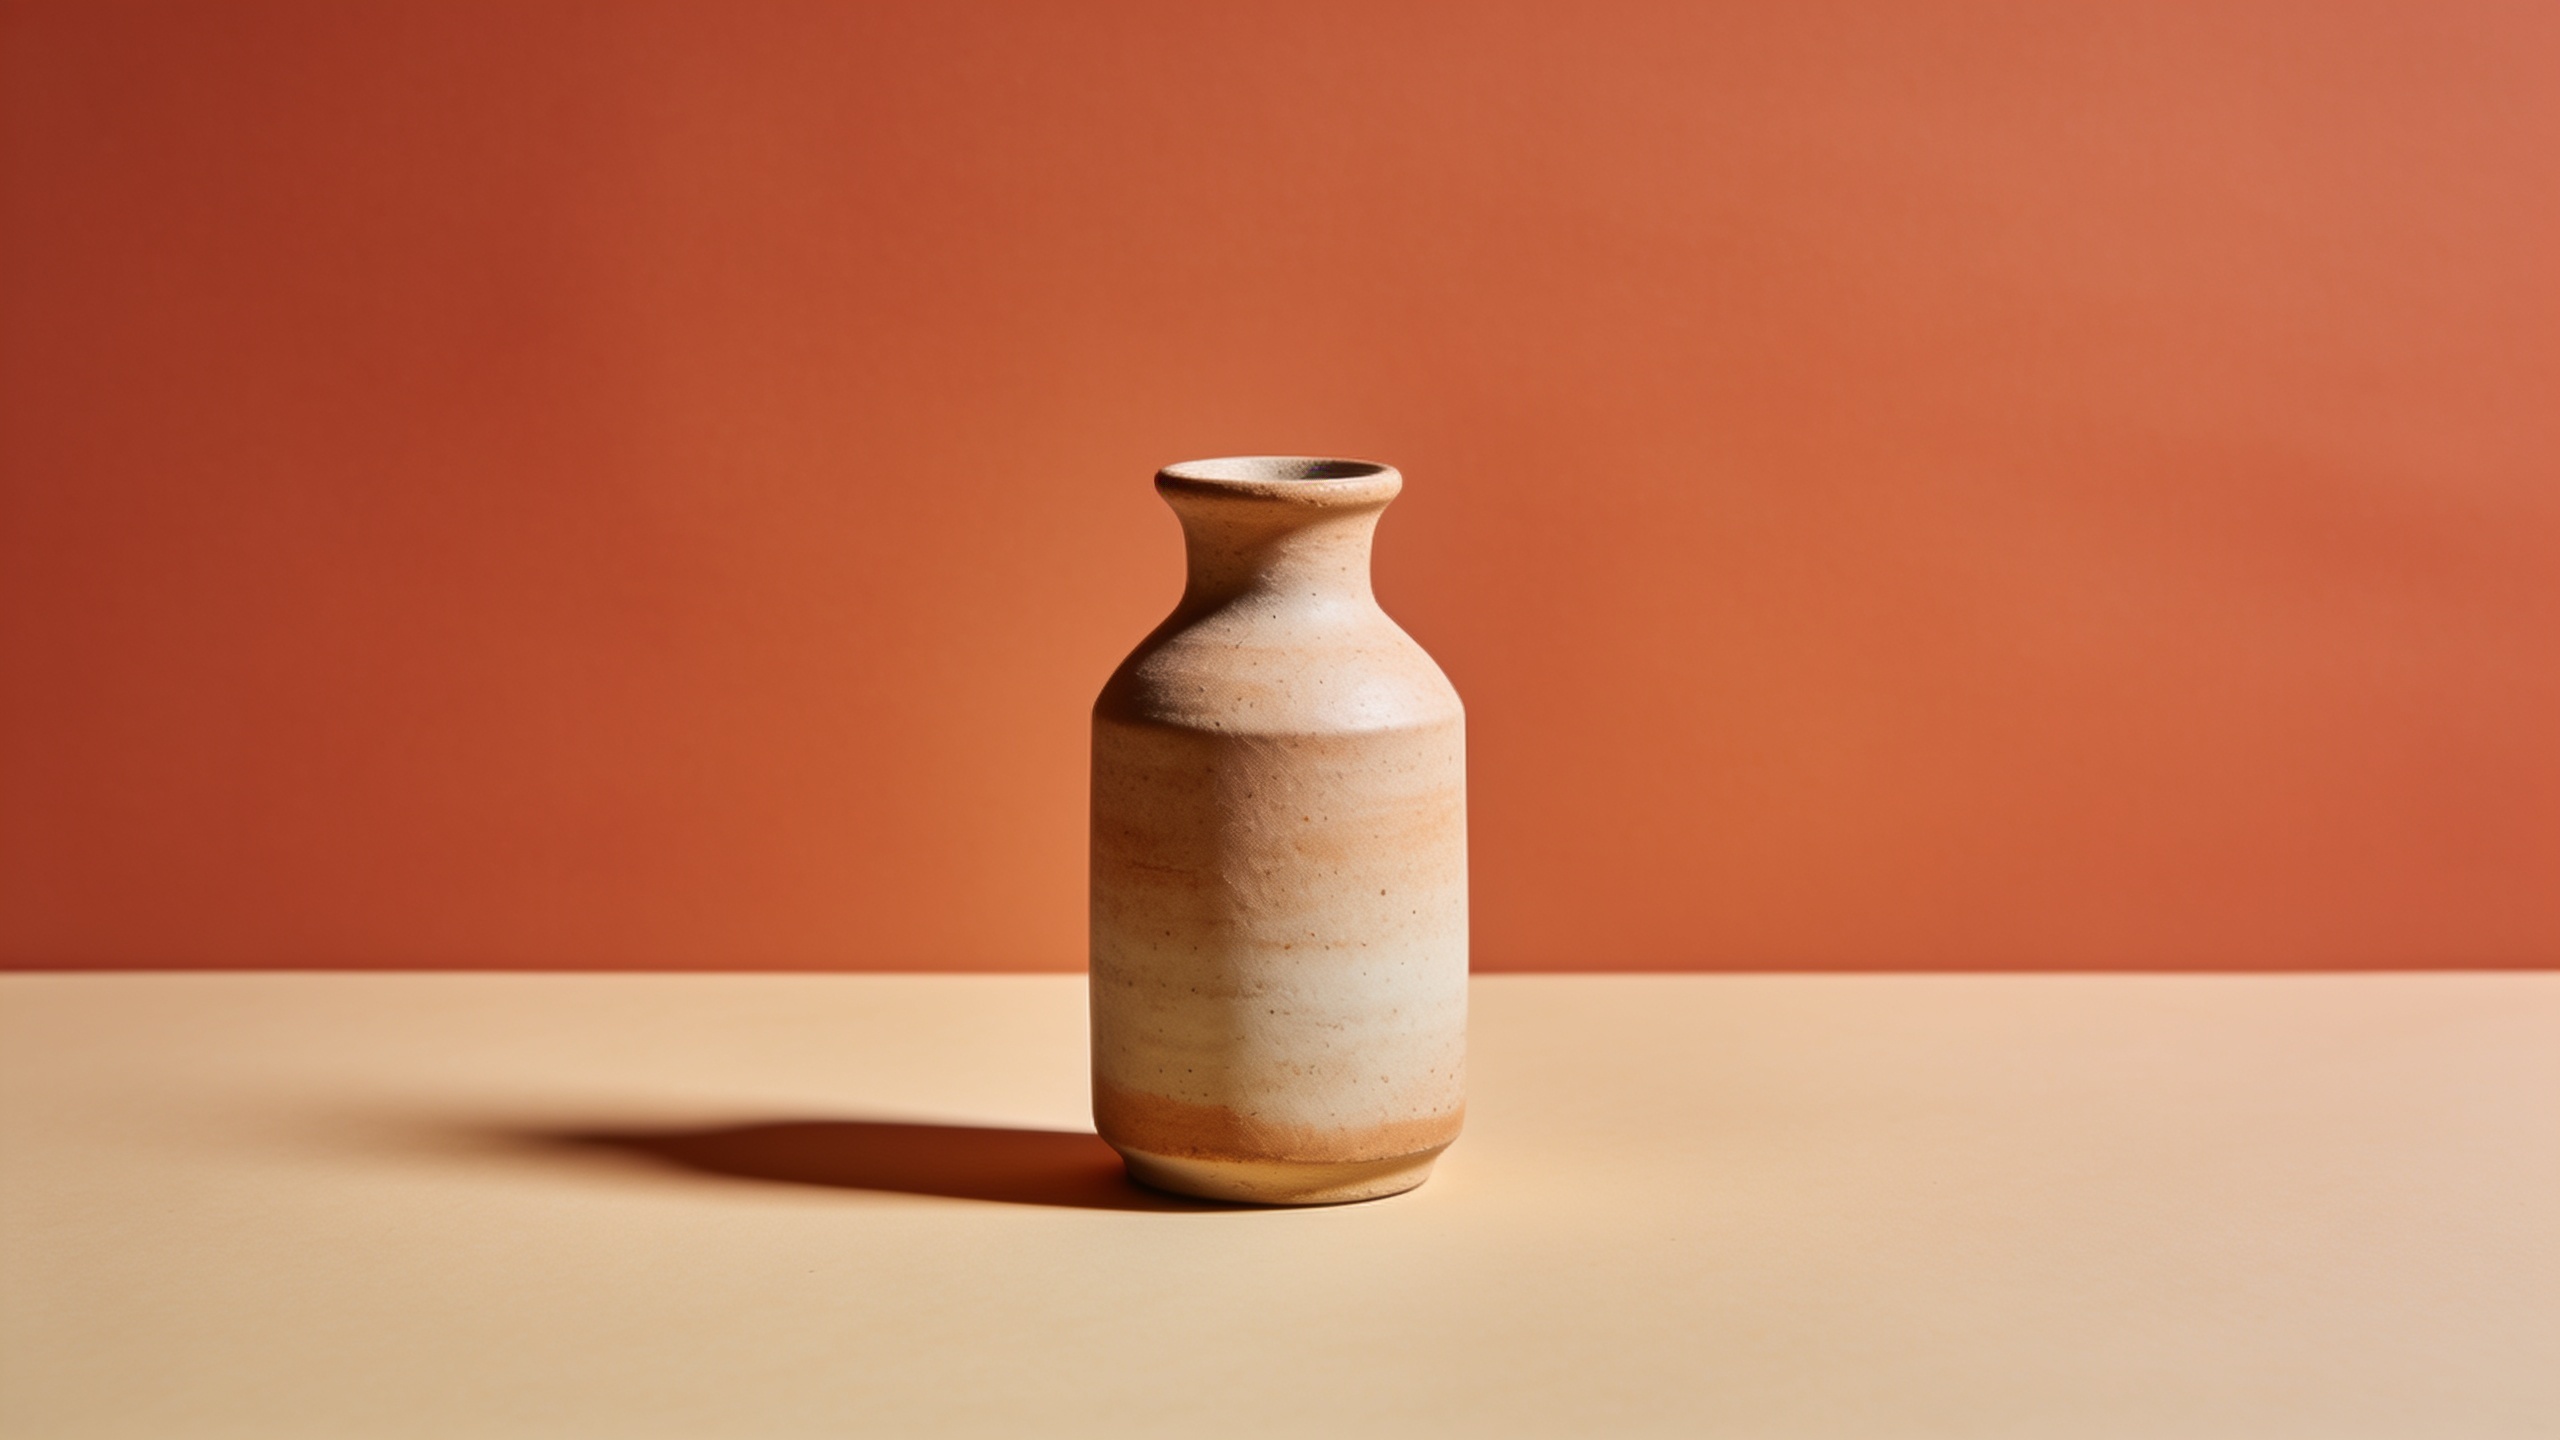
Common mistakes and fixes: preserving product fidelity, avoiding uncanny artifacts, and keeping page speed fast?
Short answer: common mistakes include using low-res images, vague motion prompts, overzealous relighting that alters labels, and exporting overly large files for web. Each has a direct fix: upscale the image, write precise motion prompts, lock label fidelity in the prompt, and compress for web.
Mistakes and fixes:
- Mistake: Uploading a low-resolution photo. Fix: Upscale or reshoot. Use an image upscaler before generating.
- Mistake: Vague prompt like "make it move" which leads to unpredictable motion. Fix: Specify camera action, degrees of rotation, and duration.
- Mistake: Allowing relighting to change label color or contrast. Fix: Add "preserve label/text fidelity" to the prompt and supply a lighting reference.
- Mistake: Exporting a 1080p video at 12 Mbps for every page. Fix: Create a web-optimized MP4 (3–6 Mbps) and test page load times.
- Mistake: Not checking platform AI/creative policies before paid runs. Fix: review ad platform docs — some platforms add AI labels or require disclosures for generated creatives.[6]
Address these early and you’ll avoid wasted credits and re-renders.
Distribution & measurement: export, A/B test formats (loop vs. click-to-play), and metrics that prove ROI?
Short answer: export platform-ready files, run A/B tests between looped autoplay and click-to-play, and measure CTR, time on page, conversion rate, and cost per acquisition to judge value.
Export and distribution checklist:
- Export formats: MP4 H.264 for web and socials; include a WebM fallback for some sites.
- Aspect ratios: produce 9:16 for social, 16:9 for landing heroes, and 1:1 for paid feed ads. Use the same visual language across formats to avoid brand drift.
- A/B tests to run: Looping autoplay vs. click-to-play; hook-first (fast intro) vs. product-first (immediate product shot); different motion intensities (subtle vs. dynamic).
- Metrics to track: CTR on ad platforms, view-through rate (VTR) for short-form, time on page and scroll depth for landing pages, and conversion rate for A/B landing experiments. Industry roundups report variable uplift — some studies suggest big gains, but results depend on context so test for your store.[5]
- Cost controls: pick a faster model for bulk experiments (Kling) and a higher-fidelity model for winners (Sora). For budgeting, consult GoCrazyAI Pricing and credits to plan tests: /credits
Internal link: If you plan mixed asset creation (image edits before I2V), use the AI image generator: /ai-image-generator
Frequently Asked Questions
How long should a TikTok hook generated from one photo be?
Aim for 6–10 seconds. That’s enough for a visual hook plus one quick benefit or shot. Keep the first second highly attention-grabbing.
Will image-to-video change my product label or color?
Specialized I2V engines typically anchor to the source photo and preserve label and color fidelity when prompted to do so, but always verify and include "preserve label/text fidelity" in your prompt if accuracy is critical.[1]
Which model should I use first for A/B testing?
Start with a speed/cost model like Kling 2.5 Turbo for broad variant testing, then re-render winners on Sora 2 or Veo 3.1 for final assets.
Conclusion
Image-to-video lets you produce multiple video assets from a single product photo with minimal cost and time. Use the preflight checklist, pick models based on speed vs. fidelity, and test looped hero videos against click-to-play variants to see what moves metrics for your audience. Ready to run a fast test? Open the AI Video Generator, drop in a photo and a motion prompt, and ship a clip in your next break.
Sources
- Product video from photo — fast vertical demos | GoCrazyAIgocrazyai.com ↗
- Image-to-Video Product Demo for TikTok | WowMade.aiwowmade.ai ↗
- How to generate videos with Symphony Creative Studio (TikTok Ads help)ads.us.tiktok.com ↗
- AI website hero video generator workflow | Cliprisecliprise.app ↗
- How to Turn Any Product Image Into a Cinematic AI Video | Kingy.aikingy.ai ↗
- AI Video Generation From Product Image: Step-by-Step Tutorial — Adsomeadsome.io ↗
- Image-to-Video (TikTok Seller University)seller-uk.tiktok.com ↗
- 2022 State of Video Report | Wistia (engagement & conversion insights)wistia.com ↗
- Landing page statistics & video impact (VWO roundup) — 'can increase conversions by up to 86%'vwo.com ↗
- Artificial Analysis — State of AI leaderboards (I2V model rankings)artificialanalysis.ai ↗
- Kling AI (model overview) — wiki/summaryen.wikipedia.org ↗
- Community model cost/quality notes — Reddit discussion (developer testing models and per-second cost)reddit.com ↗