


How to turn an image to vertical video for short-form product ads
Convert a product photo into a vertical 9:16 ad fast. Hands-on workflows, Veo 3.1 context, and step-by-step GoCrazyAI image→vertical and text→video guides.
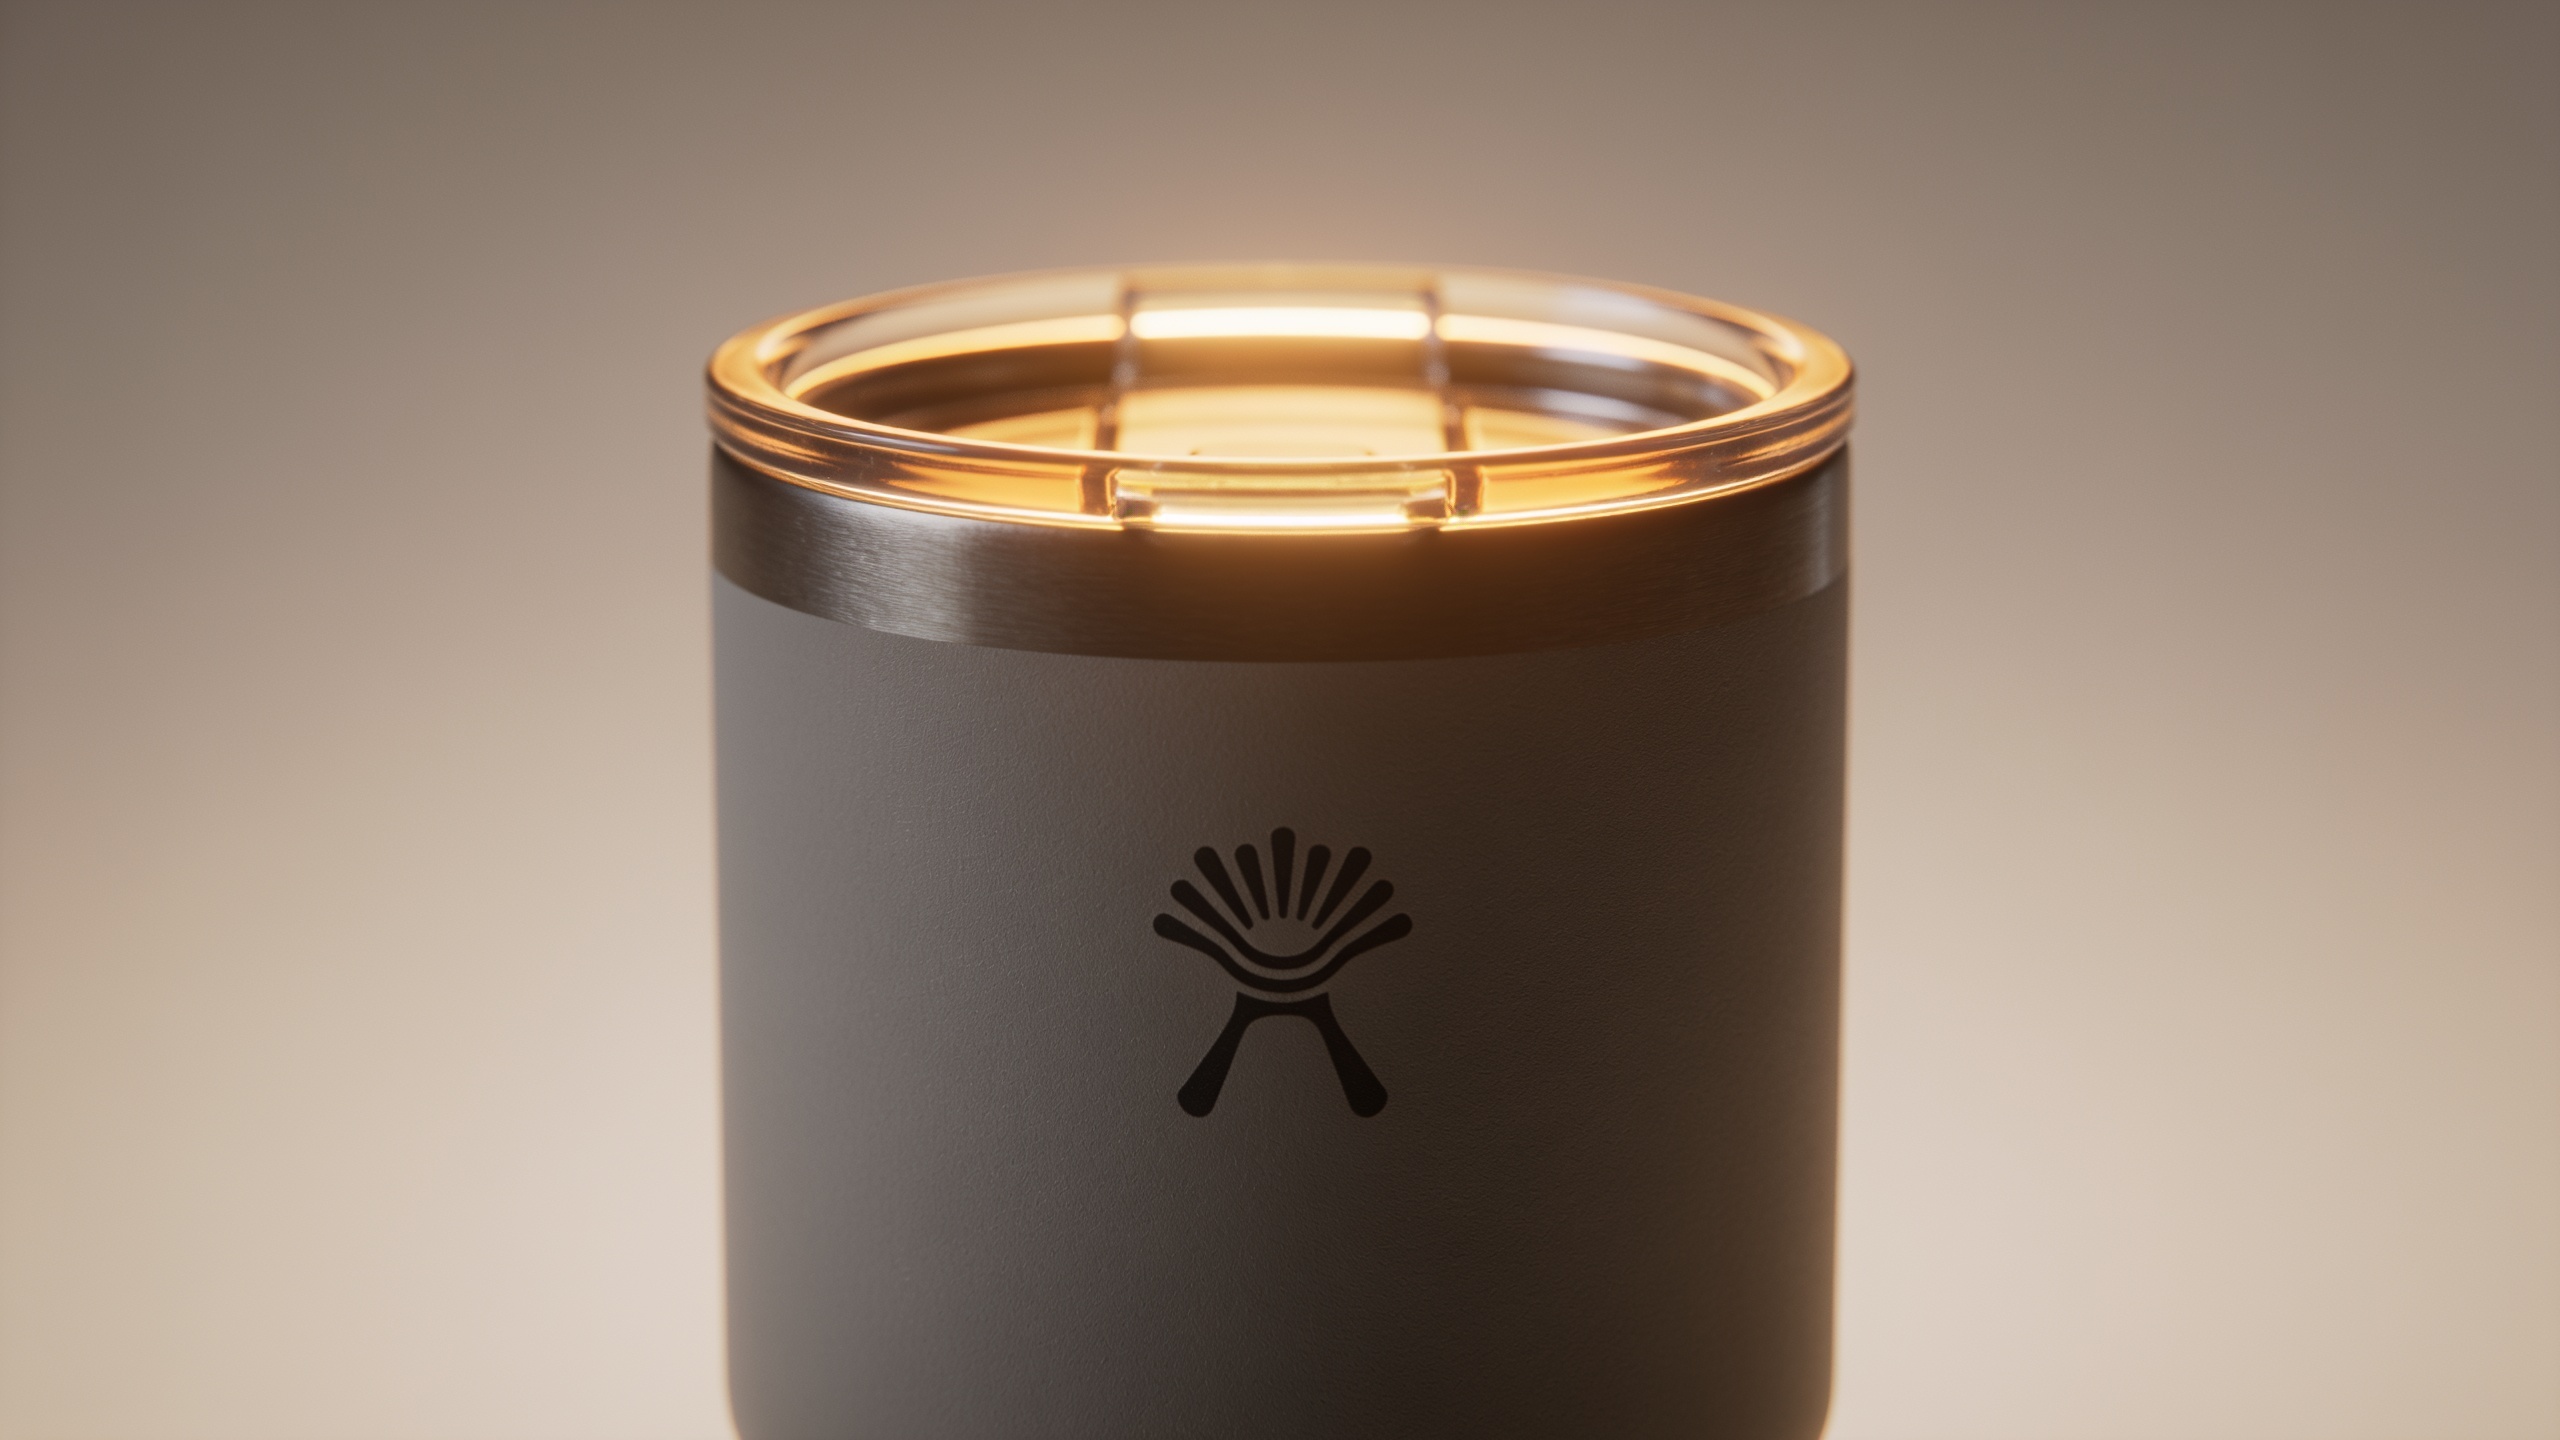
You need higher-fidelity vertical product ads from a single photo without hiring an editor. Recent updates around Veo 3.1 and the wider Sora/Kling model family mean creators can now get much better motion and detail in short clips — but the models also impose short clip lengths and reference-image constraints that change how you plan shots. This article explains what changed (who, what, and when), what fidelity gains creators are actually seeing, and practical, copy-paste workflows to turn a product still into a production-ready 9:16 ad. You’ll get both an image-to-vertical workflow and a text-driven approach for multiple hooks, plus export settings and measurement tips. If you want a fast, no-editing bridge to reels and Shorts, I include a step-by-step GoCrazyAI workflow that uses the AI Video Generator to animate a single still or generate Kling/Veo-style hooks without coding. Read this if you publish TikTok or Reels product ads and want higher fidelity now — with concrete prompts, model notes, and places to avoid common mistakes.
Quick Answer
How do you turn an image to vertical video? Use an image-to-video pipeline that preserves the original photo as a reference, pick a short clip length (8s if using Veo-style reference modes), choose vertical 9:16 framing, and run a generator that supports model presets like Kling, Veo, or Sora. For a fast, no-editing path, upload the photo to the GoCrazyAI AI Video Generator, select image→video, choose a vertical preset, and generate multiple hooks.
Why does the recent Veo 3.1 activity matter for short-form product ads?
Veo 3.1’s recent activity matters because it changes how creators can generate short, reference-driven vertical clips for product ads and hooks. The update, surfaced in vendor docs this week, marks Veo 3.1 as the current public Veo release and clarifies that the model supports short clip lengths (4, 6, or 8 seconds) and that reference-image-to-video mode is limited to the 8-second output[1]. For product ads, that means you should design vertical micro-stories that fit under 8 seconds when using a reference image pipeline.
Practically, this matters for pacing and shot design. If you plan a 15–30s ad, split the campaign into multiple 6–8s hooks or use text-to-video for longer scripted spots and stitch them in post. The community has already started sharing hands-on Veo 3.1 Fast experiments this week, indicating creators are testing snackable infotainment and product demos with the model[2]. That adoption is a cue: prioritize vertical-first generation, reference-photo fidelity, and rapid iteration rather than modeling long-form cinematic arcs in one pass.
Actionable takeaway: treat Veo 3.1 as a short-clip specialist. Build 6–8s vertical hooks optimized for mobile swipes, or generate multiple micro-hooks from one still and sequence them in your social posts.
What fidelity improvements are creators seeing with Veo 3.1 and similar models?
Creators are seeing clearer product textures, more stable subject identity, and sharper small details when using recent model variants like Veo 3.1, Sora 2.1, and Kling-style presets. Reports and forum posts this week show Veo 3.1 Fast producing crisp motion in 4–8s clips suitable for short infotainment and product reveals[2]. The vendor docs also highlight native vertical outputs and improved reference-image pipelines, which helps keep logos, labels, and fine print readable in vertical frames[1].
However, fidelity gains come with limits. Veo 3.1’s reference-image-to-video mode supports only an 8-second output, so longer scenes require stitching or a text-to-video fallback. Model flavors (Fast vs Quality) trade off processing time and detail — community posts suggest Fast presets are excellent for concept testing and rapid posting, while higher-quality variants give tighter shading and fewer artifacts for final assets. For creators, that means using Fast for iterations and Quality-style models for final exports or hero placements.
Practical example: when animating a product still, expect improved edge stability around labels and less background drift than older models, but check for subtle texture smoothing on highly reflective surfaces. For best results, combine a high-resolution reference photo with a generator that supports vertical 9:16 output and an upscaler in your pipeline.
When should you use text-to-video vs image-to-video for vertical short ads?
Use image-to-video when you need to preserve a specific product look, brand lighting, or label detail from an existing photo. Use text-to-video when you want multiple stylistic variations, alternate camera moves, or scene composition that can’t be sourced from one still. Image→vertical usually keeps product identity intact; text→video gives broader creative freedom.
Image-to-video is ideal for: product demo loops, hero product reveals, and situations where the exact color or label must remain unchanged. Because reference-image pipelines (like Veo 3.1’s) often constrain output length to 8 seconds, plan short, punchy hooks—spin multiple 8s clips for a single campaign. Text-to-video works best for: variety packs of hooks (different tones, camera angles, and motion styles), story-mode openers, or when you want Kling/Veo-style presets to shift the mood without a real photo.
A combined workflow often wins: animate the original photo for fidelity-driven hero shots, and generate several text-driven hooks that reuse the product description and keywords for variety. This gives you both brand-safe assets and feed-friendly variants for A/B testing.
Hands-on: Turn a single product photo into a 9:16 ad using GoCrazyAI (image→vertical workflow)
Short answer: upload your photo, choose image→video, pick a vertical 9:16 preset (Veo or Sora), set clip length to 8s, and generate. The GoCrazyAI AI Video Generator specifically supports animating a single still into vertical cinematic video and routes to Veo, Sora, and Kling models from one interface, so you can test presets without managing separate subscriptions.
Step-by-step (practical):
1) Prepare the photo: crop to a loose 9:16 frame keeping product centered; export a 2–4K JPG for best detail. 2) Open the AI Video Generator (/create-ai-video) and pick Image→Video. 3) Upload the reference image and select model preset: choose 'Veo 3.1 - Reference (8s)' or 'Sora 2.1 - Natural Motion' depending on the desired motion quality. 4) Set clip length to 8 seconds (recommended for reference-image fidelity). 5) Add a short motion prompt: e.g., "Subtle vertical reveal, soft product spin, cinematic studio lighting, gentle camera push-in, keep product label readable." 6) Choose 9:16 output and a mobile-safe crop guide. 7) Generate variations (3–5) and pick the best. 8) Optionally run the chosen frame through the Image Upscaler (/image-upscaler) and add music from the AI Song Generator (/ai-music).
Prompt examples you can copy:
"8s vertical reveal; subtle clockwise product rotation; slow 20% zoom-in; studio key light from camera left; keep logo and text sharp; cinematic film grain minimal"
"8s product showcase; slight bobble motion; soft vignette; maintain original color and label detail; close-up to emphasize texture"
Because GoCrazyAI supports multiple models from one credit pool, you can rerun the same image across Kling, Veo, and Sora presets to compare fidelity quickly. Export the selected clip as H.264 1080×1920 or 1440×2560 (depending on your target platform) and add final audio with the AI Video Editor (/ai-video-edit).
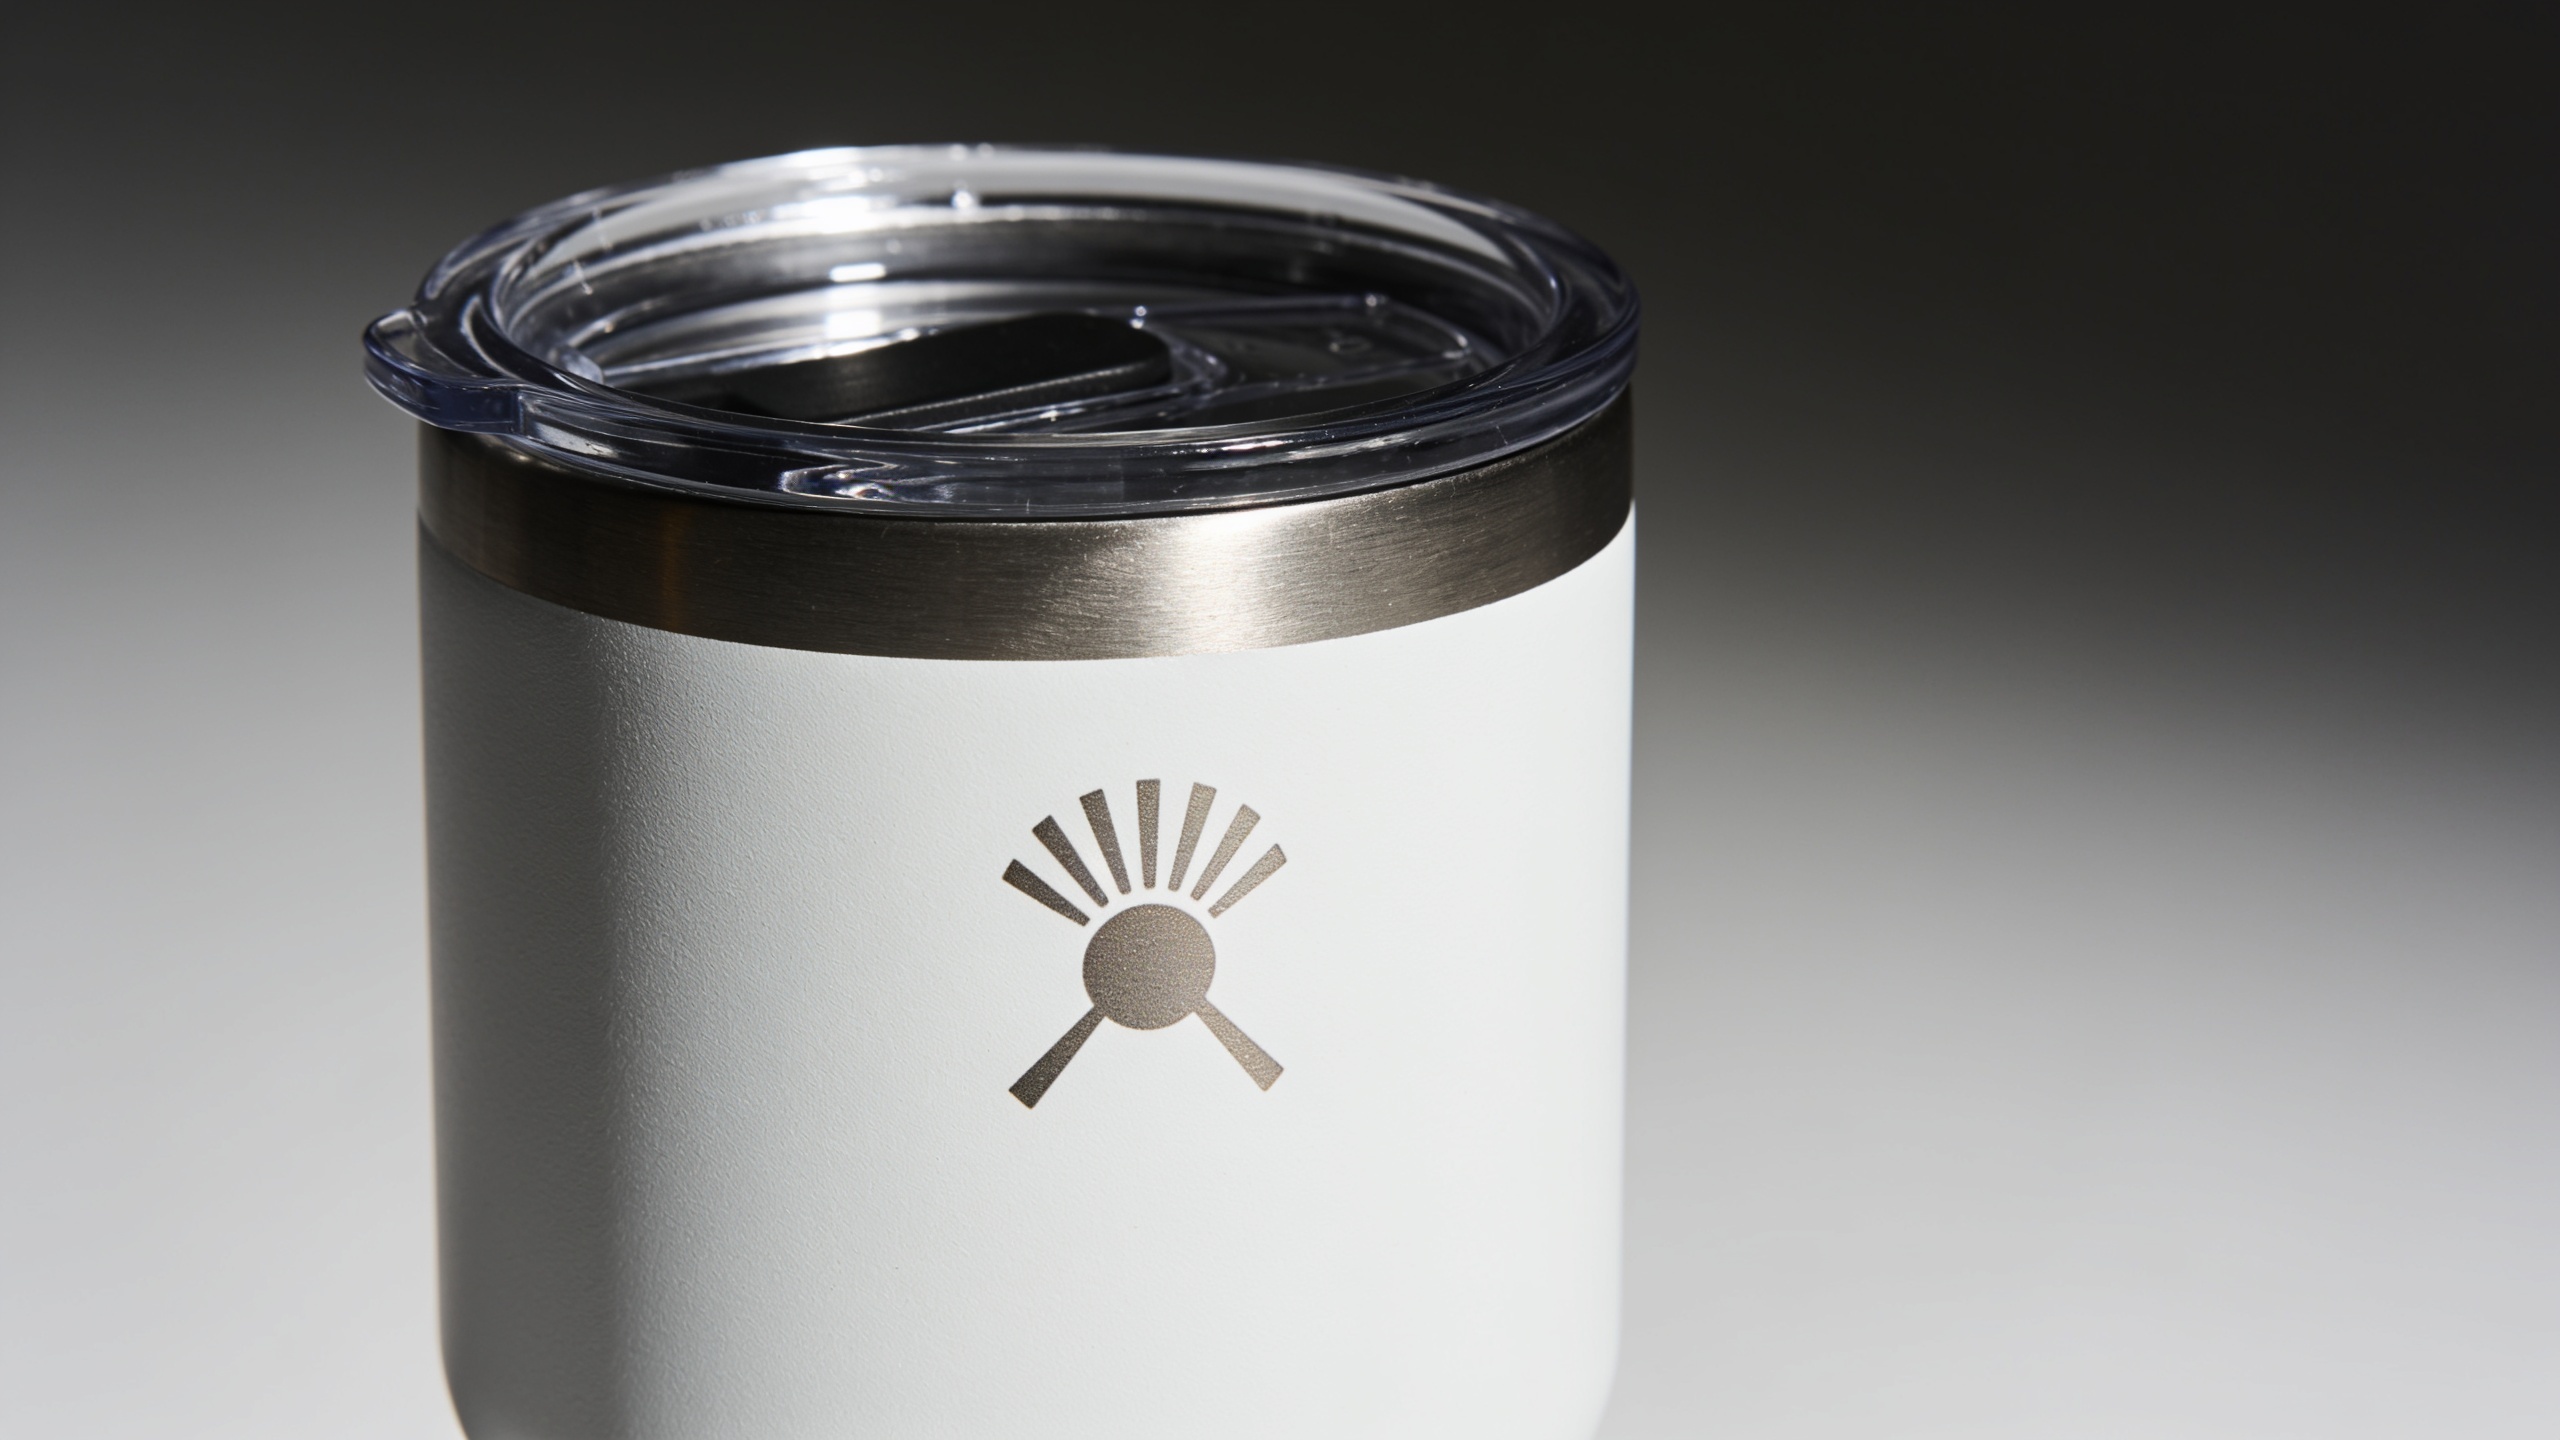
Hands-on: Create multiple TikTok/Reels hooks from one product still using prompts and Kling/Veo-style presets in GoCrazyAI (text→video workflow)
Short answer: produce several short text-to-video hooks by reusing the product description and swapping style prompts (Kling, Veo, Sora) and camera moves. Generate quick variants for A/B tests without reshooting the product.
Workflow:
1) Start with a compact product brief: one-sentence description, three key benefits, and visual anchors (color, texture, logo). 2) In the AI Video Generator (/create-ai-video), pick Text→Video and paste the brief plus a style wrapper. Example base prompt:
"Product: Stainless travel mug, matte black, 14 oz. Benefits: keeps drinks hot, leak-proof lid, compact fit. Visual anchors: embossed logo, brushed steel rim. Tone: energetic, close-up, fast cuts."
3) Create style variants by adding a single-line modifier for each hook. Examples:
"Kling cinematic: warm tungsten lighting, 24mm close-up, smooth dolly in, shallow depth of field, filmic color grade."
"Veo snackable: punchy 6s loop, quirky camera jerk, bright daylight, saturated colors, lively pace."
"Sora product demo: steady 8s reveal, neutral studio lighting, slow rotate, keep text overlays optional."
4) Generate 3–6 hooks and export native 9:16 files. 5) Add music tracks from /ai-music and voiceover options from /ai-voice as needed.
Prompt examples to copy:
"6s Veo snackable: quick product pop, jump cuts at 0.6s, high saturation, highlight embossed logo, end on tight label shot"
"Kling cinematic 8s: slow arc around product, warm rim light, shallow bokeh, dramatic shadow on left"
This approach turns one product still and one brief into multiple ad-ready hooks, letting you test tone and pacing across TikTok and Reels quickly. Because GoCrazyAI includes presets that map to Kling, Veo, and Sora, you can iterate without switching platforms.
What are the common mistakes and pitfalls when converting images to vertical product ads?
Short answer: creators often over-crop, ignore label legibility, pick the wrong clip length for reference modes, or fail to test Fast vs Quality presets; each leads to lost detail or awkward motion. Avoid these mistakes by keeping the product centered, using high-res inputs, and matching clip length to the model’s reference constraints.
Common mistakes and how to avoid them:
- Over-cropping for 9:16: Cropping too tightly removes context and can cause the model to hallucinate edges. Keep some padding around the product when uploading the reference image.
- Ignoring label/text legibility: Small print and logos can blur. Use a high-resolution photo and explicitly prompt "preserve label text and logo sharpness"; consider upscaling the final frame.
- Choosing the wrong clip length: Veo 3.1 reference-image mode only supports an 8s output, so forcing a 4s reference run can create unpredictable results. Match your generation length to the model’s constraints[1].
- Skipping presets testing: Different presets (Kling vs Veo vs Sora) handle motion and texture differently. Generate small batches across presets to find the best trade-off between speed and fidelity.
- Not planning audio: Silent clips perform poorly in feeds. Pair generated video with platform-appropriate music from /ai-music and add captions or a quick voiceover from /ai-voice.
Address these pitfalls with a simple checklist: high-res photo, 9:16 safe crop, model-preset test, label-preservation prompt, and audio pairing.
How do you measure performance and scale image-to-vertical workflows (templates, batch production, and where GoCrazyAI fits in your stack)?
Short answer: measure run-rate metrics (view-through, CTR, conversion rate) per hook variant, then scale the winners using templates and batch generation. Use a single tool that supports multiple models to avoid subscription sprawl and speed up iteration.
Measurement and scaling steps:
1) Define KPIs: decide if you value click-throughs, add-to-cart rate, or view-through. For short product hooks, early metrics like CTR and 6s view rate inform creative quality quickly. 2) A/B test variants: generate 4–6 hooks per product and run small-budget tests to identify the top performer. 3) Create templates: lock down a prompt shell (camera move, lighting, brand voice) and swap product-specific placeholders (name, three benefits, color). 4) Batch production: use a tool that supports batch uploads or scripted prompt substitution so you can spin up dozens of hooks from one master template. 5) Post-process and localize: add music (/ai-music), voiceovers (/ai-voice), and final overlays with the AI Video Editor (/ai-video-edit).
Where GoCrazyAI fits: the AI Video Generator provides a single interface to route jobs to Kling, Veo, and Sora models and output 9:16 files without API coding, which simplifies batch production for small teams. Combine that with the AI Image Generator (/ai-image-generator) for on-brand asset adjustments and the Image Upscaler for crisp final frames. For cost predictability, review pricing and credit options on the Pricing and credits page (/credits). By templating prompts and using batch runs, you can scale from one still to dozens of platform-native hooks in hours rather than days.
Frequently Asked Questions
Can Veo 3.1 generate vertical 9:16 clips from one photo?
Yes — vendor docs indicate Veo 3.1 supports native vertical outputs and a reference-image mode, but the reference-image-to-video mode is limited to an 8-second clip, so plan your hook length accordingly[1].
What clip length should I pick for a product reveal?
If you use a reference-image pipeline like Veo 3.1’s, choose 8 seconds for the image-to-video run. For faster snackable content, generate 4–6 second text-driven hooks and stitch or sequence them in posts.
Will text-to-video or image-to-video keep my product labels readable?
Image-to-video typically preserves labels better because it uses the original photo as a reference. To increase legibility, upload a high-res photo and include explicit prompts to keep label and logo sharp; consider upscaling the final frame.
Do I need separate subscriptions to test Kling, Veo, and Sora?
Not if you use a unified tool that routes to multiple models from one credit pool. The GoCrazyAI AI Video Generator lets you test Kling, Veo, and Sora presets from the same interface and credit system.
Conclusion
Final thoughts: recent Veo 3.1 updates make image-to-vertical workflows more practical for short-form product advertising, but they also demand shorter clip planning and careful reference handling. Use image-to-video for fidelity-critical hero shots and text-to-video for agile hook generation. Test Fast presets for iteration and Quality modes for final assets. When you need a low-friction way to animate a still or generate multiple 9:16 hooks, try the AI Video Generator to go from photo to publish-ready clip in minutes.