


AI video postproduction: add voice, music, subtitles, and one-click social exports
Practical guide to finishing AI-generated videos: add voiceovers, music, auto-subtitles, and one-click social-ready exports with GoCrazyAI Media Mixer.
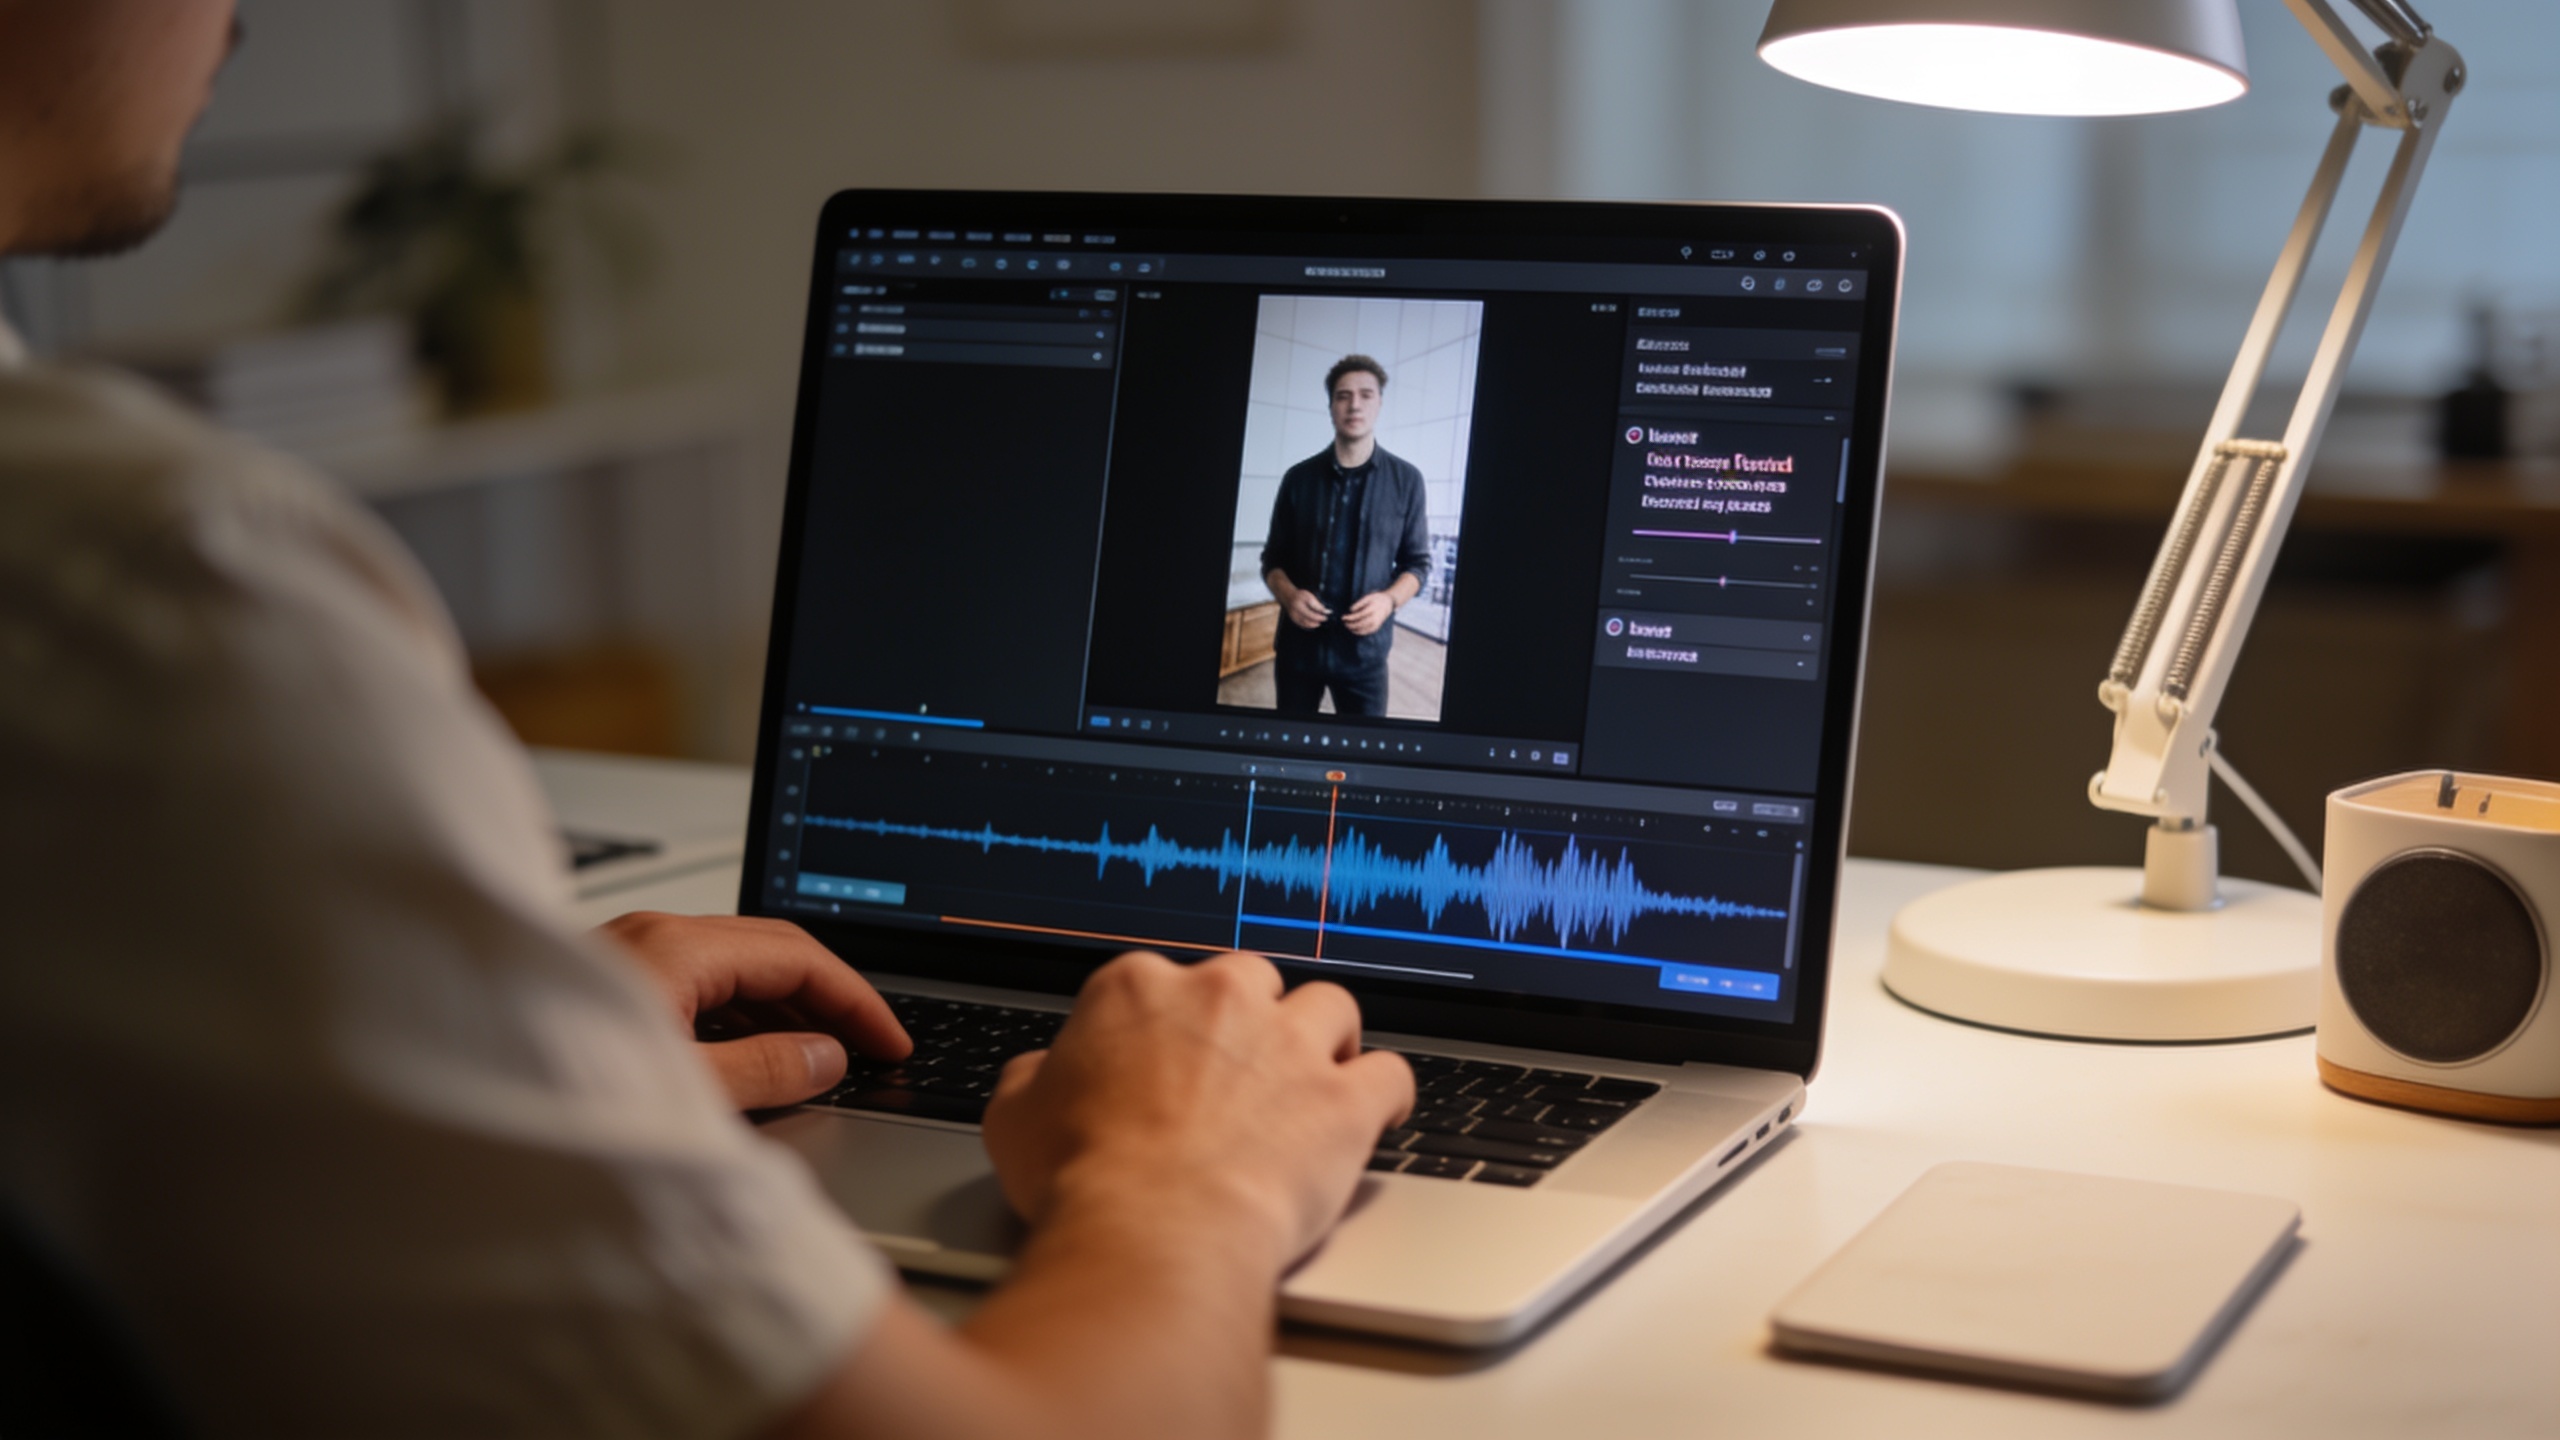
You have an AI-generated clip and need to finish it fast for TikTok, Reels, or YouTube Shorts. This guide shows exactly what to check before you edit, how to add a voiceover and music, how to verify auto-subtitles, and how to export social-ready variants in one click. It pulls together platform specs, copyright safeguards, and short workflows so you can publish without surprise takedowns or audio problems. Where it helps, the steps show how to do the task inside GoCrazyAI Media Mixer so you can keep editing and exporting in one place.
Quick Answer
How do you finish AI video postproduction? Add a verified voiceover, license-cleared background music, and review auto-generated subtitles. Use auto-ducking and loudness normalization, then export vertical/square/landscape variants with burned captions. Tools like GoCrazyAI Media Mixer let you do those steps in one panel and export social-ready files in a single click.
Why polished audio and subtitles multiply social video performance (data-backed)?
Polished audio and accurate subtitles usually increase completion and engagement because viewers watch on mute or in noisy places. Research shows rapid adoption of AI in video workflows—41% of brands reported using AI for video creation, up from 18% the prior year—which makes postproduction speed and consistency more important than ever. Platforms like TikTok, Reels, and YouTube often autoplay without sound; captions convert those silent views into real impressions. In practice, adding a clear voiceover and burned captions typically raises watch-through rates and accessibility. For creators, that means small fixes—clean narration, correct timestamps, and readable captions—can have outsized impact on reach and shares.
Expand: Specific metrics vary by platform, but the mechanism is consistent: subtitles capture silent viewers, good audio makes viewers linger, and consistent loudness avoids sudden volume jumps that cause drop-off. Because AI tools can generate drafts quickly, invest 10–20 minutes to polish audio and captions before export. Also remember platform guidance: follow aspect ratio and codec specs to reduce transcoding artifacts that hurt perceived quality.
Preparing your AI-generated clip: what mistakes to check before you open the Media Mixer?
Before you open the editor, check a short list of common mistakes so postproduction doesn't become rework. First, confirm the clip's frame rate and resolution match your target platform (e.g., 1080x1920 for vertical). Second, listen for background hum, clipped transients, or AI artifacts in the audio that will make voice-sync harder. Third, check the clip length and any scene cuts so subtitles and voiceovers align correctly.
Expand: Typical mistakes and how to avoid them:
- Wrong aspect ratio: Exporting a landscape clip into a vertical timeline forces cropping and can ruin composition—re-export or crop upstream to preserve key content.
- Low audio level or clipping: Normalize raw audio or re-render the AI source at higher bitrate before editing.
- Misaligned cuts: Note scene timestamps in a short log so you can drop voiceover phrases precisely.
Doing these checks usually saves 15–45 minutes of back-and-forth during the audio and captions stage. If you generated the footage with an AI video tool, keep a copy of the original source file and a low-res proxy for speed.
Hands-on: Adding and syncing an AI voiceover with GoCrazyAI Media Mixer?
You can add and sync a voiceover inside the Media Mixer by generating or uploading narration, placing it on a voice track, and nudging phrases to match cuts. The editor lets you audition voices, paste a script, and snap voice clips to scene boundaries for frame-accurate sync.
Step-by-step in the Media Mixer: generate or import your narration, drag it to the timeline under the clip, and use the waveform to match key words to visible actions. The tool supports trimming and crossfades so you can split long reads into shorter takes that align with scene changes. For multi-speaker edits, label tracks and use color-coding to avoid confusion. When timing a quick social clip (15–45s), zoom the timeline to frames so you can nudge a phrase by 50–100 ms for natural lip-sync.
Practical tips: pick a natural-sounding voice from the 160+ voice library if you need variety, or clone a brand voice for consistent narration. Keep sentences short for mobile viewing, and read them at a conversational pace—around 150–180 wpm for short form. Remember to export a separate WAV or MP3 of the narration if you need to reuse it across variants.
You can try every step above directly in GoCrazyAI Media Mixer — no setup needed.
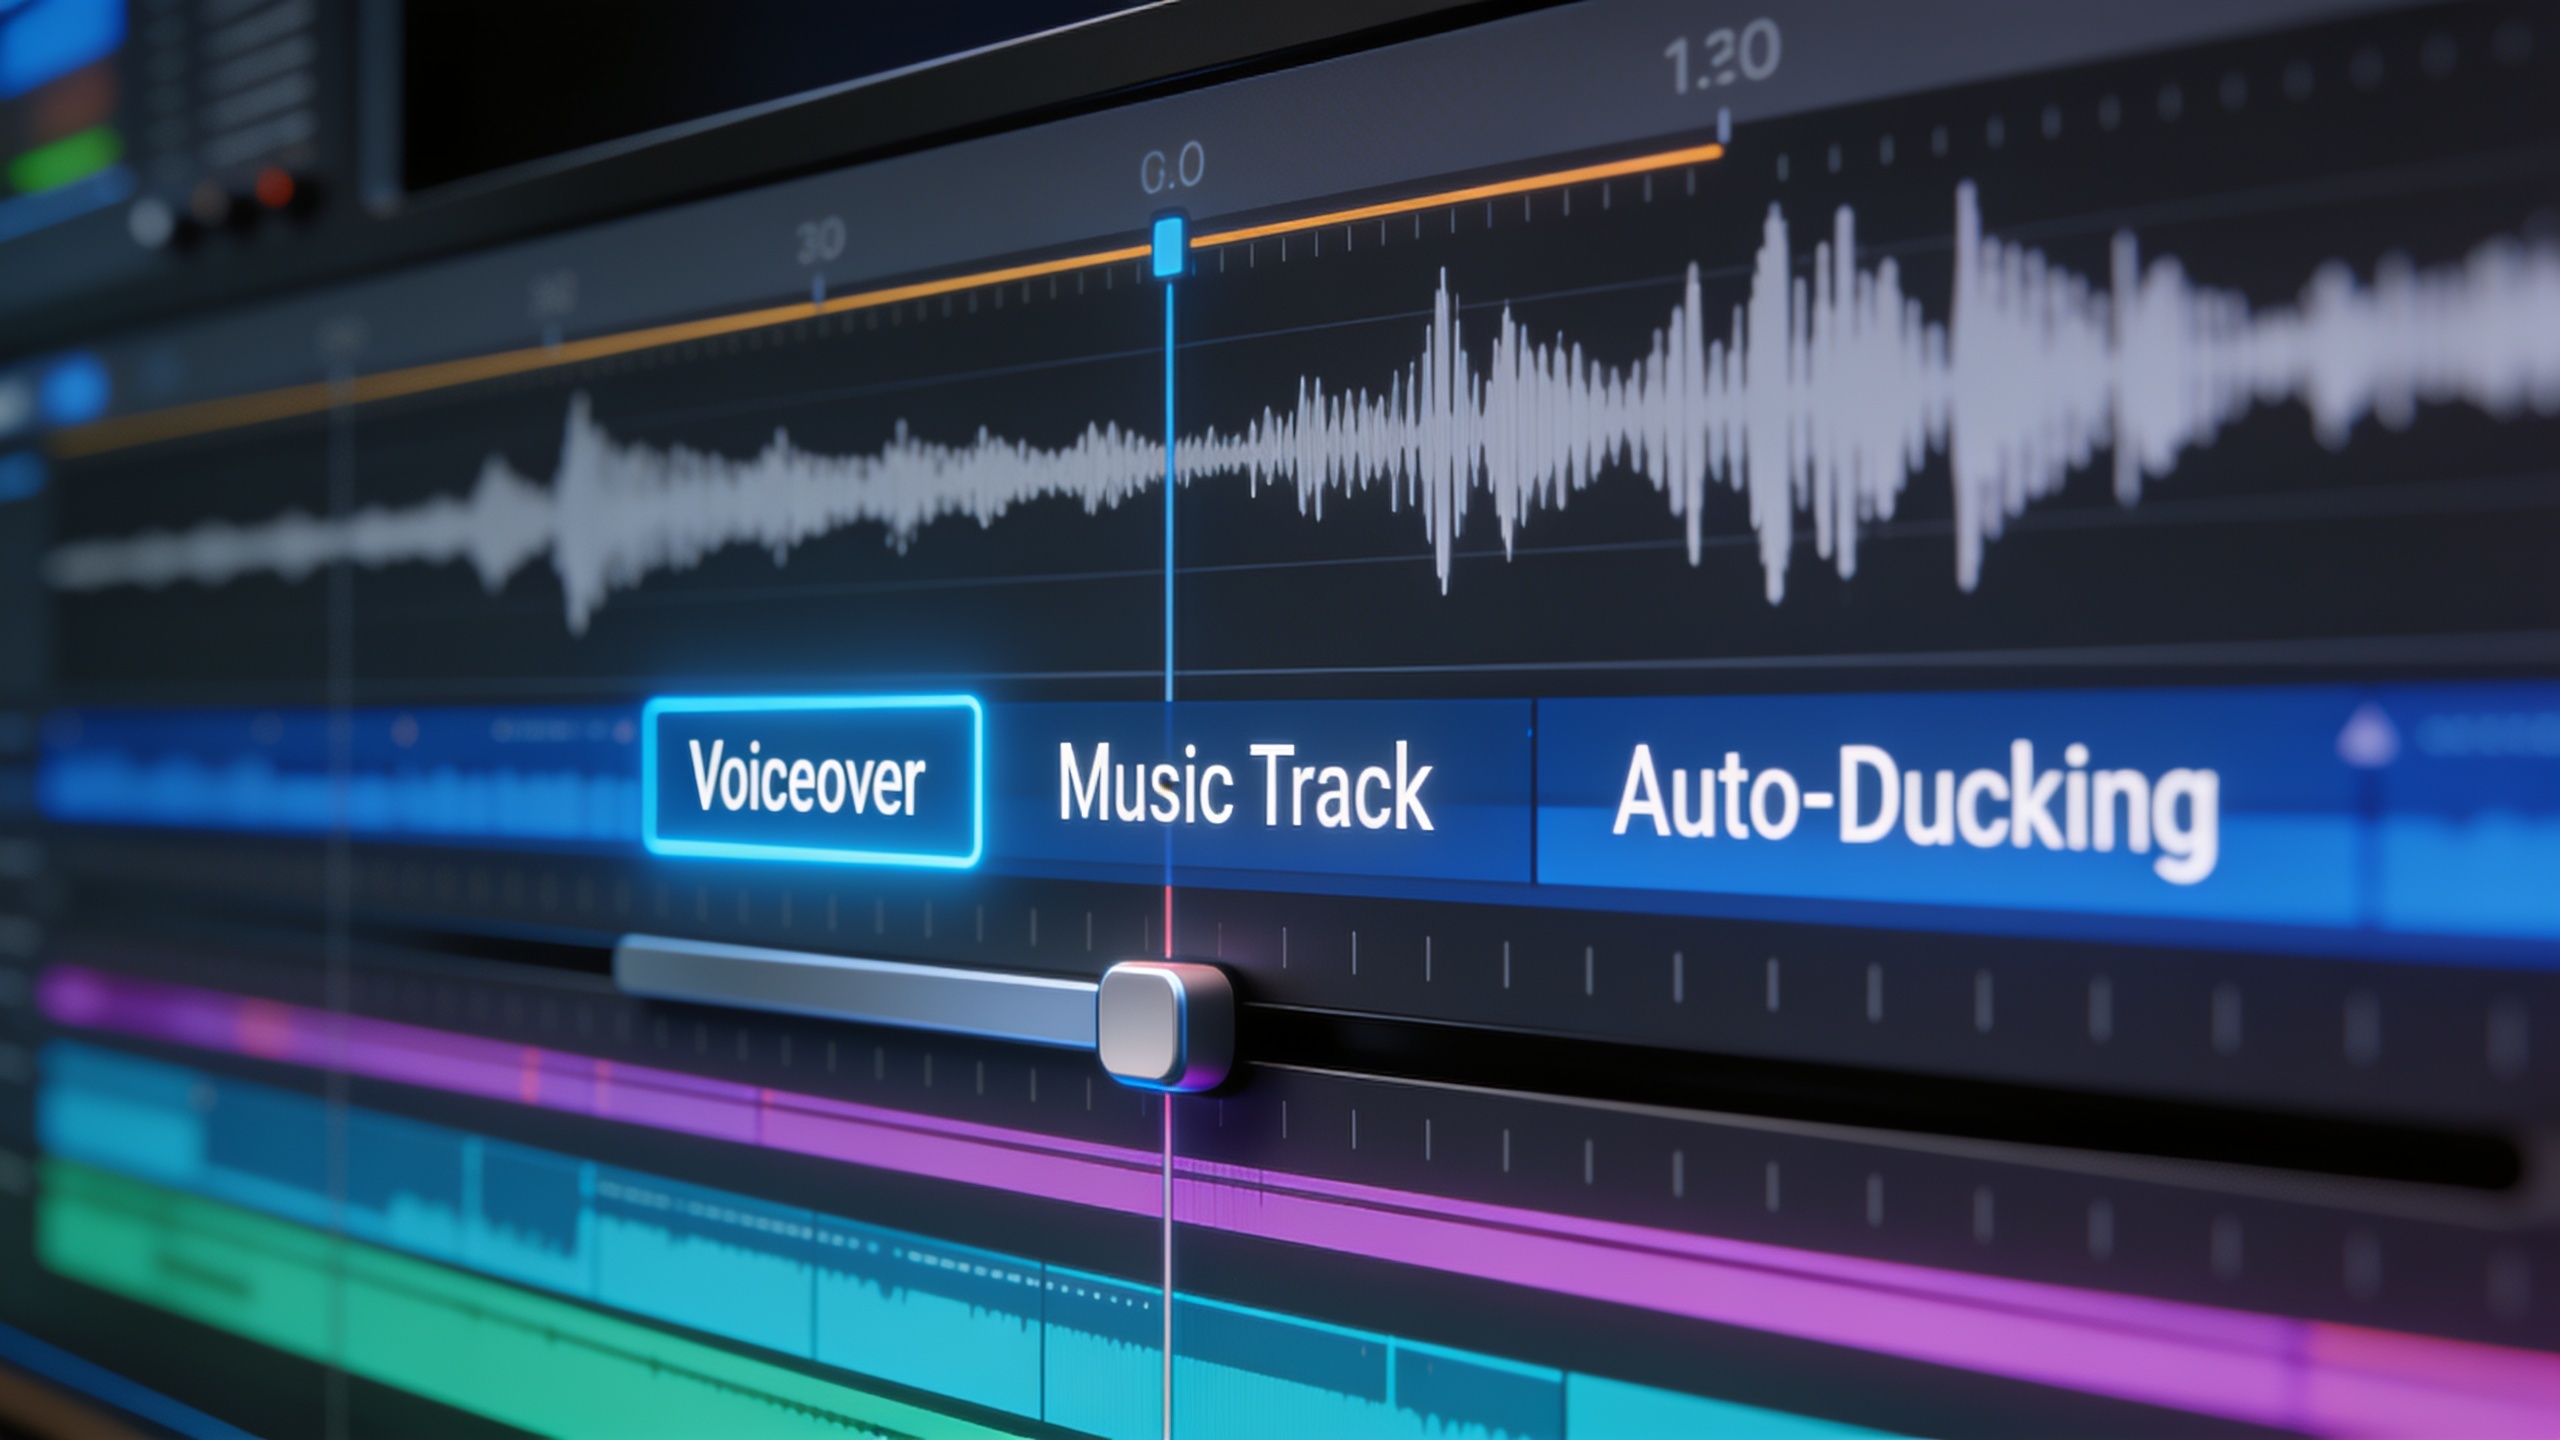
Hands-on: Add music, SFX and apply auto-ducking — keeping audio legal and platform-safe?
Add music and SFX from licensed or cleared libraries, then apply auto-ducking so speech stays intelligible. Music without proper rights risks Content ID matches and takedowns on many platforms, so choose platform libraries, royalty-free collections, or tracks generated and cleared for commercial use. Once music is in the timeline, enable auto-ducking to lower background audio automatically when speech is present and normalize final loudness to platform targets (commonly around -14 LUFS for streaming).
Practical workflow: import or generate an instrumental, place it on the music track, then toggle auto-ducking in the mixer panel. Adjust duck depth and release time so the music feels natural—too aggressive ducking makes music pop, too light leaves the voice buried. Add SFX for hits or transitions on separate tracks and keep them below the vocal mix. Finally, run a loudness pass and aim for platform recommendations; some platforms reprocess audio, so give yourself headroom. If you use AI-generated music, verify the licensing terms explicitly (some tools grant commercial rights, others do not) to avoid Content ID claims.
Auto-subtitles and burned captions: fast verification and styling for TikTok, Reels, and Shorts?
Auto-subtitles speed caption creation but still need human verification for accuracy, timestamps, and speaker labels before you burn them into the video. Use automatic speech-to-text to create an SRT/VTT, review the transcript for misheard words, correct timestamps around quick cuts, and check speaker breaks. For mobile platforms, style captions with large, high-contrast fonts and avoid placing text where platform UI overlays appear.
Practical styling checklist: keep caption lines to two at most, use 48–64px-equivalent font for vertical video, and allow safe margins for Instagram/TikTok UI. Burn captions when you want guaranteed visibility (some apps mute captions by default), and always export the subtitle file (SRT/VTT) alongside the burned MP4. That SRT makes future translations and repurposing simple. Finally, remember speech-to-text accuracy depends on audio clarity—rerun the transcription after you apply the final voice pass for best results.
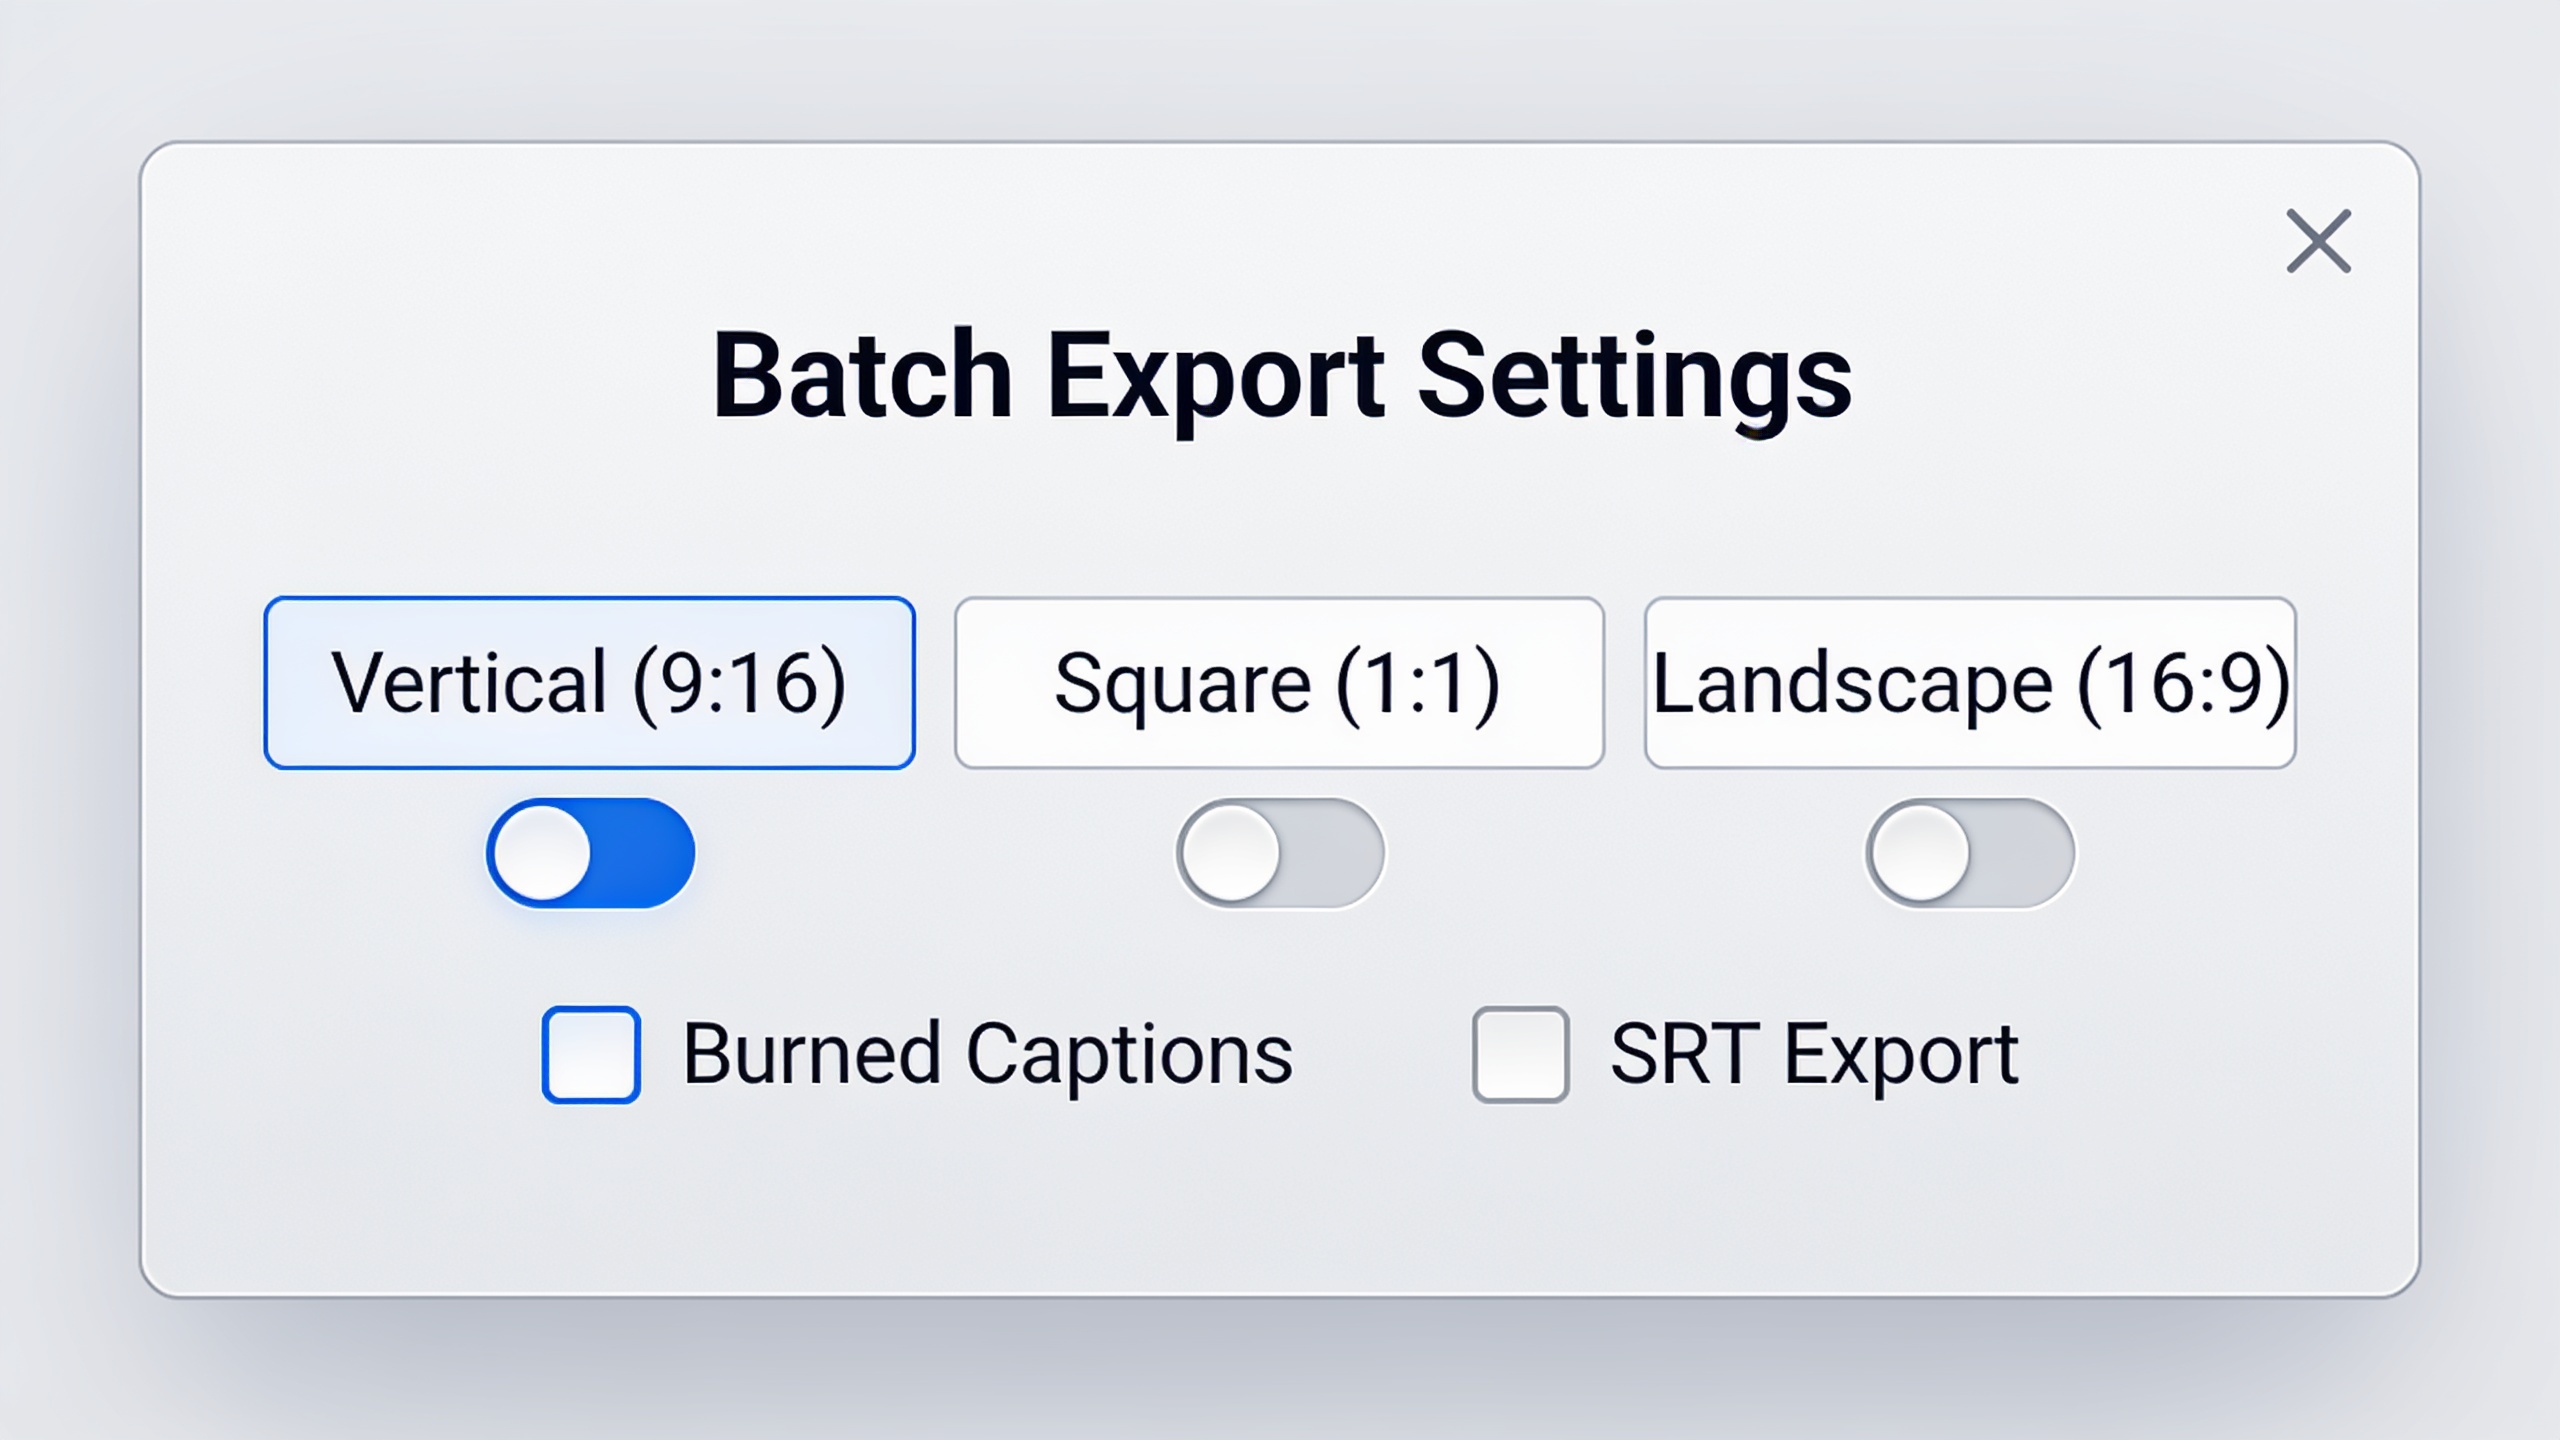
One-click export: creating social-ready variants (vertical, square, subtitles baked)?
One-click export that produces multiple aspect ratios and burned captions saves hours when you need TikTok, Reels, and feed videos from one source. A good exporter will let you select variants—vertical 9:16 with burned captions, square 1:1 with soft captions, and landscape 16:9—and render them as a batch so you don't re-edit for each platform. Include exports for subtitle files (SRT/VTT) and a high-quality MP4 for archiving.
How to set it up: set target presets for each platform, check safe title and logo placements for each aspect ratio, and preview crops before batch render. Use baked captions for platforms where viewers expect on-screen text, and provide a separate SRT for platforms that accept caption uploads. Batch exports also let you apply platform-specific loudness presets so every file meets recommended playback targets. This approach reduces manual re-cropping, re-timing, and re-encoding—saving hours per asset when repurposing one clip across multiple social channels.
Checklist & pro workflow templates — Example workflow from raw AI clip to publish-ready video?
A compact checklist and a copyable example workflow make finishing a clip predictable and fast. Example workflow (copy and adjust): 1) Verify source frame rate and resolution. 2) Generate narration or upload voice audio. 3) Place and sync voiceover, trim to cuts. 4) Add licensed music, enable auto-ducking, normalize to -14 LUFS. 5) Run speech-to-text, correct transcript, export SRT. 6) Style and burn captions for vertical export; include soft captions for feed. 7) Batch-export vertical (9:16, burned), square (1:1, soft captions), landscape (16:9, soft captions), plus SRT and a high-bitrate master MP4.
Template notes: keep short sentences for social clips, use platform-safe margins, and always save a master with separate audio stems (voice, music, SFX) for future edits. Exporting the SRT alongside burned files is low-effort and high-value: it enables translations, reposting, and accessibility steps later. For teams, save these presets so every clip follows the same production standard and reduces review cycles.
Frequently Asked Questions
What loudness should I set for social video exports?
Aim for around -14 LUFS for most streaming platforms; some platforms may reprocess audio, so give slight headroom and test a sample upload if possible.
Can I use AI-generated music without copyright issues?
Only if the music's license explicitly allows commercial use. Use platform libraries, cleared royalty-free collections, or AI music designed and licensed for commercial distribution to avoid Content ID matches.
Should I burn captions or upload SRT files?
Both. Burned captions ensure visibility on platforms that don't show SRTs reliably; export SRT/VTT too so you can upload native captions or translate the transcript later.
Conclusion
Final thoughts: finishing AI-generated videos for social platforms is mostly about predictable checks—clean audio, licensed music, verified captions, and the right aspect ratios. Small workflow habits (exporting SRTs, normalizing loudness, batching exports) save hours and reduce publishing risk. If you want to do all post-production in one place, polish your clip in the AI Video Editor and export the finished file in one click.
Sources
- 41% of brands using AI for video, up from 18% last year — Martech (summary of Wistia data)martech.org ↗
- Social Media Video Specs for Every Platform — Sprout Socialsproutsocial.com ↗
- A publish-ready workflow for AI-generated videos: subtitles, audio, and final polish — GoCrazyAI blog (Media Mixer feature)gocrazyai.com ↗
- How to Add Voiceovers to Video — Envato Elements guideelements.envato.com ↗
- YouTube adds AI 'Music Assistant' to generate custom instrumentals (context on AI music tools) — MusicRadarmusicradar.com ↗
- One-click export formats and social-ready batching (product example) — Klypse export formatsklypse.app ↗
- How to add AI voiceover to any video — VIDEOAI.ME tutorial (practical steps and tips)videoai.me ↗