


AI voiceover and music: Add captions, voice, and batch-export vertical social videos
A practical guide to add accurate AI captions, natural voiceovers, licensed music, and batch-export 9:16 vertical videos fast using GoCrazyAI Media Mixer.
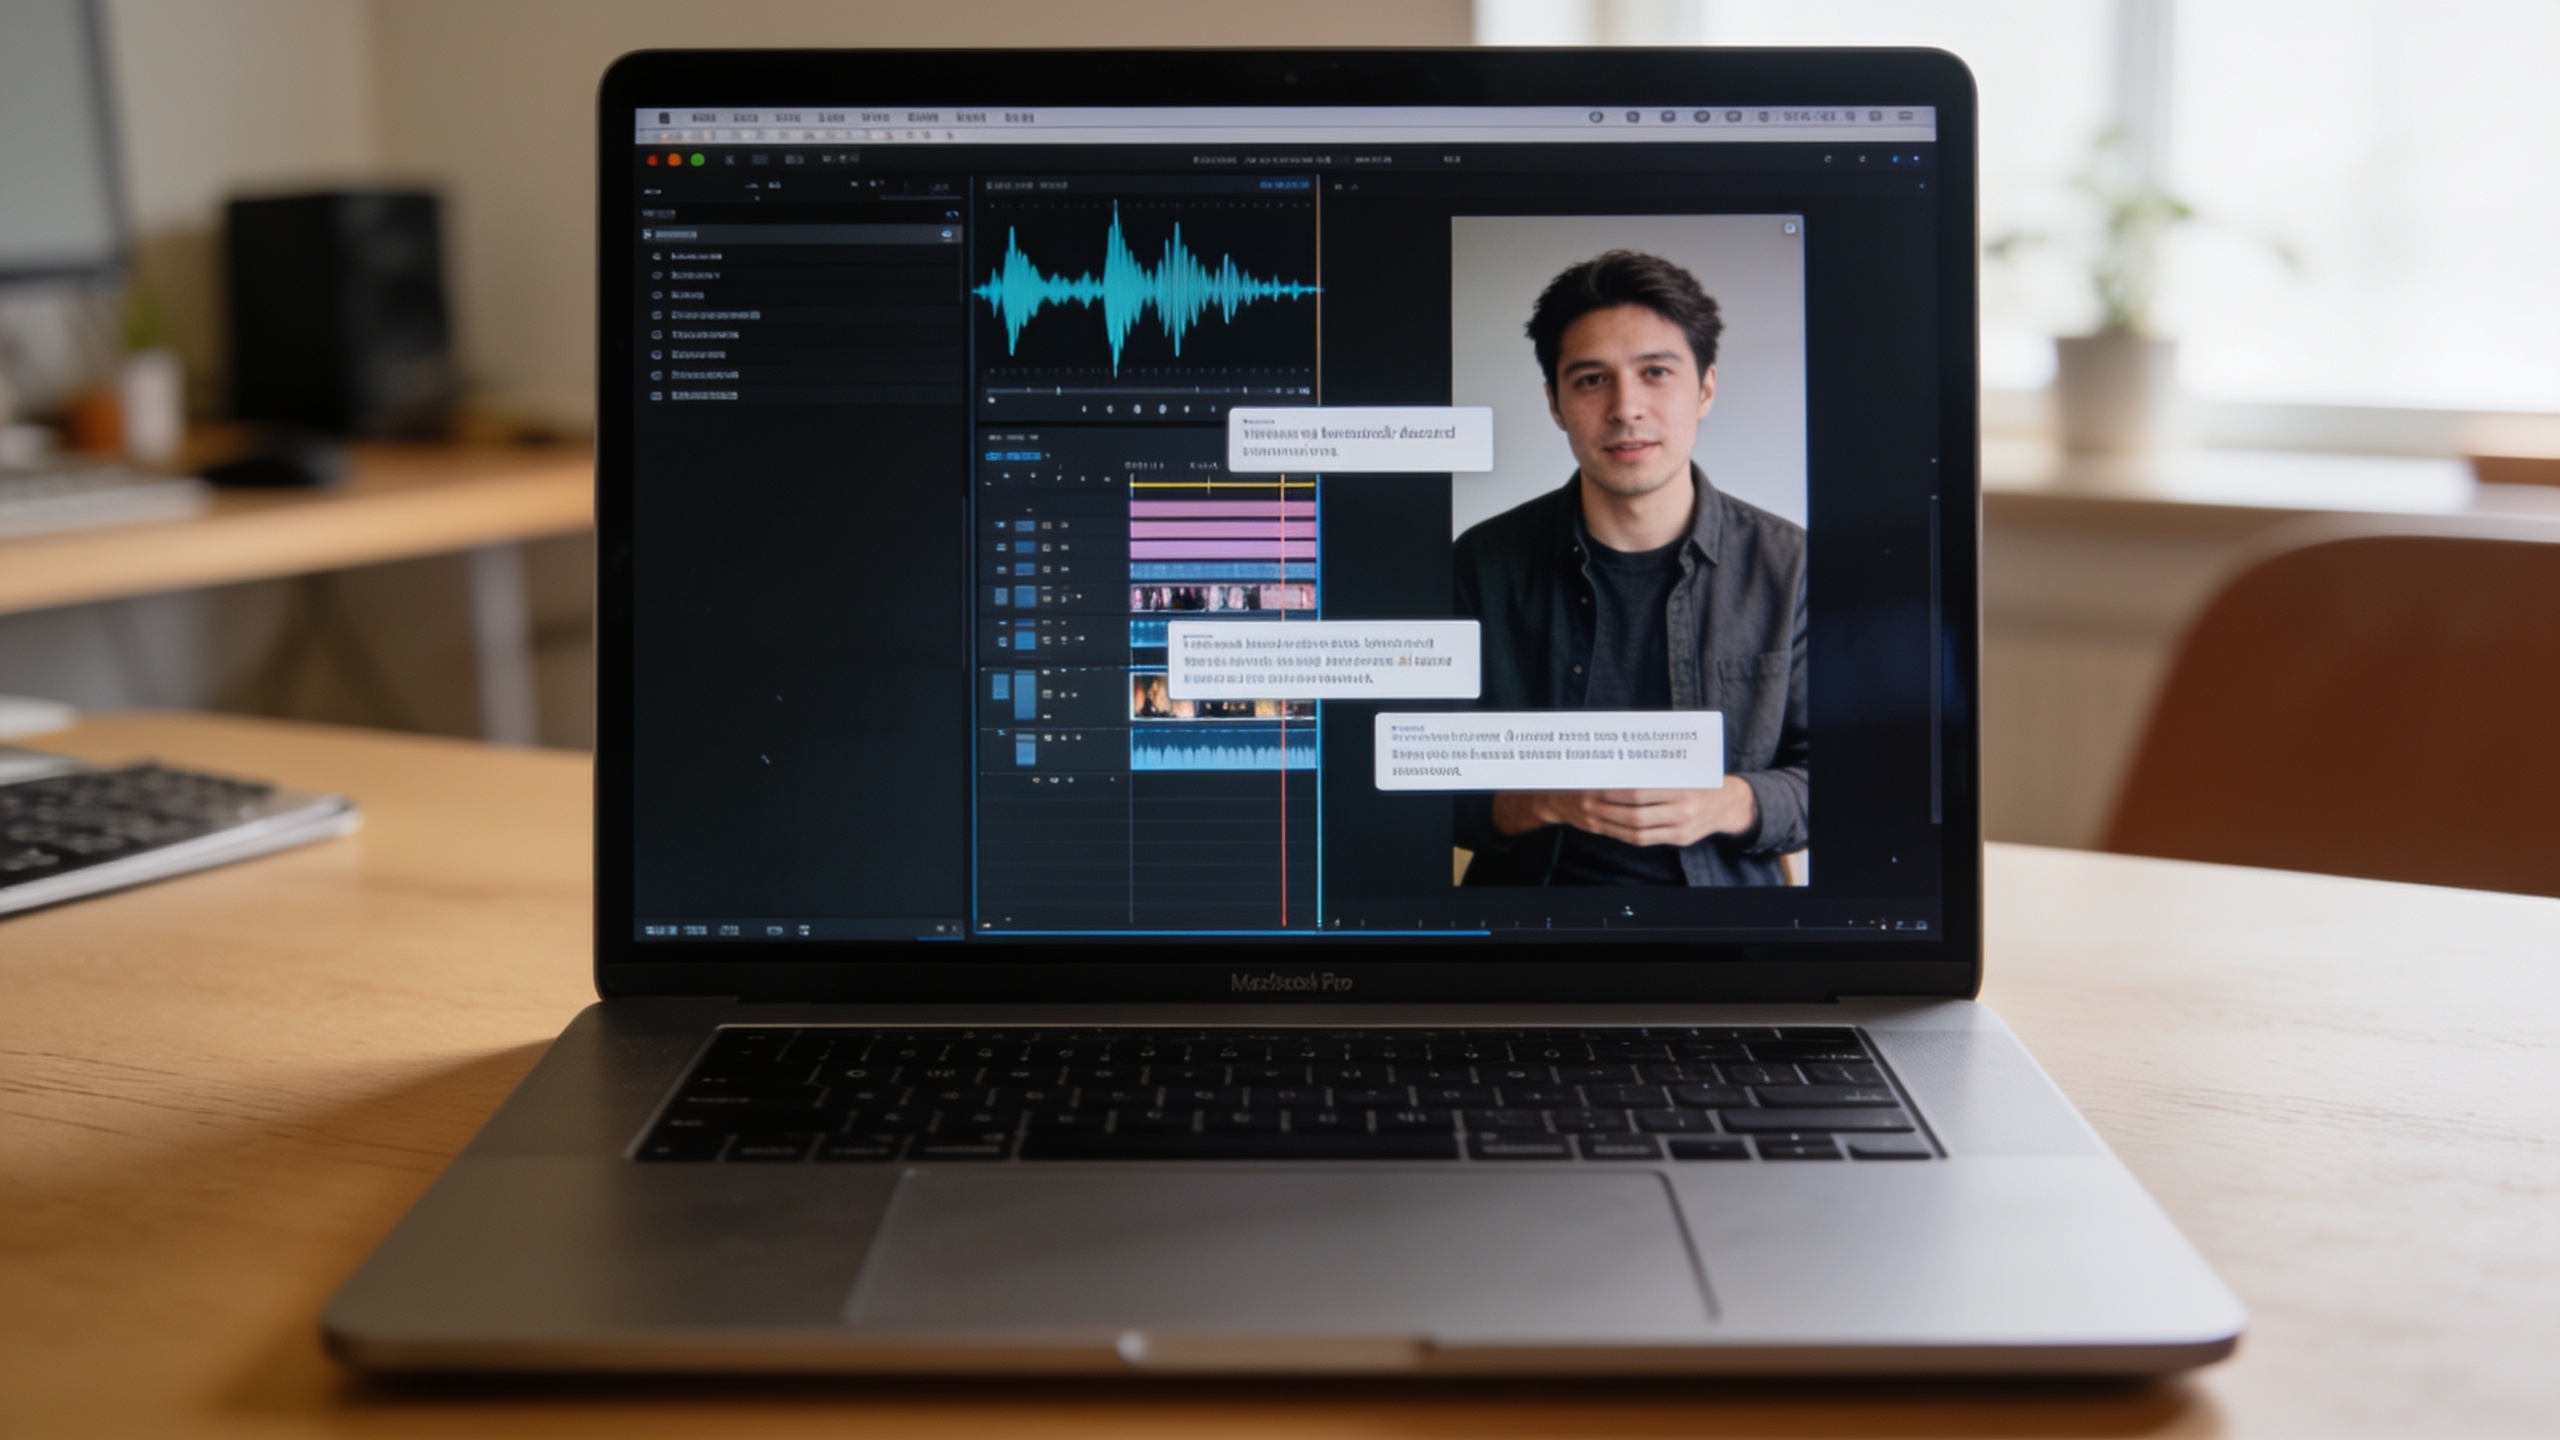
You need quick, accurate captions, a natural-sounding voiceover, licensed music, and platform-ready vertical exports — and you want to do it without bouncing between tools. This guide gives you a reproducible, creator-first workflow to add AI captions, generate or record AI voiceovers, layer music and SFX, and batch-export 9:16 burned-caption videos for TikTok, Reels, and Shorts. It also shows exactly how GoCrazyAI Media Mixer consolidates these steps so you can finish edits and export social-ready clips in one place.
Quick Answer
How do you add AI voiceover and music to short-form social videos? Add or generate an AI voice in your editor, place it on the timeline, import a licensed music track (or generate one), balance levels with ducking, then auto-generate captions and burn them into a 1080×1920 export. Use batch/export templates to produce TikTok/Reels/Shorts copies quickly.
Why platform-native exports (9:16 vertical + burned captions) matter for reach and engagement?
Platform-native exports matter because short-form feeds favor vertical 9:16 video and many viewers watch on mute. Exporting a 1080×1920 (9:16) video with burned captions usually increases watch-through and avoids UI clipping. From a practical standpoint, vertical files fit TikTok/Instagram Reels/YouTube Shorts without automatic letterboxing, and a single burned-caption render avoids caption delivery issues across apps.
Details and specs: Most social platforms currently recommend 1080×1920 for short-form feeds; exporting at 1080p H.264 MP4 at 30–60fps with a target bitrate around 10–16 Mbps is a reliable default. Burning captions into the video is especially helpful because many users scroll with sound off — captions directly improve access and retention. Finally, leaving safe-zone margins avoids having your text and CTAs covered by app overlays.
How AI captions work today — strengths, failure modes, and accessibility rules you must follow?
AI captions now provide rapid transcripts and timecodes, making subtitle workflows far faster, but they are not perfect. Automatic speech recognition (ASR) systems often get speaker names, industry terms, accents, and punctuation wrong; recent evaluations still show non-trivial error rates across services. For accessibility and quality, always proofread and correct auto-captions before publishing.
Strengths: fast turnaround, timestamped subtitles, speaker-segmentation in some tools. Failure modes: misheard brand names, run-on punctuation, missing filler words, and errors in noisy audio. Accessibility rules you must follow: accurate speaker attribution where necessary, correct punctuation for readability, non-destructive timing (avoid captions that flash too quickly), and providing caption files (SRT) when a platform supports them. For burned captions, ensure font size and contrast meet minimum legibility standards and place subtitles inside safe-zone margins so platform UI doesn’t cover them.
Choosing music and AI-generated voiceovers: copyright, quality, and when to use royalty-free libraries?
Choose licensed or platform-safe music to avoid Content ID strikes. Platform libraries (Creator Music, native audio libraries) are the simplest path to safe tracks; if you use AI-generated music or a third-party track, verify the license specifically allows platform use. For voiceovers, use premium TTS voices or cloned voices you own the rights to — confirm commercial-use terms before publishing.
Quality tips: pick music that sits below voice frequencies (ducking or sidechain reduces masking). For narration, prefer voices with consistent pacing and minimal robotic artifacts; human-proof the script and add light breathing/pauses to sound natural. When to use royalty-free libraries: fast turnarounds, low budgets, and when an exact brand track isn’t required. When you need a unique sonic brand or cadence, generate custom AI music or commission a composer and keep licensing records. If you plan to monetize on YouTube or use platform ad tools, check the platform’s recommended audio resources first.
Plan your video deliverables: a simple master-to-platform pipeline for multi-aspect exports?
A simple master-to-platform pipeline starts with one high-quality master and derives platform-native versions from it. Create a master at the highest useful resolution/aspect (for many creators that’s 16:9 1080p or higher) and then export 9:16 vertical versions cropped or reframed specifically for short platforms. This minimizes rework and keeps audio consistent across renditions.
Practical pipeline: 1) Create shot list and record or generate high-quality audio tracks. 2) Build a master edit with full-resolution assets and place captions as a separate track. 3) Proof captions, finalize voiceover and music levels. 4) Derive platform versions: 9:16 for short-form, 16:9 for long-form, square if needed. 5) Apply burned captions and platform-safe overlays per version. Tools that automate reframing and batch export significantly speed this process.
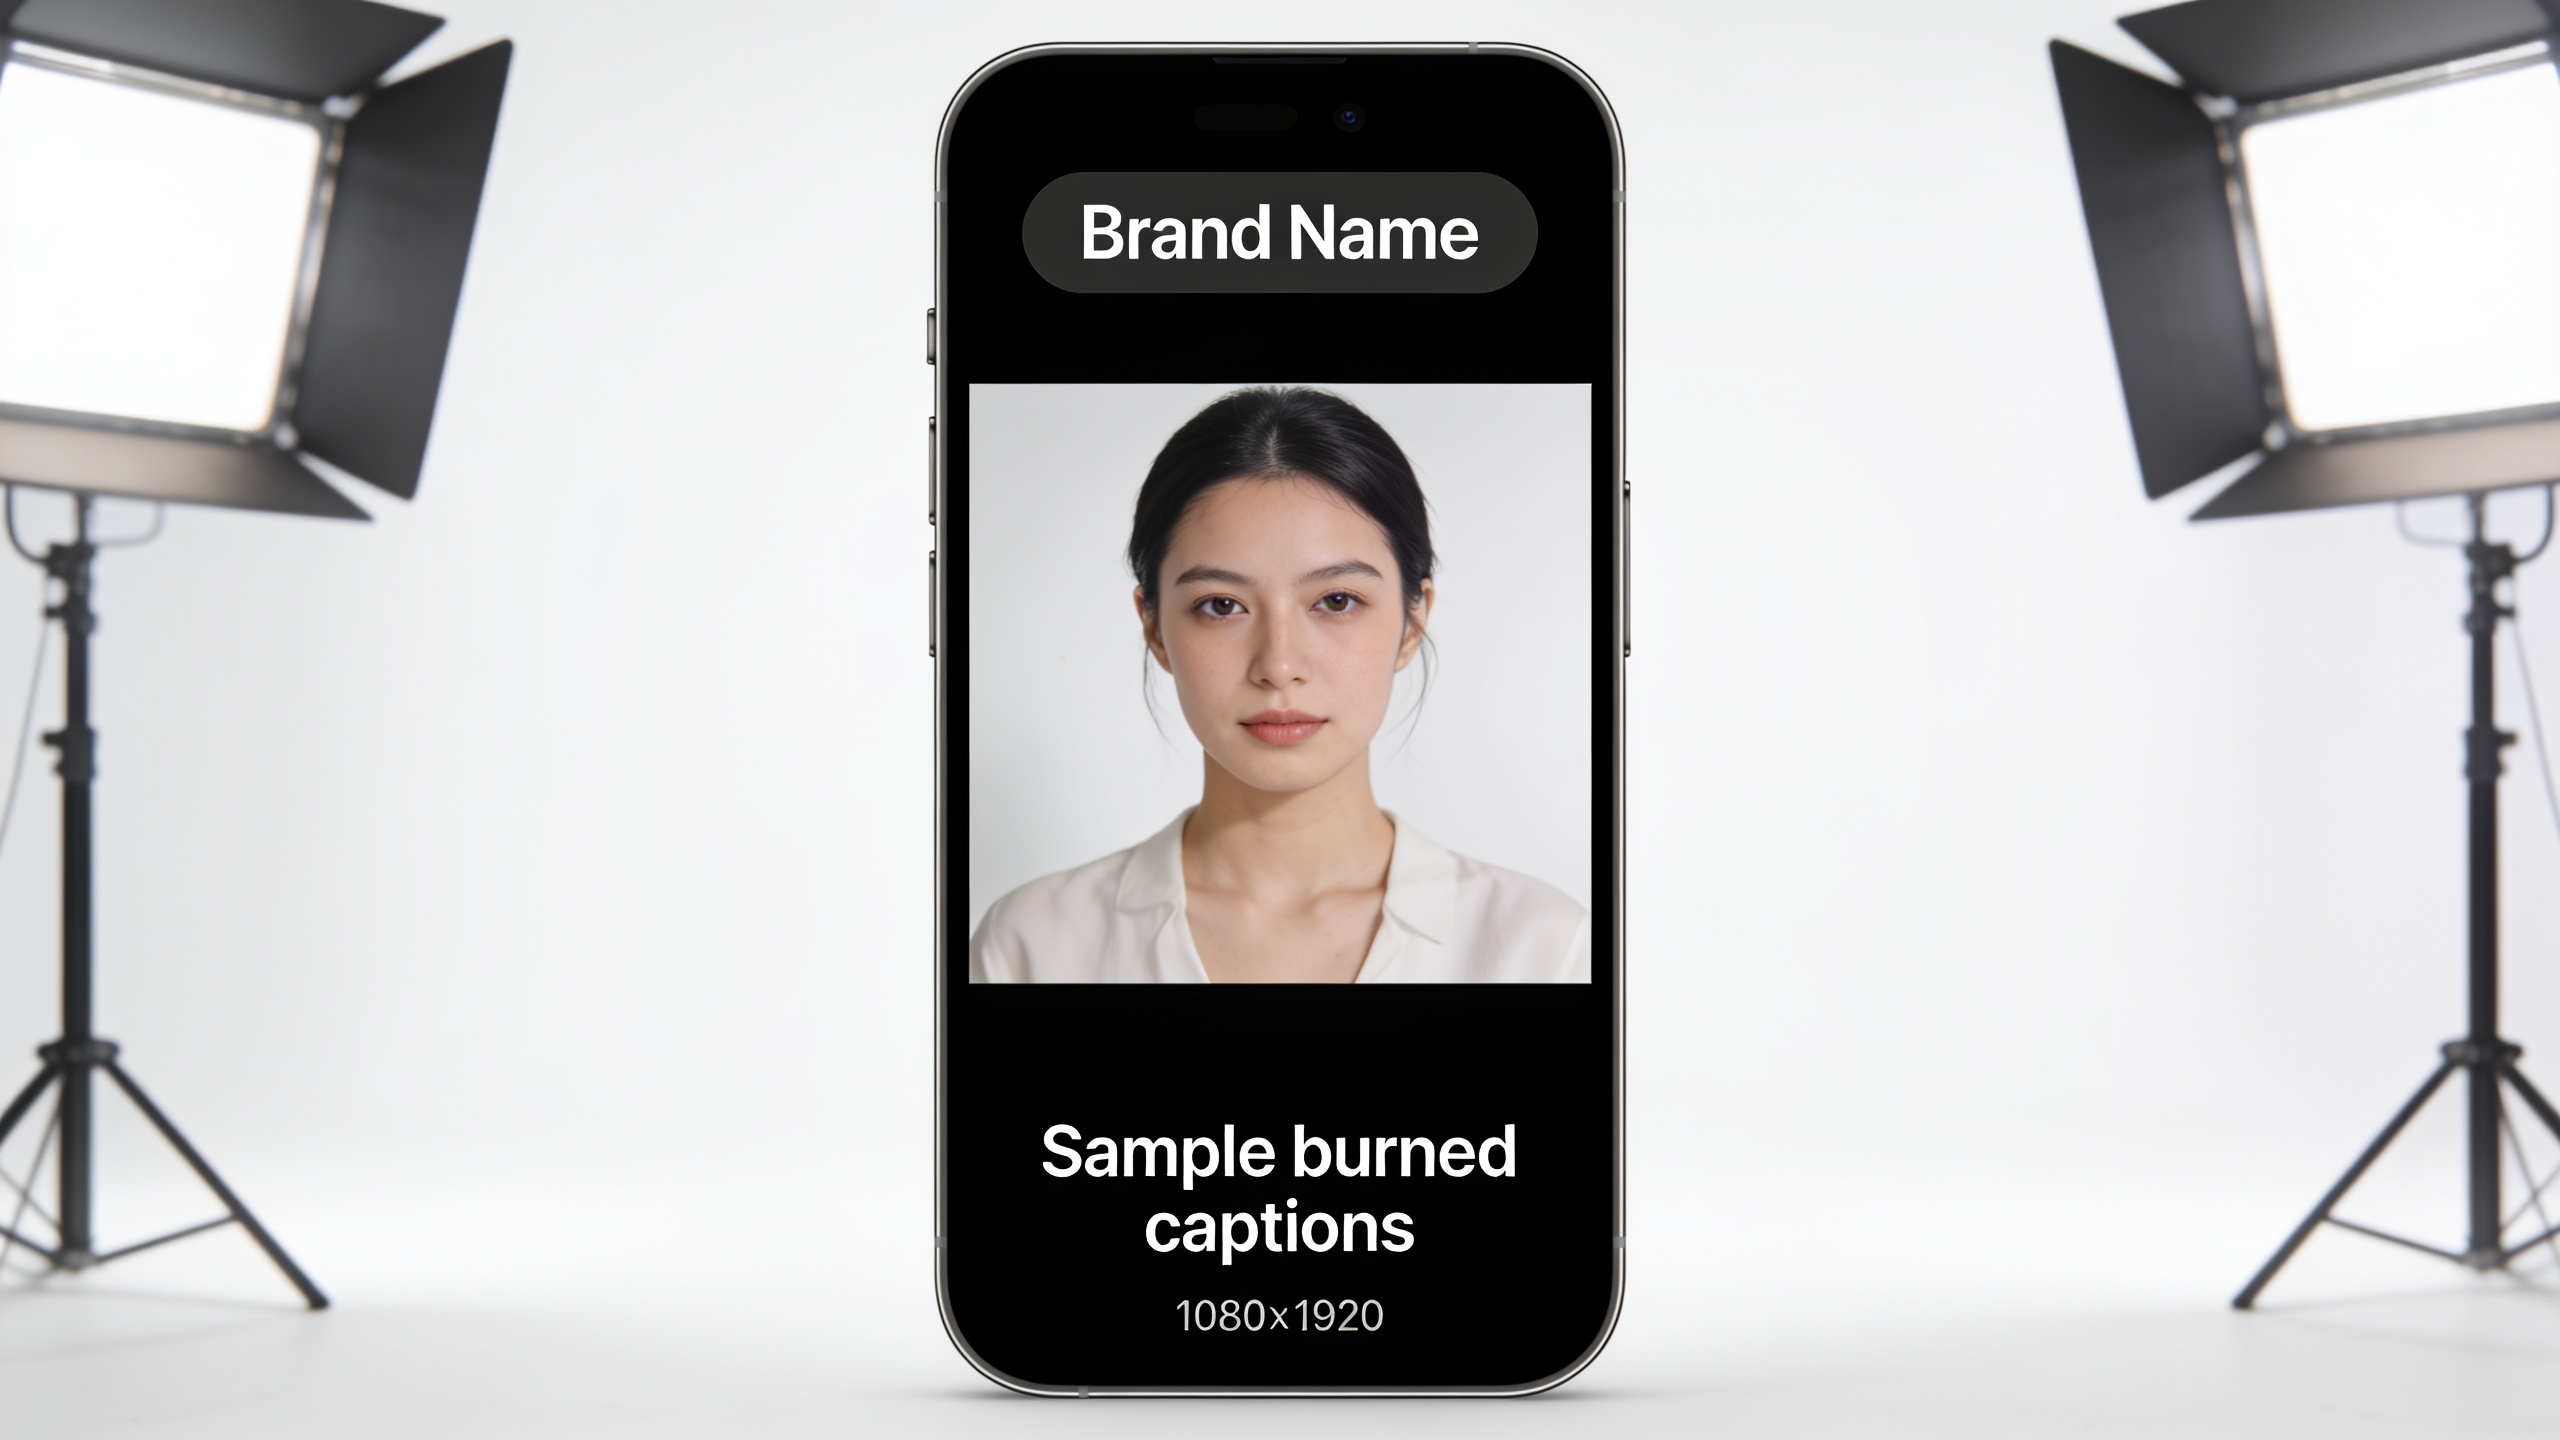
Example: Hands-on — Add accurate captions and burn them into vertical exports (step-by-step using Media Mixer)
Answer: In Media Mixer, import your clip, auto-generate captions, proofread the SRT editor, place subtitle styling, then burn the captions into a 1080×1920 export preset. The whole process often takes under 10 minutes for a short clip once templates are set.
Step-by-step walk-through you can copy:
1) Import your source clip into Media Mixer timeline. 2) Click “Auto-generate captions” to produce a draft transcript. 3) Open the captions editor and proofread: correct brand names, punctuation, and speaker breaks. 4) Choose subtitle style (font size, weight, contrast box) and enable "Burn captions" in export settings. 5) Set export to 1080×1920 H.264 MP4, 30/60fps, bitrate 10–16 Mbps. 6) Export a burned-caption vertical file.
Prompt examples for captioning accuracy (use in an editor or notes):
"Replace 'ACME' with 'AcmeCo' wherever spoken; insert punctuation for natural pauses." "Speaker labels: Narrator / Host / Guest — mark changes when pause > 0.6s."
These small edits fix common ASR errors and produce a clean burned-caption export suitable for Reels/TikTok. For auto-captioning accuracy context, remember ASR systems can still mis-transcribe complex terms — always proofread.
How to do it with GoCrazyAI: Hands-on — Record or generate an AI voiceover, layer music and SFX, and match levels for social-ready clips?
Answer: Use GoCrazyAI Media Mixer to generate or import an AI voice in the same editor, drag the voice track onto the timeline, add a music track from your library (or the AI music generator), use the mixer to duck music under speech, and export a ready-to-publish file. The Media Mixer keeps voice, music, subtitles and overlays in one panel so you don't bounce between apps.
Detailed Media Mixer steps:
1) Open your project in the GoCrazyAI Media Mixer (AI Video Editor). 2) Add a voice: generate with the AI Voices panel or upload a recorded voice. 3) Import a music track from the AI Song Generator or a licensed file; place it on the music track. 4) Use the track mixer to set voice at -3 to -6 dB and music around -16 to -12 dB; enable automatic ducking so music lowers when speech is present. 5) Add subtle SFX for hits and transitions at -20 to -18 dB. 6) Preview on mobile ratio and adjust timing so captions match spoken words.
Why use Media Mixer: it centralizes voiceover, music, captions and overlays so the final export is a single social-ready file. Learn more from the AI Video Editor docs on the Media Mixer interface in the AI Video Editor (/ai-video-edit).
Scale and save time: batch-export vertical videos and templates for TikTok/Reels/Shorts?
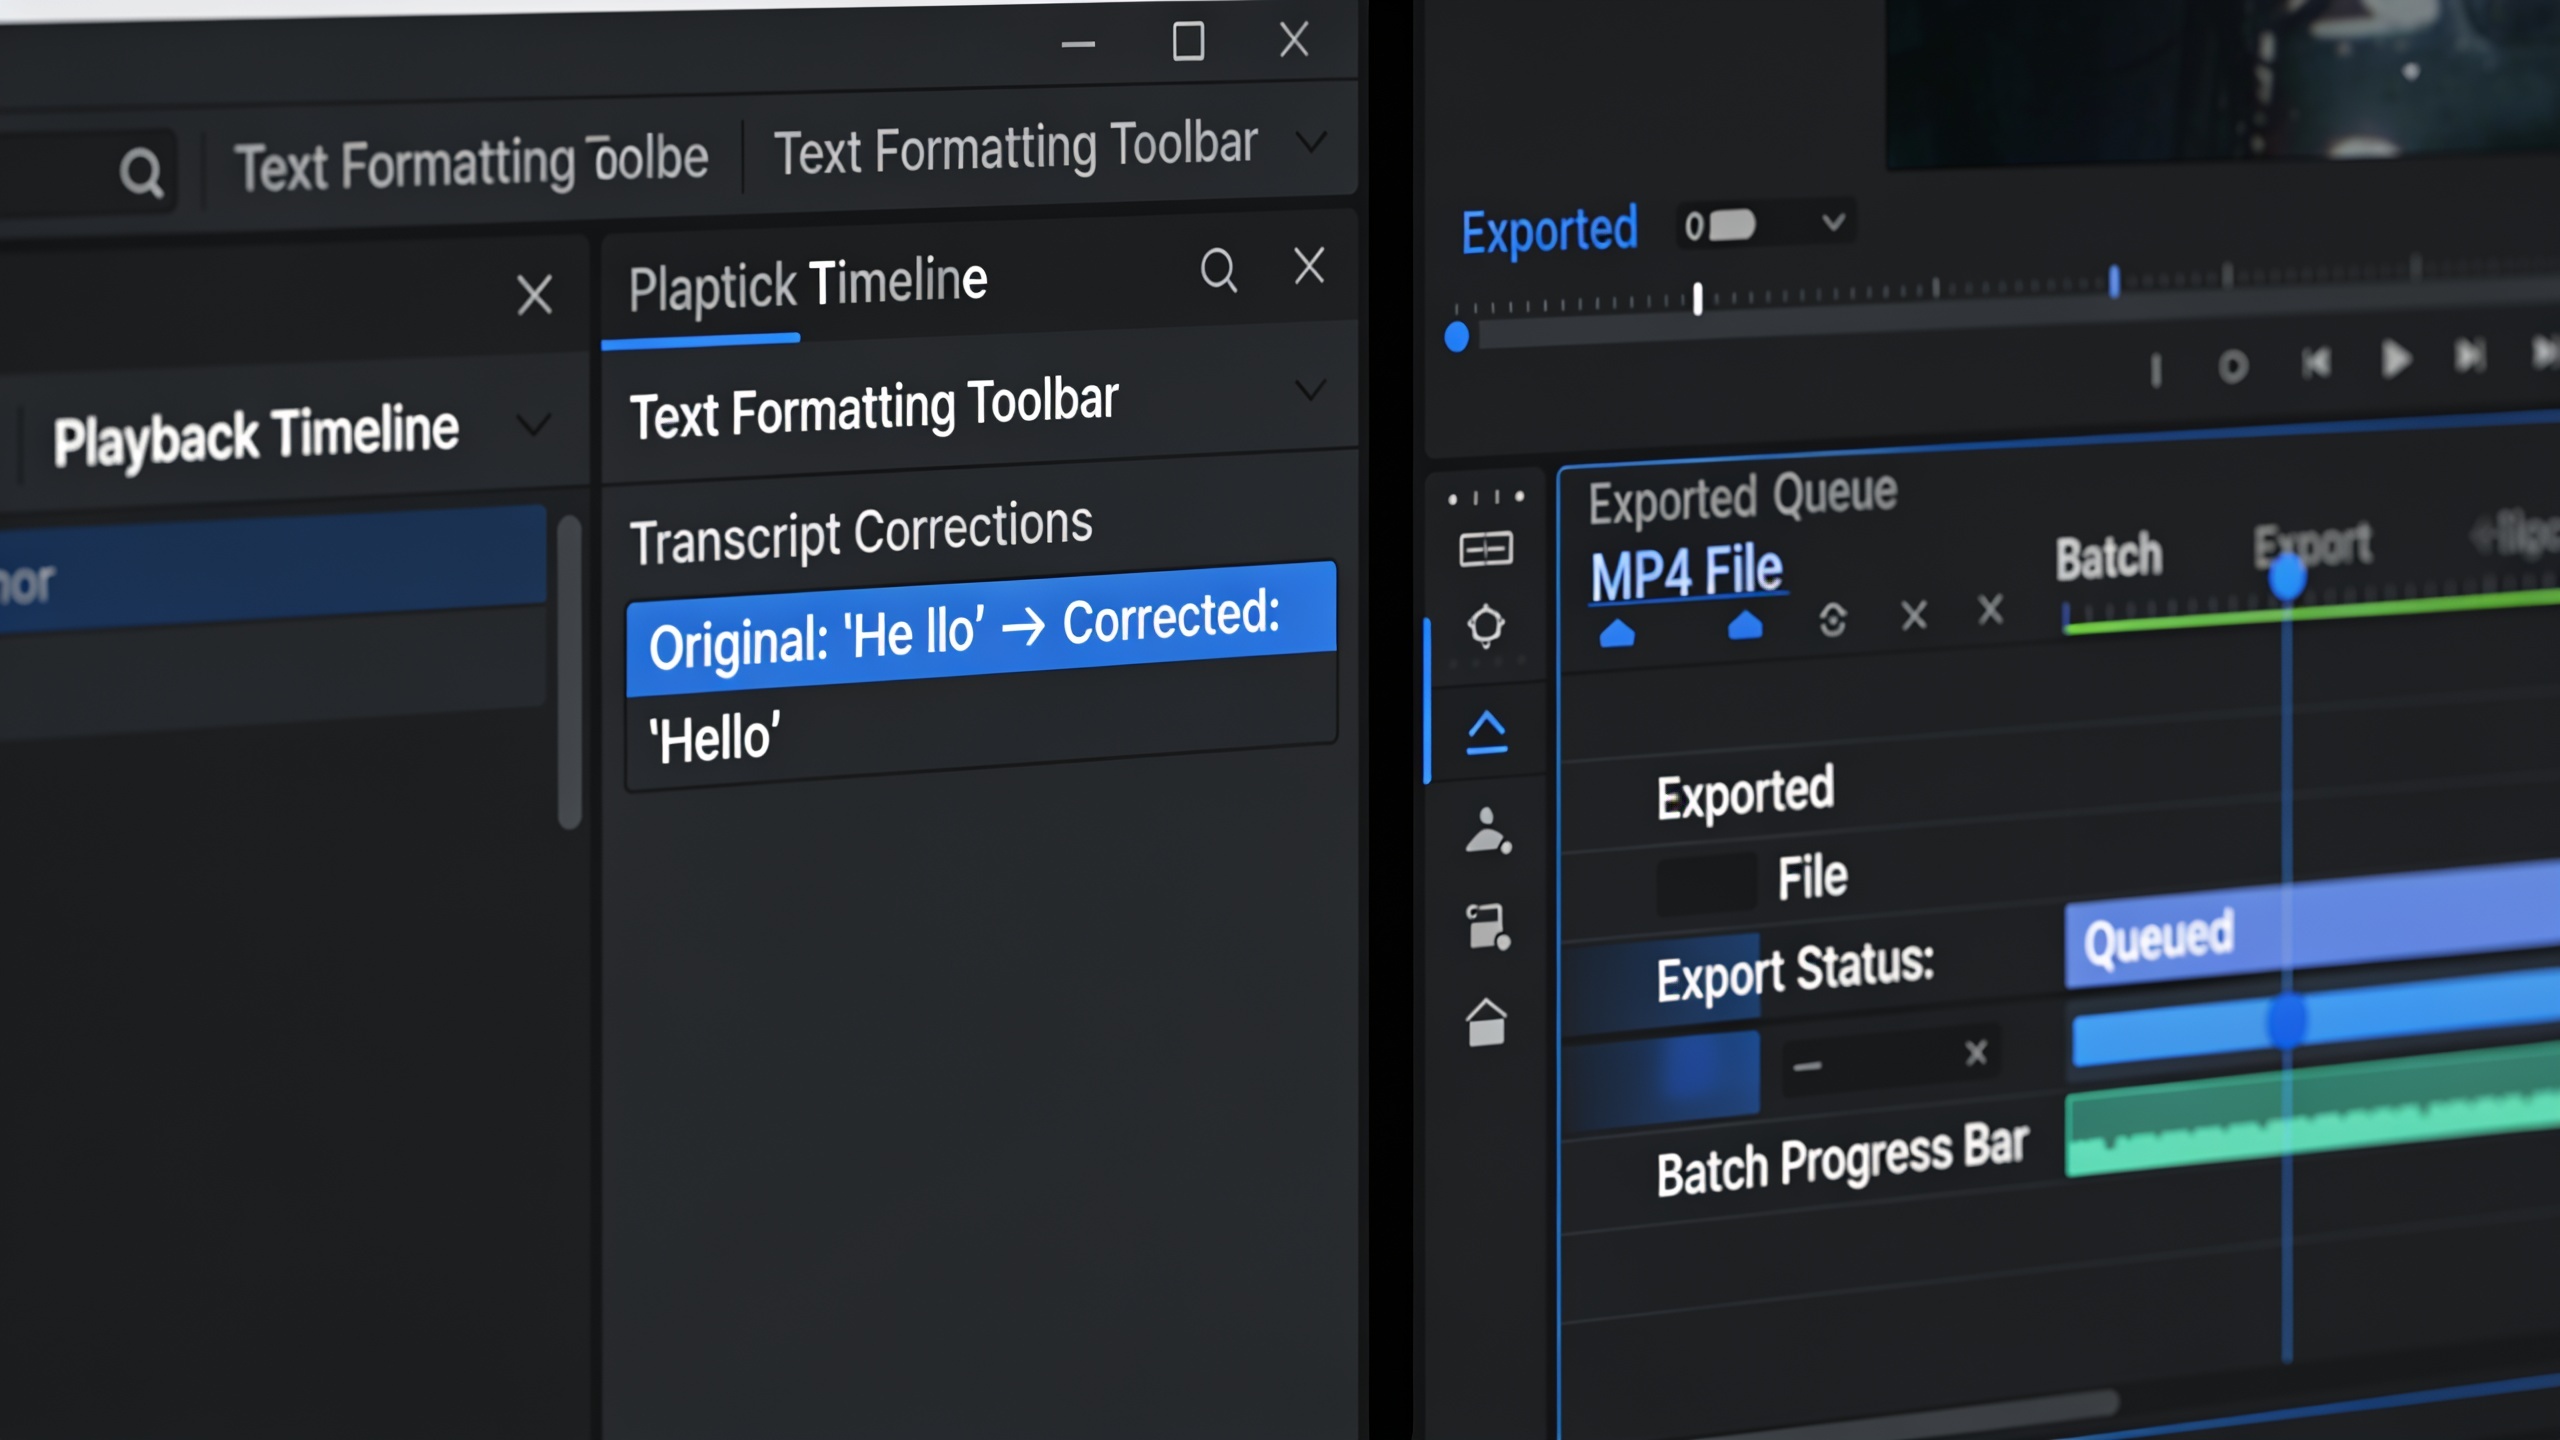
Answer: Use batch-export templates to apply the same caption style, safe-zone overlays, and export settings to multiple clips, then run a batch render that outputs 1080×1920 MP4s for TikTok/Reels/Shorts. Templates reduce repetitive setup and ensure consistent branding across dozens of clips.
How to set this up: create a reusable export preset with 1080×1920, H.264 MP4, target bitrate 10–16 Mbps, and burned captions enabled. Save subtitle styling and safe-zone overlay as a project template. When you import a folder of clips, apply the template and queue them for batch render. The time saved scales with volume — for teams producing dozens of short videos per week, batch exports can cut post time by 60–80% compared to manual exports. Keep a master-driven approach: one corrected caption master and derived platform exports to minimize rework.
What mistakes should you avoid with brand overlays, subtitles placement, and algorithm-safe hooks?
Answer: Common mistakes include placing text in UI hotspots, relying on raw auto-captions without proofreading, and ignoring the first 3 seconds hook. Avoid each by using safe-zone templates, editing captions before burning, and planning the opener to show the main hook immediately.
Specific mistakes and how to avoid them:
- Mistake: Placing CTAs where platform UI covers them. Fix: Use safe-zone margins (top/bottom 10% buffer) and test on device.
- Mistake: Publishing unedited auto-captions that contain brand-name errors. Fix: Proof captions and use consistent spelling for trademarks.
- Mistake: Music masking speech. Fix: Use ducking and set voice louder than music by ~10 dB during narration.
- Mistake: Long subtitle lines that flash too quickly. Fix: Limit lines to 32–40 characters and 1.8–2.5 seconds display per line.
- Mistake: Weak first 3 seconds. Fix: start with the visual hook and a short caption or visual headline to grab scrollers.
Checklist + export settings cheat sheet: codecs, bitrates, aspect ratios and one-click export steps with Media Mixer?
Answer: Use this checklist: export 1080×1920 H.264 MP4 for short-form, set bitrate to 10–16 Mbps, 30/60fps, burn captions, enable safe-zone overlay, and use one-click export presets in Media Mixer. This standard reduces platform rejections and keeps videos crisp on mobile.
Quick cheat sheet:
- Aspect ratio: 1080×1920 (9:16) for TikTok/Reels/Shorts.
- Codec/container: H.264 in MP4.
- Frame rate: 30 or 60 fps depending on source.
- Bitrate: target 10–16 Mbps for 1080p short-form.
- Captions: burn into video for consistent mobile playback; keep an SRT export for platforms that accept it.
- Audio levels: dialogue -3 to -6 dB; music -12 to -18 dB; SFX -18 to -22 dB.
- One-click export: save these settings as a Media Mixer preset and run batch export.
Media Mixer one-click steps: Load preset → Verify captions burned → Queue clips → Start batch render. Your files will export as platform-ready MP4s with overlays and subtitles baked in.
Frequently Asked Questions
Do I need to burn captions or can I upload an SRT?
Burned captions ensure everyone sees subtitles on mobile and avoid app-specific caption delivery problems. Uploading an SRT is useful when a platform supports toggled captions, but burned captions are the safer default for short-form vertical posts.
Will AI voiceovers be flagged by platforms for synthetic audio?
Most platforms allow synthetic voiceovers if you hold the rights and follow community policies. Use clearly licensed or owned voices and avoid impersonation. If you're using a cloned voice, keep proof of consent and licensing available.
What bitrate should I use for TikTok/Reels 1080×1920 exports?
Target a bitrate around 10–16 Mbps for 1080×1920 MP4 exports and choose 30 or 60 fps depending on your source footage for smooth playback.
Can I generate royalty-free music inside the platform and use it immediately?
If the platform's music generator explicitly provides a commercial-use license (or labels tracks copyright-free), you can use generated music. Always check the generator's licensing notes and retain proof of license for monetized content.
Conclusion
Final thoughts: For high-volume short-form publishing, build a master-first pipeline: generate or import audio, proof captions, apply safe-zone overlays, and export a burned-caption 1080×1920 file. Templates and batch exports save substantial time once your presets are dialed in. Polish your clip in the AI Video Editor and export the finished file in one click.
Sources
- Social Media Video Specs for Every Platform | Sprout Socialsproutsocial.com ↗
- How to Optimize Video for Every Platform: The Complete 2026 Spec Guide (Loopdesk)loopdesk.ai ↗
- Correct TikTok Video Specs (2026 Guide) — CutScorecutscore.io ↗
- Tips to find safe music - YouTube Helpsupport.google.com ↗
- Measuring the Accuracy of Automatic Speech Recognition Solutions (arXiv, 2024)arxiv.org ↗
- How Users Experience Closed Captions on Live Television: Quality Metrics Remain a Challenge (arXiv, 2024)arxiv.org ↗
- Instagram Reels Size & Dimensions: Specs Guide (2026) — Flowshortsflowshorts.app ↗
- Social Media Video Specs — platform cheat sheet (Slice)tryslicemedia.com ↗