


Batch edit AI videos: scale branded overlays, captions, and voiceovers
A creator workflow to batch edit AI videos: burn captions, add overlays, voiceovers and export platform-ready clips fast using GoCrazyAI Media Mixer.
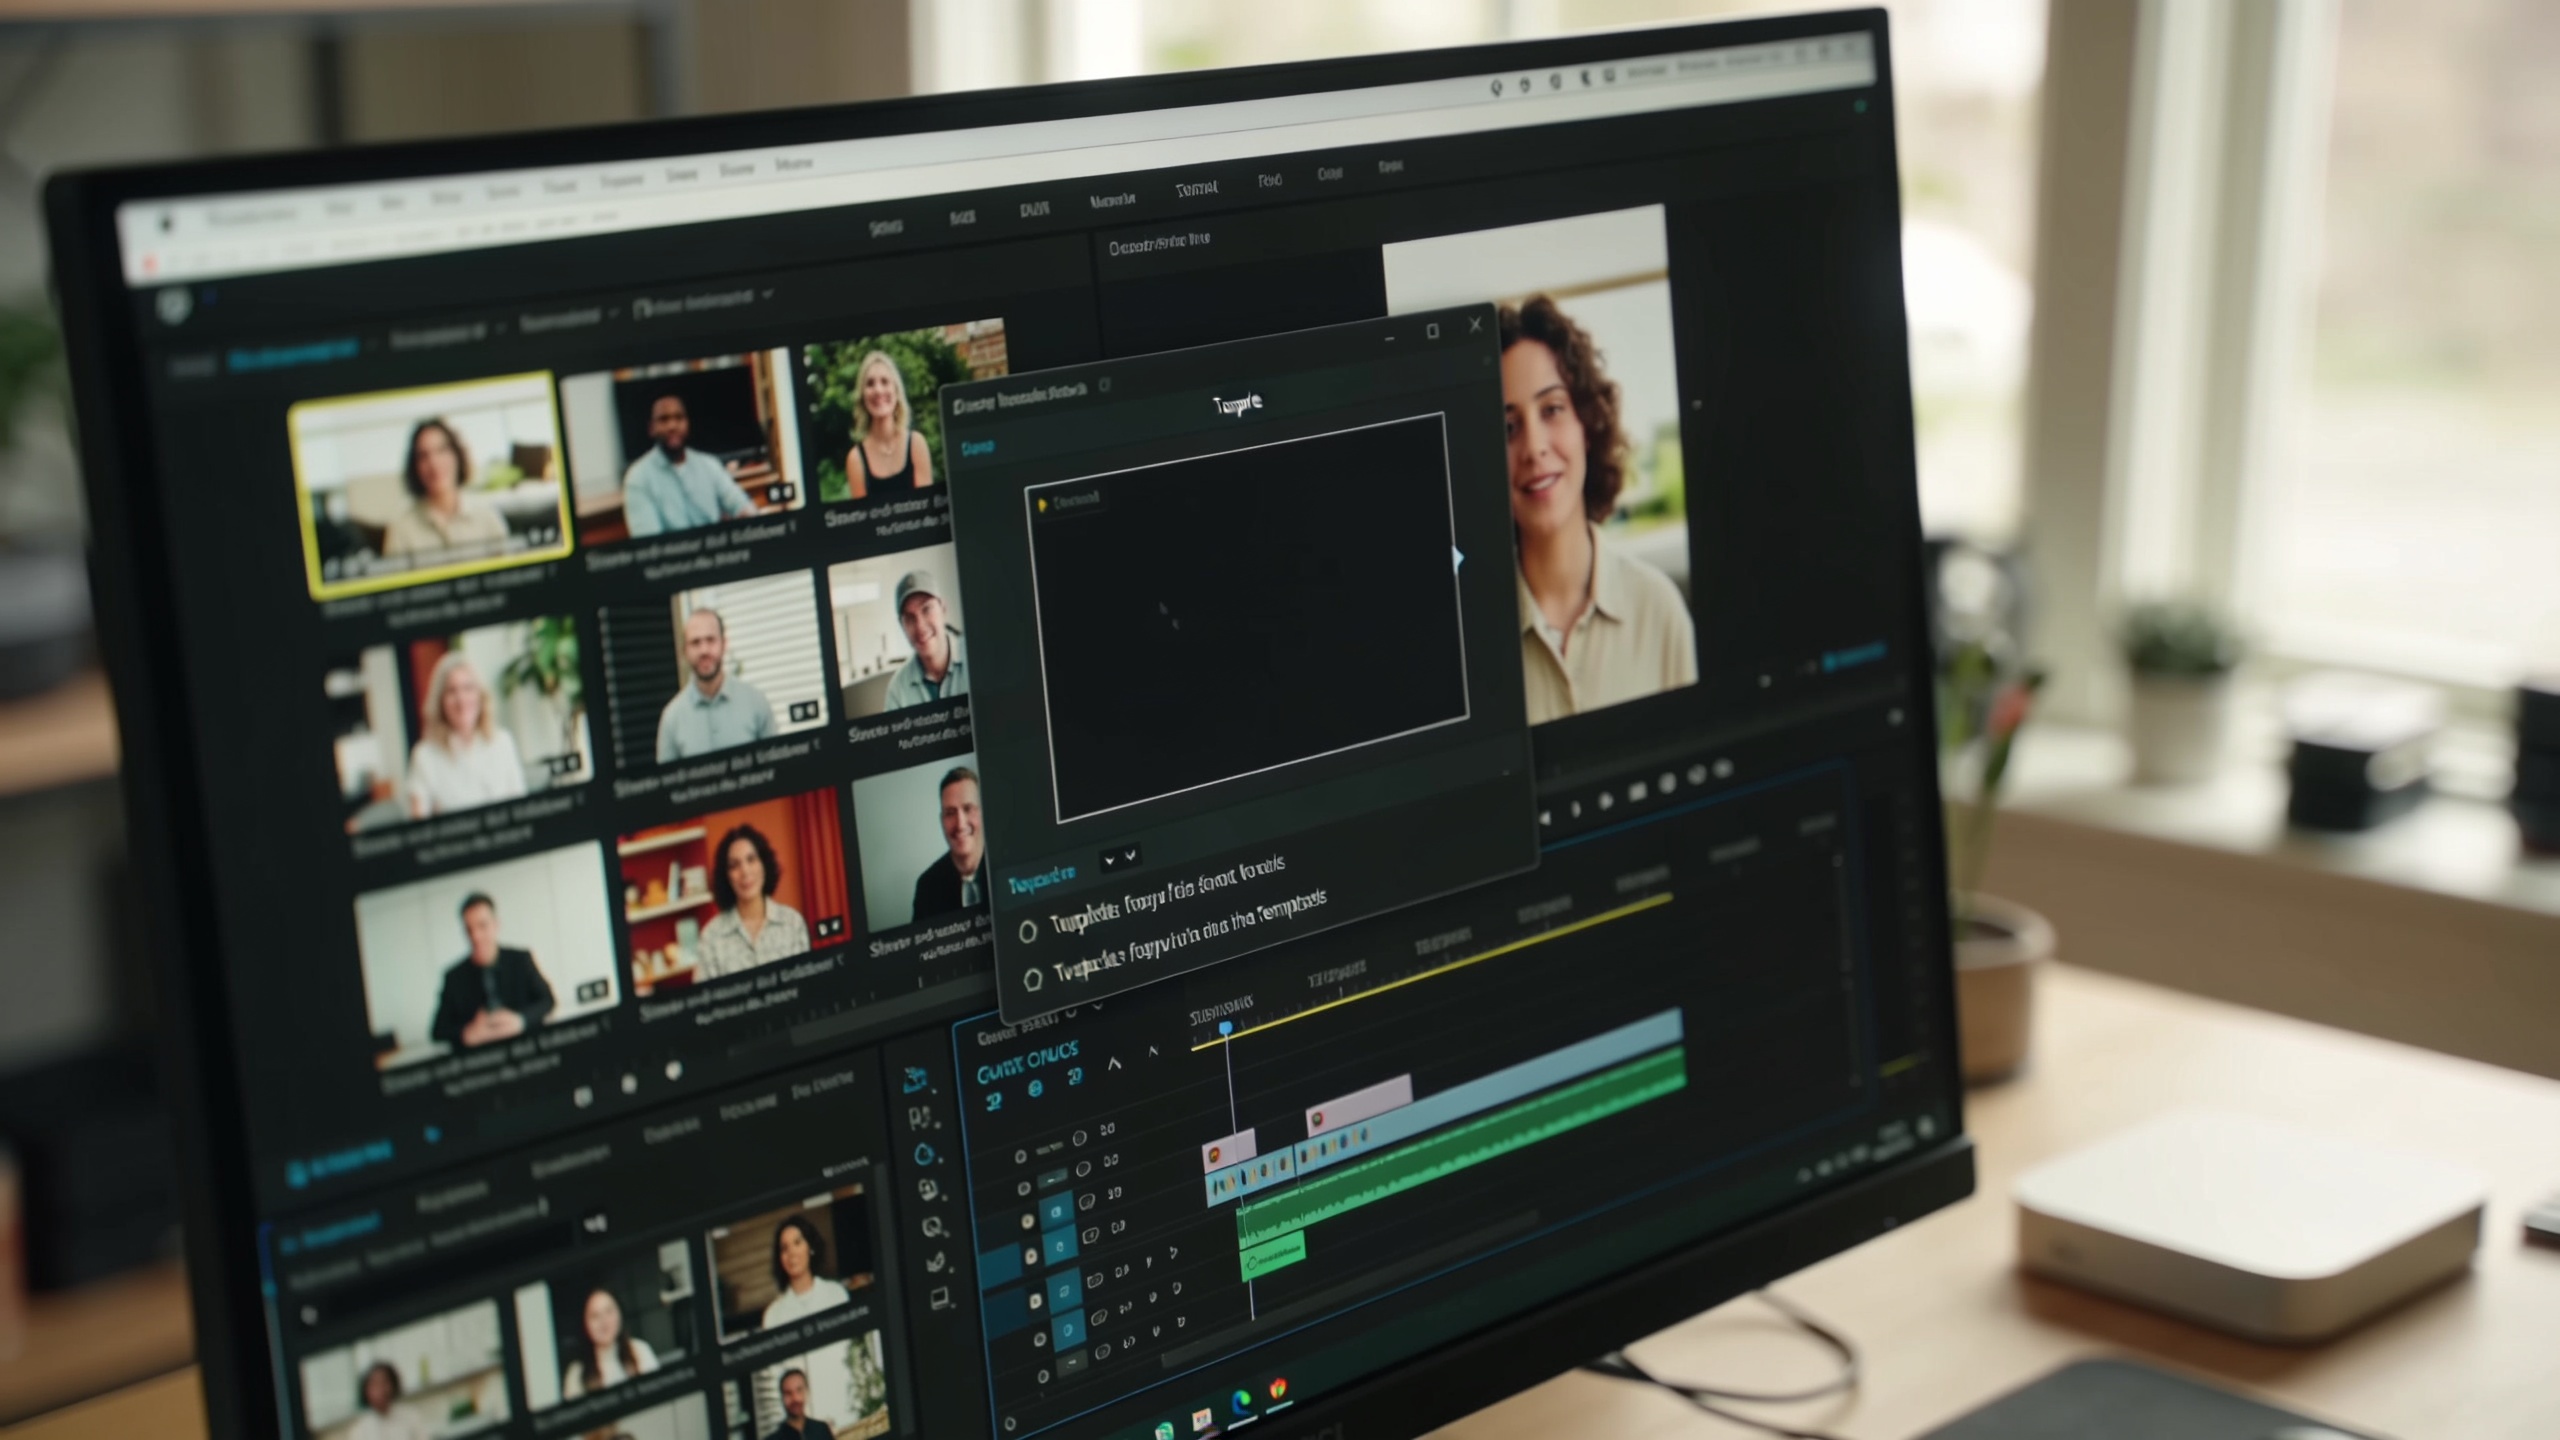
You need to turn a single long recording into dozens of platform-ready clips that all look and sound on-brand — fast. This guide shows a reproducible, creator-focused workflow to batch edit AI videos: burning captions, stamping timed overlays, adding bulk voiceovers and music, exporting platform-sized files, and building a weekly cadence that reduces off‑brand posts. I’ll give concrete settings, example prompts, and the step-by-step Media Mixer workflow inside GoCrazyAI so you can complete post-production in one tool and save hours per batch. Use the provided steps whether you start from an AI-generated clip or a recorded interview; every step includes expected outputs and quick checks for quality and brand governance. Follow this and you’ll produce consistent, publish-ready assets for TikTok, Instagram Reels, YouTube Shorts, and LinkedIn without repeating manual edits for each clip.
Quick Answer
How do you batch edit AI videos? Use a single editor to process many clips at once: auto-generate and burn captions, apply timed brand overlays and logos, add voiceovers/music in bulk, then export platform-specific sizes. Automating caption burns and overlays in one pass typically saves hours per long video and keeps brand presentation consistent across posts.
Why brand-consistent repurposing is high ROI: stats every creator should know
Consistent brand presentation usually boosts recognition and revenue: studies model revenue uplifts in the 10–23% range for consistent brands, with stronger effects for the most consistent performers. Consistent brands also tend to have materially higher visibility—industry summaries cite roughly 3.5x higher brand visibility when presentation is consistent across channels. For creators and small teams, that means the extra time spent enforcing logo placement, color, and caption style often converts directly to higher discoverability and follower growth. Practically, repurposing one long video into many short assets is efficient: guides recommend extracting 7–30+ clips from a single long-form recording. This combination—more assets plus consistent branding—drives reach and monetization. In short: batch repurposing with strict visual and caption rules usually yields outsized ROI compared with ad-hoc posting.
Why this matters in practice: if your team spends manual time adjusting captions, logos, and CTAs per clip, you introduce variance and delay. The high ROI comes from two effects working together: more distinct posts per hour of source footage, and each post being recognizably on-brand so it converts better. The rest of this guide shows a step-by-step content map and the exact Media Mixer settings to realize that ROI at scale.
Plan once, publish everywhere: an example content map for repurposing long videos into platform-native clips?
Short answer: create a repeatable content map that defines clip lengths, hooks, caption style, overlay placement, and export sizes for each target platform, then batch-apply those rules. A simple content map has four columns: platform, clip length & cadence, primary hook/text overlay, and export size/aspect. Use it as a checklist when clipping a long video.
Concrete example content map (copyable):
- TikTok / Reels: 15–60s, vertical 9:16, animated title (top), captions burnt, CTA sticker bottom-right.
- YouTube Shorts: 15–60s, vertical 9:16, strong hook in first 3s, burnt captions, logo watermark top-left.
- Instagram Feed: 30–90s, square 1:1 or 4:5, descriptive caption card, subtitles, brand color lower-third.
- LinkedIn: 30–120s, horizontal or square, professional title overlay, closed captions, company logo.
How to use this map: timestamp the long video for candidate clips (noting the hook and supporting visual), then tag each clip row with a target platform. Aim to extract 7–15 clips per long-form episode as a starting point; heavy editing can yield 30+ micro-clips. The content map becomes the input for batch workflows: caption burns, overlay templates, voiceover assignments, and export presets. Keep this map as a living doc and update it monthly based on performance.
Hands-on: Batch-burning captions and timed overlays (workflow using GoCrazyAI Media Mixer)?
Short answer: upload or import your clips into Media Mixer, create a caption style and an overlay template, then apply those templates to a batch of clips and export platform-specific files in one run. Media Mixer automates subtitle generation and allows timed overlays so captions and logos appear consistently across every clip.
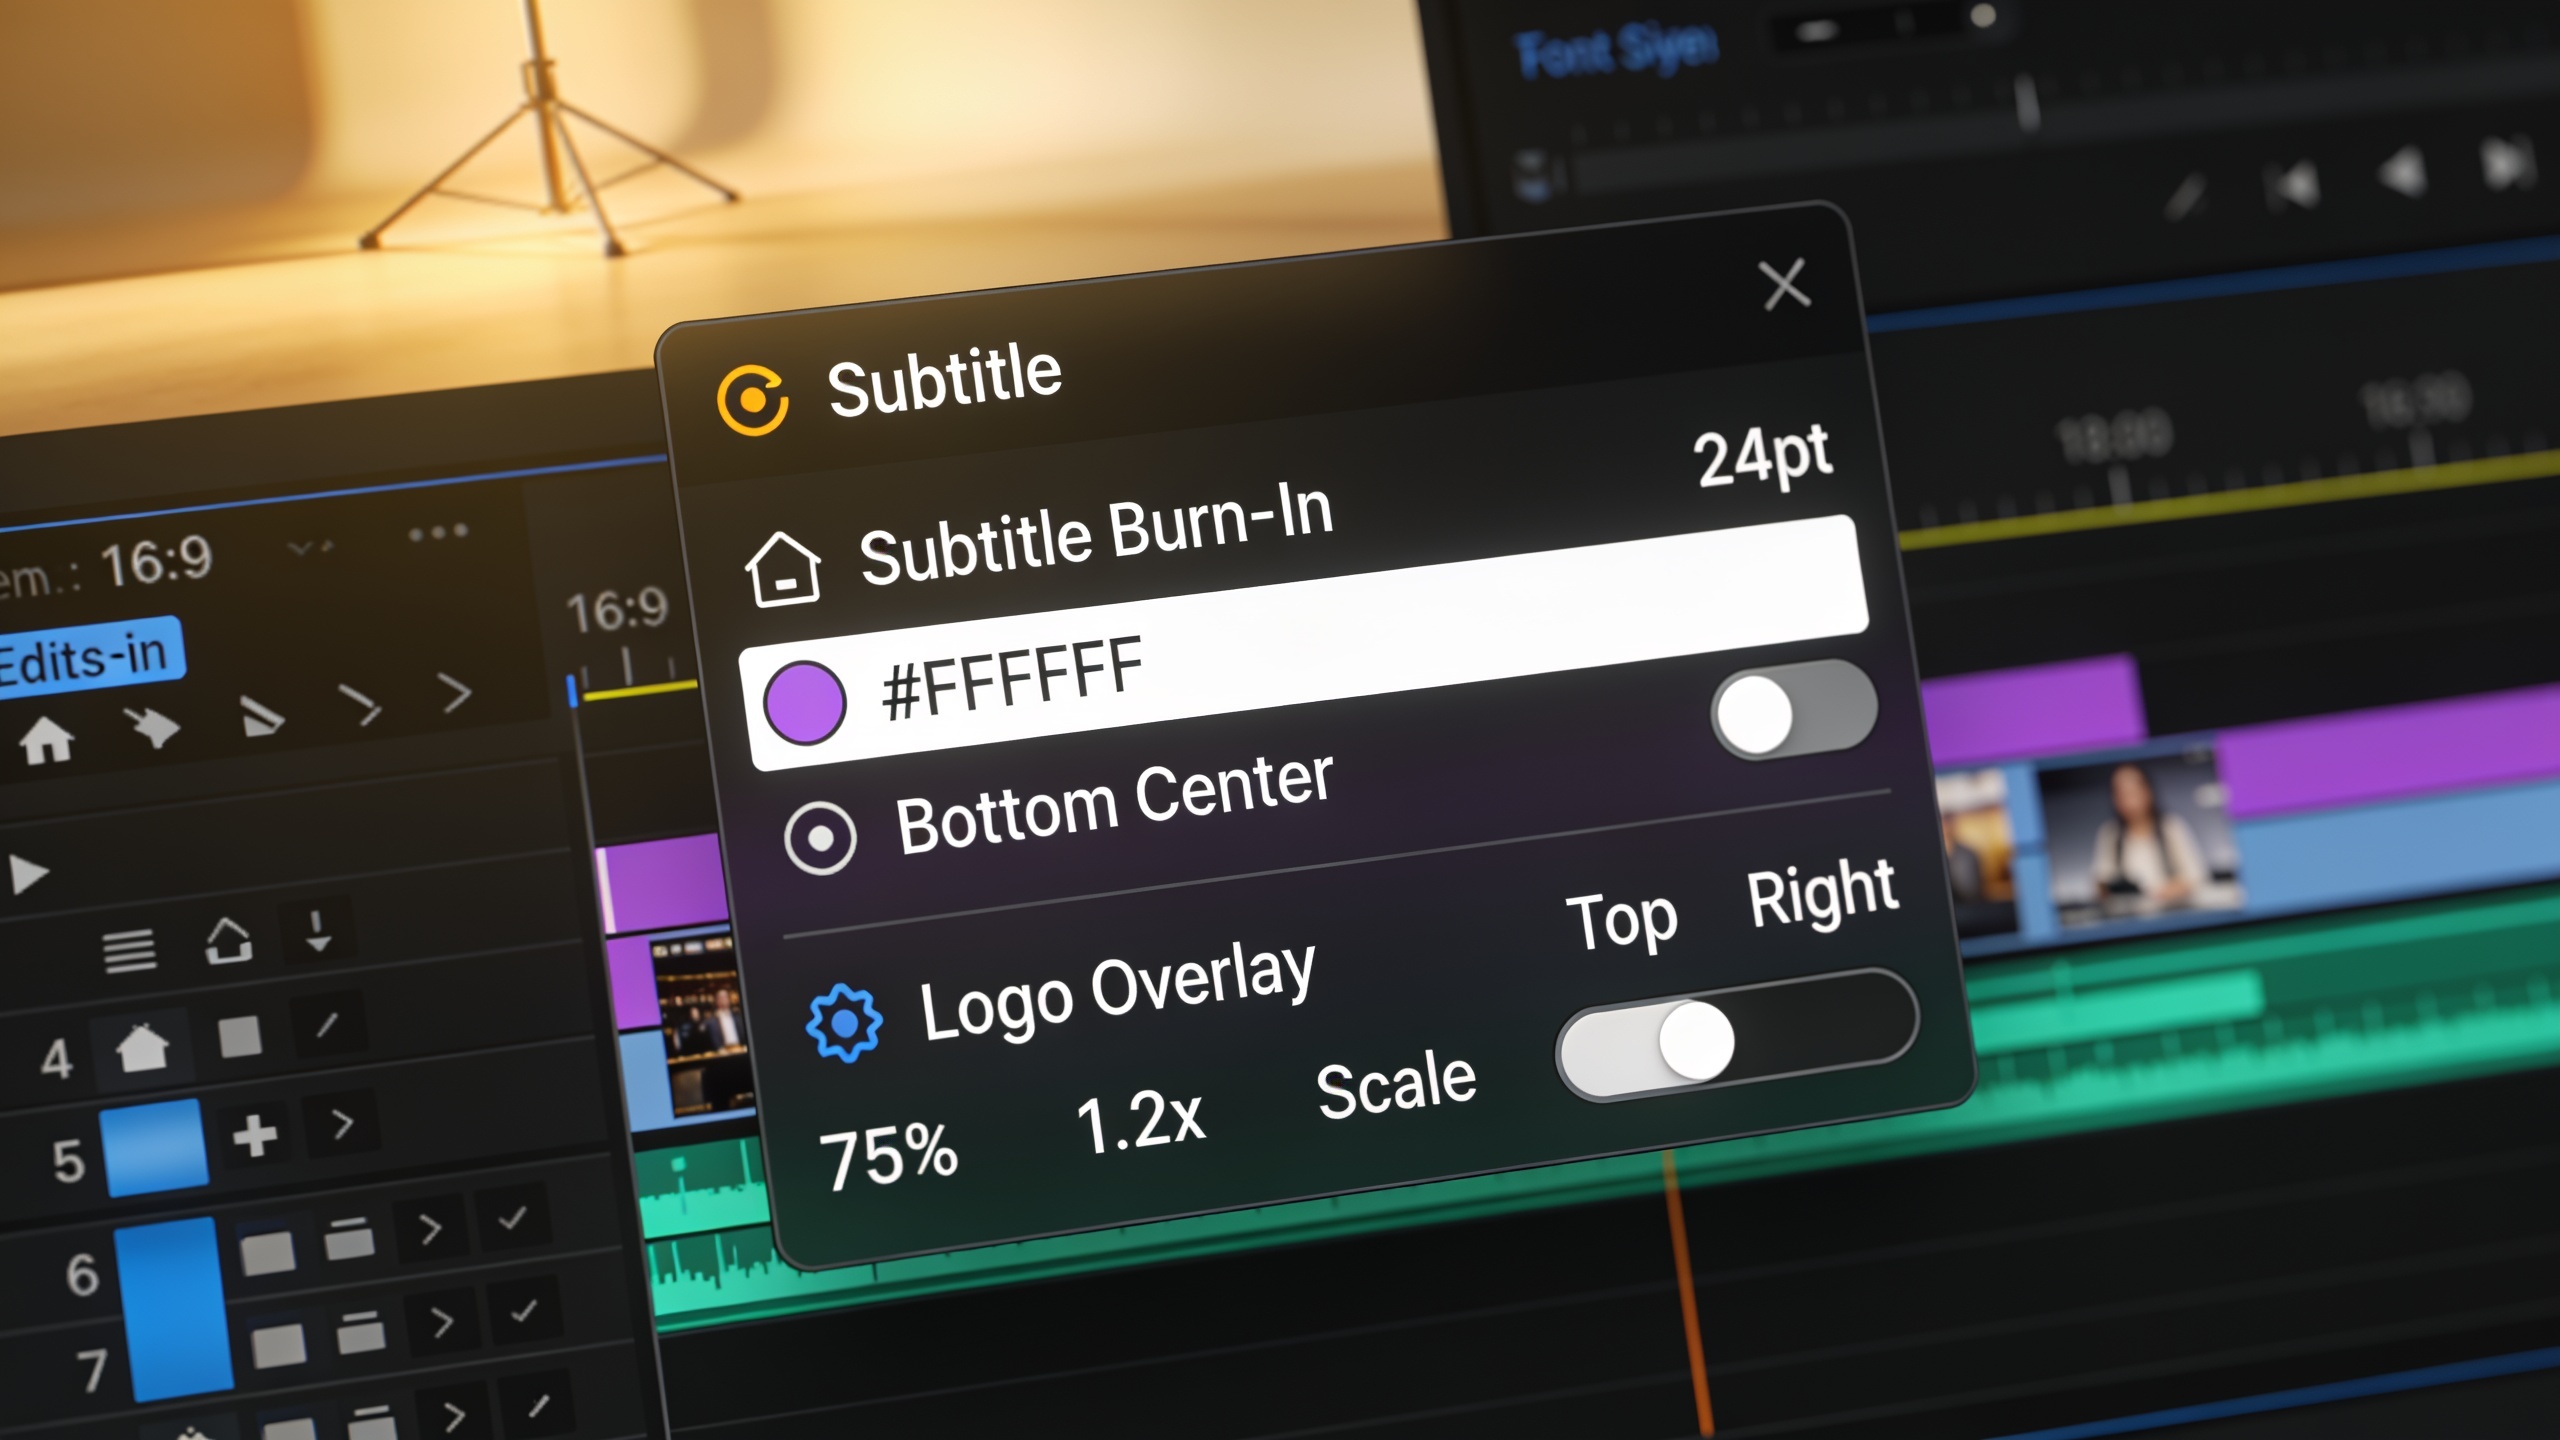
Step-by-step (copy and adjust settings): 1) Prepare clips: Trim your long video into candidate clips using timestamps from your content map. Save them into a single folder named with the episode and date. 2) Upload: In GoCrazyAI Media Mixer (/ai-video-edit), import the folder or drag multiple clips. The editor accepts AI-generated clips or camera footage. 3) Caption settings: Use "Auto-generate subtitles" → language: spoken language; style: Sans-Serif 18–24px; background: 50% black bar; burn-in: ON. Set line-length to 32–40 chars for mobile readability. Turn on speaker labels if it’s an interview. 4) Overlay template: Create a template with your logo (PNG, 150–300px long side), brand color hex, font family, and a lower-third layer. Set overlay timing: logo from 0:00 to end; lower-third from 0:00–0:06 for hooks and 0:20–0:26 for CTAs. 5) Batch apply: Select all clips, assign the subtitle profile and overlay template, and preview one representative clip. 6) Export presets: Choose aspect presets (9:16, 1:1, 16:9) and enable "burn captions" and "embed overlays". Run batch export.
Expected output: a folder of ready-to-publish MP4s per platform with burned captions, correctly positioned logos, and consistent lower-third timing. Use the preview to check text wrapping and timing before exporting the full batch. For quick variation, duplicate the overlay template and adjust CTA text per platform before re-running the batch.
Hands-on: Add bulk voiceovers, music and SFX to AI clips — matching tone and timing at scale?
Short answer: assign a single voiceover track or a set of voice profiles to a clip group, use timeline markers to align voice lines to clip beats, then batch-apply background music and SFX with consistent loudness targets. This keeps tone consistent across many clips and speeds finishing the audio pass.
Practical workflow and settings: 1) Script batches: write short voiceover scripts tied to each clip ID (e.g., CLIP_01: "Quick tip: use three visuals…"). Keep scripts 10–25 words for 15–30s clips. 2) Voice selection: pick a single voice profile per campaign (brand voice) so narration tone is consistent. If you need localized versions, pick matched voices per language. 3) Bulk upload: In Media Mixer, open the Audio panel and upload the voice files or generate them using your AI voices (or import from /ai-voice). Align each voice file to the timeline using snap-to-markers based on your content map. 4) Music & SFX: choose a music bed from /ai-music with a simple 4-bar loop. Lower music to -18 to -22 LUFS relative to speech. Add SFX accents at the same timeline markers across clips (e.g., whoosh for transitions). Save this as an "Audio Preset". 5) Batch apply: select the clips group, apply the voice mapping and the Audio Preset. Use preview render to check levels and speech intelligibility across devices.
Expected results: uniform narration pacing, matched music energy, and consistent audio levels across the batch. This reduces rework and preserves brand tone. If you use different voices per language, keep the same music bed and loudness target to preserve brand continuity.
Quality control and brand governance: templates, presets, and pitfalls to avoid?
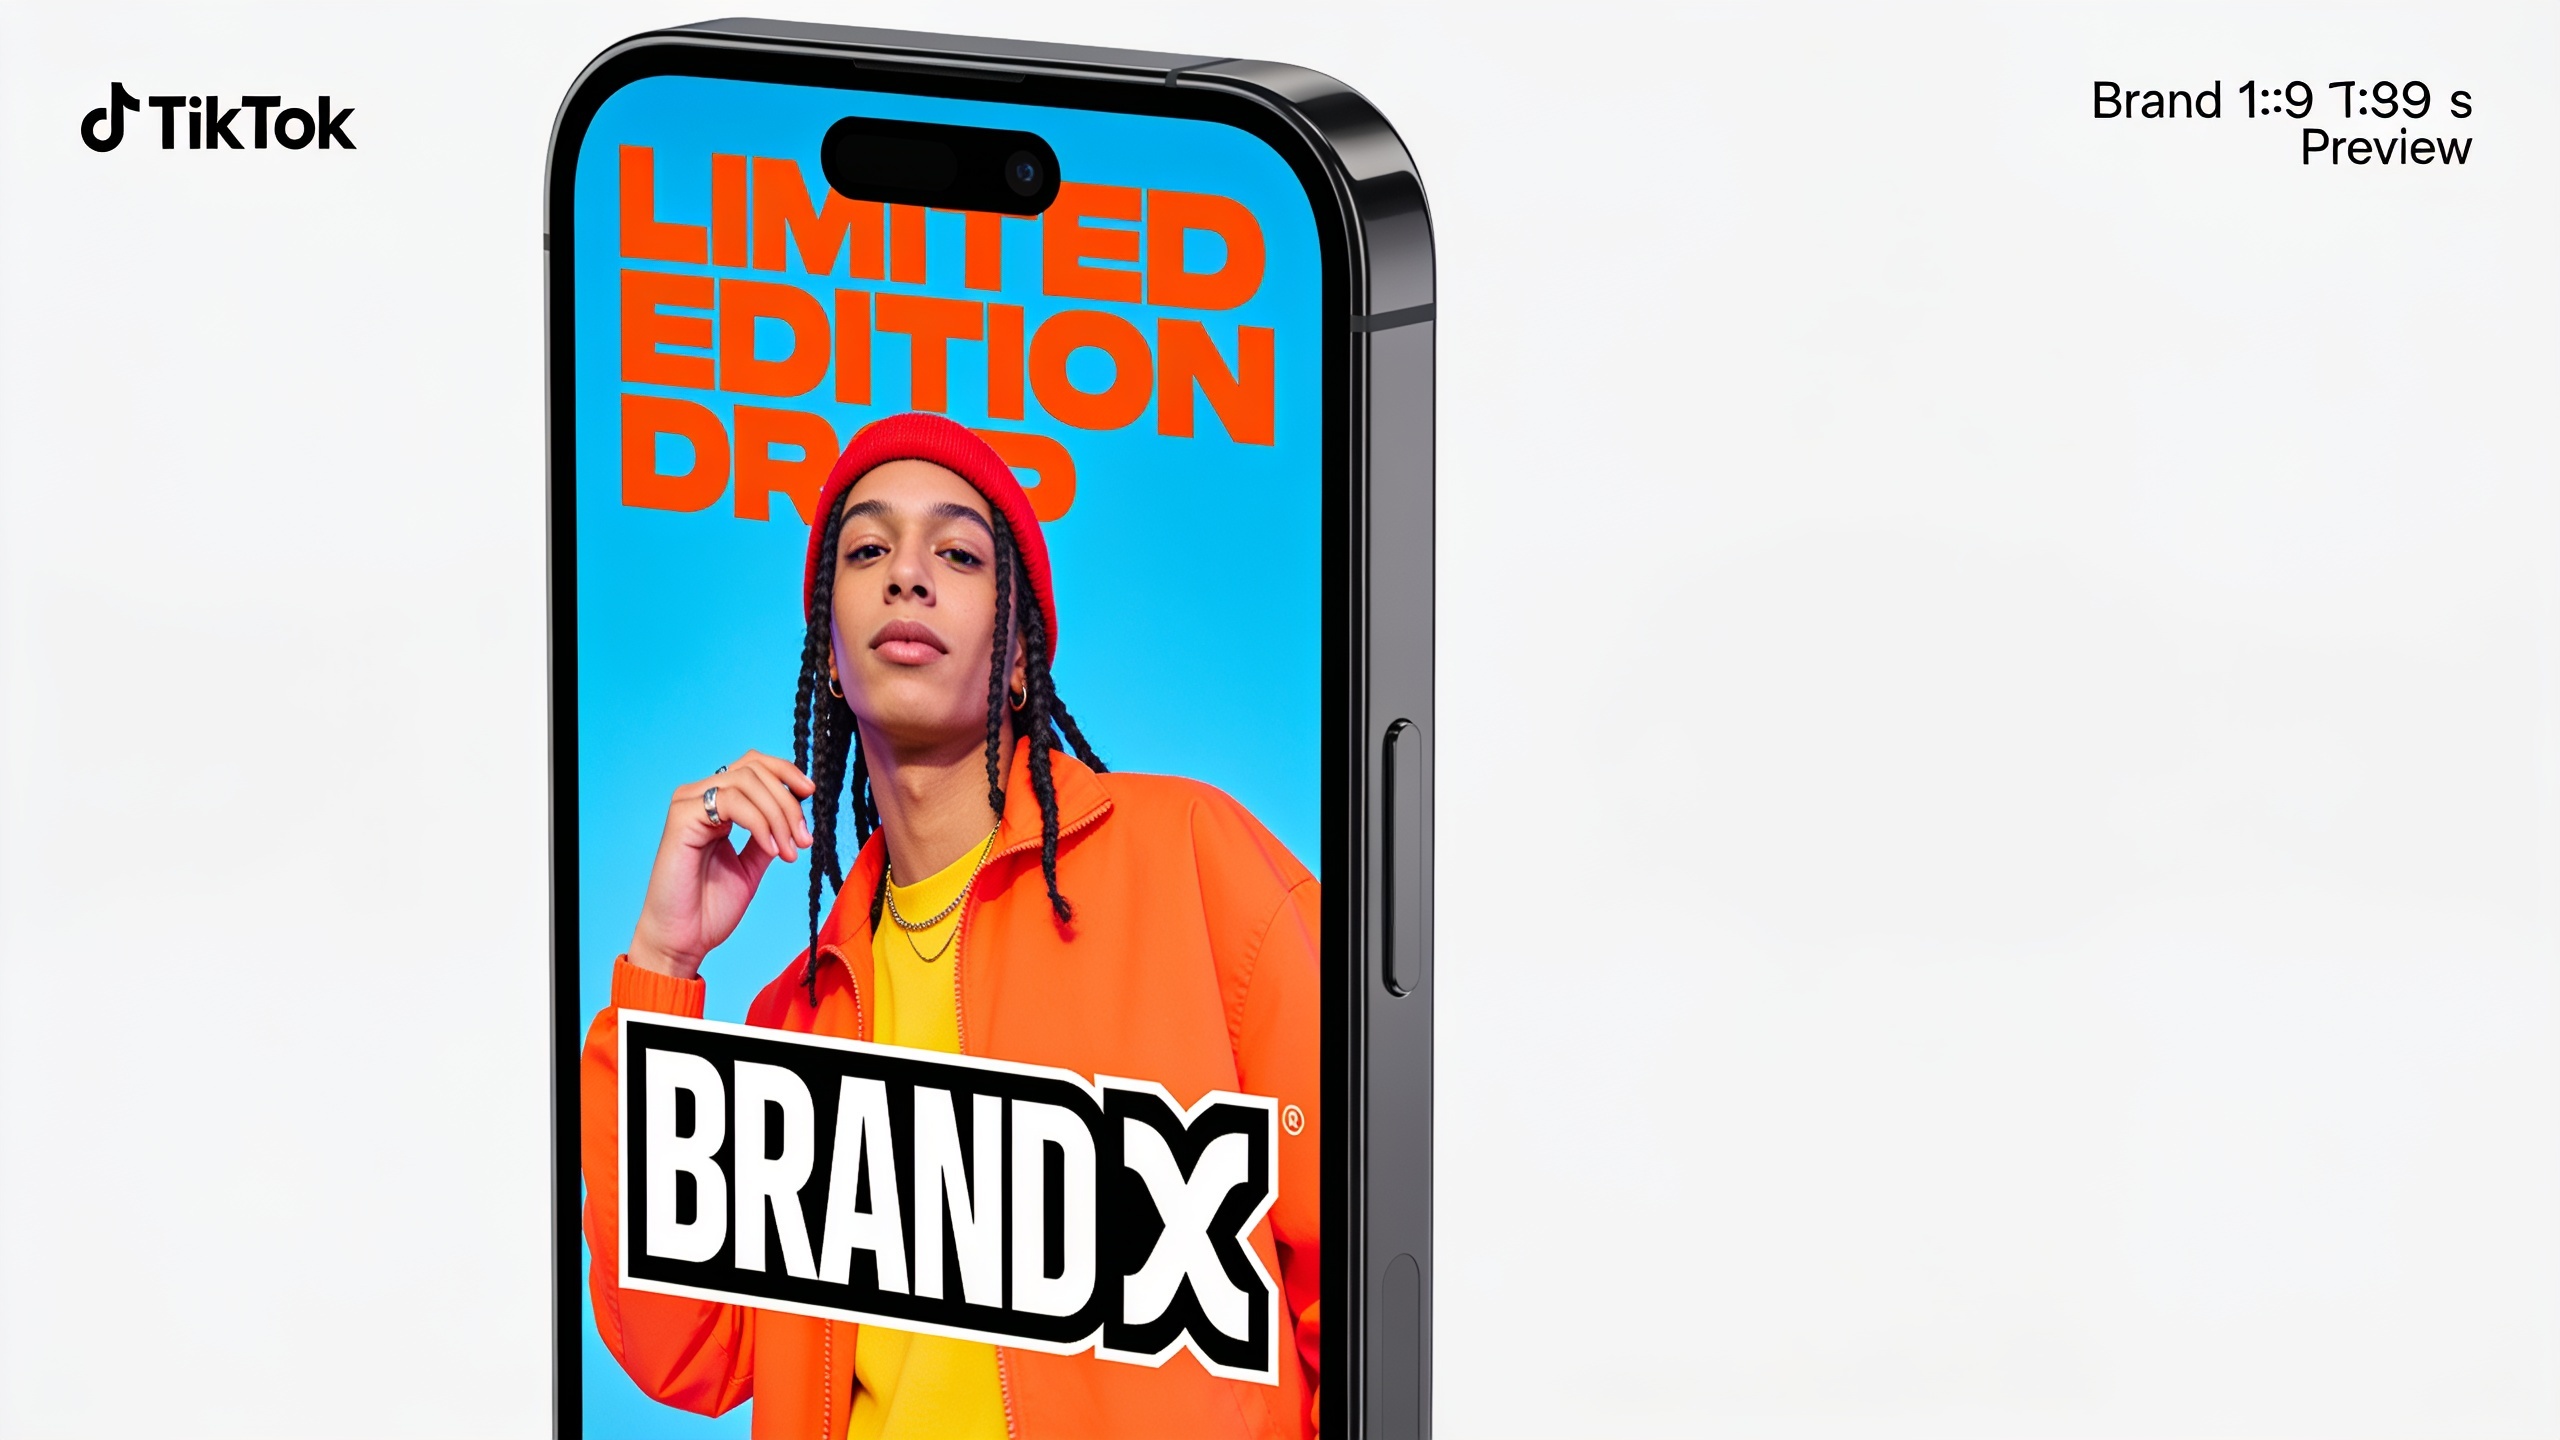
Short answer: enforce brand governance by locking templates (logo placement, color, font), using export presets, and inserting a human approval step for every batch. Common pitfalls include inconsistent caption styles, incorrect logo scaling, and unmanaged CTA copy; each is avoidable with templates and checks.
Common mistakes and how to avoid them:
- Mistake: Varying caption style across platforms. Fix: Lock a subtitle profile with font, size, background, and burn settings; apply it to all exports.
- Mistake: Incorrect logo placement or low-res PNGs that look pixelated. Fix: Use a single source PNG/SVG (150–300px for mobile), lock its position in the overlay template, and preview at 9:16.
- Mistake: Missing platform CTAs (copy pasted generic CTA). Fix: Add CTA text fields to templates as editable variables and fill them per-export.
- Mistake: Audio inconsistency (music too loud on some clips). Fix: Save an "Audio Preset" with a LUFS target and use it for all exports.
- Mistake: Skipping human review before publishing. Fix: Add a one-click approval workflow where a reviewer checks three randomly selected clips per batch.
Implement these controls in Media Mixer by saving overlay templates, subtitle profiles, and audio presets. Combine template locking with a scheduled manual approval to prevent off‑brand posts while preserving speed.
Export, schedule, and iterate: how do you measure lift and build a weekly repurposing cadence?
Short answer: export platform-specific files in a single batch, schedule them using your social scheduler, and measure lift with a simple A/B approach: compare standardized brand templates vs. ad‑hoc variants across reach and engagement. Repeat weekly with minor content map tweaks.
Practical cadence and KPIs: 1) Weekly cycle: Day 1 record/ingest; Day 2 clip & apply templates; Day 3 audio pass and export; Day 4 scheduled posting and QC; Day 5 analyze performance and adjust map. 2) KPIs to track: impressions, CTR, view-through rate (VTR), and follower growth. For brand consistency checks, track logo visibility and caption accuracy via spot audits. 3) A/B test lift: run two small tests—one batch with strict branding rules and one with looser styling—then compare lift across impressions and conversions. Use results to tune overlay timing and CTA wording. 4) Iteration: update the content map monthly and refresh templates every quarter (fonts, logo variants, audio beds) to stay current without sacrificing consistency.
Export tip: use export presets in Media Mixer to output folders grouped by platform and include naming conventions (EPISODE_DATE_PLATFORM). Then feed folders to your scheduler. This loop turns a single long recording into a predictable weekly pipeline of branded posts.
Frequently Asked Questions
How many short clips can I realistically get from a 30‑minute video?
You can usually produce 7–30+ short clips depending on how aggressively you clip and reframe content. Practical guides commonly recommend starting with 7–15 targeted clips and expanding as you identify high-performing moments.
Should captions be burned in or left as closed captions?
Burning captions is recommended for social platforms that autoplay muted (TikTok, Instagram). If you need accessibility or editable captions, keep a separate closed-caption (SRT) file for platforms that support it and burn captions for quick mobile viewing.
Can I apply the same audio bed across languages?
Yes—using a single music bed preserves brand continuity. When dubbing or localizing, keep the same LUFS target and mix so the music level matches the localized narration.
How do I prevent off‑brand posts when multiple team members publish?
Lock templates and require a final approval step. Save overlay and subtitle profiles in the editor, restrict editable fields to CTA text, and have a reviewer spot-check a sample from each batch.
Conclusion
Final thoughts: scaling repurposed, on‑brand video comes down to two practices—define a repeatable content map, and automate repetitive post-production steps with locked templates and batch exports. That combination shortens turnaround and reduces variance while increasing reach and recognition. When you want to finish clips without leaving the editor, polish narration, subtitles, and overlays in the Media Mixer and export ready-to-publish files in one click: polish your clip in the AI Video Editor and export the finished file in one click.
Sources
- How to Repurpose Video Content (Turn One Video Into 10+ Social Posts) — Postorypostory.io ↗
- Repurpose Video Content: Complete Guide for 2026 — PostQuickAIpostquick.ai ↗
- REVEALED: 35 Ways to Repurpose Video Content — Wyzowlwyzowl.com ↗
- Brand consistency—the competitive advantage and how to achieve it — Marq (Lucidpress)marq.com ↗
- Brand Consistency Statistics (aggregated) — BrandDeck / WebFX summarybranddeck.co ↗
- Multi-Channel Marketing Trends / Brand governance insights — Ascend2 (2024)ascend2.com ↗