


image upscaler 8K: How to turn low-res photos into print-ready 4K/8K
Step-by-step guide to upscaling phone or AI images to print-ready 4K/8K. Practical workflows, model differences, quality checklist, and how to use GoCrazyAI Image Upscaler.
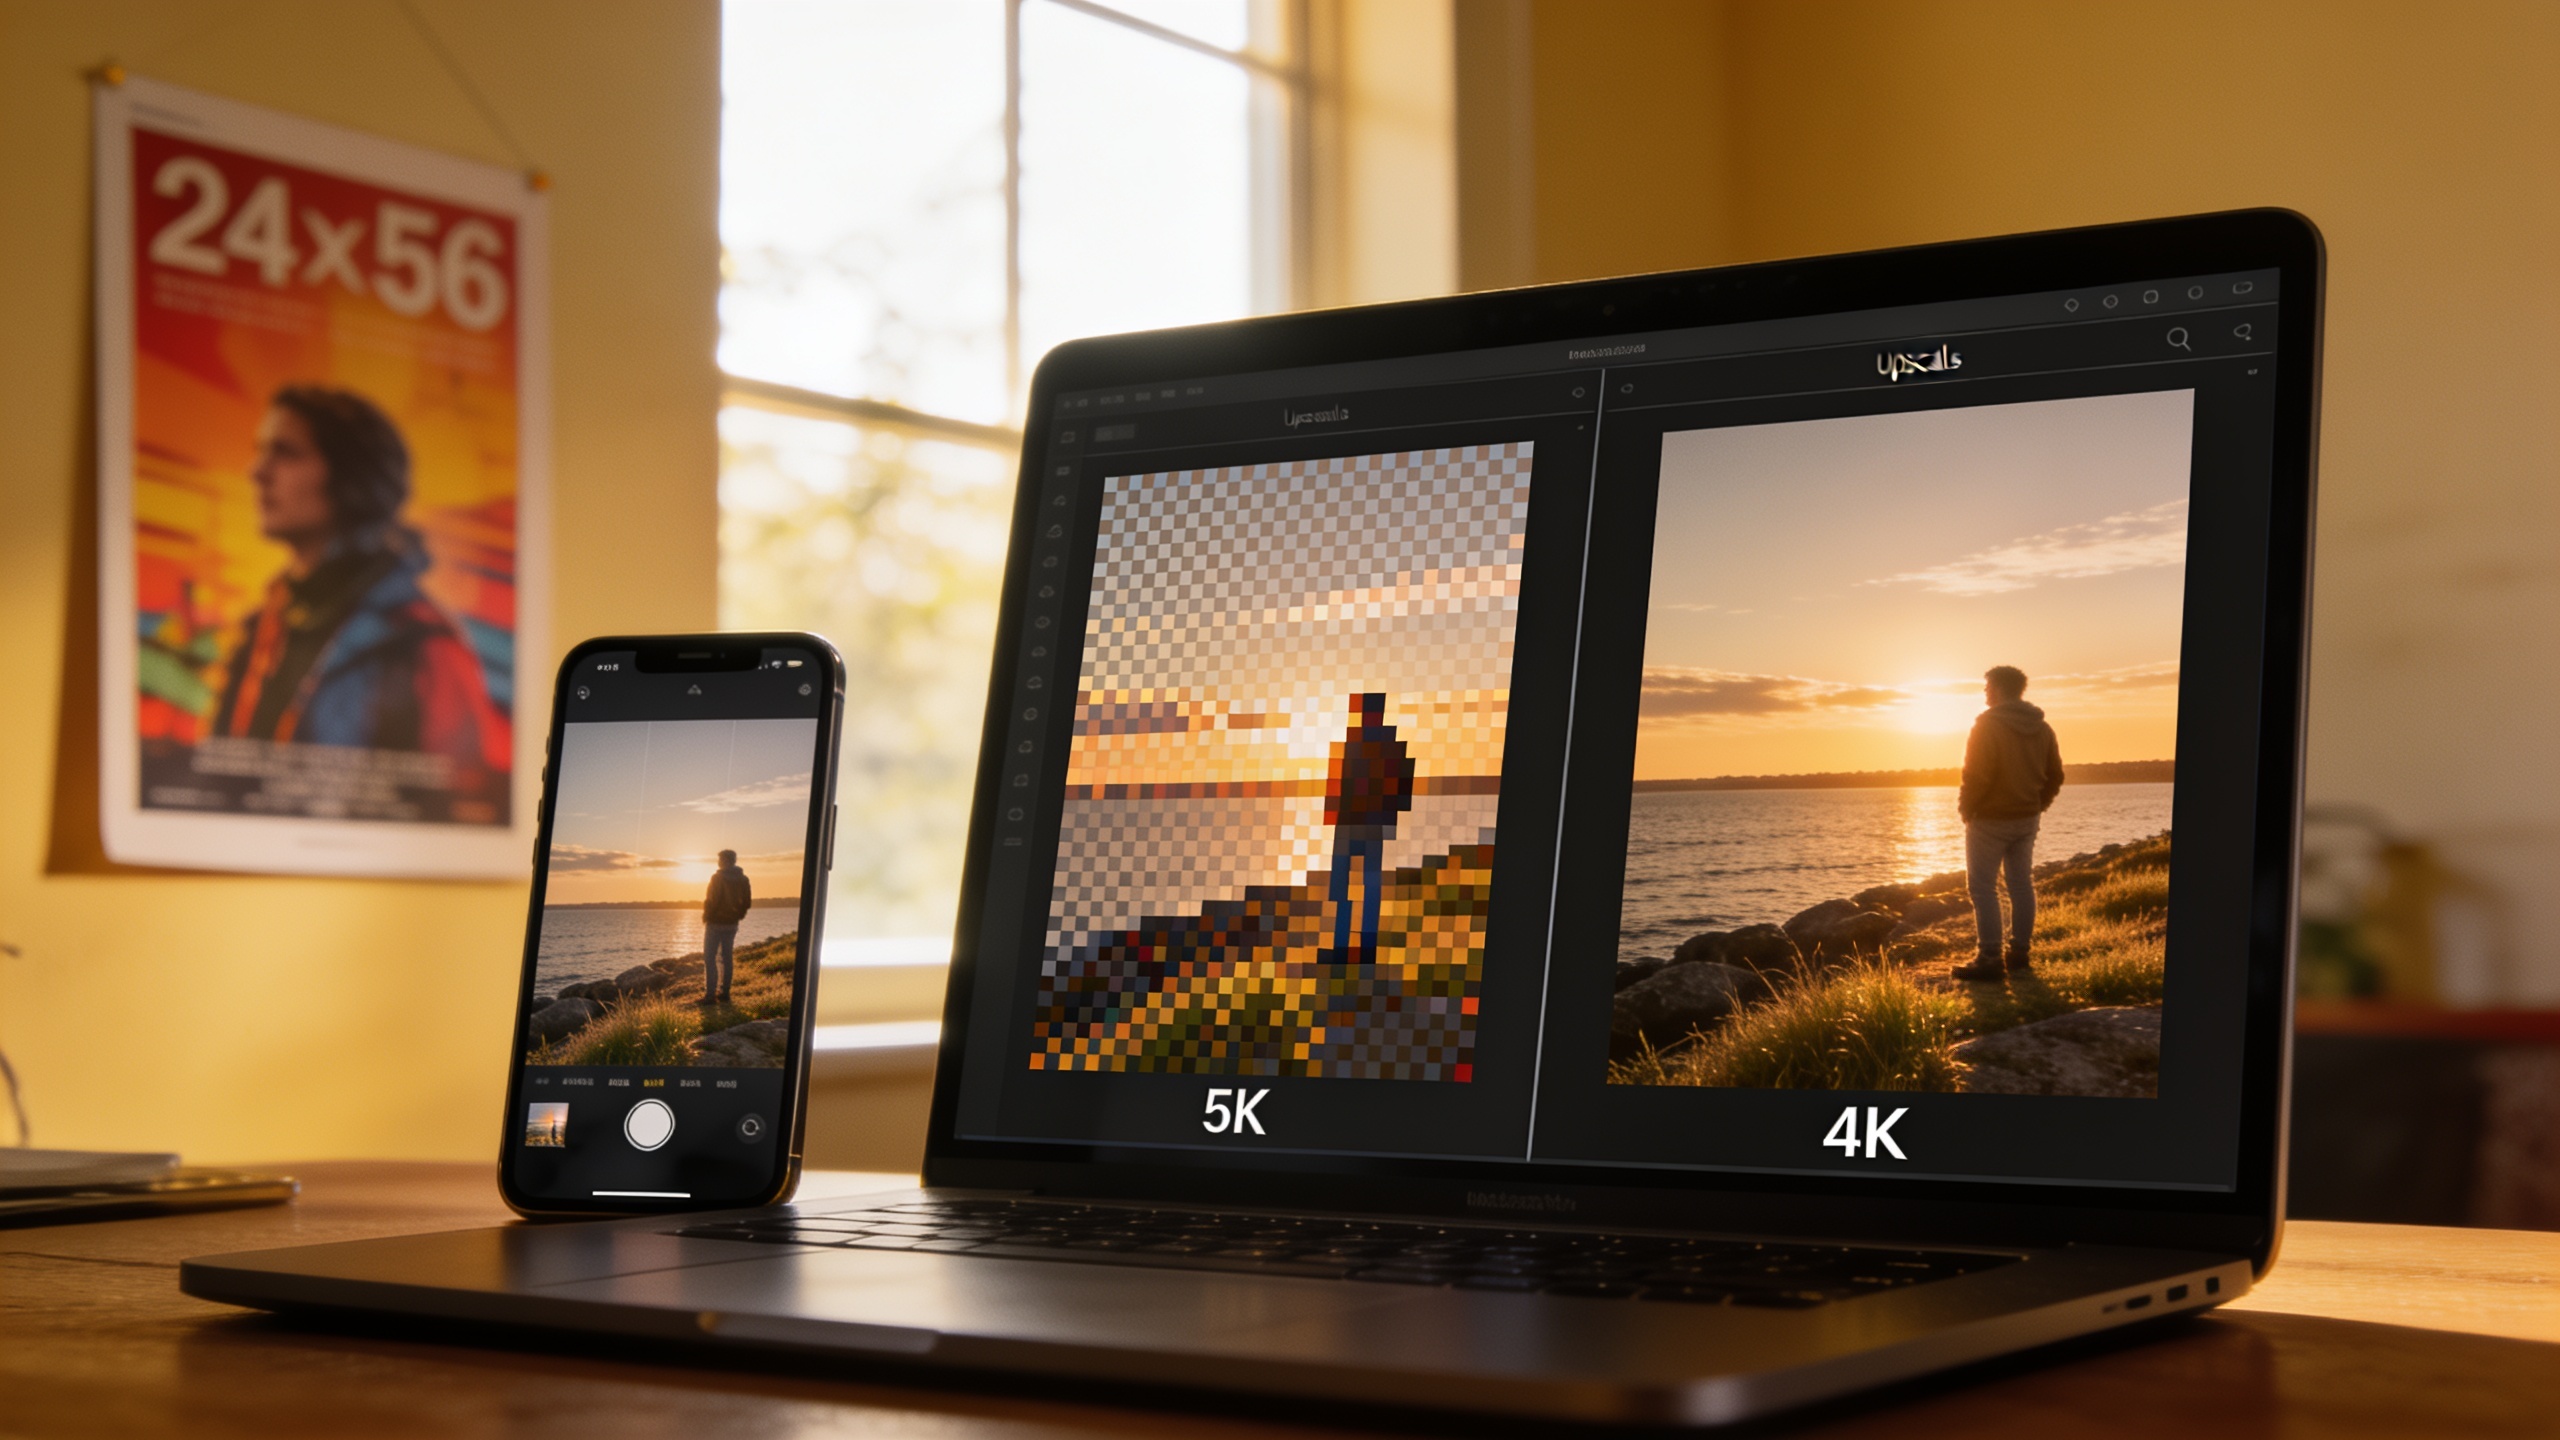
You need a sharp 4K or 8K image from a phone snap or an AI render, now — for a poster, product listing, or a thumbnail. This guide shows exactly how to plan the target size and DPI, which super-resolution model choices matter, and step-by-step workflows to turn low-res images into print-ready or conversion-driving assets. You’ll get concrete settings, prompt examples for AI-generated art, and a practical quality checklist so your upscales don’t look oversmoothed or artifacted.
The workflows target creators and small e-commerce teams who want fast, affordable upscales that are usable in marketing and print. Later I’ll show a focused GoCrazyAI Image Upscaler workflow so you can pull a no-watermark 4K or 8K export in seconds.
Quick Answer
How do you use an image upscaler 8K to get print-ready images? Pick your target print size and DPI, calculate required pixels, then use a modern blind super-resolution model (Real-ESRGAN or StarSRGAN) to upscale 2–4× or more while preserving texture. Finish with sharpening, color-proofing, and export at the exact pixel dimensions for 4K/8K. GoCrazyAI Image Upscaler can perform this pipeline quickly and without watermarks.
Why modern creators need 4K and 8K upscales (business impact & print realities)?
Upscaling to 4K or 8K matters because higher-resolution images improve user trust and conversion, and printing needs predictable pixel counts. Upgrading visual quality often produces measurable lifts in clicks and sales — marketplace analyses show listings with better photos convert significantly better. Many product pages still serve images too small for effective zoom: Baymard finds ~25% of sites provide insufficient resolution for customer inspection. For sellers and creators, that means a lost opportunity.
Practical print realities: decide the final print size and viewing distance first. Use 300 DPI for close-up prints (product packaging or brochures), 150 DPI for posters viewed at a few feet, and 75–150 DPI for large-format prints viewed from several feet. Calculate pixel dimensions (width_px = inches * DPI) and then plan your upscaling target — e.g., a 24"×36" poster at 150 DPI needs 3600×5400 px. If your source is 800×1200, you’ll upscale ~3×–5×, which modern SR models can handle with careful cleanup.
Business impact checklist: higher-res images enable better zoom, more trust signals, sharper thumbnails, and printed collateral that reads cleanly — all factors that support conversions and branding.
How AI super-resolution works — practical differences between models (ESRGAN, Real-ESRGAN, StarSRGAN)?
AI super-resolution models reconstruct higher-frequency detail by learning mappings from low-res to high-res examples; modern models use adversarial or perceptual losses to prioritize realistic texture. In practice, ESRGAN variants produce sharper, more natural textures than interpolation methods, while Real-ESRGAN and StarSRGAN focus on real-world degradations and noise removal.
ESRGAN: an early practical generator that improved texture sharpness compared to bicubic upscaling. It tends to produce vivid detail but can exaggerate noise if the input is heavily compressed.
Real-ESRGAN: a blind super-resolution approach tuned on synthetic and real degradations; it usually handles compression artifacts and mixed noise better and is a common backbone for commercial upscalers. Many engineering guides recommend Real-ESRGAN for real-world pipelines because it balances sharpness and artifact suppression.
StarSRGAN: builds on the ESRGAN family and typically offers improved perceptual quality on challenging input, especially in faces and textured surfaces; comparative studies show measurable gains between these models for real photographs. In short, choose Real-ESRGAN or StarSRGAN for e-commerce and print because they were trained to handle typical photo degradations, then validate visually.
Practical notes: blind SR models can upscale 2–4× directly. For very large multipliers to 8K, use staged upscaling (2× then 2×) and light restoration in between; evaluate results at each stage to avoid compounding artifacts.
Workflow A — Upscaling a phone photo to a print-ready poster (example, hands-on, step-by-step)?
Start by calculating required pixels, then clean, upscale, and proof color. This workflow assumes a phone photo (e.g., 1200×1800 px) and a target poster 24"×36" at 150 DPI (3600×5400 px). You’ll generate a 3×–4.5× upscale depending on orientation.
1) Calculate target pixel dimensions: 24"×36" at 150 DPI → 3600×5400 px. If you need 300 DPI for close viewing, double that.
2) Pre-check and quick fixes: crop to final aspect ratio, rotate straight, remove major hotspots or large sensor dust with a spot-heal tool. Save a TIFF/PNG copy to avoid recompression.
3) Noise and compression cleanup: apply a mild denoise pass if the phone image shows heavy ISO noise. Avoid aggressive denoising that removes texture.
4) Upscale with a modern SR model: run Real-ESRGAN or StarSRGAN at 2×, then re-evaluate. If still below the required pixel target, run a second 2× pass or a single 4× pass depending on your tool. Check skin tones, edges, and text legibility after each pass.
5) Local retouching: fix small artifacts, sharpen edges selectively (unsharp mask at low radius and low amount), and add micro-contrast if the image looks flat.
6) Color-proof and export: convert to the right color profile for print (usually Adobe RGB or CMYK depending on the printer), flatten layers, and export a TIFF or high-quality JPEG at the exact pixel dimensions. Ask the printer for trim and bleed requirements and add 0.125" bleed if needed.
Quick command-style prompts and tools (examples you can copy):
"Crop to 24x36 aspect; run denoise: mild; save as PNG; Real-ESRGAN 2x; inspect; Real-ESRGAN 2x; selective sharpen (radius 0.6, amount 30). Export TIFF 3600x5400 @150 DPI."
Expected results: a poster-ready file that holds detail at close-to-medium viewing distances. If you need closer inspection, use a higher DPI target and repeat the workflow at 300 DPI.
Workflow B — Sharpening an AI-generated thumbnail to crisp 4K/8K for video and store listings (hands-on)?
For thumbnails and store listings you usually need crisp 3840×2160 (4K) or higher for platform banners and thumbnails. This workflow turns a 1024×1024 or 512×768 AI-generated image into a sharp 4K/8K asset.
1) Define the target: 4K (3840×2160) or 8K (7680×4320) depending on use. For thumbnails, 4K is usually sufficient.
2) Prepare the AI render: if you generate an image with an image model, produce the largest native size possible (e.g., 1024–2048 px). Keep source variations for compositing.
3) Remove generator artifacts: run a single pass of a blind SR model (Real-ESRGAN or StarSRGAN) tuned for AI renders. Some models exaggerate textures — use a gentler checkpoint for synthetic images.
4) Staged upscaling: upscale 2× then 2× (or 4× once) to reach the target. After each pass, apply light denoise and localized healing on areas with odd texture (background gradients and flat color blocks are common trouble spots).
5) Detail and sharpening: add a subtle high-pass sharpening layer (opacity 20–40%) focusing on subject edges, not flat backgrounds. For faces, preserve natural skin texture — do not push clarity too high.
6) Export and variant sizes: export the 4K/8K master, then create platform-specific crops (16:9 thumbnails, square store thumbnails) while keeping the high-res master for platform replacements.
Example prompt for AI-generated image cleanup you can paste into many SR tool UIs:
"Input: 1024x1024 AI render. Pre-clean: mild denoise. Upscale path: Real-ESRGAN 2x → Real-ESRGAN 2x. Post: selective high-pass sharpen (radius 1.0, blend 25%), color-correct for contrast +2, saturation +3. Export: 3840x3840 (crop to 16:9 as needed)."
Expected outcome: thumbnails and store images that hold up on high-density displays and in zoom previews, improving perceived product quality and viewer click-through.
Quality checklist: avoiding common upscaling pitfalls (artifacts, over‑smoothing, DPI & color)?
Run these checks before you finalize any upscale: artifacts, sharpness balance, DPI correctness, color profile, and file format. This checklist prevents typical mistakes that make upscaled images look artificial or unusable for print.
Artifact checks:
- Jagged or repetitive texture: if the SR model invents repeating patterns, try a different checkpoint or reduce the upscaling multiplier.
- Ringing or halo around high-contrast edges: reduce sharpening or use localized masks.
Over-smoothing vs over-detail:
- Over-smoothing kills texture. If detail looks painted, reduce denoise strength.
- Over-detailing creates unnatural grain. If faces or fabrics show micro-artifacts, switch to a gentler SR model or lower the adversarial strength.
DPI & pixel math:
- Always calculate pixel dimensions from final print size and desired DPI before upscaling (see PrintReadyKit guidelines). Don’t rely on “percent upscale” alone.
Color and profile:
- Proof in the target color space. For commercial print, convert to CMYK or provide the printer an RGB TIFF and ask for their preferred profile.
File formats and compression:
- For print, use TIFF or maximum-quality JPEG. Re-saving a JPEG repeatedly introduces artifacts; preserve a lossless master.
Acceptance tests:
- Zoom test: inspect at 100% and 200% on-screen to find artifacts.
- Print proof: print a 6"×8" swatch at final DPI to confirm texture and color before large runs.
Avoid these mistakes and you’ll retain natural texture, accurate color, and necessary sharpness for both digital and print use.
Why GoCrazyAI Image Upscaler is the fastest path to 4K/8K and how to integrate it into your workflow?
GoCrazyAI Image Upscaler can produce up to 8K output, restore and sharpen detail, and clean compression artifacts without adding watermarks — which makes it a fast path to print-ready assets. If you need a no-fuss route from phone or AI renders to 4K/8K masters, the tool handles the heavy lifting so you can focus on color-proofing and final retouching.
How to integrate it into your process:
- Step 1: Prepare source: crop, remove major spots, save as PNG or TIFF.
- Step 2: Upload to GoCrazyAI Image Upscaler and choose the target pixels (4K or 8K) and a model tuned for photos or synthetic renders.
- Step 3: Apply mild post-upscale edits provided in your image editor: selective sharpening, small artifact fixes, and color profile conversion.
Practical tips: use the Image Generator to create larger originals when possible before upscaling (see the AI Image Generator for larger base renders)[/ai-image-generator]. If you’re budgeting or considering plan credits for multiple upscales, check pricing and credits to choose the right plan[/credits].
Link and calls-to-action: Drop your image into the GoCrazyAI Image Upscaler and pick 4K or 8K export — the service is designed for fast outputs with no watermark so you can immediately use the file in print and listings. The Image Upscaler works well as a final stage in workflows that start with an AI render from GoCrazyAI Image Generator or a quick phone edit.
You can try every step above directly in GoCrazyAI Image Upscaler — no setup needed.
Frequently Asked Questions
What resolution do I need for a 24x36 poster?
For a 24"×36" poster, use 150 DPI for typical poster viewing (3600×5400 px) or 300 DPI for close-up prints (7200×10800 px). Calculate pixels from size × DPI before upscaling.
Can AI upscalers remove compression artifacts from phone photos?
Yes. Modern blind SR models like Real-ESRGAN are trained to handle real-world degradations and can reduce compression artifacts while restoring detail, though very aggressive compression may leave traces that need manual retouching.
Is upscaling an AI-generated image different from upscaling a photo?
Often yes. AI-generated images can contain generator-specific artifacts and unnatural textures; use a gentler SR checkpoint and inspect flat areas and gradients closely. Photos usually benefit from models trained on real degradations like Real-ESRGAN.
Which file format should I deliver to printers after upscaling?
For print, deliver a high-quality TIFF or a max-quality JPEG with the correct color profile (Adobe RGB or a CMYK conversion if requested by the printer). Keep a lossless master for future edits.
Conclusion
Final thoughts: plan the pixel target from your print size and DPI, pick a blind SR model tuned for real-world degradations, and use staged upscaling with light retouching rather than a single heavy-handed pass. That keeps detail natural and avoids artifacts. For a fast, no-watermark route to 4K or 8K exports that fits these steps, try the GoCrazyAI Image Upscaler.
Sources
- Product Image Statistics 2026: How Photos Impact Sales (Lumepixa)lumepixa.app ↗
- How Product Images Influence Conversion Rates (ImagePulser blog)imagepulser.com ↗
- Ensure Sufficient Image Resolution and Zoom (Baymard)baymard.com ↗
- A comparative analysis of SRGAN models (arXiv)arxiv.org ↗
- Scaling Up to Excellence — CVPR 2024 paper (open access PDF)openaccess.thecvf.com ↗
- What DPI for printing? — 300 vs 150 vs 72 explained (PrintReadyKit)printreadykit.com ↗
- Large Format Printing — artwork preparation (DynaGraphics)dynagraphics.com ↗
- Using Real-ESRGAN to Upscale Images on Intel Platform (engineering guide)cdrdv2-public.intel.com ↗
- StarSRGAN: Improving Real-World Blind Super-Resolution (arXiv)arxiv.org ↗
- AI Upscaling for E-commerce Product Photos (PixelFlair blog)pixelflair.co ↗