ai image branding workflow: build repeatable, on-brand product images at scale
Step-by-step workflow to generate consistent, on-brand product images and ad variants using batch prompts, style transfer, and GoCrazyAI's AI Image Generator.
<!-- KEYTAKEAWAYS -->- Lock lighting, angle, background, and palette as constants in your prompts.- Use fixed seeds, negative prompts, and batch generation for repeatability.- Apply foreground/background style transfer for ad variants without reshoots.- Automate QC with naming rules and metadata so assets feed straight into video.<!-- /KEYTAKEAWAYS --> You need dozens or hundreds of product images, thumbnails, and ad variants that all look like they belong to the same brand — but shooting and editing each SKU is slow and expensive. This guide gives a reproducible workflow you can run weekly: define a minimal brand style system, prepare reference inputs and prompt templates, run batch generation, apply controlled style transfer for variants, and hand off reviewed frames into video or ad builds. It uses current best practices (locked lighting, fixed seeds, negative prompts) and practical GoCrazyAI steps so marketing teams and freelance creators can produce consistent assets without endless reworks. You’ll finish with a checklist, example prompts, and automation-ready naming conventions.
Quick Answer
How do you build an AI image branding workflow? Lock a small set of visual constants (lighting, camera angle, color palette), create prompt templates with fixed seeds and negative prompts, then run batch generation and controlled style transfer. Use review checkpoints and consistent filenames before feeding winning frames into video or ad workflows.
Define a brand style system for AI: assets, constraints, and the visual vocabulary you must lock?
Answer: Define a short list of "constants" — the visual elements you will not change between images: lighting setup, camera angle/distance, background type, and base color palette. These constants become the non-negotiable lines in your prompt templates so AI outputs read as a single brand family.
Start by choosing 4–6 elements to lock: lighting (softbox front, 45° key), camera (50mm-ish, slight top-down for lifestyle, straight-on for studio shots), background (neutral white, matte gray, or contextual scene), product placement (centered on platform), and palette (hex or named swatches). Document these with 1–2 reference images per constant and store them in a shared folder.
Why this works: reviews and design guides show reducing prompt variance dramatically reduces visual drift across SKUs[[1]](#source-1). Locking these attributes means your prompts only vary where you want — material, label artwork, or colorway. Keep the system intentionally small: fewer locked items are easier for creators and A/B tests.
Preparing inputs: reference images, seeds, and prompt templates to generate consistent product images at scale (examples included)?
Answer: Prepare three input types: a set of reference photos (one clean hero, one lifestyle), a fixed seed for reproducible sampling, and a prompt template that combines your locked constants with variable fields. These inputs are the minimum needed to generate consistent product images at scale.
Reference images: capture one high-quality clean shot per SKU on the locked background and one contextual shot if you want lifestyle variants. Save both at the same aspect ratio you’ll need for ads or thumbnails.
Fixed seeds: pick and record a seed number for every SKU or campaign. Fixed seeds reduce randomness so iterating on a prompt yields predictable changes.
Prompt templates: build a short template with placeholders. Example template (safe domains only):
"Product: {productname}; style: studio product photo; lighting: softbox key at 45°, subtle fill; camera: 50mm, f/5.6, slight top-down; background: matte #F6F6F6; palette: primary {brandcolorhex}, accent #FFFFFF; composition: centered on round pedestal; mood: high-end, minimal; include label text: {labeltext}; seed: {seed_number}; negative: people, logos, watermark."
Concrete example prompts you can copy:
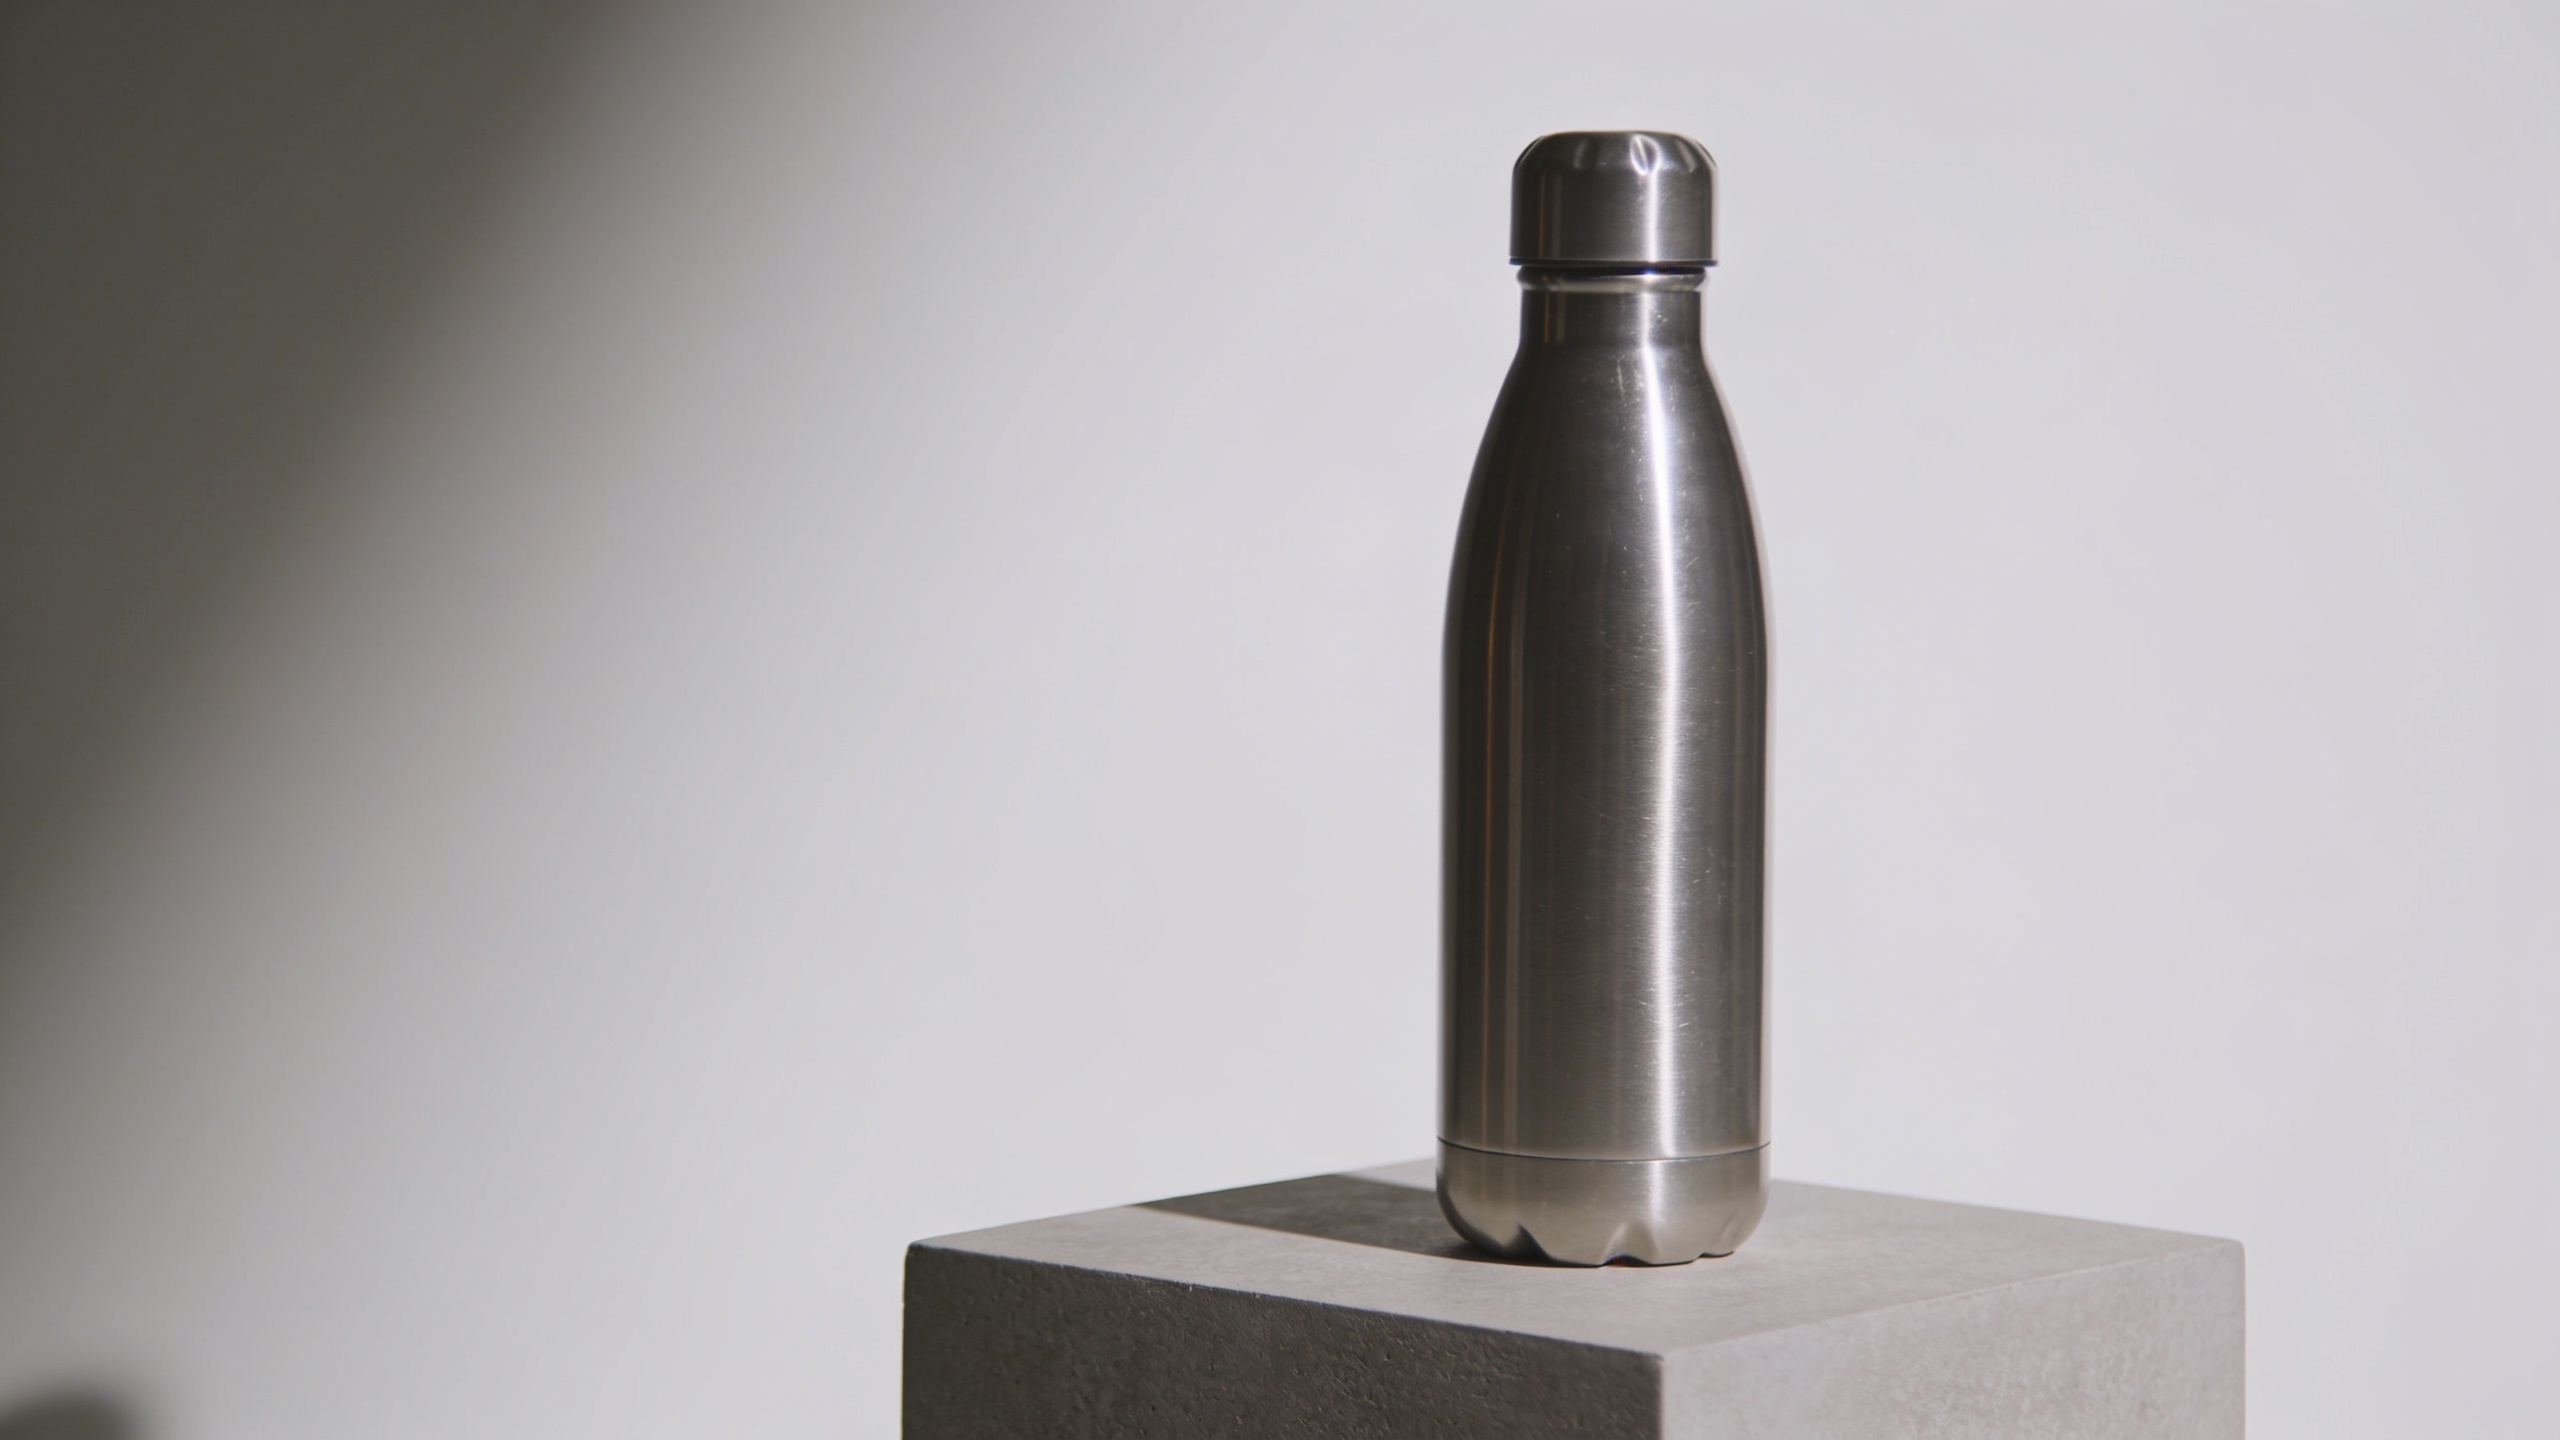
"Product: stainless water bottle; style: studio product photo; lighting: softbox key at 45°, soft fill; camera: 50mm, f/5.6; background: matte #F6F6F6; palette: brand-blue #0077CC; composition: centered on round pedestal; mood: premium minimal; seed: 12345; negative: people, watermark, extra props."
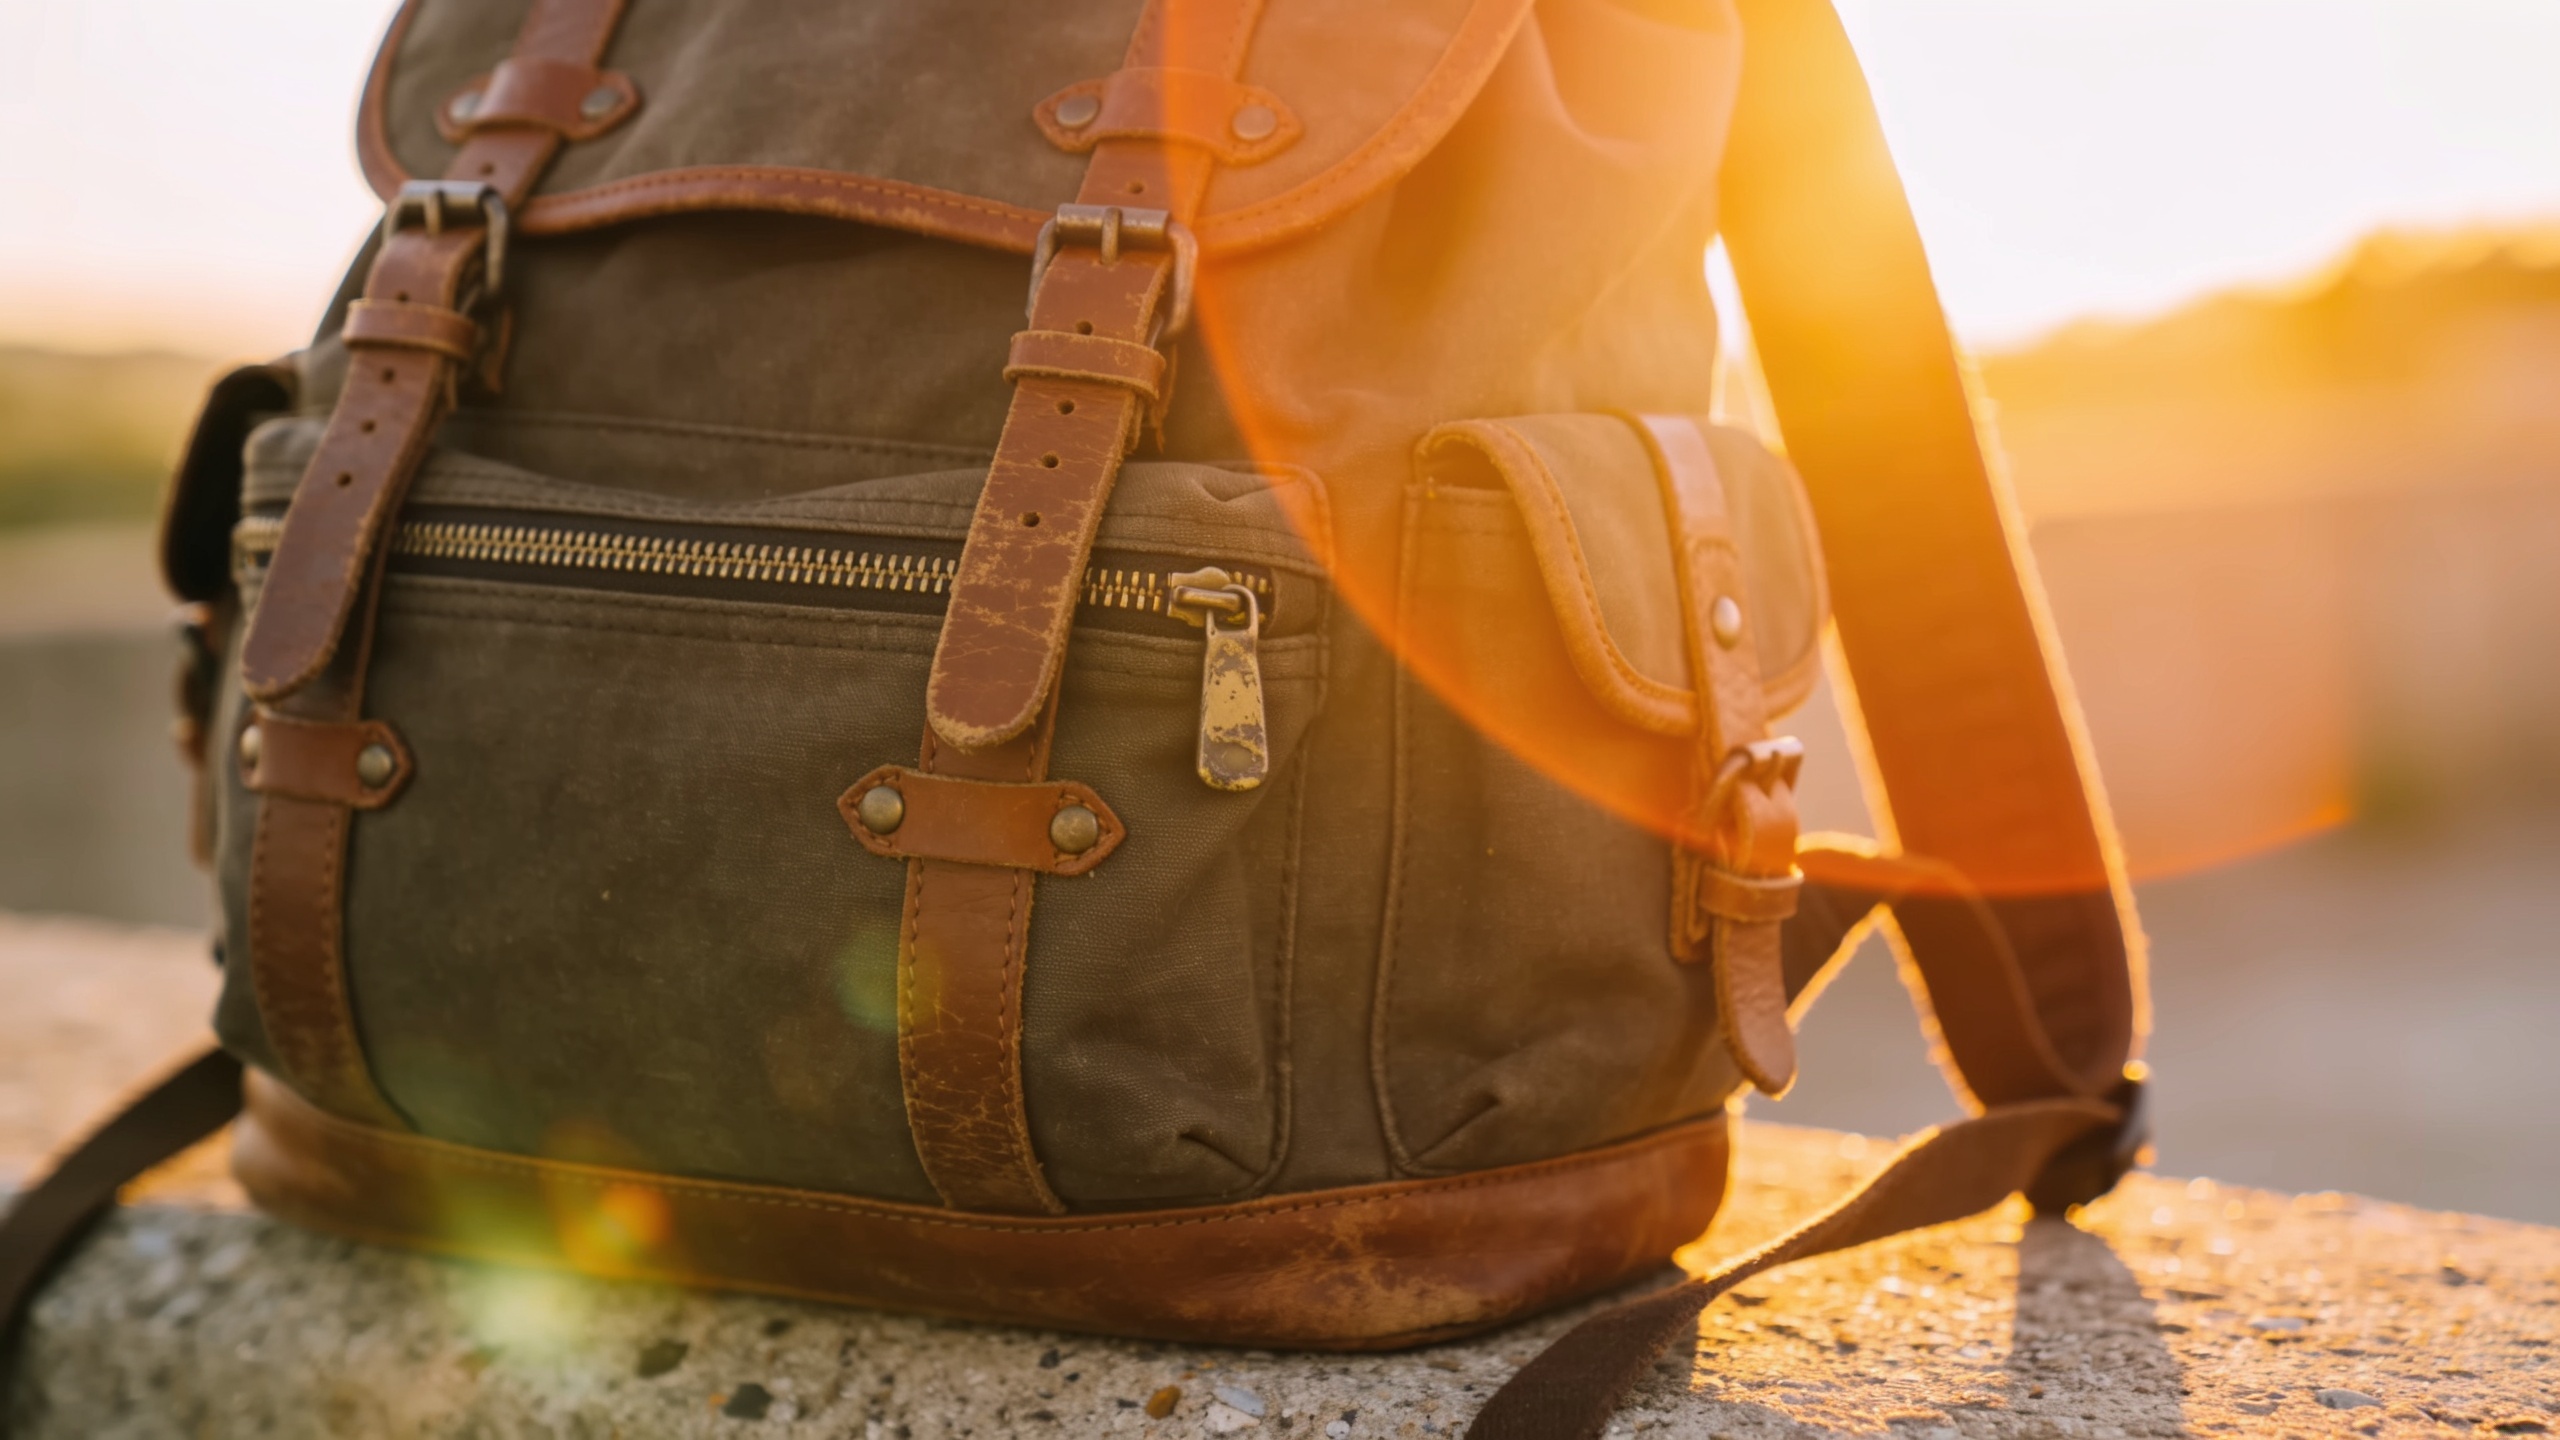
"Product: travel backpack; style: lifestyle hero with blurred city background; lighting: golden-hour fill; camera: 35mm, slight top-down; background mood: warm, cinematic; palette: brand-olive #667744; seed: 67890; negative: logos, faces recognizable."
Prompt engineering best practices: keep the locked constants at the start of the prompt so they carry highest weight. Use explicit negative prompts to remove common artifacts. Record which model you used with each run. These steps align with documented prompt-engineering workflows that improve consistency[[8]](#source-8).
Hands‑on: Batch prompts and model selection — how to generate 100+ on‑brand product images with GoCrazyAI’s AI Image Generator?
Answer: Run batches by combining a CSV of variable fields (productname, labeltext, color_hex, seed) with a single prompt template, choose a model tuned for product fidelity (e.g., Seedream 4 for fine detail or Google Nano Banana for cleaner studio lighting), and export variations in the aspect ratios you need. GoCrazyAI’s batch tools let you queue 100+ prompts and save results to a library for iteration.
Step-by-step on GoCrazyAI: open the AI Image Generator and upload your hero reference (or leave blank to T2I). Select a model—Seedream 4 for texture fidelity, Google Nano Banana for clean studio renders, or Kaneko Gen Pro for stylized ads. Paste your prompt template and map CSV columns to template placeholders. Choose a seed column to fix randomness per output. Pick batch size (50–200) and preferred aspect ratios for social and ad platforms. Run the batch.
Practical tips: start with a small test batch (10 images) to confirm constants hold. Save the best variation to the library — GoCrazyAI stores variations so you can iterate quickly. Export metadata with filenames that include SKU and seed.
Related tool links: learn more about how to export frames into video timelines with the AI Video Generator for animated ads in your pipeline via the AI Video Generator guide (AI Video Generator)[/create-ai-video]. Also review cost and credits before large runs on GoCrazyAI Pricing[/credits].
You can try every step above directly in GoCrazyAI AI Image Generator — no setup needed.
Hands‑on: Apply image style transfer and targeted edits for ad variants and thumbnails (foreground/background control, color palettes)?
Answer: Use foreground/background separated style transfer to change the ad mood (background, color grade, texture) while preserving product details. Start from the winning studio frame, mask the product if possible, then apply a text-driven background style and palette swap. This creates A/B creative variants without re-shooting.
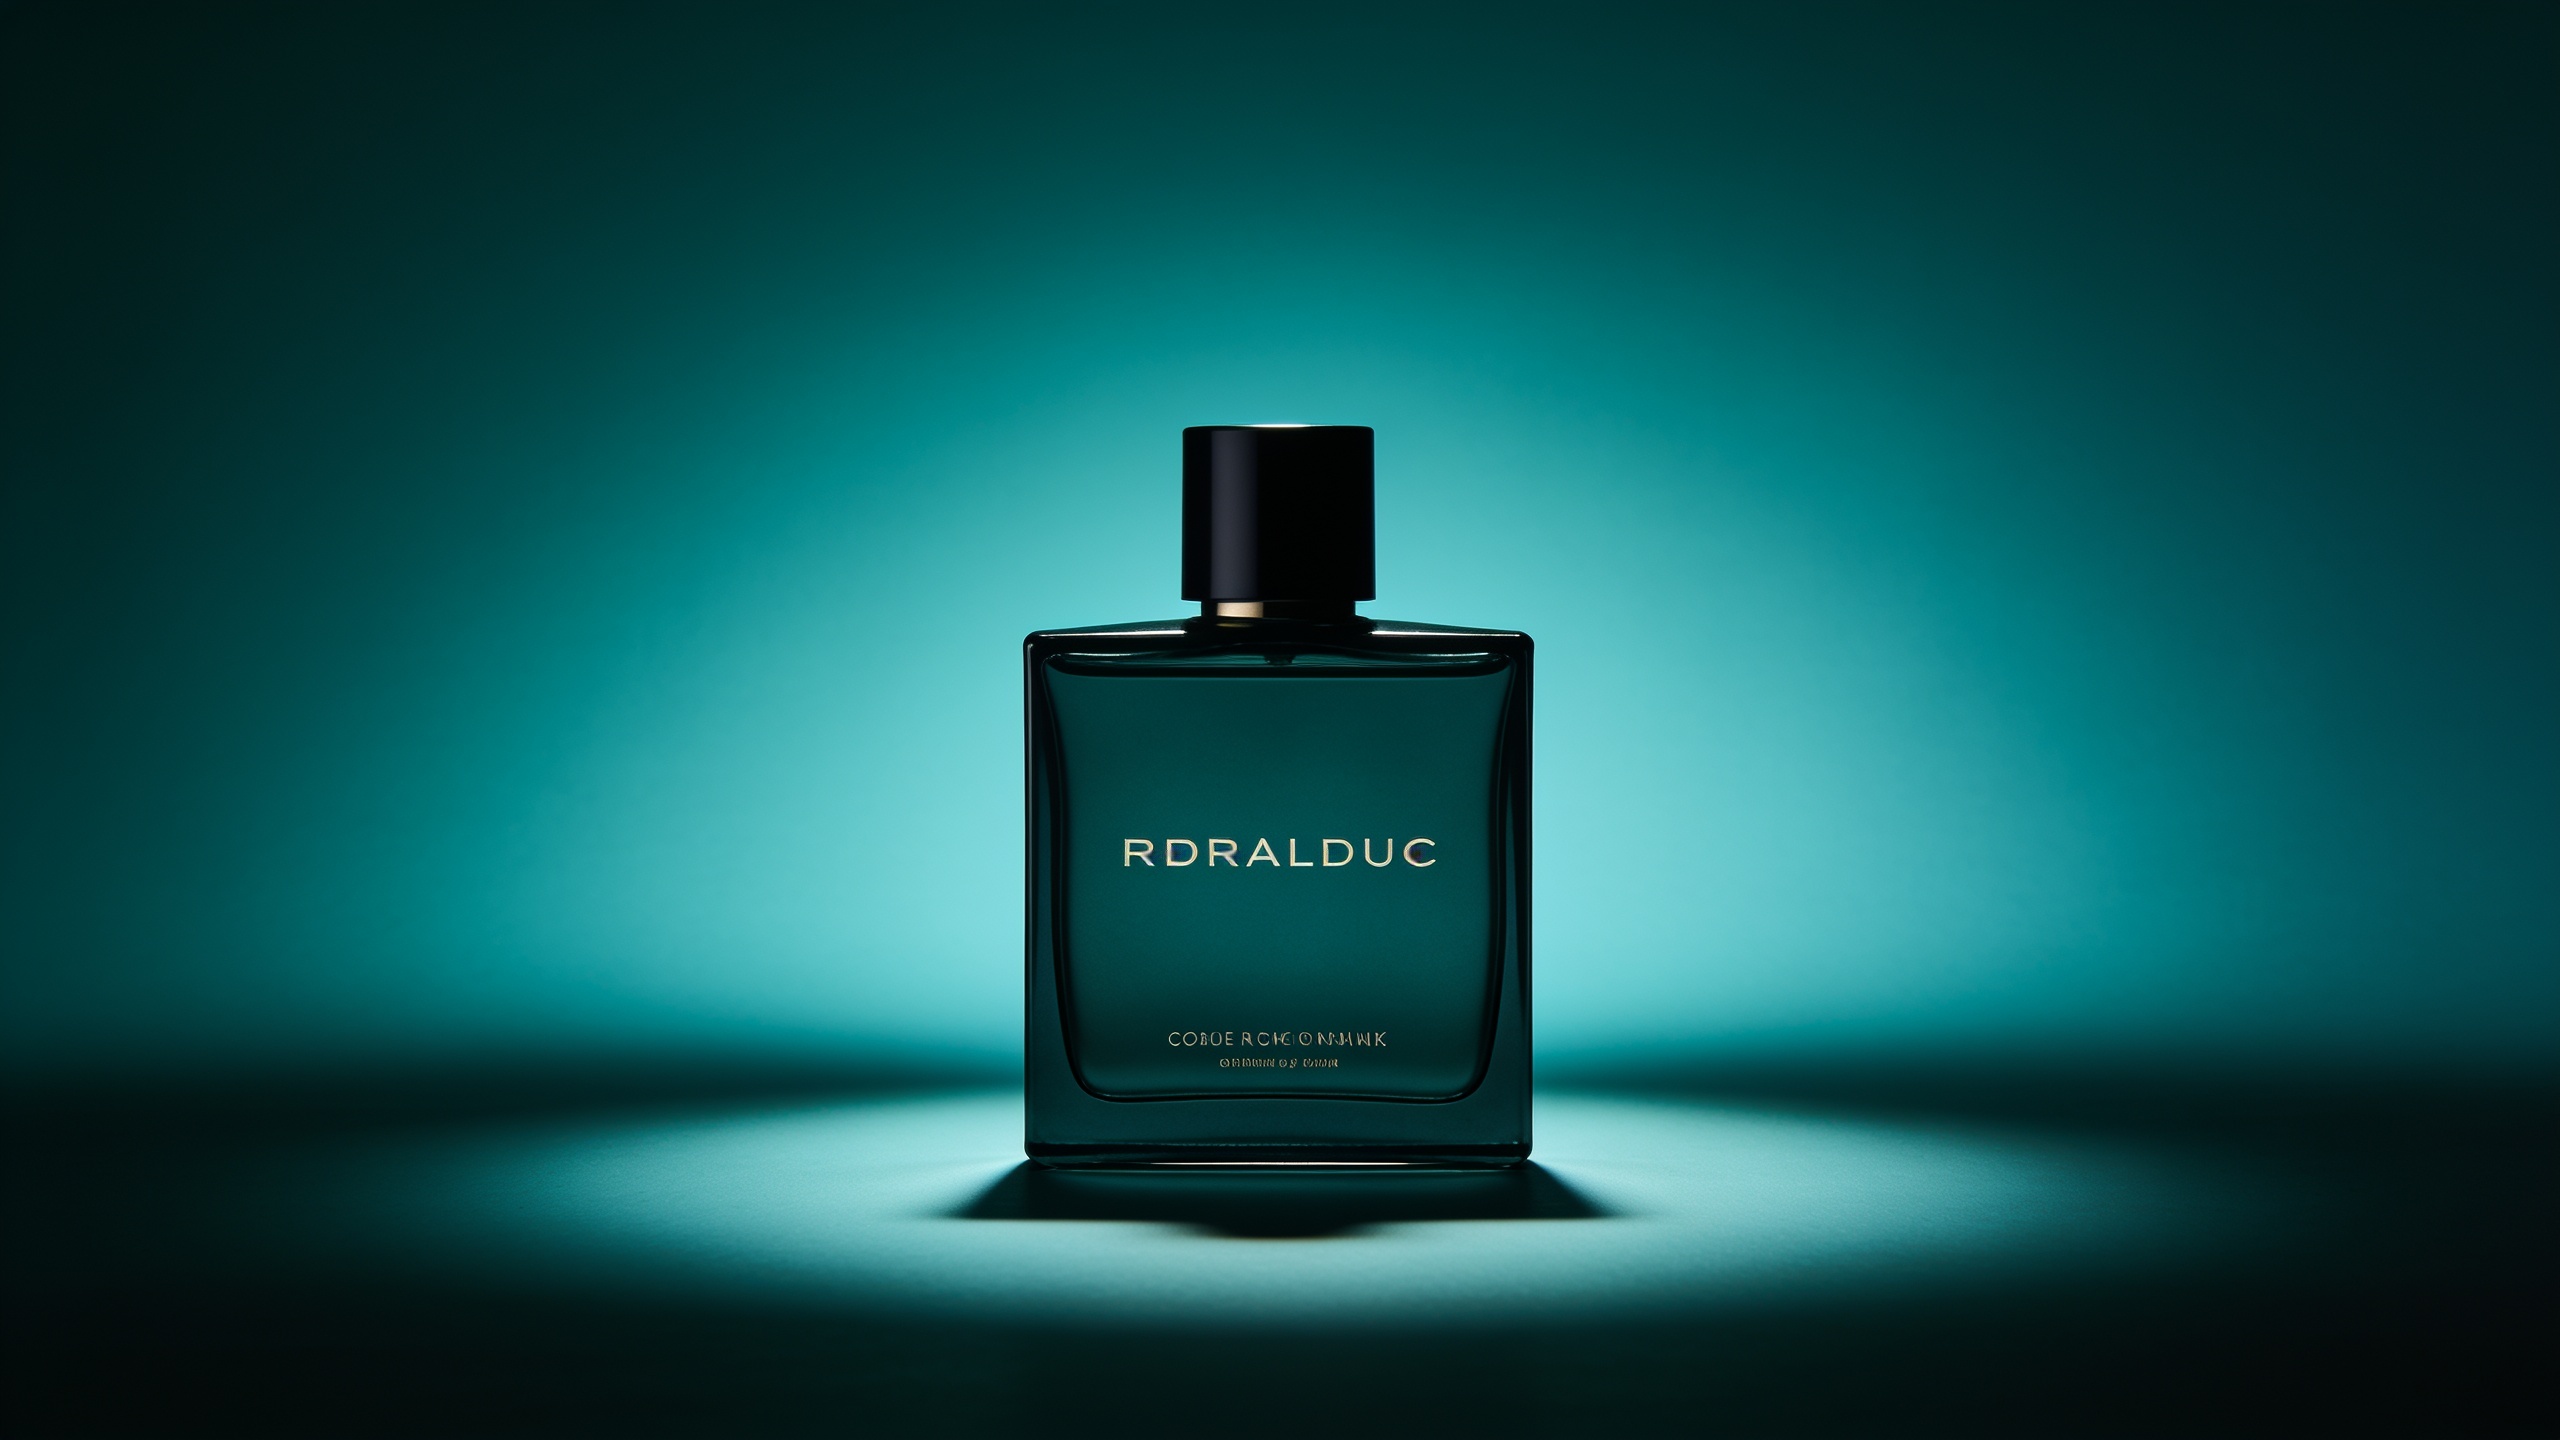
How to manage variants: export a clean hero frame from your batch library, then run a style-transfer edit using a prompt like: "Keep foreground product intact; change background to moody teal gradient with soft bokeh; lighting: cool rim; palette: teal #0FA3B1 and graphite accents; mood: premium tech ad; preserve product texture and label legibility." Newer transfer methods allow a single text condition to target background separately, making this fast and repeatable[[4]](#source-4).
Targeted edits to try: (1) palette swap for seasonal campaigns, (2) background mood changes for A/B tests (bright vs moody), (3) thumbnail crop and contrast boost for higher perceived clarity. Always keep a mask or isolation reference so the model knows which pixels are sacred; if your platform supports separate foreground uploading, use it to preserve edges and stitch cleaner composites.
Expected result: cleaner ad variants that keep product integrity and enable rapid A/B testing across channels, without full reshoots.
QC, automation and handoff: review checkpoints, naming conventions, and feeding reference frames into GoCrazyAI’s AI Video Generator — common mistakes to avoid?
Answer: Build a short QC checklist and strict naming convention so assets are ready for ad builds and video frames. Include visual checks (label legibility, color accuracy, exposure), metadata (model, seed, prompt version), and file naming that encodes SKU, campaign, model, and seed. Feed the approved hero frames into video pipelines as locked reference frames.
QC checklist (example):
- Legibility: product labels readable at thumbnail size.
- Color: brand hex matches within acceptable delta on your proofing monitor.
- Lighting: shadows natural, no floating edges.
- Artifacts: no logos/watermarks, no extra people/backdrop errors.
Naming convention example: SKUCAMPAIGNMODELSEEDV1.jpg (e.g., WB123SUMMER24SEEDREAM412345V1.jpg). Store associated prompt and negative prompts in metadata or a CSV row for traceability.
Handoff to video: save a final hero as a high-res frame and a 16:9 reference that the AI Video Generator can accept as a starting frame. GoCrazyAI’s image outputs are designed to flow into video generation so you can animate product reveals or create short ad clips using the same visual style — keep the seed and prompt in metadata so the video generator preserves the look.
Common mistakes to avoid and how to prevent them:
- Mistake: Changing too many visual variables at once. Fix: Only vary one attribute per batch (color or background) so you can measure impact.
- Mistake: Not recording seeds or prompt versions. Fix: Export a CSV mapping outputs to seed/prompt and attach it to each asset.
- Mistake: Skipping negative prompts (result: stray artifacts or text). Fix: Use explicit negations for people, logos, and watermarks.
- Mistake: Relying on a single model for all outputs. Fix: A/B models (Seedream 4 vs Nano Banana) in small tests to pick the best match for texture vs lighting.
- Mistake: Uploading low-res references for style transfer. Fix: Use high-quality hero frames to avoid upscaling artifacts.
Following these steps reduces rework and speeds handoff into creative builds and the AI video pipeline.
Frequently Asked Questions
What is the fastest way to keep product images consistent across SKUs?
Lock a short list of constants—lighting, camera angle, background, and palette—then use a prompt template with fixed seeds and run batch generation. This reduces visual drift and lets you iterate quickly.
Can I change only the background mood without affecting the product?
Yes. Use foreground/background separated style transfer and masks, or explicit prompts that instruct the model to preserve the foreground product while restyling the background.
How do I avoid model hallucinations (extra objects or text)?
Use negative prompts to ban unwanted elements ("no text, no people, no watermark"), fix seeds, and test small batches to refine prompts before scaling.
Conclusion
Final thoughts: Building an ai image branding workflow is about discipline—lock the visual constants, record seeds and prompts, test small batches, then scale. Use targeted style transfer to create ad variants quickly and a strict QC + naming system to avoid rework. If you want to test this pipeline on real models and save variations to a library, try spinning up your first frame in the AI Image Generator.
Sources
- I've created thousands of AI images and these are the best AI image generators of 2026 (Tom's Guide)tomsguide.com ↗
- Rethink arbitrary style transfer with transformer and contrastive learning (ScienceDirect / Computer Vision and Image Understanding, 2024)sciencedirect.com ↗
- A review of deep learning-based image style transfer research (Imaging Science Journal, 2024)tandfonline.com ↗
- Foreground and background separated image style transfer with a single text condition (image analysis journal / Colab summary)colab.ws ↗
- AI Product Photography Guide — Pixelift (practical guide to consistent AI product images)pixelift.pl ↗
- Keep AI Product Images Consistent Across SKUs: Lighting, Color, Background (Designkit blog)designkit.com ↗
- Prompt engineering (overview) — Wikipedia (practical prompt templates & concepts)en.wikipedia.org ↗
- Nature Scientific Reports: media image style transfer approach built on StyleGAN2 (2025)nature.com ↗
- Consistent Character & Style (Armox.ai academy — batch generation and consistency workflow)armox.ai ↗