


Holiday photo relight: How to turn phone snaps into studio or golden‑hour images?
Turn phone holiday snaps and casual product shots into studio or golden‑hour images using single‑image AI relighting. Practical workflows, prompts, and ROI tips.

You shot holiday photos or product images on your phone and the lighting is flat, mixed, or just not sale-ready. This guide shows how to replace costly reshoots by relighting those images with AI so they look like studio portraits or warm golden‑hour photos. You'll get two reproducible workflows (portrait and product), specific settings to match light direction and color, example prompts you can copy, and A/B test metrics to measure impact. Use the practical steps here to convert messy phone captures into assets that work on social, email, and your catalog without a new shoot or expensive rental lights.
Quick Answer
You holiday photo relight phone snaps into studio or golden‑hour images by using a single‑image AI relighting tool that changes illumination while preserving subject detail and composition. Pick the target style (studio, golden‑hour), match light direction and color temperature, preserve labels/skin tones, and check shadows so the subject stays grounded.
Why relighting (not just filters) fixes your holiday and product photos?
Relighting fixes how light interacts with surfaces — not only overall tint or contrast — so it can add directional shadows, realistic highlights, and temperature shifts that match a target scene. Filters adjust pixels globally; relighting recomposes illumination so metals, gloss, skin subsurface scattering and shadows respond believably. That matters for holiday portraits where warm rim light and catchlights sell emotion, and for products where specular highlights and shadow anchors define material and perceived quality.
Details: modern relighting separates reflectance/geometry from illumination, which lets algorithms reposition light without blurring textures or washing labels. For creators this means fewer reshoots: a phone snap with good composition is often enough to create a catalog‑ready or social image once lighting is recomposed correctly. Practical relighting avoids uniform overlays and instead builds directional light, falloff and catchlights suited to the target style.
How does modern AI relighting work?
Modern AI relighting typically estimates scene geometry and reflectance from a single image, then synthesizes a new illumination map so the subject appears lit by a different light source. Research shows single‑image relighting networks can separate reflectance and illumination and recombine them under new lighting conditions, enabling physically plausible changes from one photo (see Lite2Relight).
Technical notes: state‑of‑the‑art methods use 3D‑aware or neural rendering approaches to reproduce shadows, specular highlights and subsurface scattering rather than applying global tone shifts. Some recent papers (Lite2Relight, Neural Gaffer) also use diffusion or neural rendering to model complex reflections and shadow anchors. In practice, commercial tools wrap these networks in UIs that let you pick light direction, temperature, strength and presets so creators get predictable results without deep technical knowledge.
When should you choose studio, golden‑hour, neon or dramatic lighting? Examples and use cases
Choose lighting by platform, product type and mood: studio for clean catalog images, golden‑hour for human portraits with emotional warmth, neon for nightlife or edgy fashion, and dramatic for cinematic hero shots. Below are visual use cases to guide selection.
- Studio: product catalog, flat lay, or any image needing neutral color and soft, controllable shadows. Use when accuracy of material and labels matters.
- Golden‑hour: portraits, travel content, lifestyle shots. Use a warm low angle with soft fill to keep eyes readable.
- Neon: streetwear, electronics, nightlife. Use colored rim lights and punchy contrast to emphasize shape.
- Dramatic: hero product or portrait where mood beats full detail — hard side light with deep shadows.
Example prompts you can copy (safe, generic):
```text "Golden-hour portrait: warm 45° key light, soft fill, gentle rim light, visible catchlight in eyes, rich warm color temp (about 3200K), subtle shadow under chin"
"Studio product: softbox 3-point lighting, neutral white 5500K, subtle specular highlight on metal, shadow anchor cast on plain white background" ```
These prompts guide a relighting tool to produce the target directional and color behavior; the UI controls (direction, temperature, intensity) refine the result.
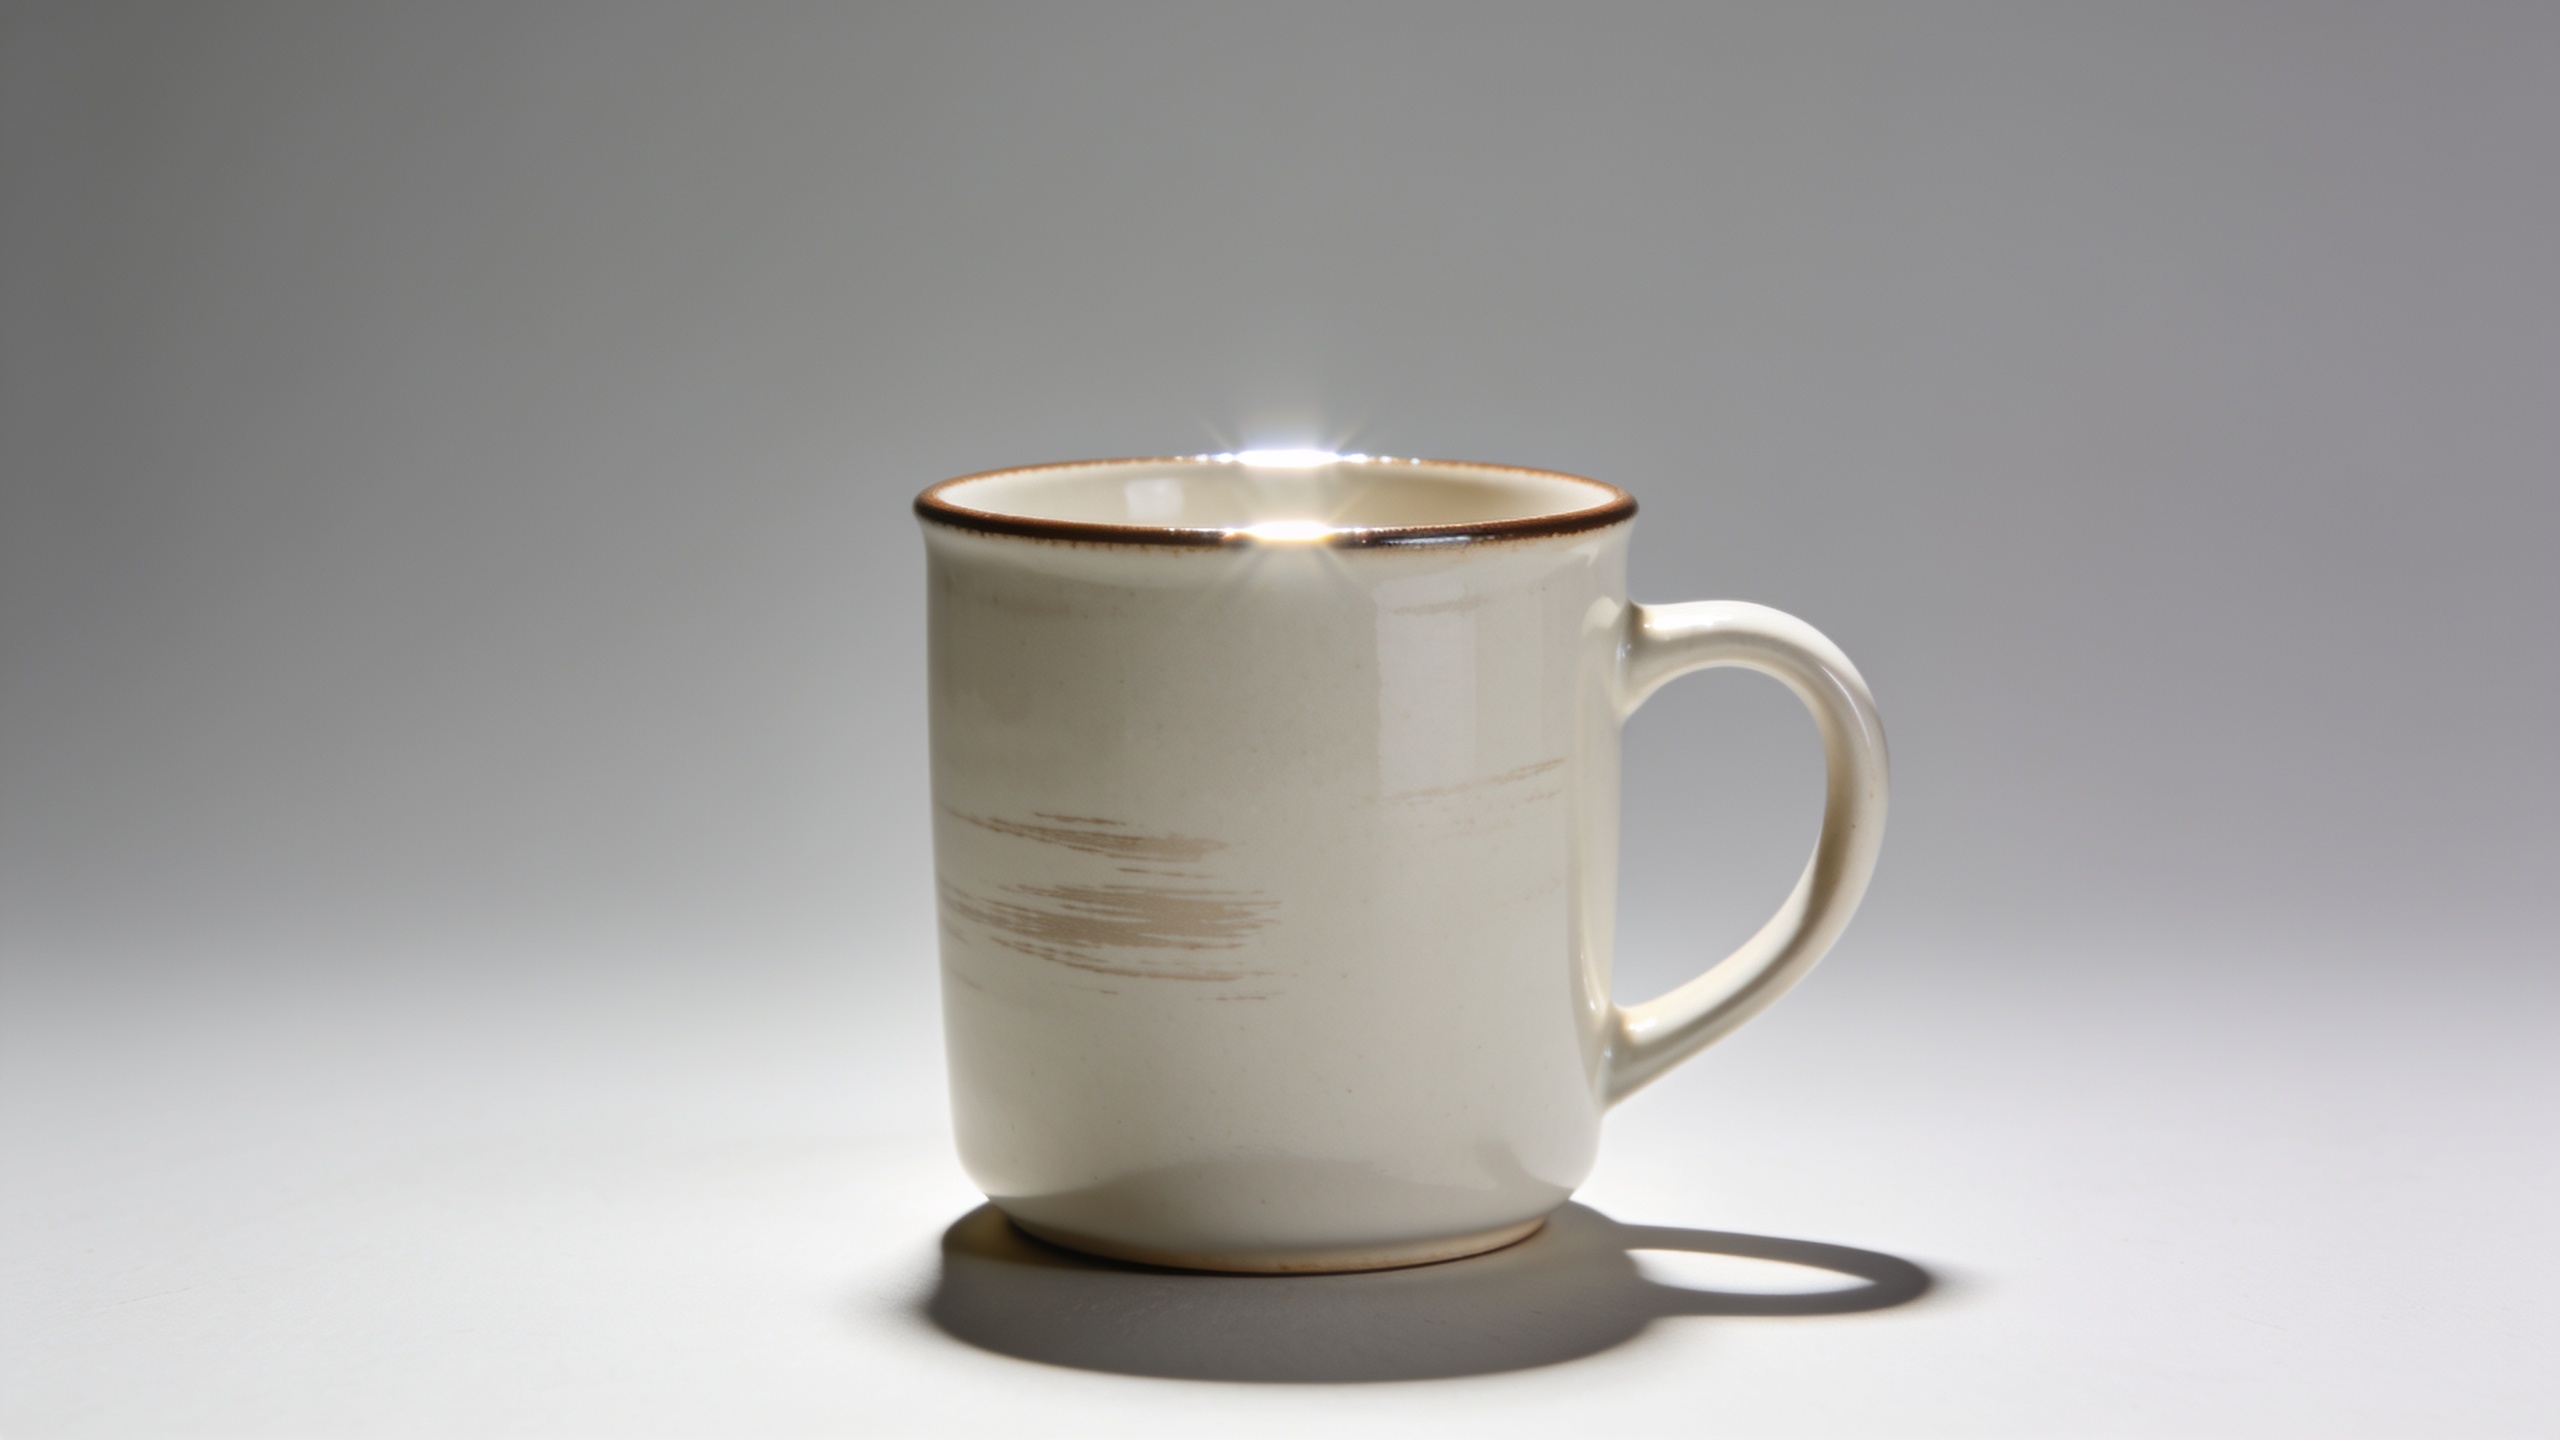
How do you turn a phone holiday snapshot into a believable golden‑hour portrait?
You turn a phone snapshot into a believable golden‑hour portrait by matching a low warm key light, adding subtle fill to preserve facial detail, and creating soft rim catchlights that read as late‑day sun. Start by deciding light direction (e.g., 45° from camera, low), set color temperature to a warm value (around 3000–3500K), and soften falloff so shadows are gentle.
Step‑by‑step checklist (expanded in the Workflow steps below):
- Pick a source image with clear subject separation from background.
- Set the relighting preset to "golden‑hour" or manually dial key angle and temperature.
- Add subtle warm rim light to simulate backlight through hair or leaves.
- Use a low‑strength fill to keep skin detail and reduce under‑eye shadows.
- Inspect eyes for catchlights and tweak so they’re visible but natural.
Expected results: warmer skin tones, elongated soft shadows, and natural catchlights. If the original has mixed light (indoor lamps + daylight), spend a minute masking or use a slider to reduce conflicting ambient illumination before applying the golden‑hour style.
How do you convert a casual product shot into a studio image for your catalog?
Convert a casual product shot into a studio image by establishing a coherent light direction, neutral color temperature, controlled specular highlights and a shadow anchor that fixes the product on a surface. The goal is material accuracy: fabrics should keep texture, metals should show believable highlights, and labels must remain legible.
Workflow essentials:
- Start with the highest‑resolution source; preserve original crop and composition.
- Select a studio or 3‑point preset and set primary key direction (usually 45° or slightly overhead for boxes/bottles).
- Reduce ambient color casts and set white balance to neutral (around 5000–5600K) unless brand requires a warmer tone.
- Add a soft fill from camera side to reveal texture without flattening.
- Generate a low, soft shadow under the product so it sits on the surface — check perspective and shadow length vs. camera angle.
For label‑sensitive items, use the relight tool’s mask or preserve setting to lock in fine text and print textures while the engine modifies highlights and shadows.
What are best practices to preserve texture, labels and skin tones when relighting?
Best practices: preserve high‑frequency detail, avoid over‑smoothing, and match color response to the material type. Relighting should change illumination without degrading label legibility or skin texture. Use these steps: lock or protect label areas, use conservative strength when adjusting speculars on textured surfaces, and match white balance to skin undertone ranges.
Practical tips:
- Always work at full resolution and avoid early compression. Consider upscaling after relight if you need bigger exports (/image-upscaler).
- Use masks when the relighting UI offers them: protect text/labels and teeth/eyes to avoid unnatural smoothing.
- Check skin tones under neutral and warm previews; if skin shifts too orange or green, reduce overall temperature and tweak saturation.
- For glossy items, increase specular fidelity carefully — too much specular can blow out labels or hide stamps.
These practices keep relit images believable and defensible for product pages or close‑crop portraits.
Real ROI: A/B testing relit product images and social creative — common pitfalls?
A/B testing relit images typically focuses on click‑through, add‑to‑cart rate, and conversion lift. The ROI comes from higher engagement and fewer returns when product appearance matches expectations. Pitfalls include mismatched backgrounds, inconsistent lighting across SKUs, and testing too many creative changes at once (lighting + copy + layout), which obscures which variable drove lift.
Metrics to watch:
- CTR on social ads (initial engagement).
- Add‑to‑cart rate and conversion (direct sales signal).
- Return rate and customer complaints about product appearance (quality signal).
Avoid these pitfalls:
- Don't change background and lighting in the same test — isolate lighting as the variable.
- Ensure shadow anchors and perspective are consistent across tested images to prevent perceived size or shape changes.
- Run tests with sufficient traffic and for at least one business cycle (often 7–14 days) to smooth variability.
Value estimate: small improvements in conversion (2–6%) on product pages can pay back relighting time quickly for medium to large catalogs; always measure on your own traffic mix before generalizing.
How do you integrate GoCrazyAI AI Image Relighting into your content pipeline?
You integrate GoCrazyAI AI Image Relighting by adding it as a one‑click relight step in your post‑production workflow or via batch processing for catalog images. GoCrazyAI AI Image Relighting applies studio, golden‑hour, neon, or dramatic presets, preserves subject and composition, and outputs at original resolution — making it suitable for standalone edits or bulk catalog jobs.
Practical integration steps:
- Start by testing a small batch of representative images and pick the best preset per SKU or content type.
- Use the preserve/lock tools to protect labels and skin tones before batch processing.
- Export results at original resolution and add them to your DAM or CMS.
Try GoCrazyAI AI Image Relighting to experiment with presets and match styles quickly. For creative generation and mockups, consider pairing relit stills with a dedicated image creator such as the AI Image Generator. When planning scale or budgeting, check GoCrazyAI Pricing on the GoCrazyAI Pricing page to estimate credits for bulk runs.
Frequently Asked Questions
Can AI relighting change the background as well as the lighting?
AI relighting primarily modifies illumination on the existing scene. Some tools include background harmonization or replacement features, but for best results relight first to match direction/temperature, then swap backgrounds so shadows and color remain coherent.
Will relighting make labels or text unreadable?
Not if you use preservation tools or masks. Modern relighting UIs let you lock areas like labels, packaging text, or eyes so illumination changes don't blur or wash out fine detail.
Do I need RAW files to relight effectively?
RAW helps because it preserves dynamic range and color accuracy, but many relighting models work well on high‑quality JPEGs from modern phones. Work at the highest resolution you have and avoid heavy compression.
Can I relight a set of holiday photos so they look consistent?
Yes — use consistent presets and, if available, temporal/consistency options. Per‑frame relighting can produce flicker across a group; consistency‑aware models or batch settings reduce variation.
Conclusion
Relighting can turn messy holiday snaps and casual product shots into usable, high‑impact assets without a reshoot. Focus on matching light direction, temperature, and shadow anchors while preserving labels and skin detail. Start with a small batch test, measure engagement and conversion, then scale the styles that win. Try AI Image Relighting — pick a lighting style and watch your photo transform.
Sources
- Lite2Relight: 3D-aware Single Image Portrait Relighting (SIGGRAPH 2024)reality.cs.ucl.ac.uk ↗
- Neural Gaffer: Relighting Any Object via Diffusion (NeurIPS 2024)papers.neurips.cc ↗
- ECCV 2024 — image‑based neural relighting architecture (portrait relighting)ecva.net ↗
- Picsart tutorial: How to relight product photos with AI for better catalog imagespicsart.com ↗
- Cartnix AI — Phone Photo to Studio Product Image (product relighting example, 2026)cartnix.ai ↗
- FLORA — Relighting technique for e‑commerce product and portrait imagesapp.flora.ai ↗
- Rewarx blog: How AI product photo relighting solves background color‑mismatch (2026)rewarx.com ↗
- GoStudio AI — AI Relighting Tool page (example vendor product page describing relighting capabilities)gostudio.ai ↗