


Seasonal photo relighting: turn phone shots into golden-hour product photos
Step-by-step guide to use seasonal photo relighting to turn phone product shots into golden-hour and studio images that lift CTR and conversions.
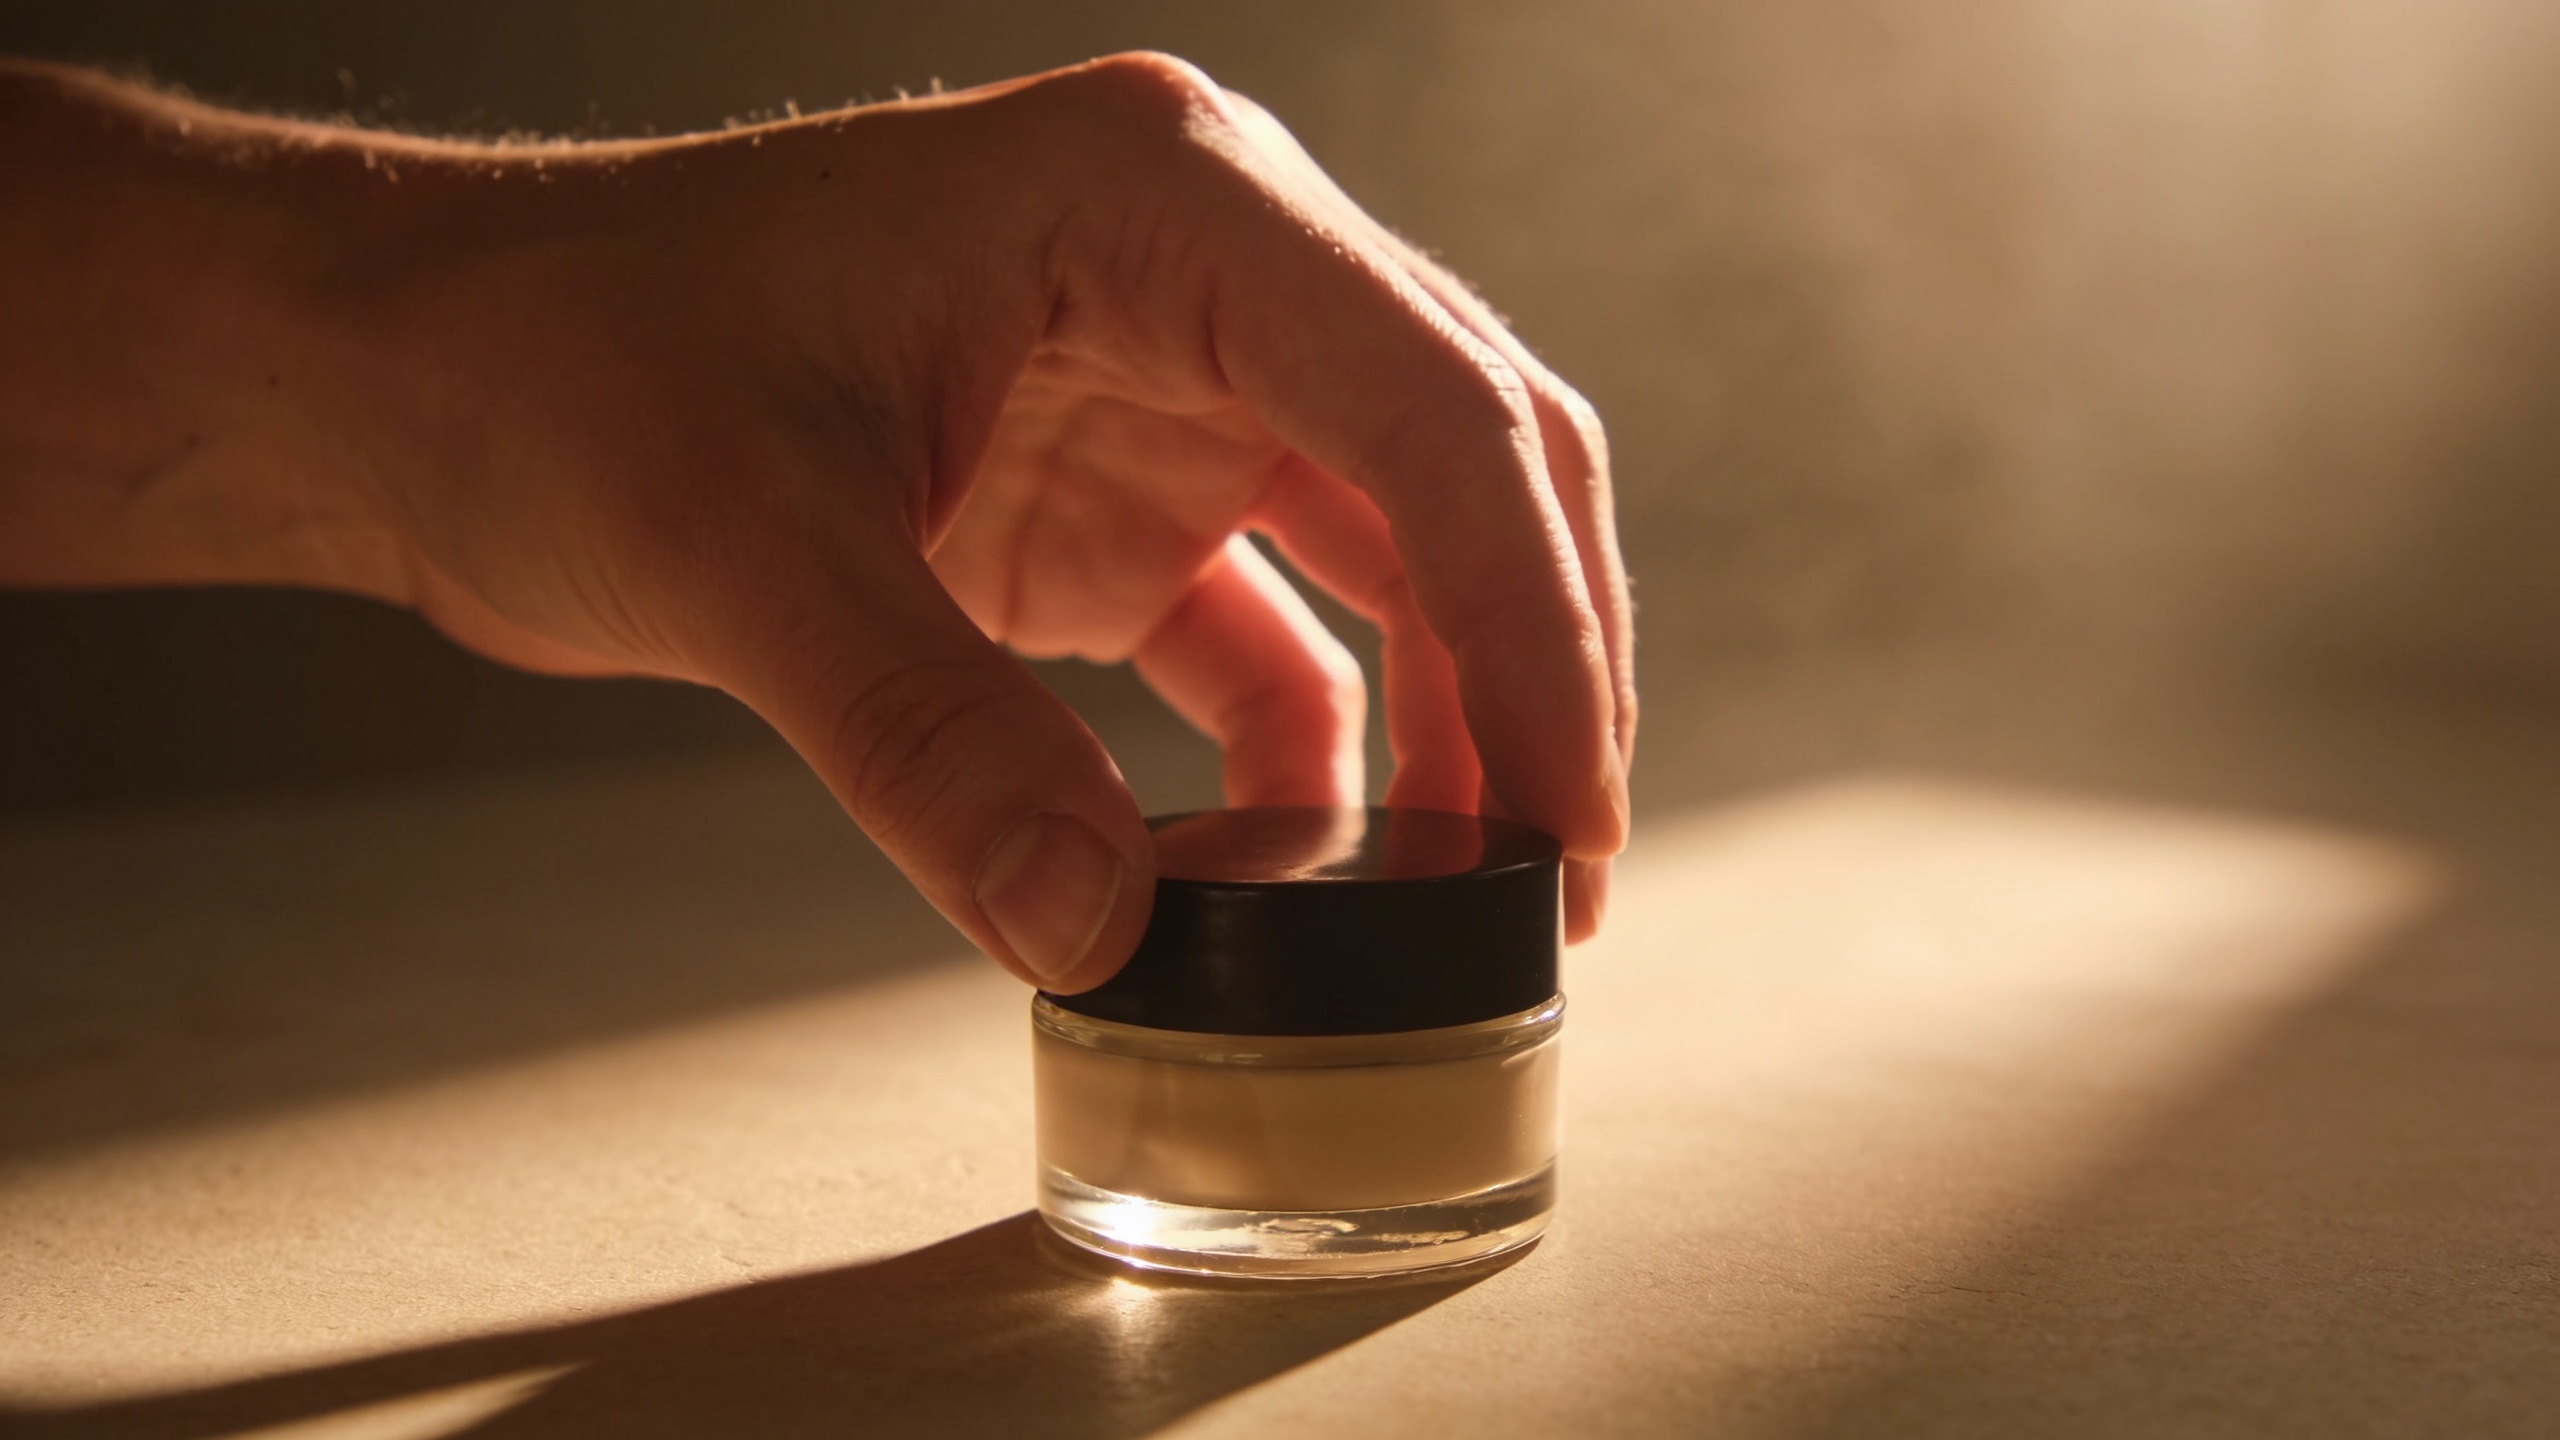
You have a phone product shot with flat, boring light and you need a set of seasonal, golden‑hour, or studio-styled images for ads — fast. This guide shows repeatable workflows to turn a single phone photo into multiple on‑brand lighting versions that perform in listings and paid campaigns. I'll include concrete settings, example prompts you can copy, and A/B test ideas so you can create high-converting assets without reshoots. Where helpful, I explain how GoCrazyAI AI Image Relighting can be used to apply studio, golden‑hour, neon, or dramatic rim lighting while preserving subject and composition. Follow the step-by-step workflows to get market-ready variants in minutes instead of hours.
Quick Answer
How do you use seasonal photo relighting to make phone product photos look like golden‑hour or studio shots? Use an AI relighting tool to add a chosen lighting style (golden hour, studio, neon, rim light) while preserving the subject and resolution. Apply a preset, tweak color temperature and shadow strength, then export variants for ad tests.
Why does lighting (especially golden-hour and seasonal moods) matter for ecommerce conversions?
Good lighting communicates context and quality at a glance. In most cases, lifestyle and golden‑hour imagery make products feel usable and aspirational — and that usually increases engagement. For example, 78% of online buyers say they prefer product images that show products in real-life settings, which makes lifestyle and seasonal lighting a direct revenue lever. High-quality images can also boost conversions substantially: industry summaries report up to ~94% higher conversion when premium imagery replaces low-quality photos.
Practically, golden‑hour light adds warm directional color, soft shadows, and slight haze that signals sunrise/sunset moments. Seasonal lighting (autumnal amber, winter cool whites, holiday twinkle) sets mood and helps creative match campaign themes. If your paid ads and product pages show the same SKU in both flat catalog light and a warm lifestyle shot, the lifestyle variant will often drive higher CTR and better post-click engagement because it answers the buyer’s question: “How will I use this?”
How does AI relighting work: the tech that turns one photo into many lighting moods?
AI relighting uses image-aware models to modify the apparent light source(s) and color of a photo while keeping the subject and composition intact. In short: the model analyzes geometry, surface normals, and tonal mapping, then applies a lighting transform (color temperature, directional shadows, rim highlights, atmospheric haze) consistent with the scene. This usually works best on single-subject product or lifestyle images shot on neutral backgrounds or simple scenes.
These tools typically offer presets (golden hour, studio, neon, rim light) and sliders for strength, warmth, and shadow softness. AI relighting can reliably fix flat light, add warm golden‑hour casts, create soft rim light for separation, and introduce subtle haze suitable for beach or sunset looks — all without rebuilding the scene. Industry benchmarks suggest AI workflows cut per-image production time dramatically (from ~45 minutes to under 6 minutes in many cases), which matters if you need dozens or hundreds of variants rapidly.

Workflow A — Example: How do you convert a phone product shot to golden hour for lifestyle ads (step-by-step)?
Short answer: pick a clean phone image, select a golden‑hour preset, dial warmth + shadow direction, add subtle haze, then export high-resolution variants for A/B tests. Below is a copyable workflow you can run now.
Detailed step-by-step workflow (copy prompts and settings):
1) Pick your source: a phone photo with the product centered or slightly off-center, minimal clutter, and a neutral background. Crop to your final aspect (1:1 for Instagram, 4:5 for feed, 16:9 for video thumbnails).
2) Preset: choose Golden‑Hour / Sunrise or "Warm Directional". If using an editor with sliders, set Warmth +40 to +60, Shadow Direction: 45° from top-right, Shadow Strength: 35%.
3) Atmosphere: add Light Haze +10–20% to simulate sun diffusion at low angle.
4) Rim light: increase Rim Strength +10 for subtle separation from the background.
5) Color grading: add a slight orange boost to midtones (+8) and reduce highlights blue by −6.
6) Sharpening and export: keep original resolution, apply light sharpening +5, export as sRGB JPEG for web and a 1:1 PNG or TIFF at original resolution for archive.
Example prompt you can paste into an AI relight field or assistant:
"Apply Golden Hour preset: warm temperature +50, shadow direction top-right, shadow strength 35%, light haze 15%, rim light 10%, midtone orange +8. Preserve original composition and resolution. Output sRGB JPEG and PNG archive."
Expected result: a warm, directional image with soft shadows and a slight haze that reads as early evening or sunrise. Use this variant in lifestyle-focused ads and landing hero blocks.
Workflow B — How do you add studio or dramatic rim lighting for hero/product-pack shots (step-by-step)?
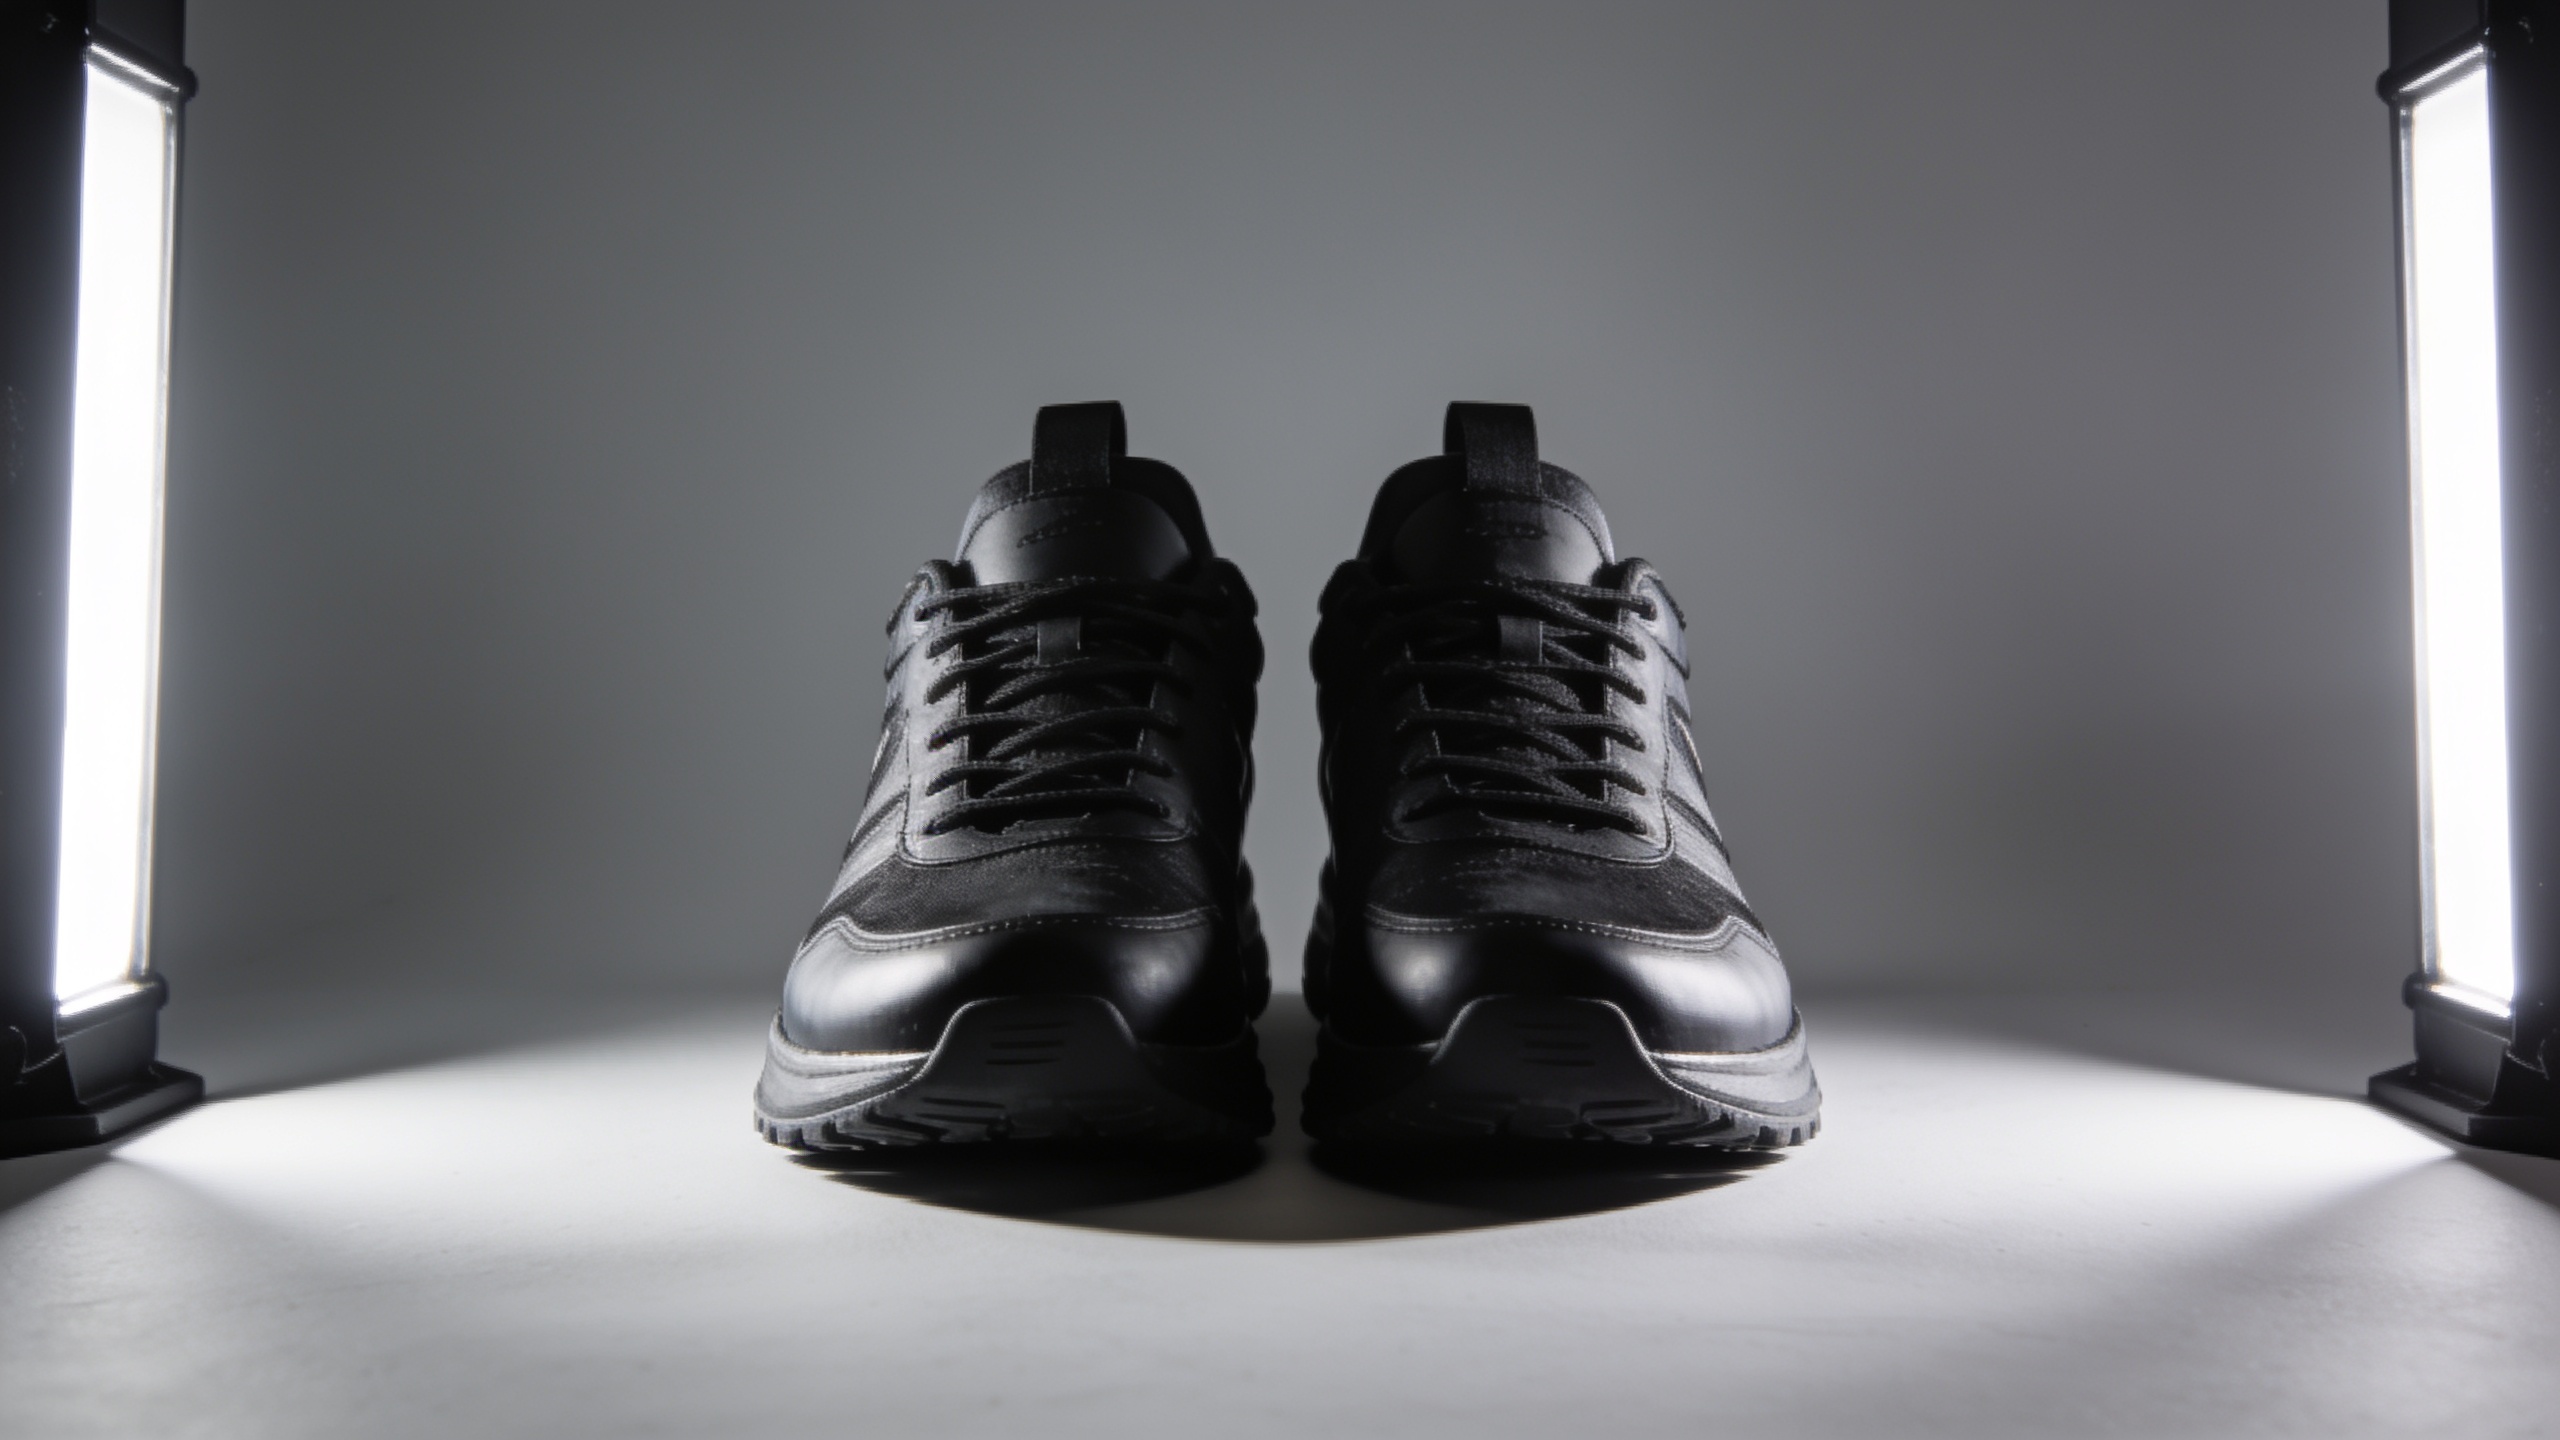
Short answer: start with a clean flat shot, choose a studio or dramatic rim preset, place virtual key light and rim light, increase contrast and micro-shadows, then export hero-ready images. This approach is ideal for hero banners, pack shots, and product pages.
Step-by-step practical workflow:
1) Source image: a phone shot on a plain or lightly textured background works best. If background is busy, isolate the subject with a quick mask.
2) Preset: select Studio Softbox or Dramatic Rim. If sliders are available, Key Light Intensity: 60–75%, Fill Light: 15–25% (low), Rim Light Intensity: 25–40%.
3) Shadow sculpting: increase shadow contrast +12 to add depth. Use Shadow Softness to keep edges from hard-clipping.
4) Color: neutralize any color casts from the phone capture (remove green or magenta) and keep white balance at ~5500K for studio. For dramatic scenes, cool highlights by −4 and warm shadows by +6.
5) Separation: if the tool preserves subject and composition, add background vignette −10 to direct eye to product.
6) Export: output at original resolution for hero images and create a web-optimized copy (WebP or progressive JPEG) for fast loading.
Prompt example:
"Apply Studio Softbox preset: key 70%, fill 20%, rim 30%, shadow contrast +12, neutral white balance 5500K, slight vignette −10. Preserve subject and composition."
Expected result: a high‑contrast hero shot with crisp edges and a polished studio look suitable for homepage hero areas and product thumbnails.
Creative tests and KPIs: how do you measure whether relit images move CTR, CVR and returns?
Short answer: run controlled A/B tests across ad and listing placements, track CTR, add‑to‑cart rate, CVR (purchase rate), and return rates. Compare the relit variant against the control (original phone image) across the same audience and time window.
How to structure tests and which KPIs to watch:
- Ad CTR: run the relit image as an ad creative against the control. A meaningful uplift is often in the low single-digit percentage points, but even small lifts can scale with ad spend.
- Landing page CVR: show the relit hero on product pages and measure add-to-cart and purchase conversion rate. Use analytics to ensure traffic source parity.
- Return rate: monitor returns and quality complaints for images that significantly alter perceived color or size. Better lighting typically reduces returns caused by perceived quality issues.
- Time-to-launch and cost: measure production time per variant and compare to reshoot costs. Industry reporting shows AI-assisted pipelines can drop image production time from ~45 minutes to under 6 minutes, improving throughput for seasonal campaigns.
Practical test tips:
- Run incremental tests: first ad CTR, then landing CVR, then full-funnel revenue impact.
- Keep copy and CTA identical between variants so only imagery changes.
- Segment results by device and placement — golden‑hour lifestyle images often outperform on mobile social placements.
Collecting these KPIs will tell you whether seasonal relighting is a revenue-positive production step for your catalog.

What are best practices, pitfalls, and when should you use GoCrazyAI AI Image Relighting for production?
Short answer: use relighting for mood, separation, and seasonal campaigns, but avoid large changes to product color or form. Test for color accuracy and returns, and use GoCrazyAI AI Image Relighting when you need fast, high-resolution presets that preserve subject and composition.
Best practices:
- Preserve true product color for commerce-critical views (use relit images for lifestyle and ads, and keep a color-accurate main product image).
- Batch-process a set of consistent images with the same preset to maintain catalog cohesion.
- Export at original resolution to keep hero and zoom performance intact (relighting tools that preserve resolution are preferred).
Common pitfalls and how to avoid them:
1) Overcooking the effect: extreme warmth or heavy haze can misrepresent the product. Avoid by dialing strength in 10% increments and comparing with the original. 2) Color mismatch across SKUs: if you relight multiple color variants, check that the model doesn’t shift hues differently. Always preview all SKUs before publishing. 3) Using relit images as the only reference: keep a color-accurate studio shot for size/color claims; use relit versions for marketing only.
When to use GoCrazyAI AI Image Relighting:
GoCrazyAI AI Image Relighting is useful when you need to apply studio, golden‑hour, neon, or rim lighting quickly while preserving the subject and original resolution. It offers multiple professional lighting presets and is built for photographers and marketers refining product photos — ideal for seasonal catalog updates and ad creative runs. Try the GoCrazyAI AI Image Relighting AI Image Relighting tool to apply a lighting style and export variants without reshoots.
Related resources: use an AI image generator to create complementary backgrounds or set elements when you need new scenes — try the GoCrazyAI AI image generator for visual assets and mockups[/ai-image-generator] and review pricing and credits before large batch runs on the GoCrazyAI Pricing page[/credits].
Frequently Asked Questions
What kinds of phone photos work best for relighting?
Simple scenes with one clear subject, clean backgrounds, and minimal motion blur respond best. Slightly underexposed or flat photos are ideal because relighting adds depth and color without forcing reconstruction.
Will relighting change my product color and cause returns?
Relighting can alter perceived color if applied aggressively. For commerce-critical images, keep one color-accurate view and use relit images for ads and lifestyle placements. Always preview SKUs to check hue shifts.
How fast can I produce a seasonal set for a product line?
With an AI relighting pipeline you can often create multiple variants in minutes per image. Industry benchmarks show AI workflows reducing production time from ~45 minutes to under 6 minutes per asset in many cases.
Conclusion
Final thoughts: seasonal photo relighting is a low-cost way to expand your creative library and test what lighting resonates with buyers. Use golden‑hour and lifestyle variants for ads and hero blocks, keep a color-accurate product shot for technical listings, and run simple A/B tests to confirm impact. If you need presets that preserve composition and output at original resolution, try the GoCrazyAI AI Image Relighting AI Image Relighting tool to speed weekday production and seasonal campaigns.
Sources
- Lifestyle Product Photography: How to Create In-Context Shots That Convert (Photta)photta.app ↗
- AI Photos That Convert: Ecommerce Guide 2026 (Rewarx)rewarx.com ↗
- Golden hour photography tips (Adobe)adobe.com ↗
- AI Relight feature coverage (Techscribe / PhotoRoom coverage)techscribe.in ↗
- AI Relighting for product photos (Macks AI)macks.ai ↗
- Optimize Product Photography with Natural Light for CRO (CRO.media)cro.media ↗
- How to Take Product Photos Without a Studio (SellHound guide)sellhound.com ↗
- Holiday Product Photography: Prepare Your Catalog for Q4 Without Reshooting (Nightjar)nightjar.so ↗