


Image Upscaler 8K: How to make print-ready 4K/8K images that convert
Practical guide to turn low-res photos and AI images into print-ready 4K/8K assets. Step-by-step settings, prompts, and why GoCrazyAI Image Upscaler fits ecommerce needs.
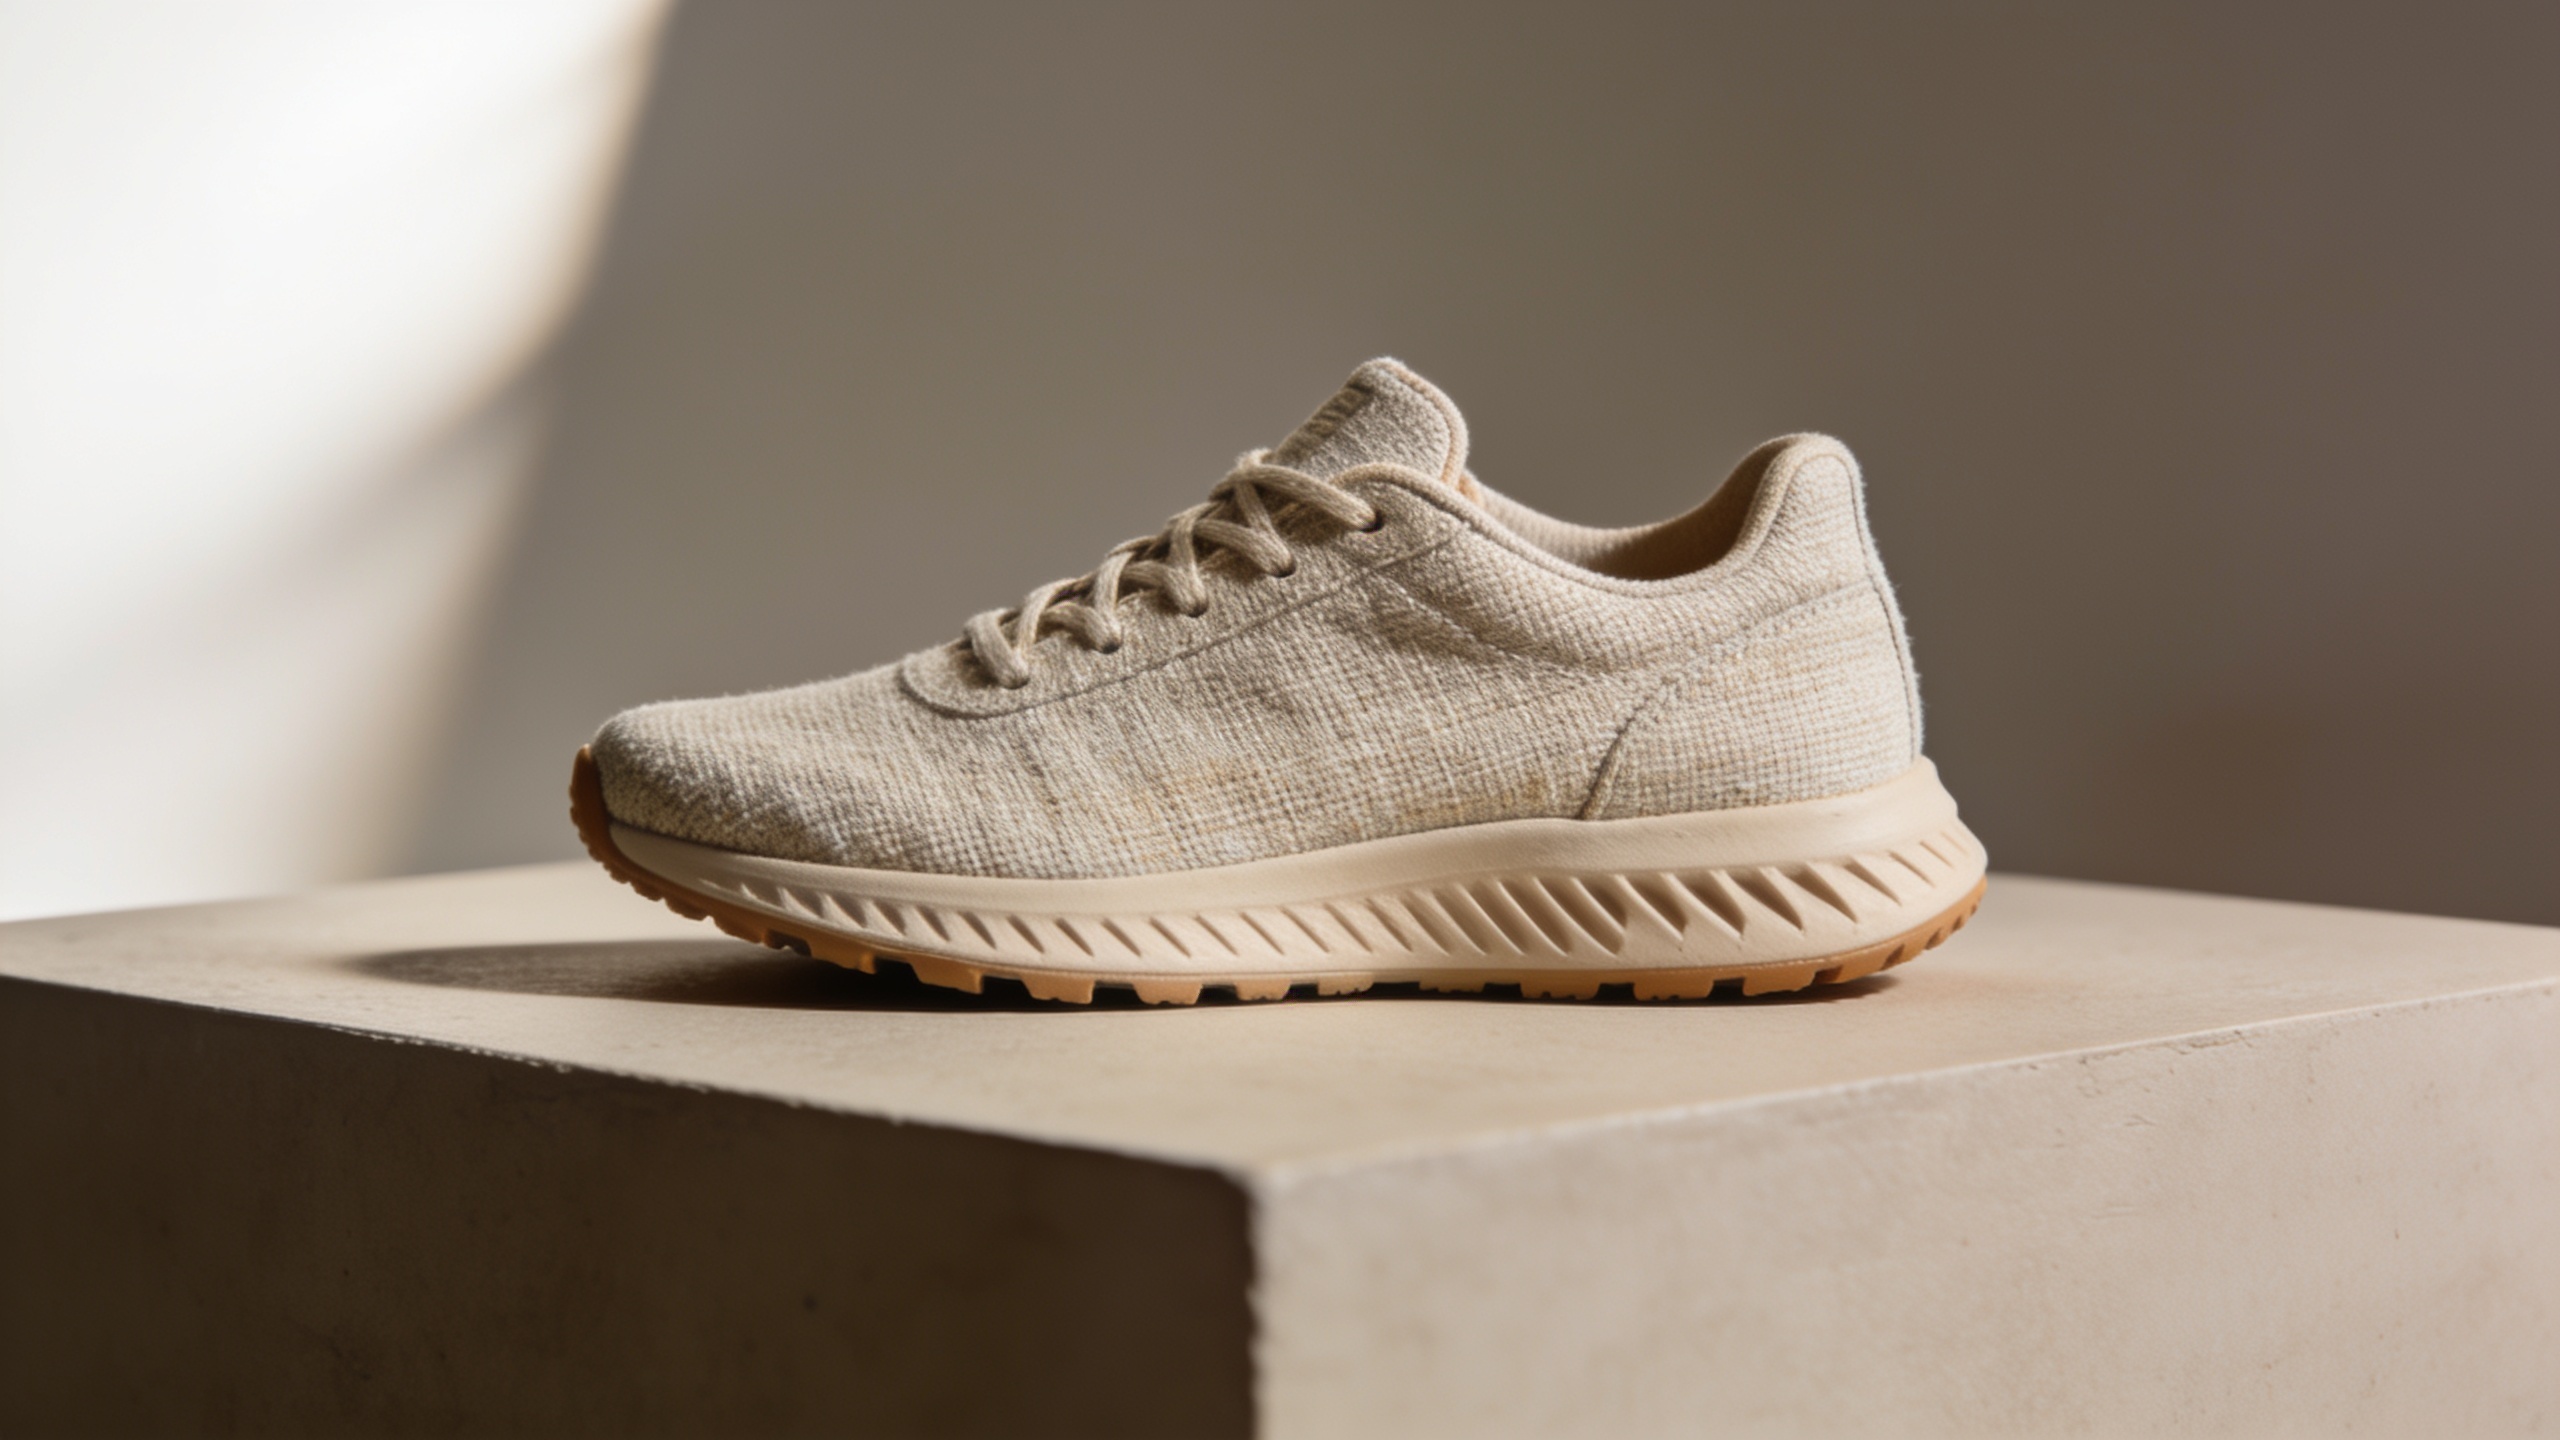
Low-resolution product photos and compressed AI images cost clicks and conversions. This guide gives e-commerce teams, photographers, and creators a repeatable workflow to upscale phone photos and AI thumbnails into crisp 4K or 8K assets ready for web zoom and print. You’ll get concrete steps, export targets (pixels and DPI), example settings, and prompt lines you can copy-and-paste. I’ll also explain what modern upscalers can — and can’t — do, plus the common mistakes that wreck prints so you avoid them. Where helpful, I show a practical GoCrazyAI Image Upscaler workflow for no-watermark exports to 4K/8K.
Quick Answer
How do you use an image upscaler 8K to create print-ready files? Upscale with a good SISR model to reach the target pixel count for your print DPI (e.g., 7680×4320 for 8K). Prepare the source (clean, denoise, correct color), choose a detail-preserving + artifact cleanup mode, run 4× or 8× as needed, then proof at 100% and export TIFF or high-quality JPEG. Use batch mode for ecommerce catalogs.
Why image resolution matters for ecommerce, thumbnails, and print (and when upscaling is the right move)?
You need enough pixels for zoom and print: if customers can’t zoom into a product or a thumbnail looks soft on large displays, conversions drop. Low-quality images and insufficient zoomability are common causes of product abandonment on ecommerce sites, so planning resolution is part of UX and CRO. Upscaling is the right move when the original image has correct composition and subject detail but lacks pixels — for example, a well-lit phone photo or a compressed supplier image. It is not a reliable fix if the photo is heavily blurred, badly exposed, or contains wrong composition; in those cases reshooting or regenerating may be faster.
- Tip: Measure the target pixel count from your final use: product zoom on a site may only need a 2–3× upscale; a poster print needs many more pixels. Use 300 ppi for close-view prints and lower DPI for large-format prints viewed from afar.
- Quick planning rule: choose target pixels first, then pick an upscaling factor. If you need ~7200×10800 for a 24×36" poster at 300 dpi, start from that target and work backward to find the scale factor you need.
How modern AI upscalers work — what to expect from 4x, 8x, perceptual enhancement, and common pitfalls?
Modern single-image super-resolution (SISR) models synthesize plausible detail while preserving overall structure. Typical approaches (ESRGAN/Real-ESRGAN, EDSR and related GAN-based models) deliver perceptually convincing 2–4× upscales; beyond that, results can be acceptable but risk artifacts if the model guesses texture aggressively. Expect trade-offs: aggressive detail modes may sharpen fabric and hair but create hallucinated edges, while noise-suppression modes can smudge fine patterns.
Common pitfalls and how they arise:
- Hallucinated textures: GAN-based upscalers invent detail that looks plausible but may misrepresent brand textures. Avoid aggressive 'detail' only modes for product-critical surfaces.
- Ringing and edge halos: Strong sharpening after upscaling can produce halos around high-contrast edges. Use moderate sharpening and inspect at 100%.
- Noise amplification: Upscaling raw compressed JPEGs without denoising often magnifies compression blocks. Run compression cleanup first.
For ecommerce and print, pick an upscaler that offers multiple modes (detail-preserve, denoise, face-enhance) and a preview at 100% so you can compare results — differences between tools become pronounced at 4×–8× scale.
Workflow: Prepare any phone photo or compressed product image for crisp 4K/8K printing (step-by-step) — example: make print-ready photos
Short answer: clean the source, set the target pixel count from desired DPI and size, denoise/compression-fix, upscale in controlled steps, proof at 100%, and export in a print-friendly format.
Below is a reproducible workflow you can copy for a phone photo you want to print at A1 (~42×59 cm) at 300 ppi (target ~4961×6949 pixels). If source is 12MP (4000×3000) you’ll need about a 1.6×–2× upscale; if smaller, combine denoise + 2× then 1.5× where supported.
1) Determine target pixels
- Use: final size × desired DPI. For A1 at 300 ppi, target ≈ 4961×6949.
2) Clean and correct in an editor
- Crop to final aspect ratio to avoid wasting pixels.
- Correct exposure and white balance; remove major blemishes.
3) Denoise & artifact cleanup
- Run a dedicated compression-cleanup or denoise pass. This prevents JPEG blocks from being upscaled.
4) Upscale in stages when possible
- Prefer 2× then 1.5× (or a single 4× if the tool is proven). Staged upscales can yield fewer artifacts.
5) Choose enhancement mode
- Use "detail-preserve" for textured fabrics and "noise-suppression" for highly compressed images. Preview at 100%.
6) Proof at 100% and soft-proof for print
- Inspect hair, fabric threads, and label text at 100% zoom.
- Export as TIFF or high-quality JPEG (95–100%) depending on printer requirements.
Example prompt lines / settings (copyable):
"Target size: 4961×6949 px; DPI: 300; workflow: denoise -> 2× upscale (detail-preserve) -> 1.5× upscale (artifact-clean) -> output TIFF"
"Source: phone-4000x3000.jpg; Preprocess: crop 42x59cm ratio; Denoise: medium; Upscale: 2x detail, then 1.5x artifact-clean; Output: TIFF, LZW compression"
- Final check: open the exported file at 100% in your proofing app and zoom to the areas users inspect most (stitched seams, labels, logos). If texture looks overstated, rerun with less aggressive detail.
Workflow: Sharpen and upscale AI-generated thumbnails to 4K for YouTube and marketplaces (step-by-step) — use case: sharpen AI images?
Short answer: start with the highest-resolution generator output you can, denoise or relight as needed, use a face-enhance or detail-preserve mode for thumbnails, upscale to 4K (3840×2160), then apply restrained sharpening and export PNG/JPEG for web.
Step-by-step reproducible flow for an AI-generated thumbnail (example target: 3840×2160):
1) Regenerate or crop source to final aspect ratio
- If you generated at 1024×1024, crop to 16:9 before upscale to maintain composition.
2) Relight / color-correct if needed
- Minor relighting fixes can prevent blown highlights after sharpening. Consider using an AI relight pass first.
3) Denoise or artifact-clean
- Some generative models output subtle pattern noise; run a light artifact cleanup.
4) Upscale to 2× or 4× depending on source
- From 1024: 4× to reach 4096×4096 then crop to 3840×2160, or 2× to 2048 then 2× again for 4096 and crop.
5) Face or subject enhancement
- If the thumbnail contains a face, apply face-enhance mode to keep skin natural while sharpening details in eyes and hair.
6) Final sharpening and export
- Apply subtle unsharp mask (amount 10–25%, radius 0.8–1.2px) rather than aggressive clarity filters. Export as high-quality JPEG or PNG.
Example settings you can paste into an upscaler task:
"Source: ai-thumb-1024x1024.png; Preprocess: crop 16:9; Clean: low artifact; Upscale: 4x (face-enhance); Sharpen: light; Output: 3840x2160 JPEG, quality 92"
If you create many thumbnails, batch the process and keep a consistent sharpening profile to match marketplace compression behavior.
Choosing the right upscaler: quality, speed, batch workflow, and why GoCrazyAI Image Upscaler fits these needs
Short answer: pick an upscaler that outputs the pixels you need (up to 8K), offers multiple enhancement modes, removes compression artifacts, supports batch exports, and produces no-watermark files—those factors matter for ecommerce throughput and print quality. GoCrazyAI Image Upscaler meets those criteria with up to 8K output, detail restoration, compression cleanup, and no-watermark exports.
Why those features matter in practice:
- Multiple modes: Textile, face, and noise-suppression modes let you pick the right balance of sharpness and realism for product shots or AI thumbnails. Reviews show the difference in texture handling grows at 4×–8× scales.
- Batch processing: Ecommerce teams often need to process hundreds of SKUs. A batch workflow with presets (denoise + 2× + detail) saves hours.
- No watermark: Exports without watermarks are required for product pages and print proofs.
- Output up to 8K: This allows printing up to large sizes at decent DPI or producing high-res hero images.
How to run a practical GoCrazyAI pass (quick):
1) Open the GoCrazyAI Image Upscaler and upload the crop you prepared. 2) Choose preset: "Ecommerce poster — denoise + detail". Set target pixels (e.g., 7680×4320 for 8K) or pick 4×/8×. 3) Preview at 100% and toggle detail vs. artifact-clean modes. 4) Export as TIFF or high-quality JPEG with no watermark.
If you need to create on-brand AI images before upscaling, consider generating base art with the GoCrazyAI AI Image Generator and then upscaling the final frames. For budgeting and team onboarding, check GoCrazyAI Pricing on the GoCrazyAI Pricing page to understand credits and plans for batch jobs (/credits).
Frequently Asked Questions
What pixel dimensions do I need for an 8K print?
8K resolution commonly refers to 7680×4320 pixels. At 300 ppi this prints up to roughly A1 size for close viewing; larger prints can use lower DPI depending on viewing distance. Always calculate target pixels from final size × DPI.
Can upscalers remove heavy blur or out-of-focus shots?
No — most SISR models improve sharpness and restore details from reasonably focused images. Heavily blurred or motion-blurred photos usually require a reshoot or specialized deblur tools; upscaling alone will not reliably reconstruct lost scene information.
Is 8× upscaling safe for product textures?
8× can produce usable results, but artifact risk rises. Use modes that prioritize artifact cleanup and inspect at 100%—for product-critical textures, compare several modes and prefer staged upscales or conservative enhancement.
What file format should I export for print?
Export TIFF (LZW) for maximum quality and color fidelity if your printer accepts it. High-quality JPEG (95–100%) is acceptable for many print shops; confirm their specs before finalizing.
Conclusion
Final thoughts: always plan the pixel target from the final print or display size, clean and denoise the source first, and use staged upscaling and conservative sharpening for product images. For teams, pick a tool that supports multiple modes, batch jobs, and no-watermark exports so proofs and catalog images are production-ready. Drop your image into the AI Image Upscaler and pull a 4K version in seconds.
Sources
- Ensure Sufficient Image Resolution and Zoom – Baymard Institutebaymard.com ↗
- Print resolution for images in Photoshop – Adobe HelpXhelpx.adobe.com ↗
- 8K Images for Print – Stockflow Helphelp.stockflow.media ↗
- ESRGAN: Enhanced Super-Resolution Generative Adversarial Networks – arXiv (2018)arxiv.org ↗
- Real-ESRGAN: Training Real-World Blind Super-Resolution with Pure Synthetic Data – arXivarxiv.org ↗
- Best AI Image Upscaler 2026: 7 Compared (TrexPicks review)trexpicks.com ↗
- Print Resolution & DPI Chart: Max Print Size by Megapixels (Austin Gallery)austingallery.org ↗
- A comparative analysis of SRGAN models – arXivarxiv.org ↗