


Image to video product photos: turn one still into vertical ads and demo loops
Step-by-step guide to turn a single product photo into high-converting 9:16 hooks and landing-page demo loops using Kling, Veo, and Sora on GoCrazyAI.
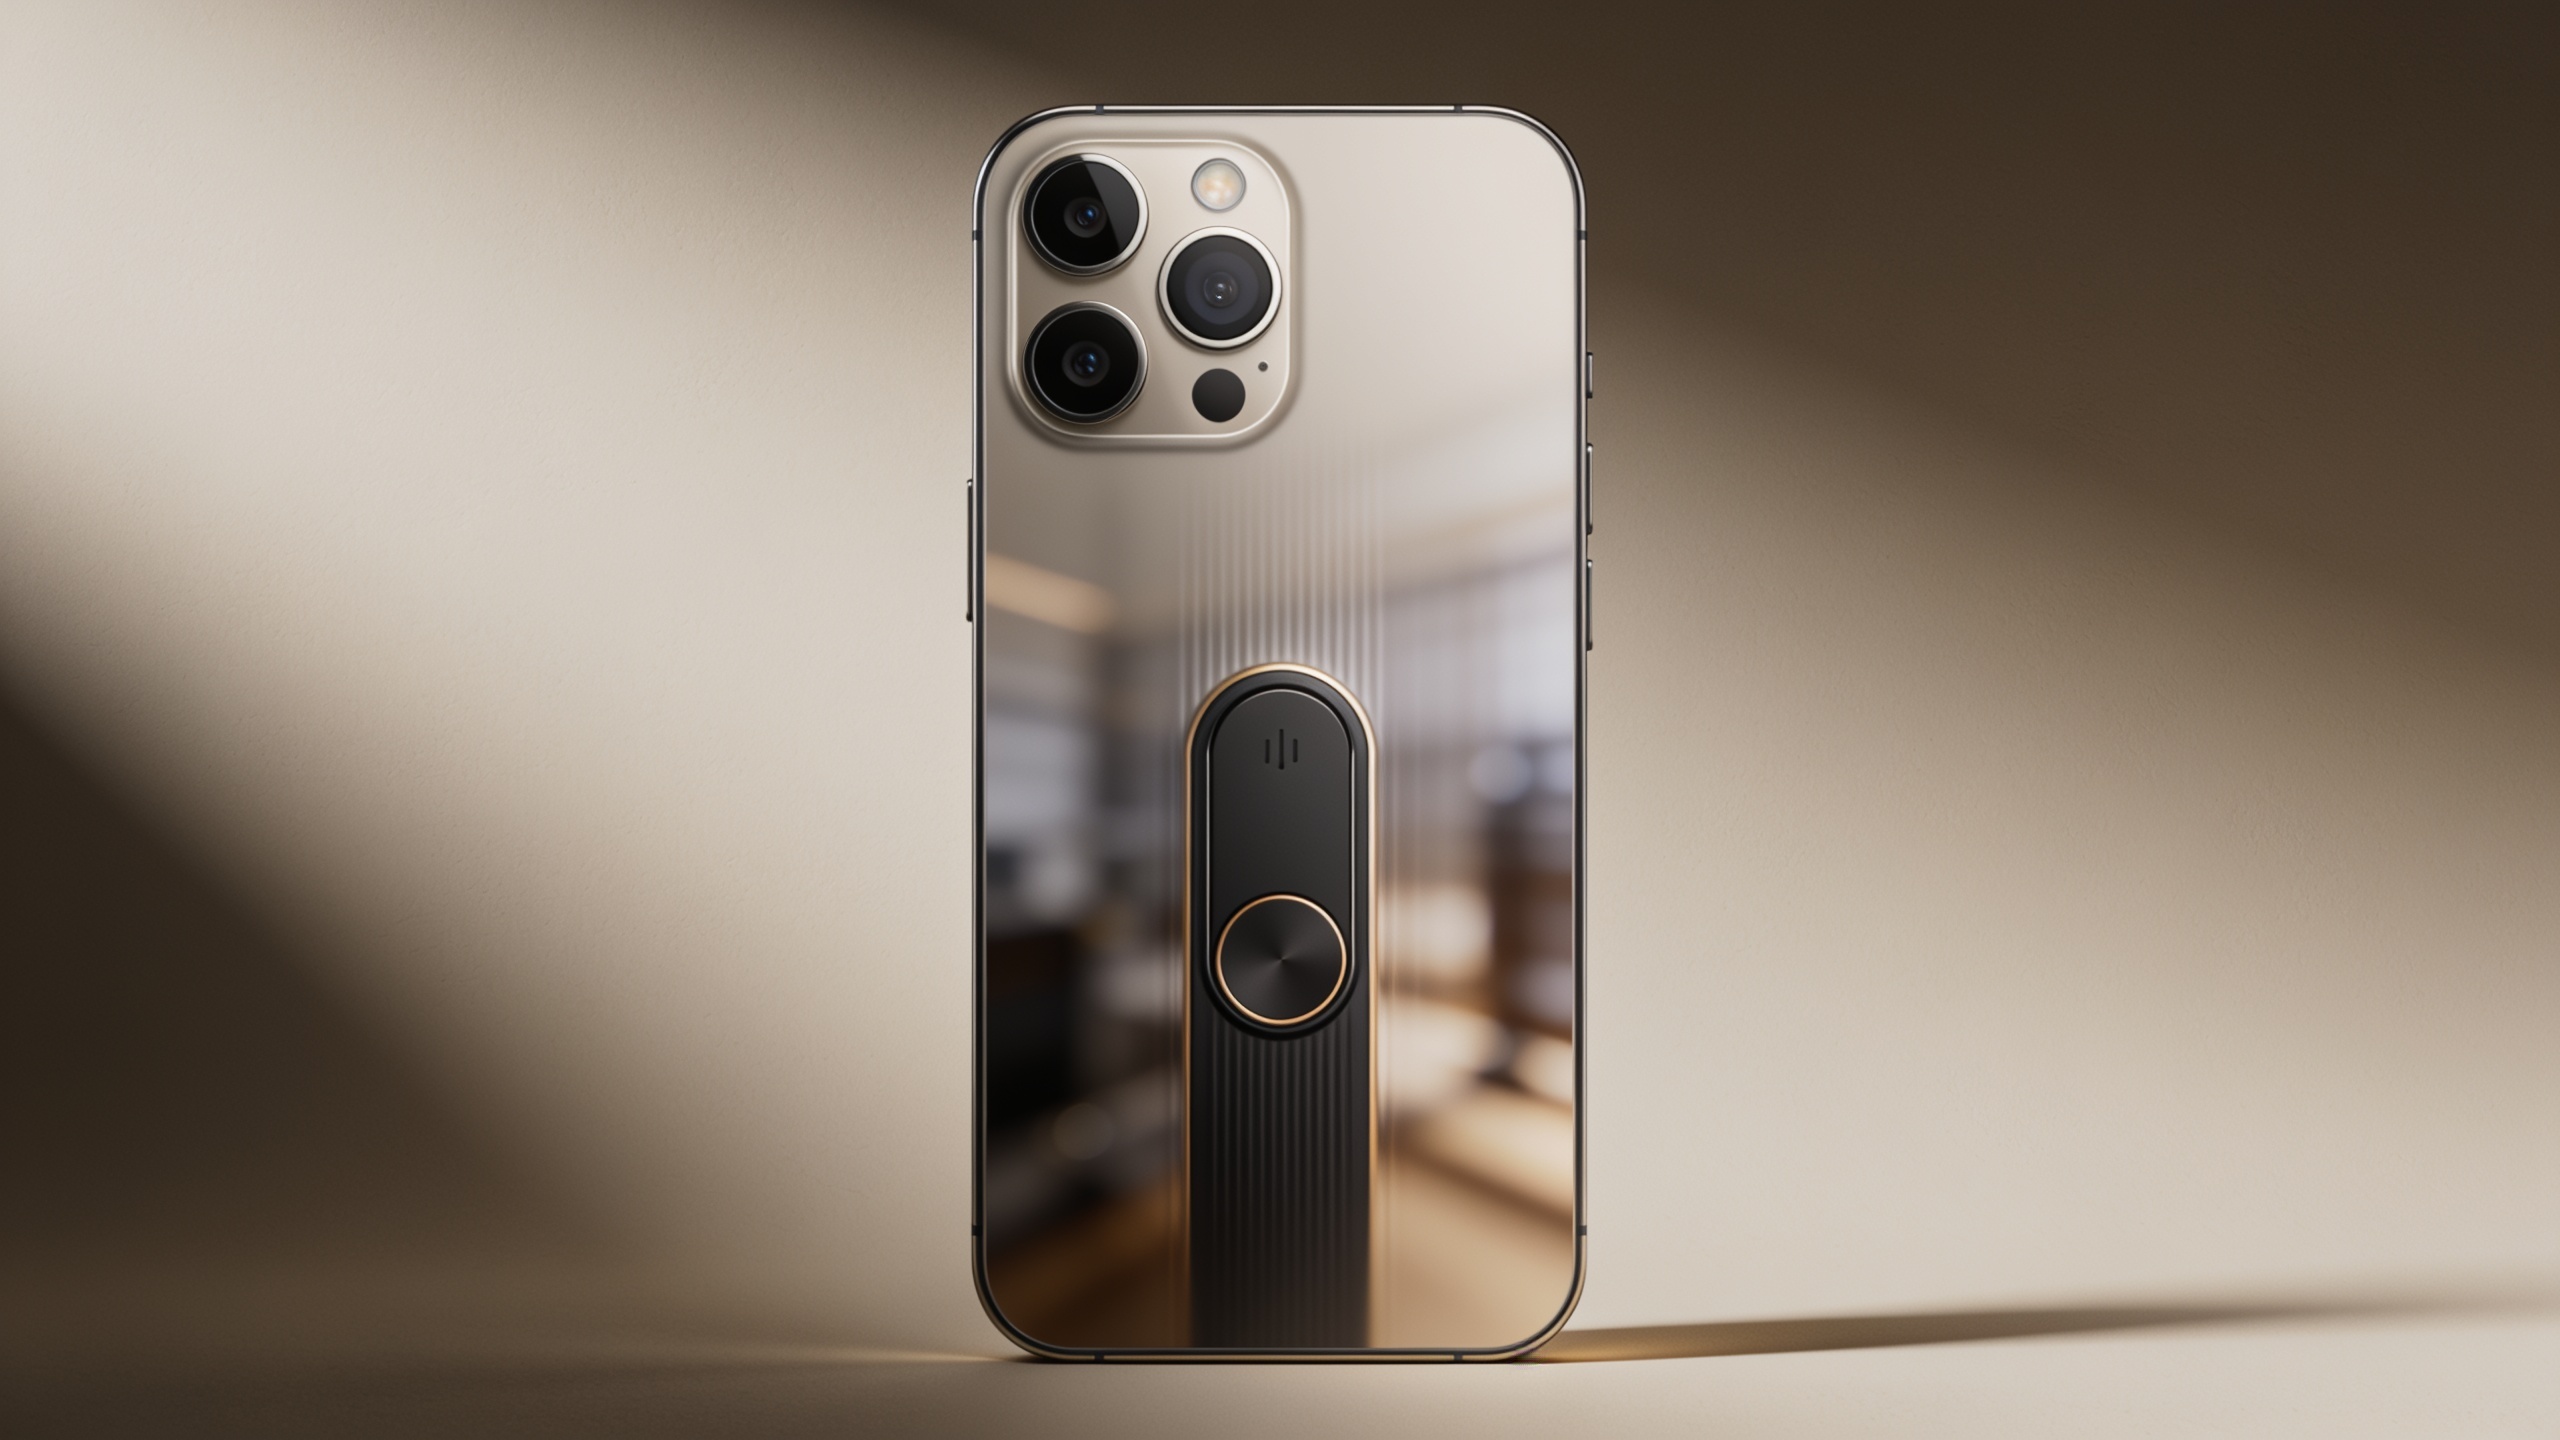
You have one great product photo and need a vertical ad or a landing-page demo—fast. This guide shows how to turn that single still into 6–15s TikTok/Reels hooks and looping product demos using image-to-video) models (Kling 2.5 Turbo Pro, Veo 3.1, Sora 2). You'll get model-selection rules, step‑by‑step prompts and exact export settings for 9:16 and 16:9 outputs, plus practical A/B test ideas.
Follow the two hands-on workflows for quick hooks and longer demo loops, learn which model to pick for speed vs physics vs audio, and see how to scale one winning image into dozens of variants. If you want to run these steps inside GoCrazyAI, there's a dedicated walkthrough here too.
Quick Answer
How do you turn a product photo into a vertical ad or demo? Use an image-to-video model to animate the photo with a short camera move, add a punchy headline and aligned music, and export in 9:16 for TikTok/Reels. For fast iterations pick Kling 2.5 Turbo Pro; for richer physics and native audio use Veo 3.1. Use the GoCrazyAI AI Video Generator to run these models and output ready-to-publish clips.
Why image-to-video is now the fastest path from a product photo to a TikTok- or landing-page-converting video?
Image-to-video lets you create short ads and demo loops from existing photos without a camera crew or editor. In one pass you add motion, camera moves, and timing to an asset you already own, and export directly to platform aspect ratios. This saves production time and cost and matches how creator teams now work: an Agent Opus study found “97.5% of all AI videos created on Agent Opus include image assets — with an average of 13.7 images per video,” which shows image-first workflows are standard for AI video pipelines (Agent Opus research).
Practical impact: you can produce dozens of short variations for A/B tests from a single shoot. Instead of hiring a full editor for every cut, you iterate on camera moves, headline overlay, and music timing inside an image-to-video tool. That makes image-to-video the fastest route from a product photo to platform-ready creative for TikTok, Reels, and landing-page loops.
Why this matters for conversions: short hooks (6–15s) with a clear product shot, tight camera motion, and a headline tailored for mobile usually increase early engagement. Matching aspect ratio and avoiding heavy crop artifacts preserves product detail—something many guides recommend as a best practice (see Reelmation on aspect ratios and re-cropping).
Choosing the right model and style (Kling 2.5 Turbo Pro vs Veo 3.1 vs Sora 2) for product photos?
For product photos, model choice depends on speed, fidelity, and whether you need native audio or realistic physics. Kling 2.5 Turbo Pro usually gives the fastest turnaround and solid image-to-video fidelity for short loops, making it a go-to for rapid A/B iterations. Review roundups and model notes commonly list Kling variants for image-to-video strengths.
Veo 3.1 is often a better pick when you need stricter prompt adherence, integrated native audio, or longer continuous shots—useful for tutorial openers where sound design and product interactions matter. Sora 2 tends to excel at cinematic, text-driven outputs and stylized motion; it’s a solid choice when you want polished story-style openers or hero loops with dramatic framing (Tom’s Guide and TechRadar coverage compare these strengths).
Quick decision table:
- Kling 2.5 Turbo Pro: fastest generation, reliable image-to-video quality, best for 6–12s hooks.
- Veo 3.1: stronger physics and native audio, better for 12–30s tutorial openers and interactive demos.
- Sora 2: cinematic text-to-video strengths, ideal for hero loops and brand storytelling.
Match model to objective: use Kling for high-volume hook testing, Veo when you want integrated audio and realistic product interactions, and Sora for high-polish hero clips.
Workflow A — Create a vertical product hook from one still image (example, hands-on, step-by-step with GoCrazyAI AI Video Generator)
A vertical hook turns a single product photo into a 6–12s clip with a camera move, headline, and beat-aligned music. Start by choosing Kling 2.5 Turbo Pro for speed; use Veo only if you need native audio or complex physics.
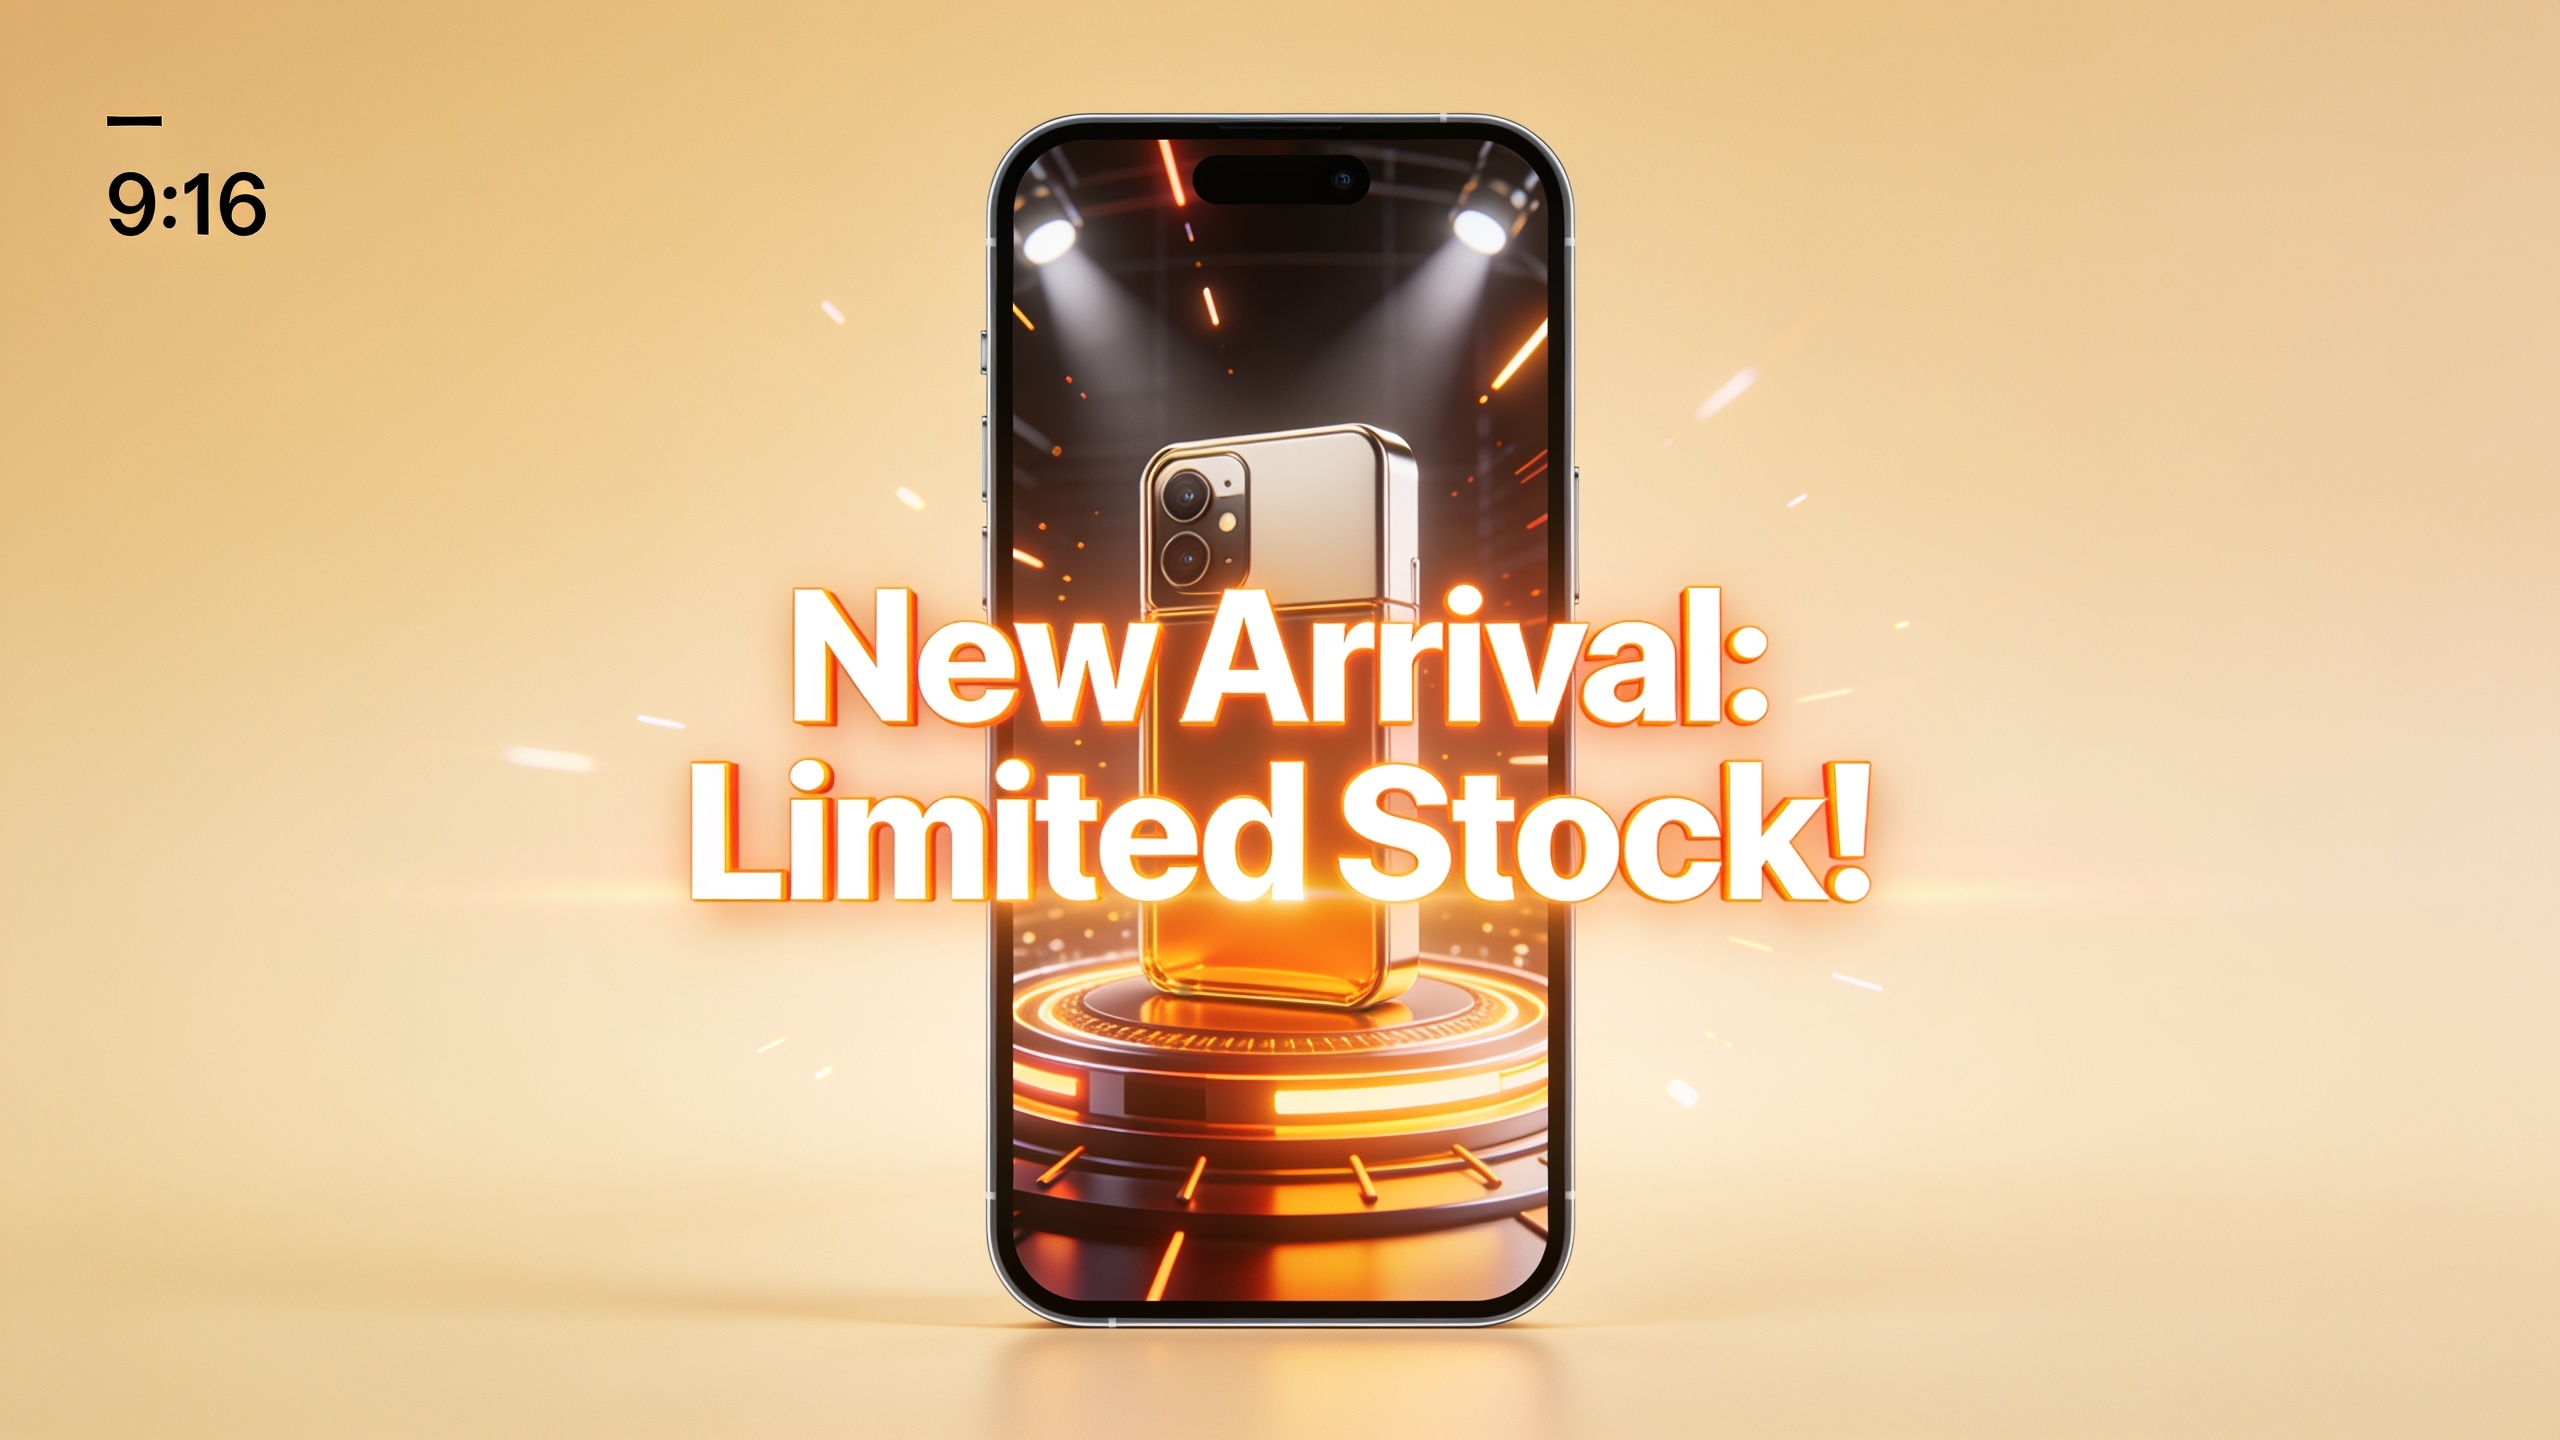
Short, extractable answer (40–80 words): To make a vertical hook from one still, animate the photo with a short parallax or dolly-in move, add a 1–3 word headline overlay on frame 0–1, and sync a 6–12s music loop to the main beat. Export in 9:16 at 1080×1920. This format usually performs well as a TikTok/Reels opener.
Step-by-step hands-on (practical settings and prompts): 1) Prepare the image: crop or pad to 9:16 at 1080×1920. If original is lower-res, upscale first (/image-upscaler can help). 2) Model & preset: choose Kling 2.5 Turbo Pro in the GoCrazyAI AI Video Generator and select "Image-to-Video — Vertical Hook" preset (or set framing to 9:16, duration 8s). 3) Prompt (place in prompt box): "Animate this product photo: gentle dolly-in (0.8x to 1.1x), subtle parallax on left-to-right, keep product centered, soft studio key light, ultra-clean background, cinematic 8-bit depth, no added people, no text in image. Mood: premium, playful, mobile ad."
4) Headline overlay: add text layer "Meet [PRODUCT NAME]" at 0.6s, bold sans, white text with 12% black shadow, safe margins 10%. 5) Music: choose an upbeat 120–130 BPM loop and align a hit on frame 0.5s and 3.5s (beat-alignment matters for shareability). 6) Render and iterate: generate 4 variants changing opening move (dolly-in, slight rotate, vertical rise, or lens zoom) and A/B test.
Expected outputs: four 8–12s 9:16 files with different camera openings. Use the GoCrazyAI Media Mixer (/ai-video-edit) to add subtitles and final trim before publishing.
You can try every step above directly in GoCrazyAI AI Video Generator — no setup needed.
Workflow B — Build an animated product-demo loop for landing pages and paid ads (hands-on, Step-by-step with GoCrazyAI)
A landing-page demo loop is usually 10–25s, often in 16:9 or 1:1, and focuses on functional movement—rotations, unboxing reveals, or product interactions. For these, Veo 3.1 is frequently the best choice because it handles physics and native audio cues well.
Short, extractable answer (40–80 words): To build a demo loop, animate the product with a slow 360° rotate or reveal, add staged close-ups at 4–7s, and loop the final 3 seconds for seamless hero replay. Export as 16:9 or 1:1 depending on your hero container. Use Veo 3.1 if you want integrated sound effects and longer continuous shots.
Step-by-step hands-on (practical settings and prompts): 1) Asset prep: crop to 16:9 at 1920×1080 or 1:1 at 1080×1080. Use /relight-image if you need a studio relight before animating. 2) Model & preset: select Veo 3.1 in the AI Video Generator and choose "Demo Loop — Smooth Rotate" preset, duration 18s, loop enabled. 3) Prompt (copy to prompt box): "Animate the product for a landing-page demo: slow 360° horizontal rotate over 12s, soft studio rim light, realistic shadow on surface, micro-bumps and cloth interaction if present, close-up crop to 70% frame at 9s, end with 3s seamless loop. Add subtle mechanical click SFX on reveal."
4) Native audio: enable Veo native audio track option and choose "soft mechanical click" + ambient trade-show pad at low volume. If you prefer custom music, export video and use the AI Music Generator (/ai-music) to produce a tailored 20s track. 5) Loop test: ensure the final 3s matches start frames for seamless looping; re-render with small crossfade if needed. 6) Export settings: H.264, 1920×1080 (or 1080×1080), 30fps, 8–12 Mbps for web hero loops.
Expected outputs: an 18s demo with an automatically added click SFX and a 3s loop tail. Use GoCrazyAI Media Mixer (/ai-video-edit) to add captions or CTA overlays for ad variants.
Tips and common mistakes to optimize product photos, prompts, and aspect ratios for higher engagement and conversions
Keep the input image clean, high-res, and matched to target aspect ratio, and write concise prompts that specify camera moves, lighting, and motion amount. Avoid overcomplicated instructions that fight the model.
Short, extractable answer (40–80 words): Best practices are to start with the correct aspect ratio, use high-resolution clean backgrounds, give the model a single clear camera move, and align your music hits to key frames. Avoid asking for multiple complex interactions in one prompt; instead, create separate variants and iterate.
Common mistakes and how to avoid them: 1) Bad aspect ratio: feeding a square image for 9:16 causes crop artifacts. Avoid by pre-cropping or padding to 9:16 (tools: /image-upscaler and /relight-image). 2) Overloading the prompt: long multi-feature prompts can confuse models. Break requirements into one primary camera move + one lighting instruction + one style note. 3) Using low-res images: this creates blurring and artifacting when animated. Upscale before animating or reshoot at higher DPI. 4) Ignoring loop seams: for hero loops, failing to match start/end frames creates jarring jumps. Render a slightly overlapping crossfade or design the motion to settle into a repeated pose. 5) Not testing audio alignment: music beats drive engagement—align the opener and main product reveal to musical hits and test variants with different BPMs.
Practical prompt examples (safe, copyable): "Dolly-in 8s vertical hook: slow 1.05x zoom, subtle left-to-right parallax, bright studio key, product centered, minimal shadow, cinematic mobile ad mood." "Demo loop 18s: 360° horizontal rotate, realistic shadow on reflective surface, close-up at 9s, 3s loop tail, soft mechanical reveal SFX."
Following these tips typically reduces wasted renders and produces clips that perform better in A/B tests.
Measuring results and scaling templates: how to turn one winning image into 30 short-form variants?
Once a variant performs, scale by templating the camera move, headline, and music alignment, then batch-generate variations. Use metrics like CTR, view-through rate, and add-to-cart lift to decide what to scale.
Short, extractable answer (40–80 words): Convert one winning image into many variants by creating template prompts for camera moves, headline swaps, and music edits, then batch-render across Kling and Veo with small style tweaks. Prioritize tests of opening move, duration (6 vs 10 vs 15s), and headline copy; run parallel A/B tests and scale the types that lift CTR and conversion.
Scaling checklist and measurable levers:
- Template elements: camera-move, headline copy, color grade, music track. Keep one variable per test.
- Batch generation: use Kling for rapid mass renders of hook variants, then re-render winners in Veo for native audio or Sora for high-polish hero assets.
- Metrics to monitor: click-through rate (CTR), watch-to-end %, add-to-cart rate, and CPA for paid variants. Tag each render in your ad platform to correlate creative to conversions.
Practical batch plan (30 variants example): 1) Start with 5 camera openings (dolly, zoom, rotate, vertical rise, parallax). 2) Pair each with 3 headline variants (short benefit, feature name, social proof). 3) Render all 15 with 2 music BPM choices (30 total). Use Kling for the first pass to save credits, then reproduce top 6 in Veo for final polish.
Use GoCrazyAI credits info and pricing to plan costs; see GoCrazyAI Pricing (/credits) for credit tiers and value. For asset creation and retouching before batch runs, use the AI Image Generator (/ai-image-generator) to make on-brand variations and the AI Music Generator (/ai-music) for music options.
Frequently Asked Questions
What kind of product photo works best for image-to-video?
A clean, high-resolution image with a simple background usually works best. Photos shot on white or neutral backgrounds, with the product centered and minimal clutter, let models generate clean motion and realistic shadows. If needed, upscale or relight the image first to avoid blur and artifacts.
Which aspect ratio should I start with for TikTok ads?
Start with 9:16 (1080×1920) for TikTok and Reels hooks. Pre-cropping or padding your source photo to 9:16 reduces re-cropping artifacts and preserves product detail. For landing pages choose 16:9 or 1:1 depending on your hero container.
How many variants should I test before scaling?
Begin with 8–12 variants: 3–5 camera moves, 3 headline options, and 2 music tracks. Identify top performers by CTR and watch-to-end rate, then scale the best 3–4 concepts into 20–30 final variants.
Conclusion
Final thoughts: turning a single product photo into vertical hooks and landing-page demo loops is practical and repeatable with image-to-video models. Choose Kling for fast iteration, Veo for audio and richer physics, and Sora for cinematic hero treatments. Build templates for camera move, headline, and music so you can batch-generate variants and scale winners. Open the AI Video Generator to drop in a photo, pick a model, and ship your first clip.
Sources
- Image-to-Video AI research (Agent Opus) — image asset usage statopus.pro ↗
- Sora 2 vs Veo 3.1: tested comparison (Tom’s Guide)tomsguide.com ↗
- Veo 3.1 coverage and roadmap (TechRadar)techradar.com ↗
- Image to Video AI guide and best practices (Reelmation)reelmation.com ↗
- Kling / model notes and image-to-video strengths (AI Wiki / Kling AI)aiwiki.ai ↗
- Model roundups and comparisons (Vivix / VO3 AI / Slates)getvivix.com ↗