


How to create ad variations AI: fast vertical A/B tests from one product photo
How growth marketers can create dozens of vertical ad variations from a single product photo and run faster A/B tests using GoCrazyAI's AI Video Generator.

You need lots of vertical ad variations fast so you can find the one hook that converts — not one polished spot that may never get tested. This article shows exactly how performance marketers and e‑commerce founders can generate dozens of product-focused short-form video variants from a single photo, run statistically useful A/B tests, and iterate winners without a video editor. I'll cover measurement you should use, the micro-creative variables that move performance, a step‑by‑step 10‑minute GoCrazyAI workflow that turns one product photo into 12 vertical ads, how to set up platform split tests, quick post-generation edits, and a checklist for launch specs and safe zones. Along the way I'll include ready-to-copy prompts, test structures, and a case playbook you can run this afternoon. If you want to create ad variations AI-style and compress hours of production into minutes, this is the practical workflow to ship tests at scale.
Quick Answer
How do you create ad variations AI? Generate multiple vertical videos from one product photo with an image-to-video AI, vary hook frames, overlay text, and audio, then run split tests with short learning windows. Use platform-native metrics (CTR → view-through → conversions) and iterate winners. GoCrazyAI’s AI Video Generator can automate the image-to-video step and output 9:16 variants ready for testing.
Why do quantity and speed win for short‑form ad A/B tests, and what measurement should you use?
Quantity and speed win because short-form platforms reward early engagement and platform-native signals; you’ll usually learn more from testing many lightweight variants than from perfecting one expensive spot. Measure creative impact using a short funnel: initial hook CTR (first 1–3 seconds) → completed view or 3‑second view rate → conversion or add-to-cart. These stage metrics let you quickly eliminate weak hooks and prioritize variations that earn attention and action.
Early hook performance is especially important: platform guidance recommends vertical, full‑screen creative that hooks the viewer in the first 1–3 seconds for best results. TikTok’s own measurement work also shows platform-specific reach drives unique conversions, so native creative matters for incremental lift. Practically, run each creative long enough to reach a minimum of signal (platforms commonly recommend hundreds to low thousands of impressions per variant) and prefer relative lift in CTR/3‑sec view rate before optimizing for conversions.
How to put this in a test: prioritize the simplest metric that reflects your hypothesis. If your hypothesis is “hook A holds viewers longer,” use 3‑second view rate. If it’s “overlay CTA increases adds,” measure add-to-cart rate. Keep test windows short (3–7 days per learning phase) and rotate new variants frequently so the auction can surface winners without stale creative.
What creative variables matter for vertical ad testing?
Top variables to test are hook frame, headline overlay, audio/music, pacing, and framing/aspect-safe composition. Small changes to these elements often produce big performance differences, so isolate them when possible.
- Hook: The first 1–3 seconds. Test different openers — a close-up of the product, text question, or an action shot. Hooks commonly determine whether viewers swipe past. - Overlay text: Size, wording, and duration. Test caption-first frames vs. silent-first visual hooks. - Audio: Voiceover vs. licensed song vs. no-music. Music tempo often changes perceived pace and completion rate. - Pacing and loopability: Short, loopable demo clips tend to get higher rewatch rates. - Framing and safe zones: Keep important elements out of the bottom ~20% of vertical video to avoid being obscured by UI (thumbnails, captions, CTAs) — test variants with different safe framing.
Test single-variable hypotheses where possible: create 3–6 variants that only change audio, or only change overlay copy. Platform playbooks recommend multiple creative pieces per ad group and continuous iteration over weeks, which favors generating many low-cost variants quickly. Small micro-variations like a 0.5-second earlier text reveal or a different hook image can be high-leverage changes.
How do you go from 1 product photo to 12 vertical ad variations in 10 minutes with GoCrazyAI?
Yes — you can turn a single product photo into a dozen vertical ad-ready clips in about 10 minutes by batching image-to-video prompts, varying hooks, overlays, and audio, and exporting 9:16 outputs.
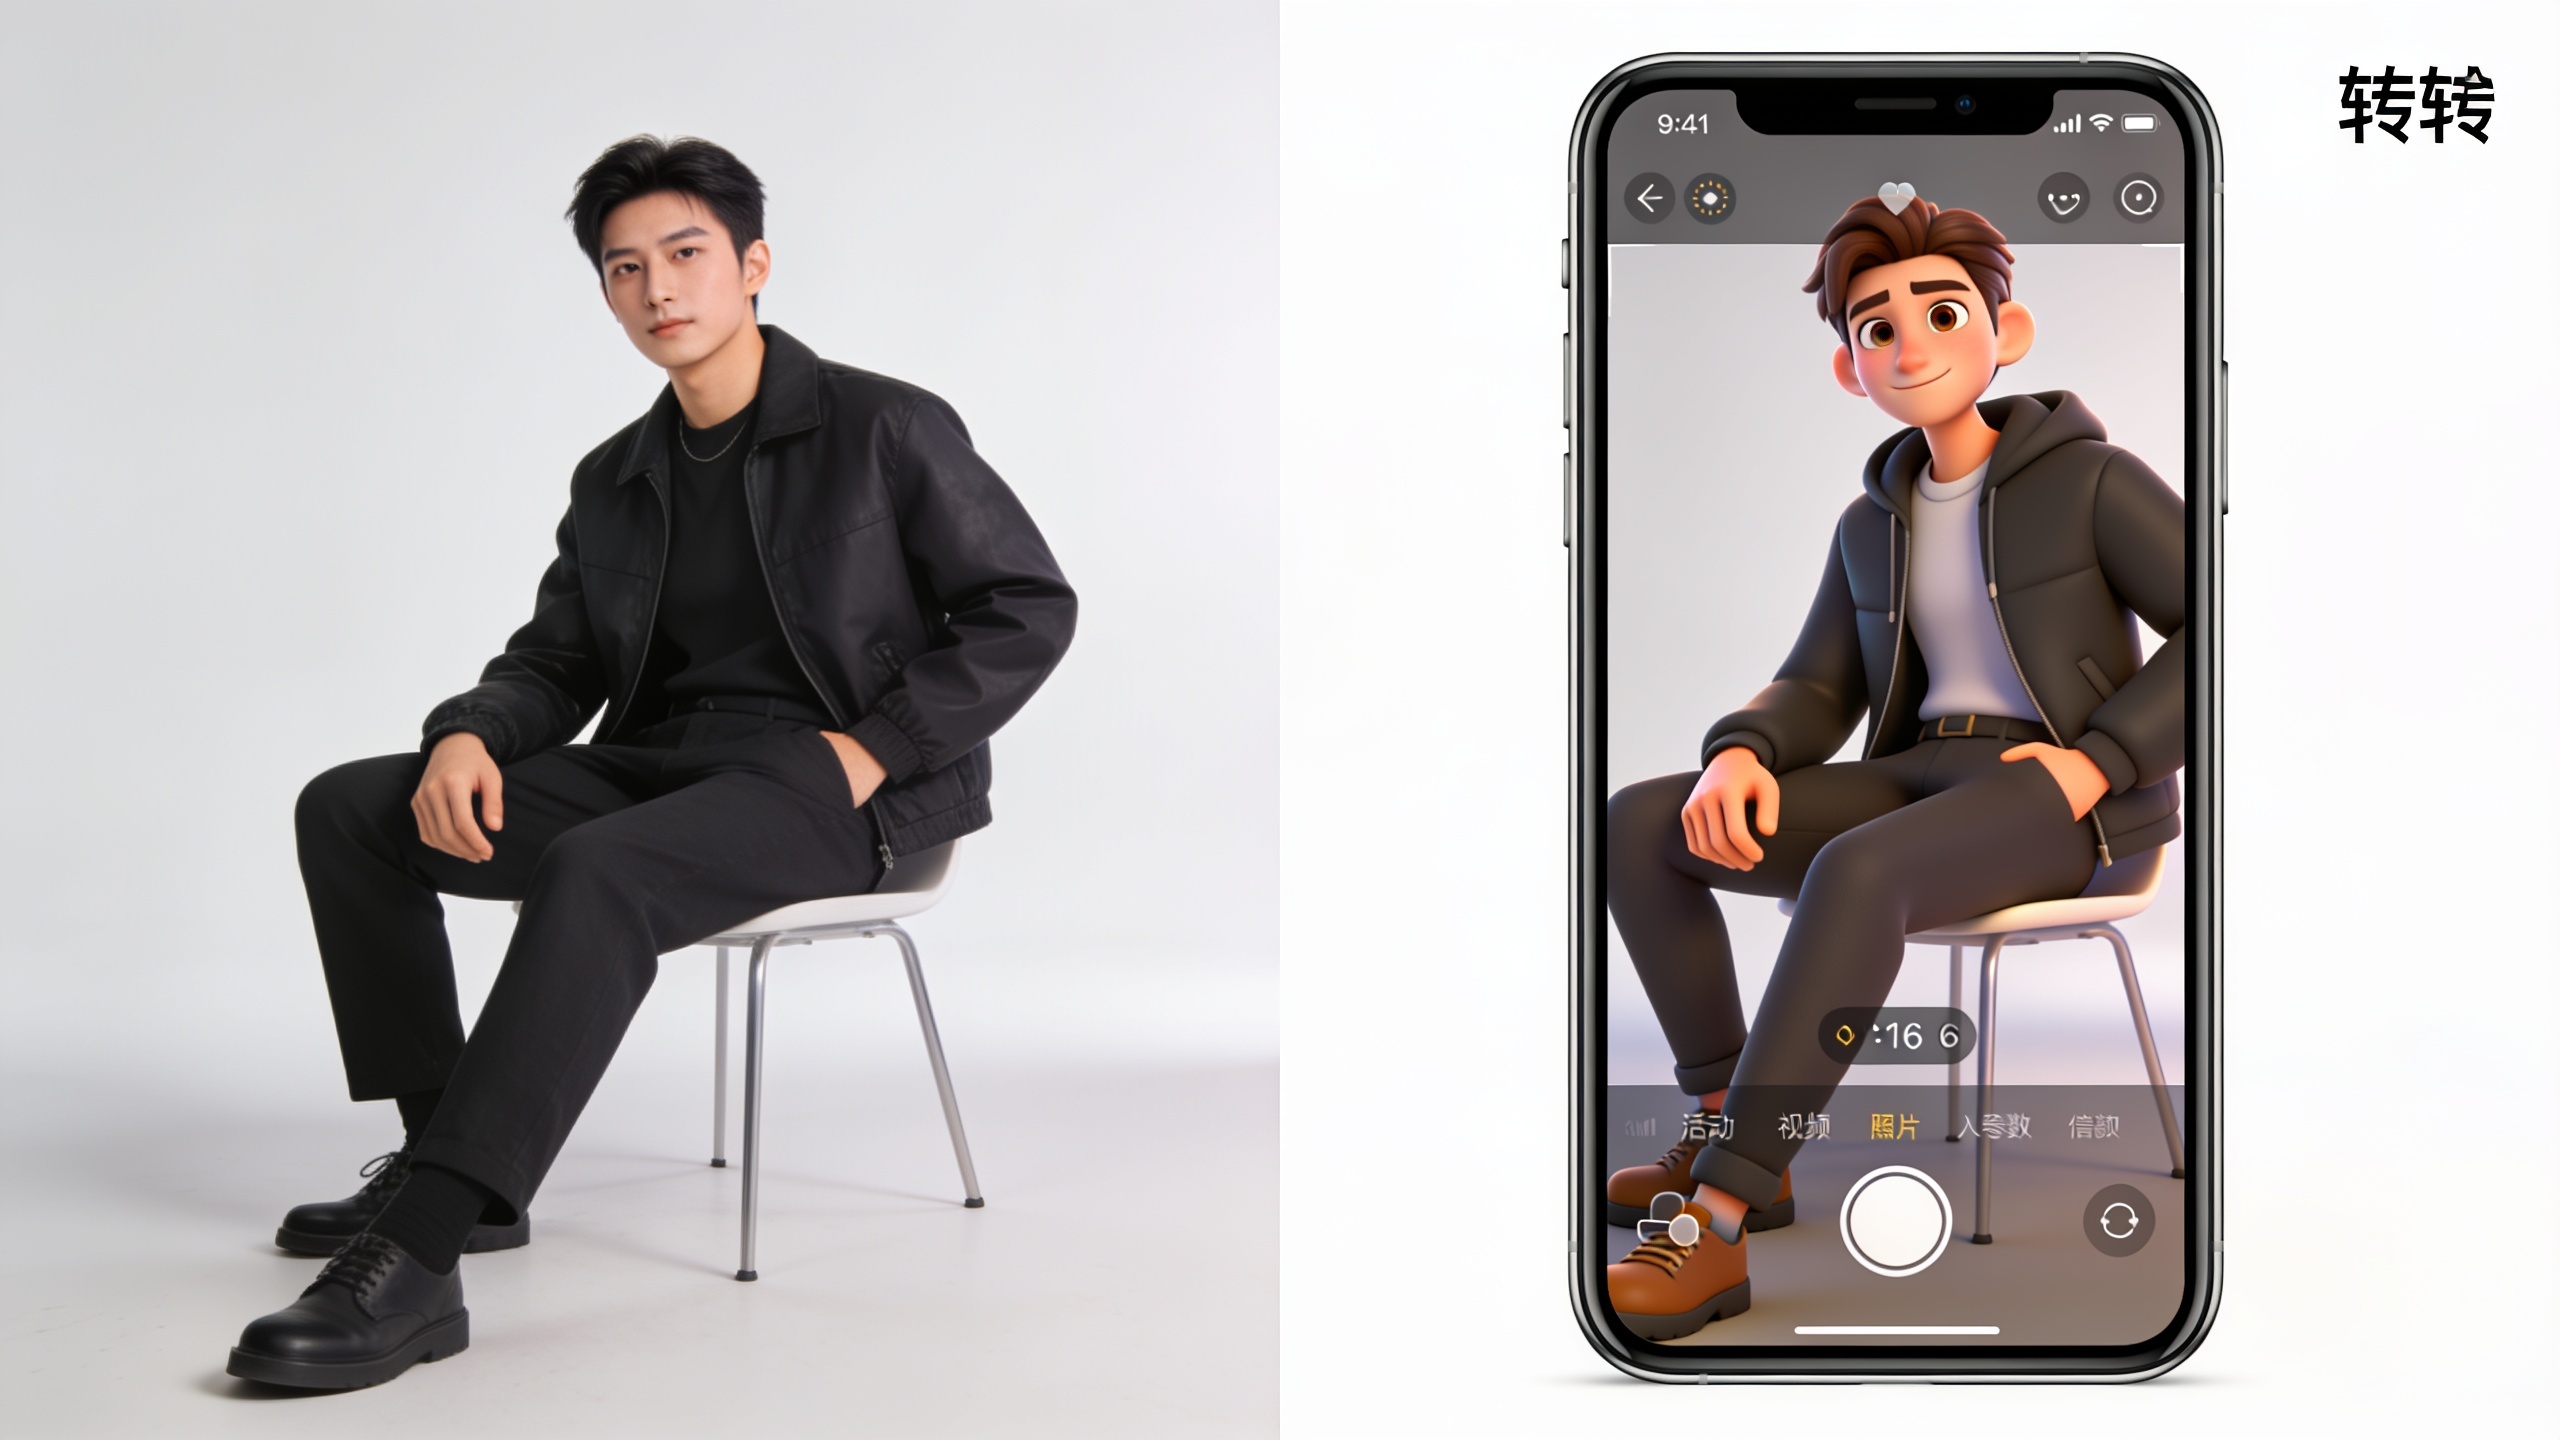
Start by uploading a high-res product photo and choosing an image-to-video model (Kling, Veo, or Sora) that preserves the subject and adds motion. Use short prompts that specify framing, motion, and mood. Batch-generate variants by changing one variable per run: hook text, camera move, lighting, or music style. Export directly as 9:16 and include safe-zone margins.
Practical prompt examples you can copy:
"Product close-up: smooth parallax push-in from top-left, soft studio lighting, 9:16, 3s loop — upbeat pop bed, no voiceover."
"Product on table: quick 1s reveal with overhead swipe, bold white overlay text 'Works in 10s', 9:16, punchy electronic beat."
"Product demo loop: rotating 360° with highlight glow, 9:16, slow ambient music, repeatable 4s loop."
Use these prompt families to produce 3 hooks × 4 audio/overlay combos = 12 variants. Export each as a separate clip and tag filenames by hypothesis (HOOK_A_AUDIO_1.mp4). This workflow compresses the create step from hours to minutes and feeds your ad testing pipeline directly.
You can try every step above directly in GoCrazyAI AI Video Generator — no setup needed.
How should you structure ad A/B tests for short‑form platforms using GoCrazyAI outputs?
Structure tests to isolate hypotheses and get clear signals quickly. Use ad groups that reflect one hypothesis and include 3–6 variants per group. Rotate variants evenly and avoid mixing different hypotheses in the same ad group.
A typical structure:
1) Hypothesis: "Hook with product close-up increases 3‑sec view rate compared to lifestyle opener." Create 3 low-cost variants for each hook type generated with GoCrazyAI. 2) Test setup: Put the variants into the same ad group targeting the same audience to minimize learning differences. Platforms like TikTok recommend multiple creative pieces per ad group and continuous iteration over 3–8 weeks. 3) Metrics: Primary short-term signal = CTR/3‑sec view rate; secondary = add-to-cart or conversion. 4) Decision rules: Drop variants that underperform median by >15% after minimum impressions; scale variants that beat median by >15% and show cost-per-conversion improvement.
When scaling winners, create small edits: change thumbnail text, try a different music bed, or extend the loop — these micro-edits can further improve performance. Keep naming conventions consistent and log which GoCrazyAI prompt and model produced each clip so you can reproduce or tweak the generation quickly.
How do you optimize winners with quick edits using Kling, Veo and Sora models?
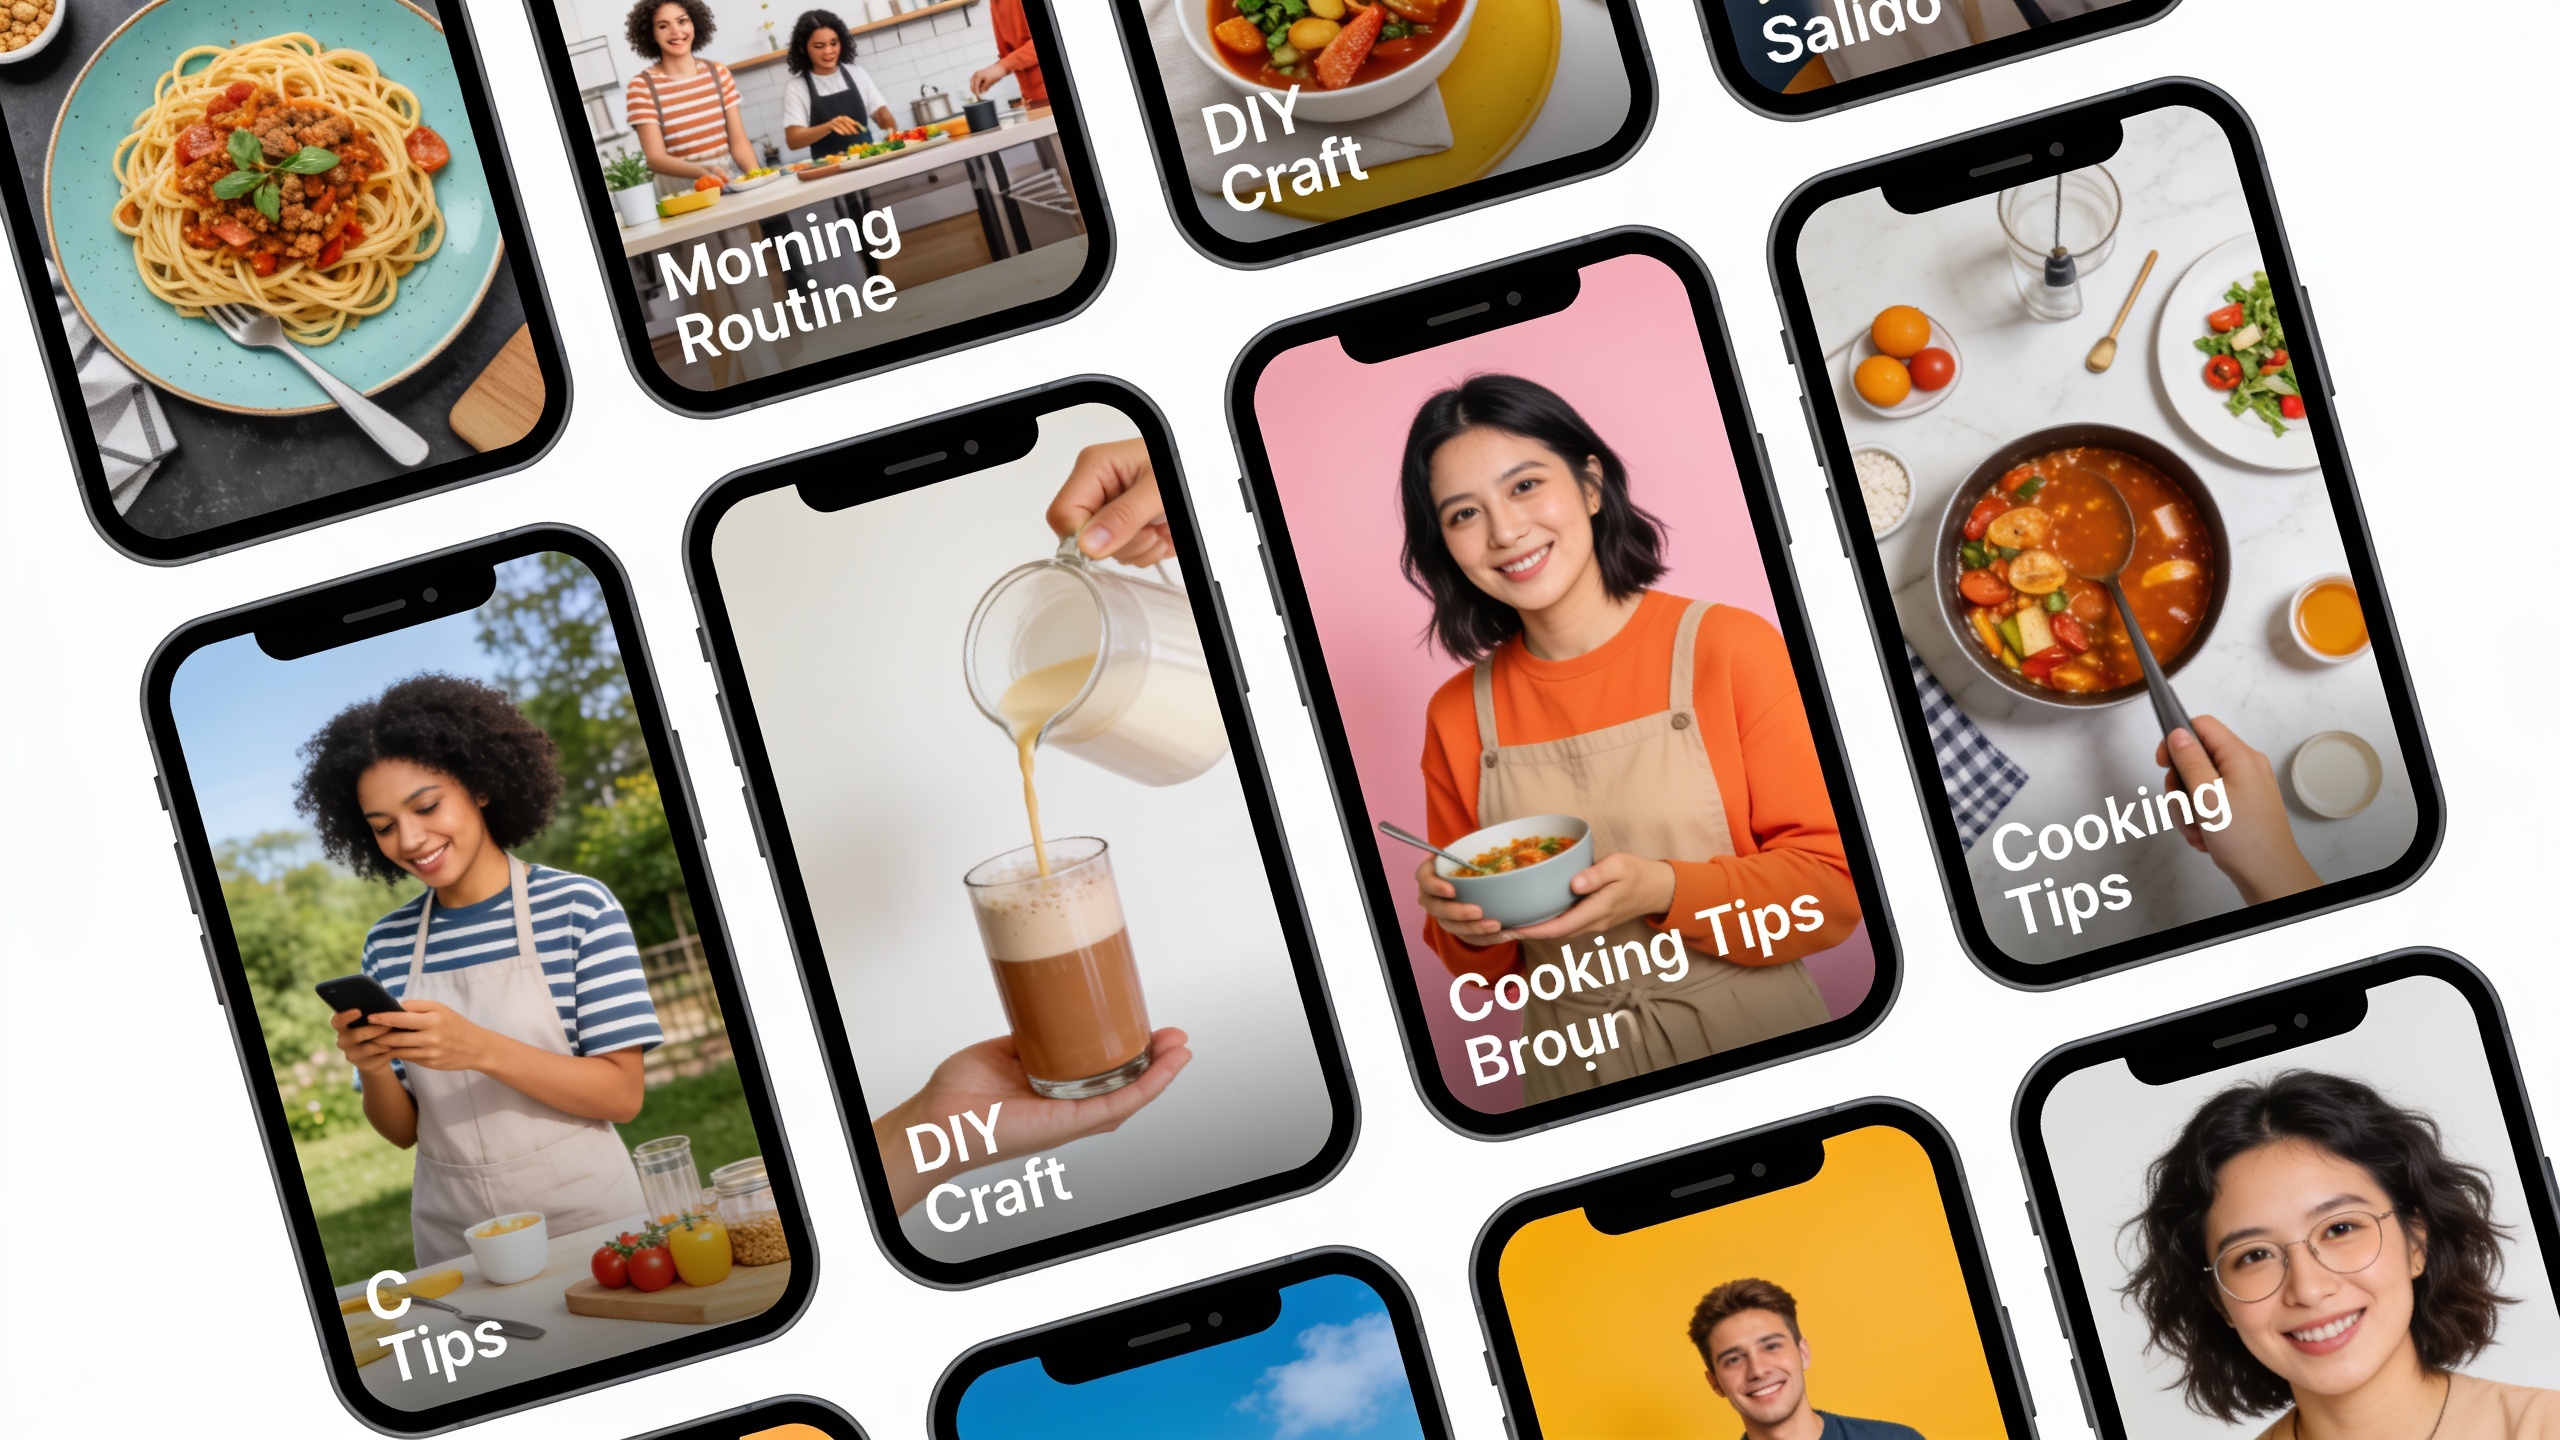
After a winner emerges, optimization should be fast and focused. Use GoCrazyAI’s Kling for cinematic motion, Veo for photorealistic texture and motion, and Sora for stylized or story-mode openers — each model has subtle strengths you can exploit. For winners, produce 2–4 quick variants that adjust music, overlay timing, or thumbnail framing.
Quick edits to try: shorten or extend the opening to test first‑second hooks; swap music styles (upbeat vs. ambient); add or remove branded overlay; reframe to keep the product clear in the safe zone. Use the same base prompt but change the model parameter to compare stylistic outcomes (e.g., Kling for a dramatic push-in, Veo for realistic product motion).
Also use GoCrazyAI's downstream tools: export the clip and run it through the AI Video Editor to add subtitles, voiceover, or a different music track quickly. Small optimizations often yield outsized gains because they preserve the original proven hook while adapting to different platform placements or audiences.
Example playbook: How do you turn a product photo into hooks, demo loops, and B‑roll?
A concrete example makes this repeatable. Start with one listing photo of a portable blender.
Standalone answer: Take the listing photo, generate three hook variants (close-up pour, lifestyle shot, and question-text opener), two demo loops (blade close-up rotating; smoothie pour loop), and two B‑rolls (ingredient split-screen; hero product spin). Tag each file and create ad groups testing 'hook' variants first, then test audio variants on the top two hooks.
Step-by-step playbook:
- Hook A: Close-up pour — Prompt: "Close-up of blender pouring smoothie, 9:16, 0–2s immediate pour action, bright studio light, loopable 4s, energetic pop music."
- Hook B: Lifestyle — Prompt: "Person placing blender on kitchen counter, quick smile reveal, 9:16, warm morning light, soft acoustic bed."
- Hook C: Text question — Prompt: "Bold text 'Tired of lumpy smoothies?' over slow product rotate, 9:16, punchy beat."
Create demo loops using slower motion and close detail, then create B‑roll for overlays and cutaways. Package these into 2 ad groups: Hooks test (compare A/B/C), Demo test (compare demo loops with different audio). Run each ad group with 3–6 creatives and evaluate short-term signals (CTR/3‑sec view rate). This approach gives testing breadth while preserving comparability.
What checklist, launch plan, and common mistakes should you watch for?
Before you launch, confirm specs, safe zones, captions, thumbnails, and naming conventions — and avoid common mistakes that erase your learning.
Standalone answer: Use a launch checklist: 9:16 exports, safe‑zone margins (keep critical UI out of bottom ~20%), readable overlay text, platform-compliant aspect and bitrate, clear file naming, and consistent tagging of hypotheses. Avoid common pitfalls like mixing hypotheses in one ad group, skipping thumbnails, or ignoring short-term signals that reveal poor hooks early.
Common mistakes and how to avoid them:
- Mistake: Testing too many hypothesis types together. Avoid by grouping variants by single hypothesis (hook vs. audio). - Mistake: Ignoring safe zones. Avoid by leaving at least 18–20% bottom margin and verifying in a device preview. - Mistake: Skipping thumbnails and captions. Avoid by creating 2–3 thumbnail/caption variants and testing them with the leading creative. - Mistake: Relying only on conversions too early. Avoid by using intermediate signals (CTR/3‑sec view rate) to prune bad creative before optimizing bids.
Also check credits and costs: generating dozens of variants is cheap per clip compared with full production, but track spending. If you need to create product imagery before video, consider the AI image generator for variations and upscaling.
Frequently Asked Questions
How many ad variations should I generate per product photo?
Start with 9–12 variants: 3 hooks × 3 audio/overlay combinations is a common matrix. That gives coverage across micro-variables while keeping per-variant impressions achievable.
What metric should I prioritize in the first week of a short‑form test?
Prioritize hook performance metrics: CTR and 3‑second view rate. These show immediate attention and are faster to optimize than conversions, which often require longer windows and more spend.
Can I reuse the same GoCrazyAI clip for 9:16 and 1:1 placements?
Yes. Export in both 9:16 and 1:1 from the same prompt to get platform-appropriate framings. Keep critical elements centered and test slightly different crops if the framing affects the hook.
How do I control cost when generating many variants?
Batch prompts and vary one element per batch. Track generation credits and prioritize variants that address your highest-leverage hypothesis. Check GoCrazyAI pricing and credits to plan monthly volume.
Conclusion
Fast creative iteration beats slow perfection for short-form ad testing: generate many cheap variants, isolate micro-variables, and use short-term platform signals to prune and scale. Use a consistent naming system and safe‑zone checks, and treat winners as hypotheses to re-optimize. When you’re ready to convert a product photo into multiple 9:16 ad clips, open the AI video generator and batch your prompts to ship variants during your next break.
Sources
- Creative advertising guide | TikTok for Businessads.tiktok.com ↗
- Ad Testing Guide: Optimize Campaigns & Maximize ROI — TikTok Adsads.tiktok.com ↗
- Creative best practices for performance ads — TikTokads.us.tiktok.com ↗
- TikTok Performance Fundamentals (Fundamental 2.0) — July 2024ads.tiktok.com ↗
- Conversion Lift Study: Measure What Matters — TikTok For Business Blogads.tiktok.com ↗
- Design TikTok Reels Ad: Specs, Safe Zones, and Creative Best Practices | Coiniscoinis.com ↗
- Creative Checklist — TikTok Creative Checklist (KBR Agency)kbr.agency ↗
- Ad Creative Checklist: 15 Points Before You Launch — AdConvertadconvert.org ↗
- TikTok AB Testing Guide: How to Test Ads Effectively — Stackmatixstackmatix.com ↗
- How to Test TikTok Ad Creatives the Right Way — Faysell (creative testing playbook)faysell.com ↗